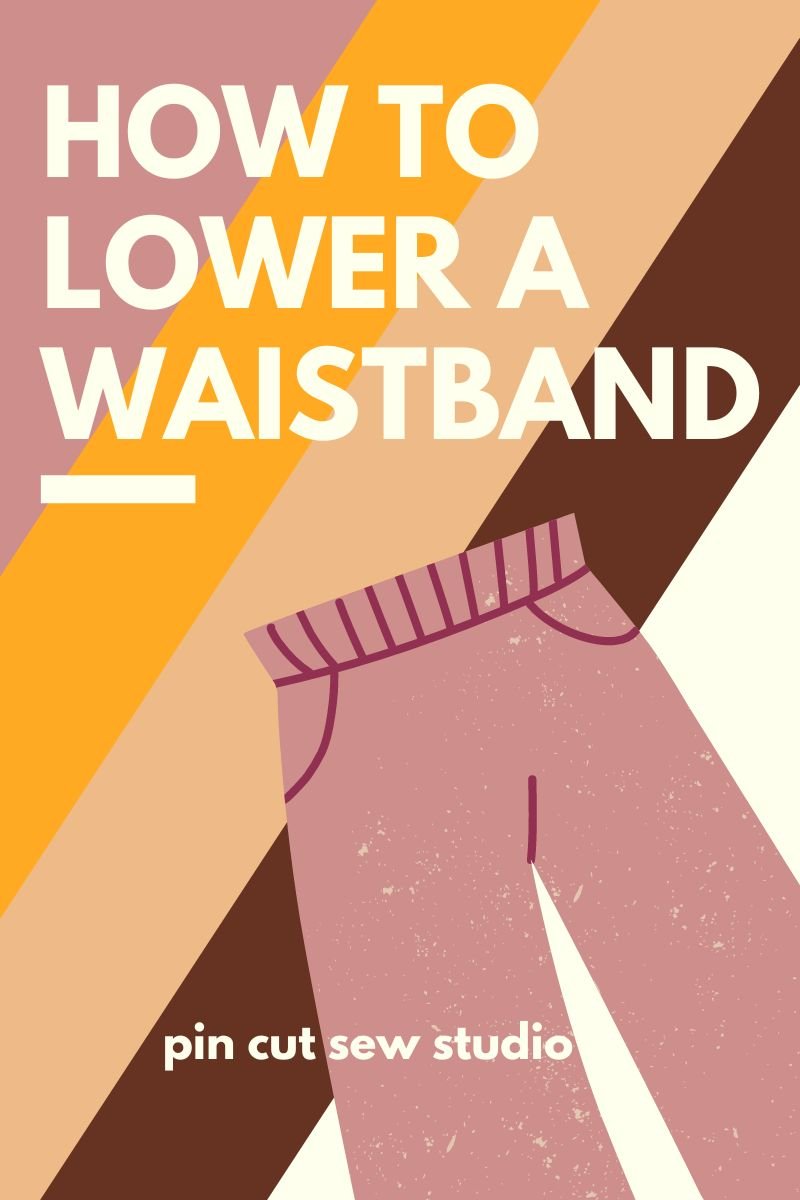
How to Lower a Waistband
If you’re a short waisted gal like me, then boy, do I have the tutorial for you today! While I like the look of all the current high waisted trends on other people, being short waisted, those clothes can look rather ridiculous on me. In fact, most mid rise fit like high rise on my body, so it can be hard to find pants that fit due to current trends!
Because of this, I struggle to find pants that are the right rise for me right now. I recently bought some pajama pants, though, that were high rise, but that I knew I could alter to fit me how I like them. I got to work and successfully lowered the waistband of these Old Navy lounge pants, and I created a video tutorial to show you how to do it too!
Lowering Your High Rise Waistband
This tutorial is for knit pants or shorts with a waistband that’s been folded over and sewn. While it may give you some ideas for altering the waistband of woven or more tailored garments, it’s not quite that technical. But for sweats, joggers, or pajama pants, this simple method can help!
Watch the video below for the full, beginner friendly sewing tutorial on how to lower the waistband of too-high-waisted pants or shorts.
Altering for Too Tight Elastic
Another reason I often alter waistbands is because I have a condition that gives me some sensory issues around clothes. Anything remotely binding in the waist gives me a stomach ache and I especially don’t want my loungewear causing me pain. Because of this, I sometimes take out and replace the elastic in my waistbands to be looser fitting, or I simply eliminate the elastic and use a drawstring instead.
The beauty of sewing is that you can make your clothes fit exactly how you like them! Adapting clothes to your taste and your needs is a very simple way to make your clothes fit better, last longer, and get worn more often.
Deciding How Much to Lower the Waistband
The first step is to decide how much lower you need the waistband, and that will determine how exactly you do it. In my case with my example pants in the video, I tried them on and folded the waistband over twice, meaning I could just cut off the existing waistband and refold a new one.
If, however, you fold the waistband over once and that’s the perfect rise for you, you need to take the time to unpick the existing waistband. This will take some time and some will have more stitching to rip out than others. After you’ve unpicked all that serger thread, simply cut on the fold line, basically removing only half of the waistband. Then you’ll be ready to fold over a new one, using the instructions in the video.
This is also what you’ll need to do if you’re only doing this to replace elastic that is too tight, as I’ve been known to do. Yes, it’s a bit of work, but it’s worth it to have truly comfortable, wearable clothes!
Here is the before and after of my now favorite pair of sweatpants! They were just way too high on me before and the longer I wore them, the higher up they’d be, ha! Now they’re a comfortable mid rise and so much more comfortable for my particular body type.

I hope this has inspired you to rework some thing you weren’t wearing because of an ill fitting waistband! And I hope it’s also inspired you to get out some other clothes that have been languishing in the back of your closet, and try to figure out how to make those wearable as well. Sometimes a small tweak is all they really need!
Cheers,
Nikki