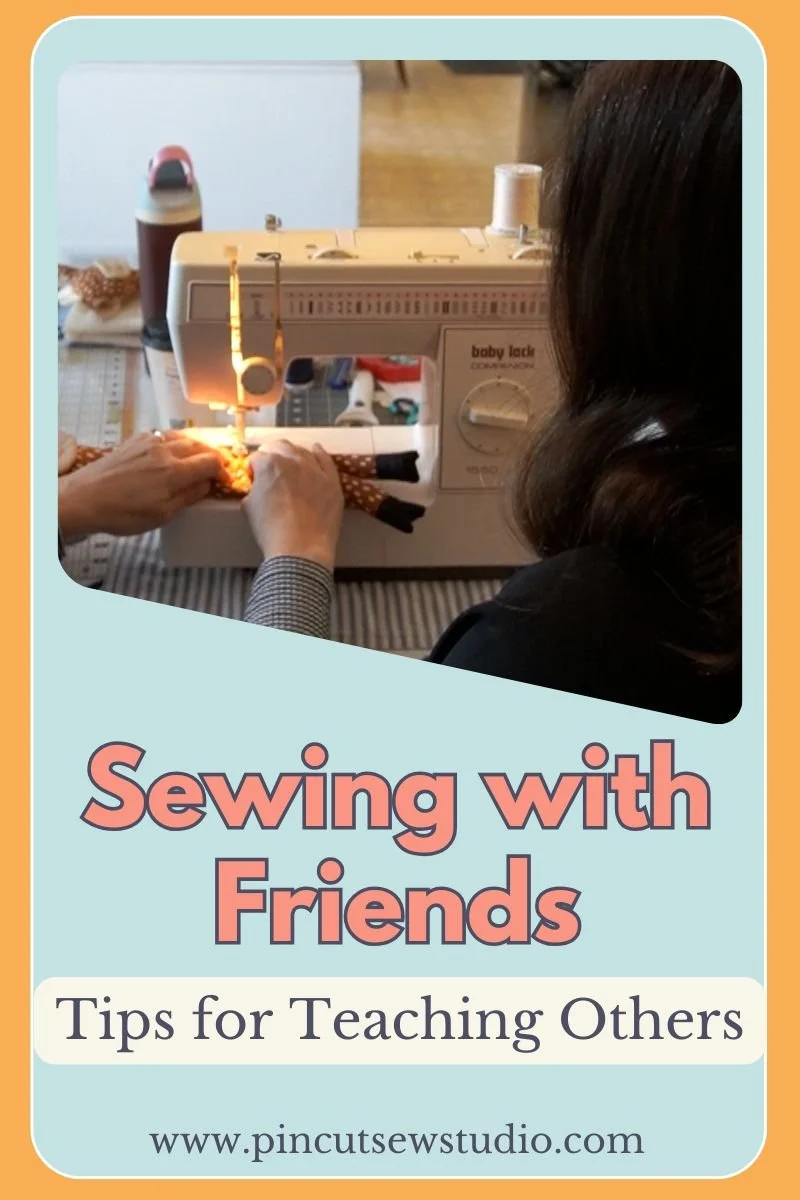
Tips for Teaching Your Friends to Sew
I’ve written plenty here about teaching kids to sew (including an entire eBook on how to start a business teaching sewing camps and classes!), but what about when you’re asked to teach an adult friend? I’ve done my share of passing on the sewing bug to my friends over the years, so I’m here today to give you my best tips on teaching your friends to sew!
When I first met my friend Jennifer a couple years ago, she told me she didn’t really have a desire to sew, but she had just inherited her mother-in-law’s sewing machine. About a year later she learned to crochet and I remember saying it was a matter of time before she would want to try sewing, ha! It’s funny how one fiber craft leads to another, right?
Sure enough, she soon asked if I could teach her and obviously I said YES. And while teaching her, I wrote down my best tips for teaching your adult friends to sew so I could share them here with you.
I also recorded these tips in video form for my YouTube channel, so if you’d prefer to watch instead of read, you can view that here, or I’ll put it at the end of this post, so just scroll down.
Let’s get on with the tips!
Teach them to use their own machine.
The entire goal of your sewing sessions with someone new to the art is to empower them to sew on their own. So teaching them using their own tools is essential. Yes, many machines are similar in threading and bobbin winding, but there really is a vast difference in capabilities, especially when comparing older machines to newer ones.
Jennifer has an older Kenmore from the 80’s or 90’s, so we oiled it up, got it working, and she learned to wind a bobbin and thread it. Plus she’s been learning what fancy stitches she has, what feet she has or may need to order, and how to attach a walking foot for quilting.
Teach them using the most basic tools.
This goes right along with the previous tip, but might be even more important. New sewists won’t have fancy tools at home, so even though you may have time saving tools in your toolbox, teach a beginner to perform sewing tasks the old fashioned way. For example, I have a fancy tube turning tool, but if I teach Jennifer how to use that when she’s here learning, she’ll go home and won’t know to turn a tube with a good old fashioned safety pin! Sewing really only has a few necessary tools — don’t discourage a new person by making them feel they need a ton of stuff just to start.
Let them choose a project that excites them.
When Jennifer decided to learn, I told her to choose a pattern from my shop and we’d do whatever she wanted. Obviously there are some projects that aren’t as beginner friendly as others, but sewing any project is just a series of skills, one after another.
It’s important that a beginner is excited about the project they’re making, both the pattern and the fabrics, so let them choose! Every new project will build new skills, so it’s not necessary to start with the most basic square pillow that seems to be everyone’s go-to when teaching a beginner. If they can start with a pillow, they can start with a pot holder, or a baby quilt, or a rag doll.
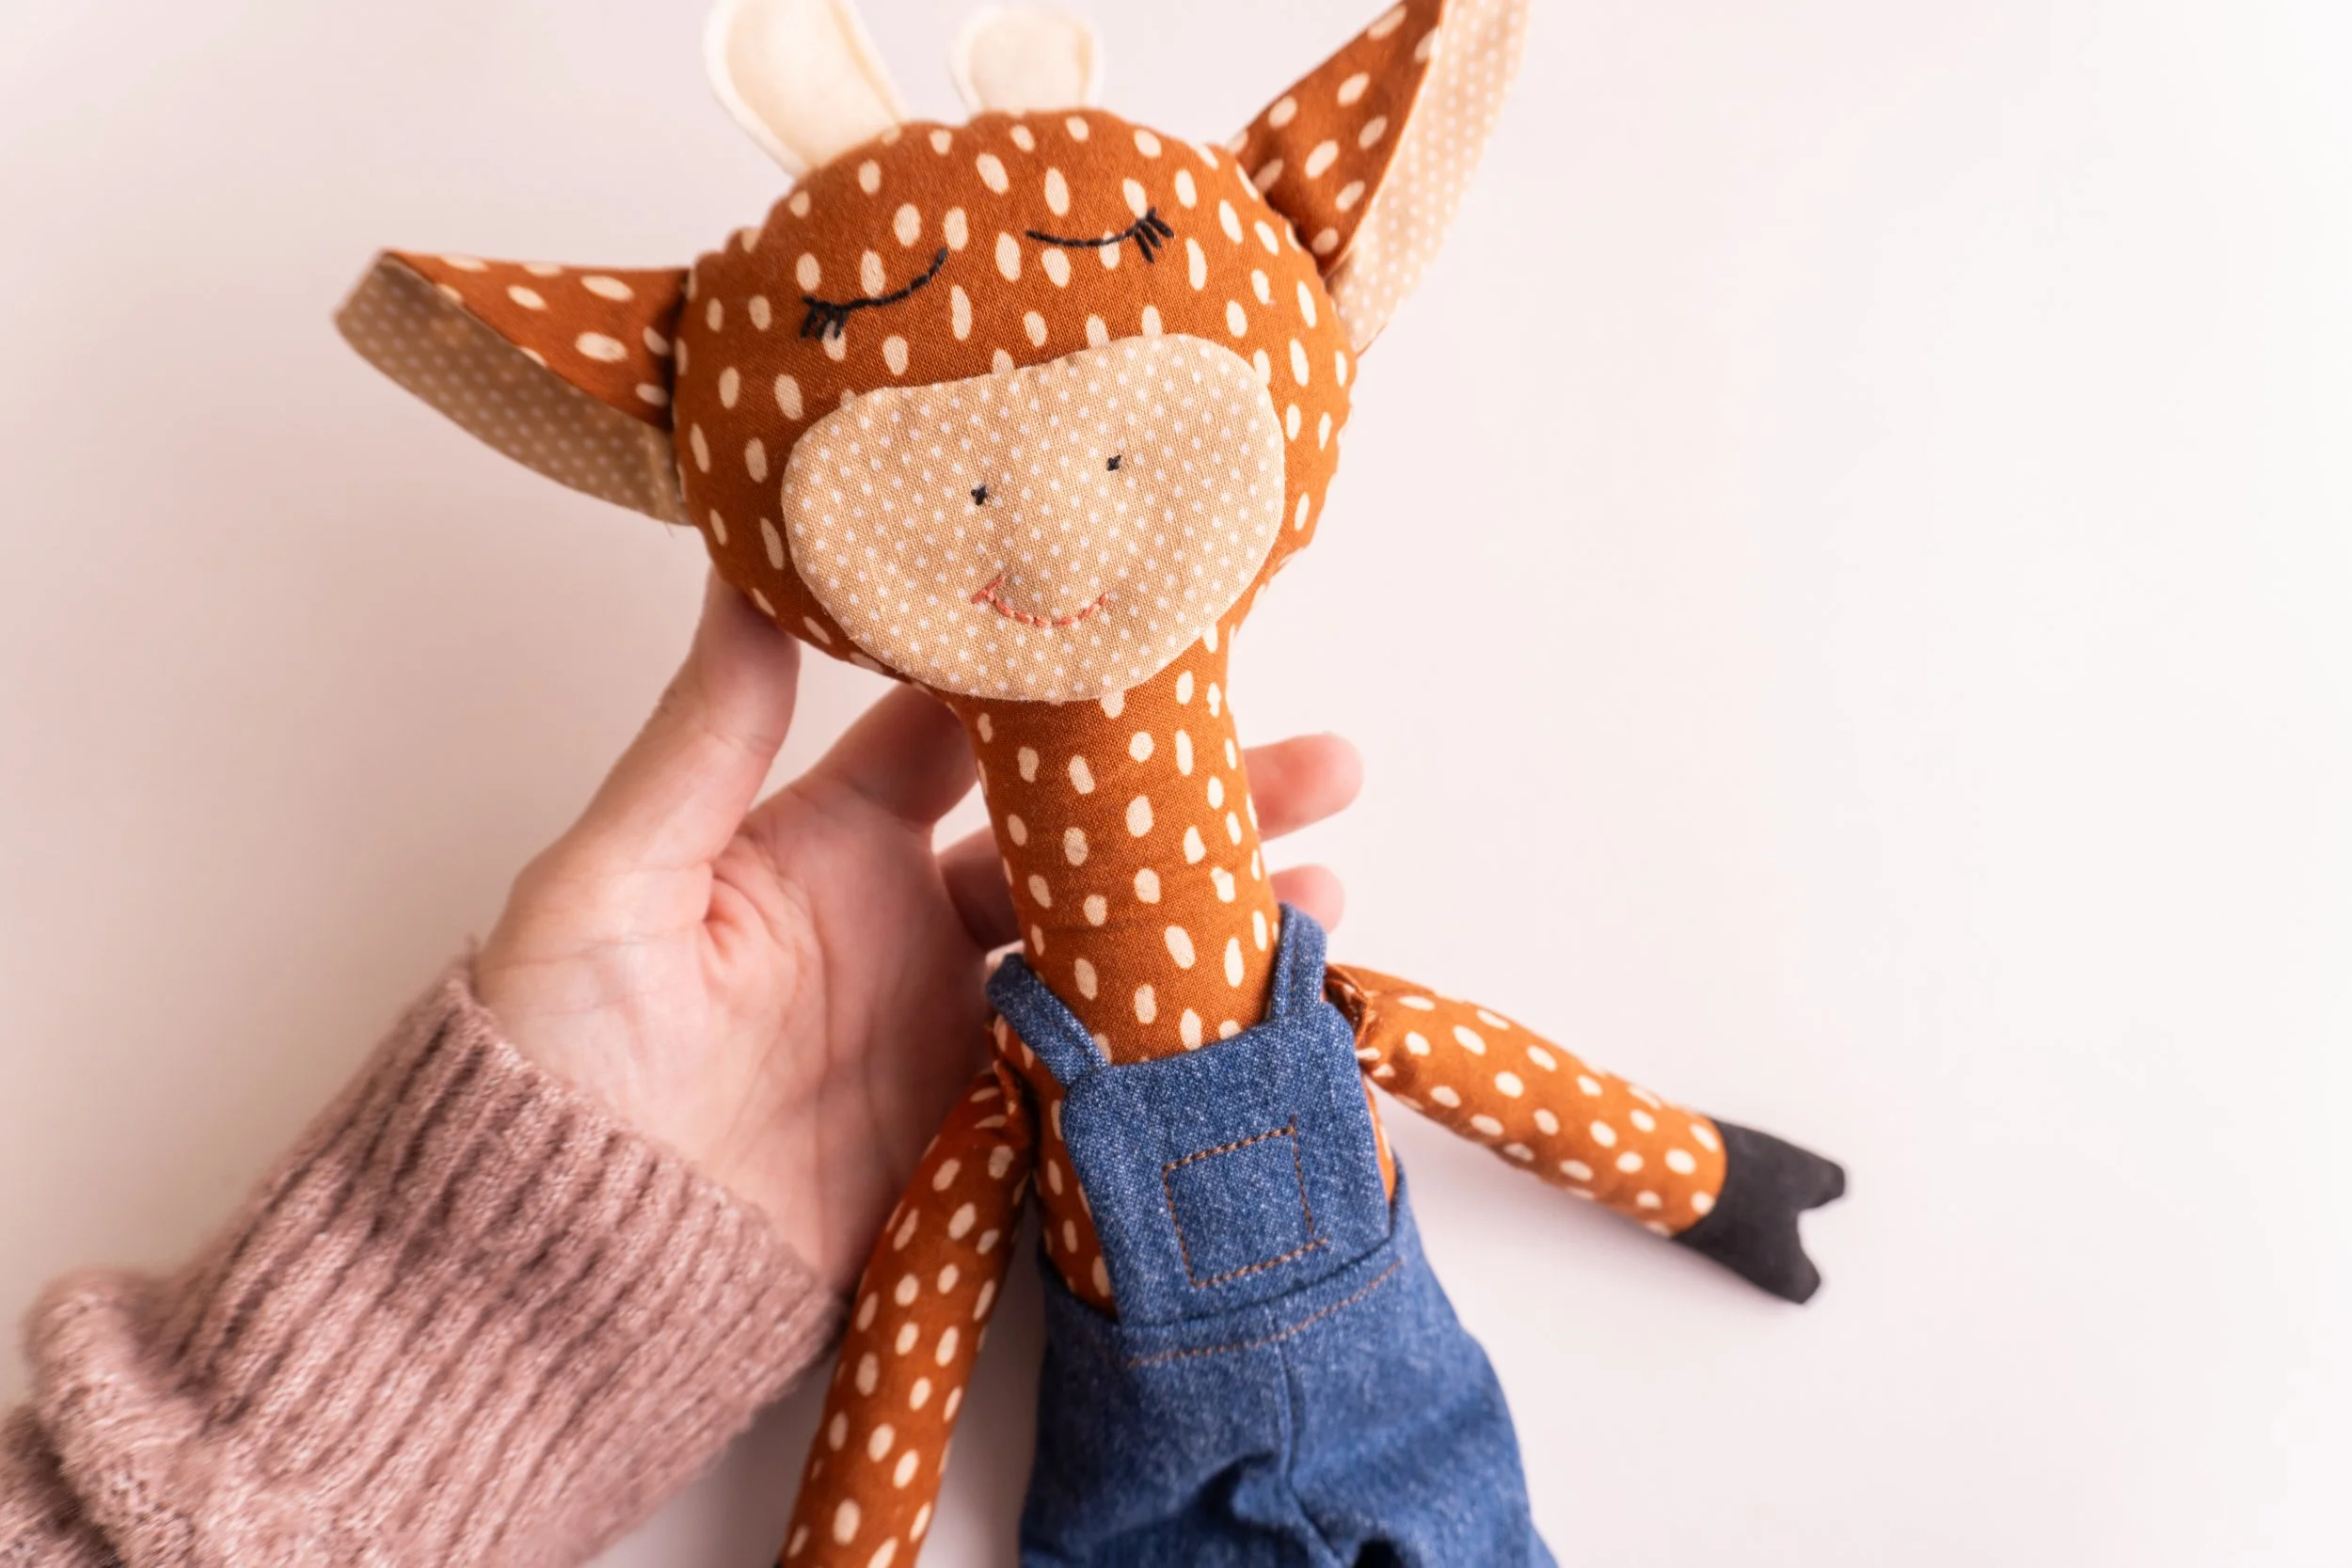
Jennifer got very excited about my giraffe doll pattern when I released it recently, so even though she’d only sewn a couple basic projects before, we jumped right into the giraffe and she did great! In fact, a project like this allowed me to teach new her things as they came up. Hands on learning at it’s finest.
Don’t take over.
This is a common thing people do when teaching kids, which I also discourage, but it’s even more important when teaching adults. If you’ve come to a step that seems advanced, the tendency can be to do that step for them, but this can be damaging to a newbie’s confidence. Remember, you’re trying to empower your friend so sew on her own, so taking over on a difficult step can discourage her into feeling like she can’t tackle anything past the most beginner of projects.
So even if it’s not perfect, show the person how to tackle that challenging step. When sewing the giraffe doll, for example, sewing the legs into the body and closing it all up is the final step and can be tricky since the body is already stuffed. So I gave her tips to make it easier, like moving her needle all the way over to the left,(which she learned her machine can do), or using a zipper foot (which she discovered she needed to order!), or if all else fails, hand sewing the opening closed.
Empower them to sew on their own.
To reiterate almost every point I’ve already made, make sure you inspire your friend to take off and sew whatever they want! I truly feel like there is very little a beginner shouldn’t be able to handle if they are patient and willing to learn from their mistakes.
After our first few sewing sessions, Jennifer texted me asking if I thought she could hem some of her knit tops. Hemming knits honestly isn’t the simplest of tasks, but instead of telling her no, that’s not as simple as she thinks, or maybe she should wait until I could show her how, I told her the tools she’d need: a stretch needle, a stretch stitch or zig zag, maybe her walking foot, and to practice on the cut off parts of the shirts.
With some trial and error, she was able to hem her shirts in time for a family vacation and learned so much along the way!
Hopefully this has given you some inspiration for teaching your friends to sew! The best part is that once you have a few sewing buddies, it’s super fun to get together and sew your own projects!
Cheers and Happy Sewing,
Nikki