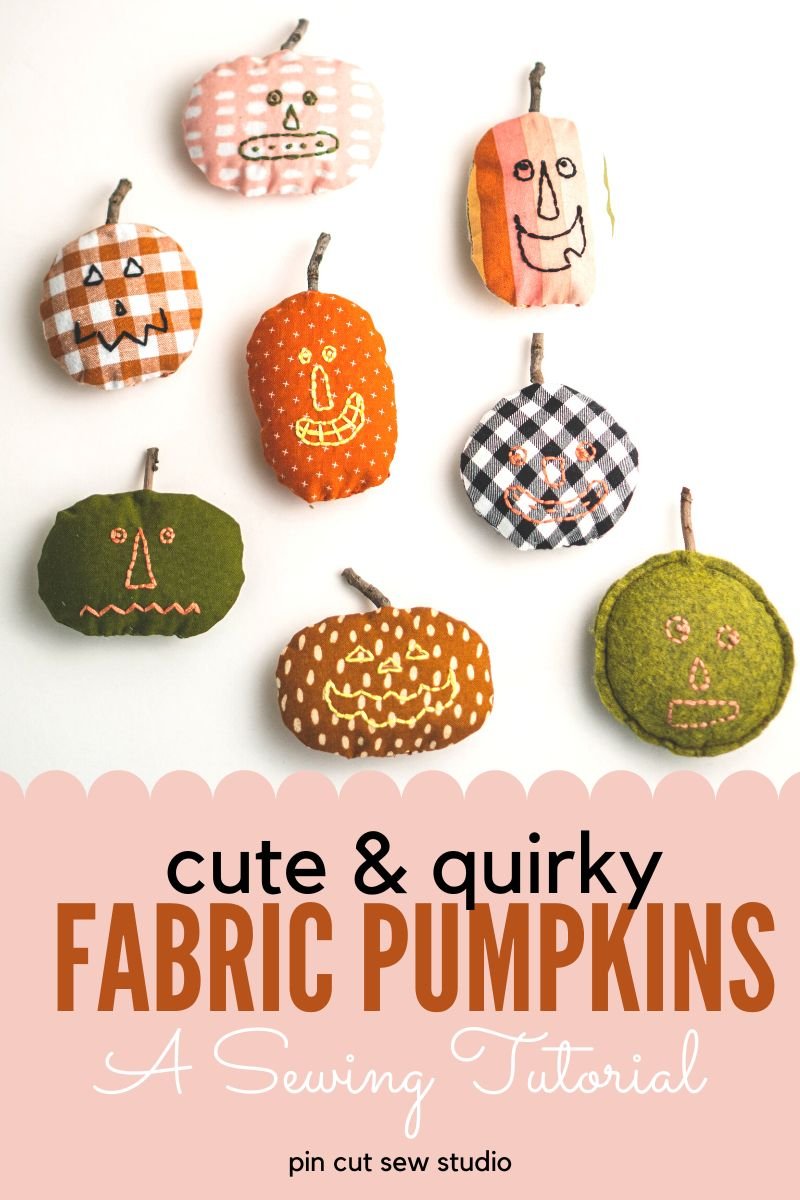
Easy Fall Sewing Project || Quirky Fabric Pumpkins
I love sewing for Fall! I love sewing little projects for most holidays, actually, but Fall always feels like the perfect time to make something simple, scrappy and cute to add to our home decor for the season. A few weeks ago, I was in need of a small sewing project I could make with scraps just for fun and I remembered taking a photo in an antique store last summer of the cutest little fabric pumpkins, hand sewn many, many years ago, with quirky embroidered faces, just hanging on a nail like ornaments.
I kept that photo in mind so that I could copy those pumpkins and make my own and that’s how this new tutorial came to be! I’ve created a video tutorial for you to sew your own little fabric pumpkins!
You can make this project on your own, no pattern needed, by drawing your shapes and designing your own faces. BUT, if you want this to be as easy as possible, you can purchase my printable version of this pattern, which includes the pumpkin templates, tons of quirky jack-o-lantern face ideas, and written instructions with photos, which is convenient so that you don’t have to refer back to the video for each step.
Let’s get to it! Here’s the video tutorial for these cute fabric pumpkins.
Fabric & Supplies
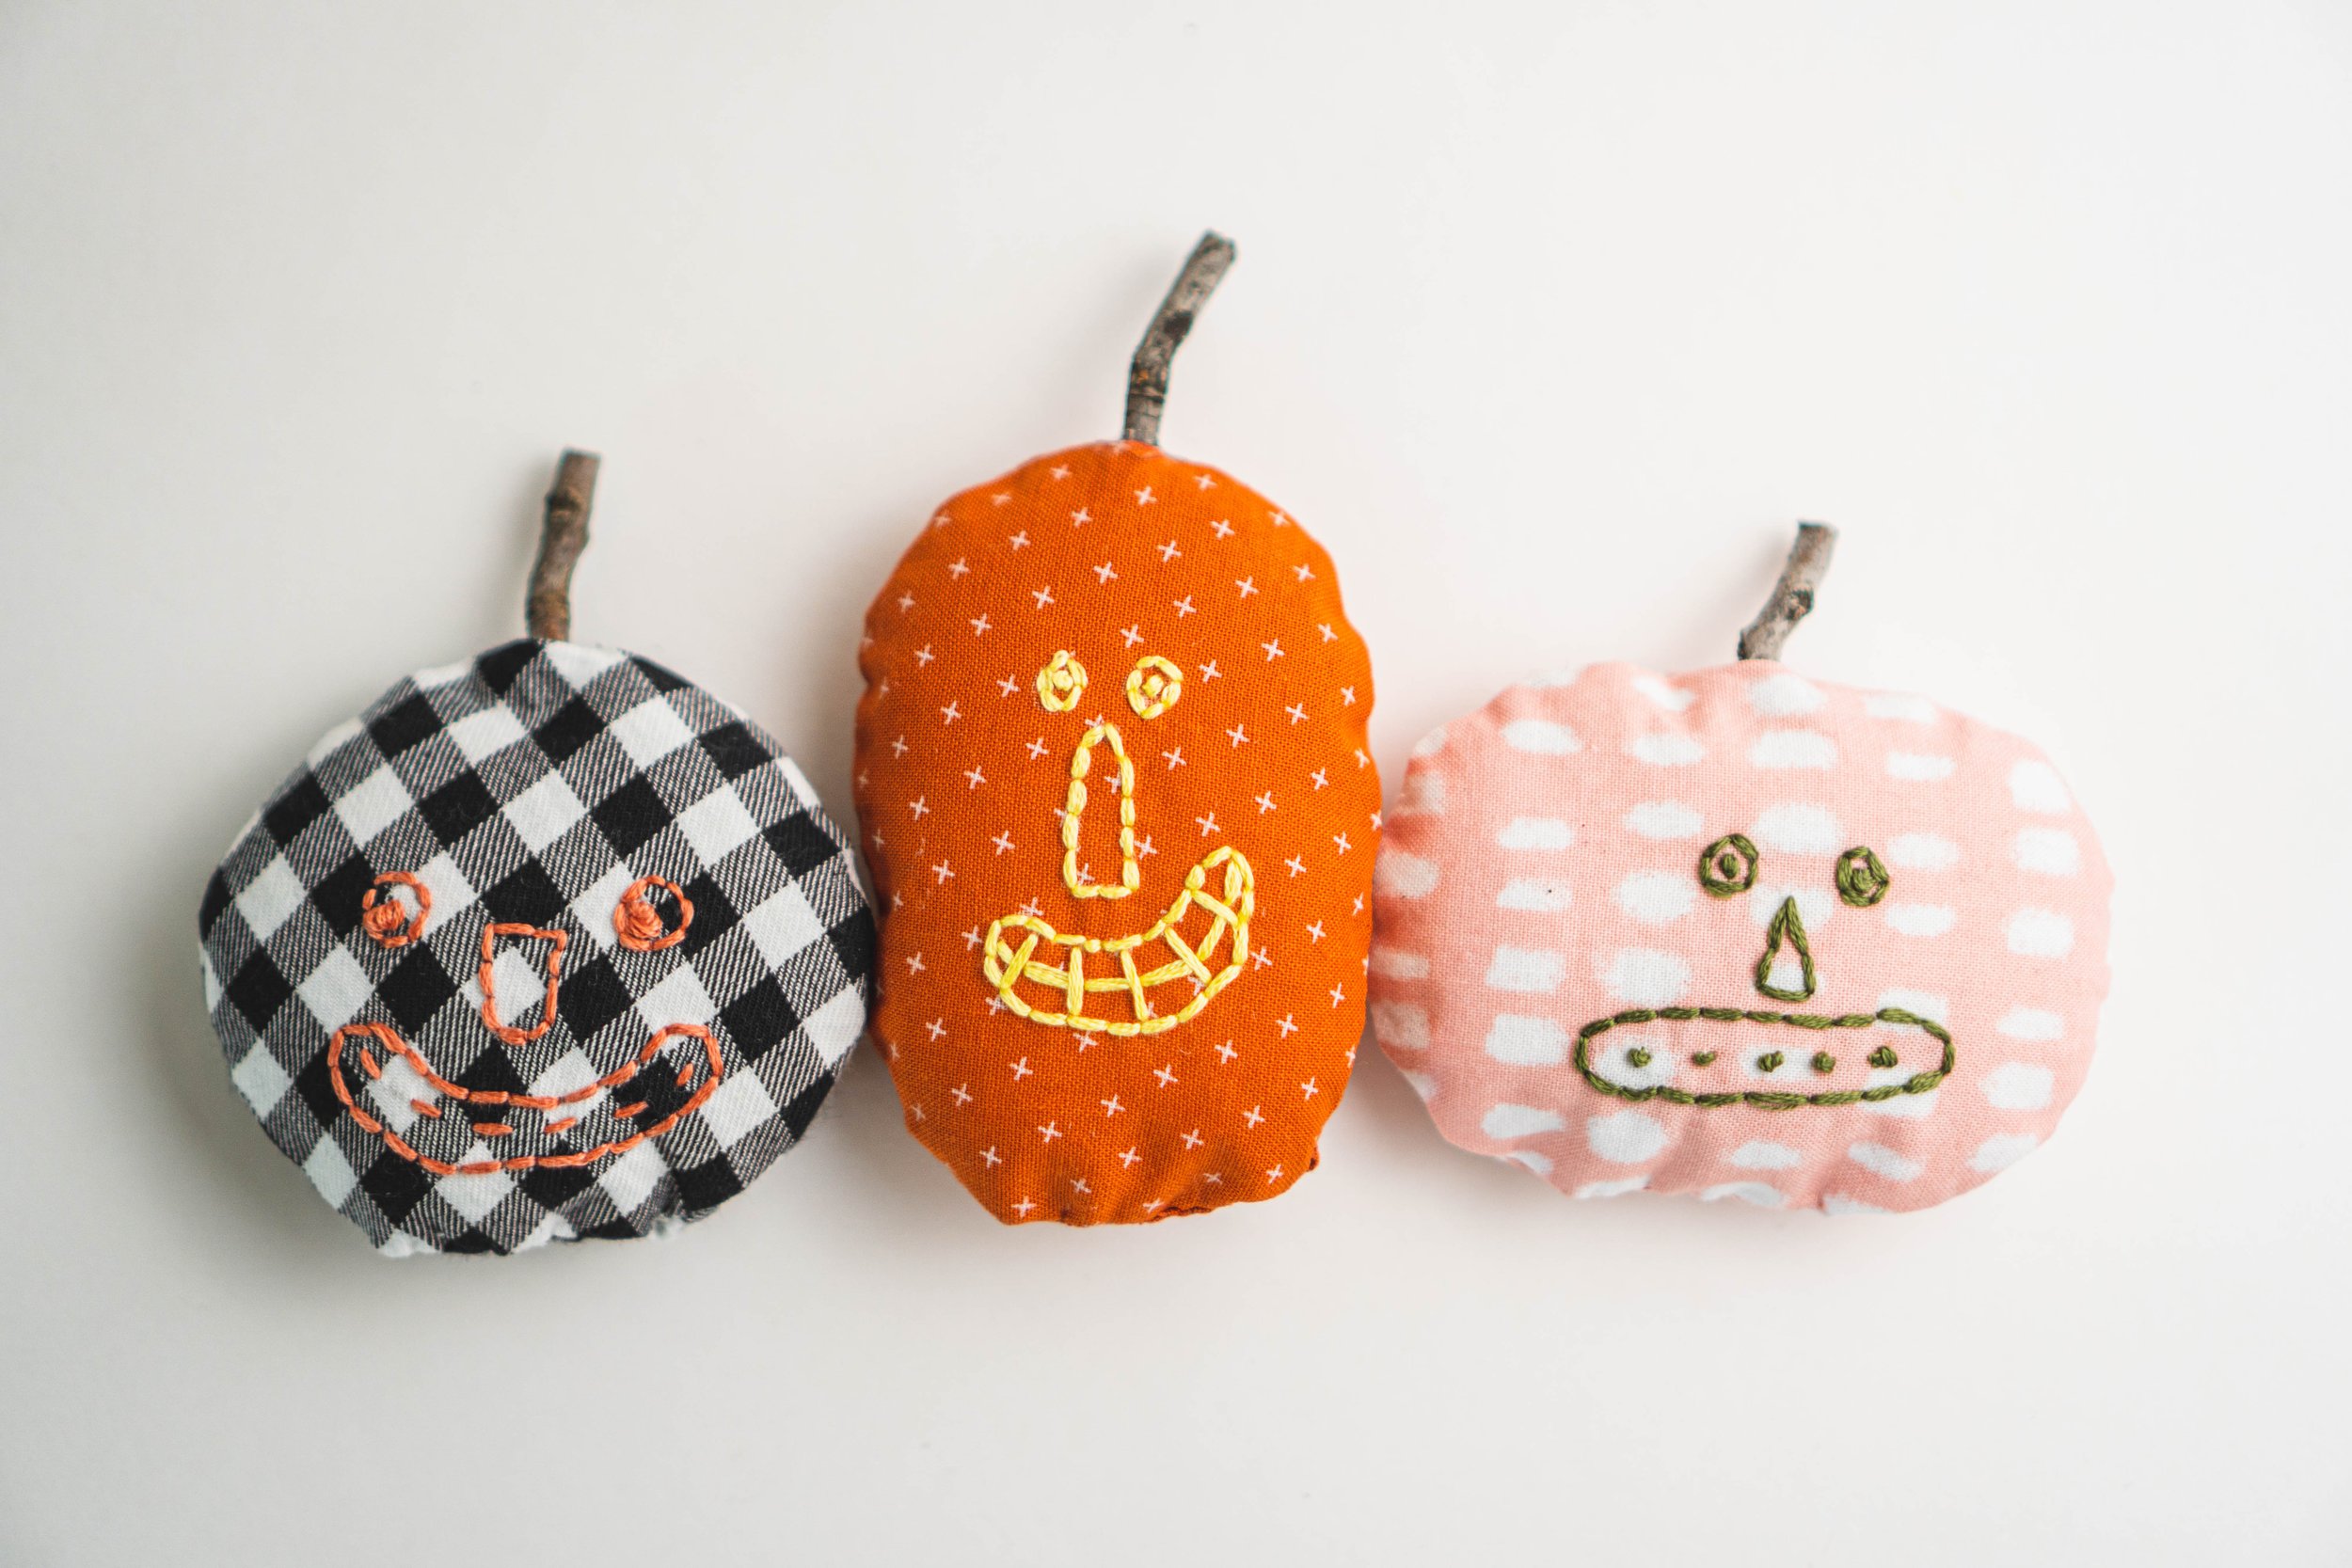
You don’t need much for this project! Scrap friendly sewing projects are the best, aren’t they? For these pumpkins, you need some scraps of fabric. I kept mine in a color pallet of oranges, pinks, and greens, plus a black and white print or two. I love to make holiday decorations that sort of blend in with my current home decor, which is why I avoided typical Halloween colors here.

You also need a few other things. Here’s the full list:
The printable tutorial with pattern pieces (optional)
Scraps of fabric
Scraps of lightweight interfacing
Embroidery floss
Sticks for stems
Hot glue gun or craft glue

What to do with your pumpkins
You may be wondering, what do I do with these cuties after I make them? Here’s a list of ideas!
Put them in a cute container as part of your Fall decor.
Give them away to children as cute pocket pals.
Attach strings and turn them into ornaments for a Halloween tree.
Hand them out to friends or teachers attached to a coffee gift card, just because.
Hide them around your house like Easter eggs and let your kids hunt for them (my kids used to do this with some fabric apples I made for Fall decor and it entertained them for hours).
String them into a garland for your mantle.
String them vertically and hang them from a doorpost or curtain rod (see mine below!)
I made my little pumpkins with a specific plan in mind! Many years ago, I found a string of hand sewn scrappy chickens at at estate sale. They’re made from vintage 30’s quilt fabrics and strung together vertically with wooden beads in between and a bell at the bottom. I’ve treasured those “prosperity hens” and they’ve been hung up in every home since.
I wanted to do something similar with my pumpkins, so I bought some wooden beads and painted them with craft paints to match my color scheme. I used jute cord and an upholstery needle to string them together and added a bell to the bottom. You can see some tips for how I did this at the end of the video, of course.

I LOVE how my little pumpkin garland turned out! My family loves it too and it makes me smile on the daily. I love this alternative to a traditional garland because it won’t get tangled up in the storage bin when it’s not in use, which is the frustrating thing about those horizontal types of garlands.
I hope you sew up some quirky pumpkins and I can’t wait to see them!
Happy Sewing,
Nikki