How to Sew Pillow Cases (the easiest way!) || A Video Sewing Tutorial & Printable Pattern
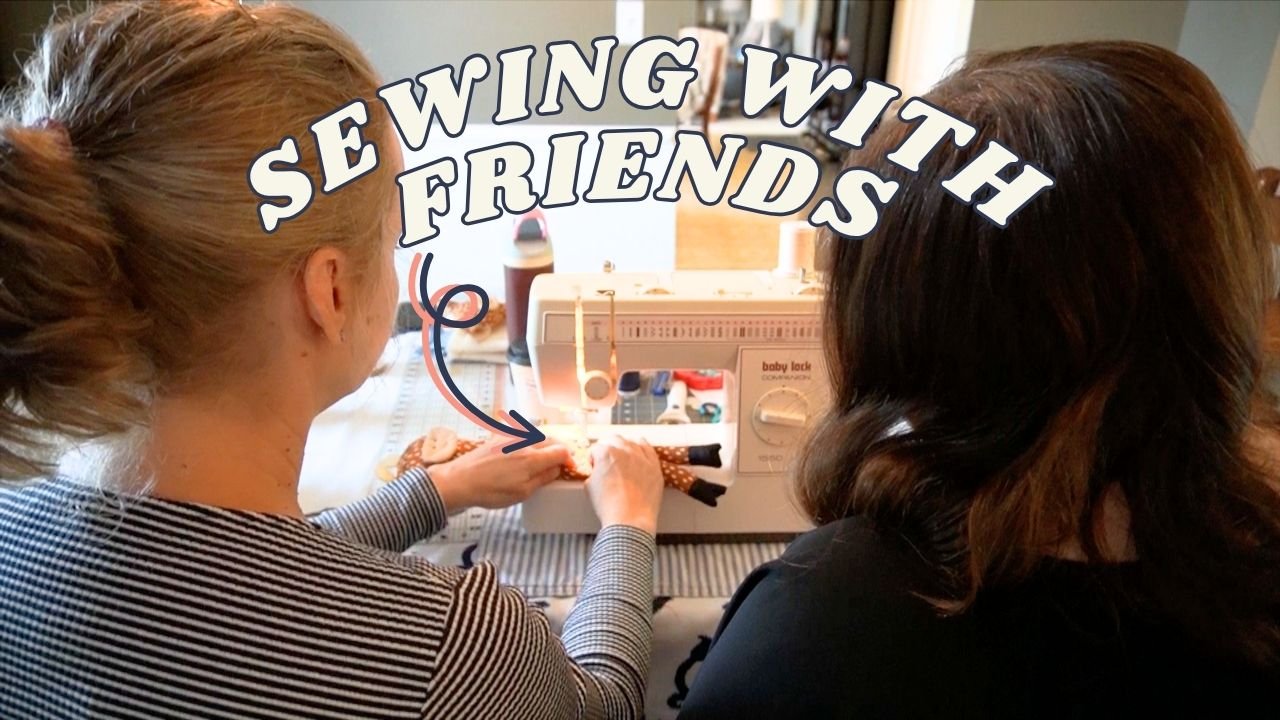
If you’re wondering what to make your family members for Christmas, I have a great idea for you! I’ve been making pillow cases in fun fabrics for many years now. I’ve taught kids to make them, I’ve made them as gifts, and I even make my husband Star Wars pillow cases every year for Christmas, and now I’m going to teach you to sew easy pillow cases too!
The lowly pillow case is a universally loved handmade gift idea, haha! My daughter’s friend in ballet even made her a Christmas pillow case one year. So fun! Pillow cases are fast and easy to sew. I’ve perfected my favorite method over the years and got busy this week making a tutorial.
Not only can you watch the video to learn exactly how to cut and sew a pillow case, you can also purchase a printable version of this project in my pattern shop, or here on Etsy if you prefer.
How to Sew Easy Pillow Cases
First, let me say that if you’ve tried any pillow case tutorials before, you may have tried what is sometimes called either the “magic pillow case” or the “burrito method”. I don’t use that method for a couple of reasons! I’ll get to that in a minute, but first, here’s the video tutorial:
Here is why I don’t use the magic pillow case method and why I think my way is easier: First, many pillow case tutorials claim that they’re a one yard project. This is only true if you’re not using a directional print! If your print need to face a certain way and if you’re not okay with it being sideways on your pillow, those tutorials do not apply. This video and my printed pattern will teach you how to cut the pillow case pieces so that everything is right side up.
In my experience, so many novelty prints that would make great pillow cases are directional, so that’s the first main reason why many other tutorials might be frustrating. My pattern recommends 1.5 yards of fabric. Not only will this eliminate the worry of fabric being cut crooked and/or shrinking in the pre-wash, it will also mean you’ll have some scraps to make coffee sleeves!
The other reason I don’t use that other method is because in order to hide the seam at the cuff edge of the magic pillow case method, you have to sew a French seam. Which is lovely, except for the extremely bulky intersection where the cuff and trim pieces meet the main piece. Even my heavy duty sewing machine has trouble with that spot, and since I aim to create tutorials that even beginners can sew on a basic machine, my method eliminates that bulky seam and sews the cuff on in a way that totally encases that cuff seam.
This is a project that will be made much, much easier by using a rotary cutter, ruler and a large cutting mat. If you don’t already have those things, I promise they’re worth the investment! I consider them basic sewing tools that everyone should have.
Okay! Just for grins, let’s chat about some fabrics that would make great pillow cases! I always choose 100% cottons. Linen would be nice too for fancy people, or satin or silk for curly girls, but I can just never resist the fun novelty or licensed cottons.
The three prints in my video, the Friends print and the two Star Wars prints can be found at Joann. I linked them in the video description, so hop over there for those exact links!
Here are some more fun prints to consider. I hope this helps you see how you can customize these pillowcases to the interests of the recipients! You can find fabrics for literally almost anything with a quick search.
That’s it for now! Hop over and grab the printable pattern so you don’t have to keep referring back to the video for those measurements! And it’s a just the kind of thing you can store in your sewing binder for safe keeping.
Cheers!
Nikki


