Moleskine Cahier Journal Cover Tutorial
This post may contain affiliate links, which means that while I am not paid to promote certain items, I will earn a small commission should you purchase items through these links. For more info, see my disclosure policy.
I’ve been using the basic brown Moleskine Cahier Notebooks for many years. I’m a big fan! I like that they’re small and lightweight, the lines are the perfect distance apart, and best of all, the covers are a blank slate, easy to decorate or embellish!

I’ve given these notebooks as gifts with pretty art or quotes Mod Podged to the front, but I recently came up with the more reusable idea of sewing up some simple journal covers for them! These covers turned out so sweet, were very easy to make, and were a great way to use some single quilt blocks I had lying around. I can see myself making these for Christmas gifts next year, with a Moleskine journal included, of course.
You can learn to make your own journal covers with my beginner friendly video tutorial! Then, so you don’t have to keep referring back to the video for measurements every time, you can hop over and purchase the printable version of this tutorial from my shop, or on Etsy if you prefer.

Learn how to sew a small simple journal covers with this beginner friendly PDF sewing pattern. This cover is specifically designed for the Moleskine Cahier's Collection, which are thin and come in a pack of three. For a tutorial on how to cover any size book or journal, see my listing for a Bible cover tutorial. These small journals make great handmade gifts for all occasions when paired with these cute covers!
This idea was sparked when I was trying to come up with a project to make with three hand stitched quilt blocks I made on a vacation last Summer. (Read about sewing projects to take on road trips here!) I knew I wouldn’t have the time or inclination to make enough blocks for an entire quilt, but I also didn’t want these cute blocks to get shoved to the back of a drawer and never used.

I’ve written an entire post on quilting projects that aren’t actual quilts and it’s one of my most popular posts from last year! I think others must also want to quilt in smaller doses without the pressure of making sure every block becomes a quilt. These journal covers definitely fit right into that category and will make sure I actually enjoy these blocks (and the vacation memories they’ll invoke every time I look at them!)
To turn my blocks into journal covers, I simply positioned the block how I wanted it on my journal (sort of angled) and added fabrics until it was the rectangular shape I needed.

Of course, you don’t have to make a pieced journal cover. The cover in the printable version of this tutorial is made with just one print, but it’s a super cute print! That version also includes the instructions for adding a decorative elastic bookmark and pen holder. That one turned out super cute too, so get creative with fabric choices and/or piecing and you’ll have so much fun making these!

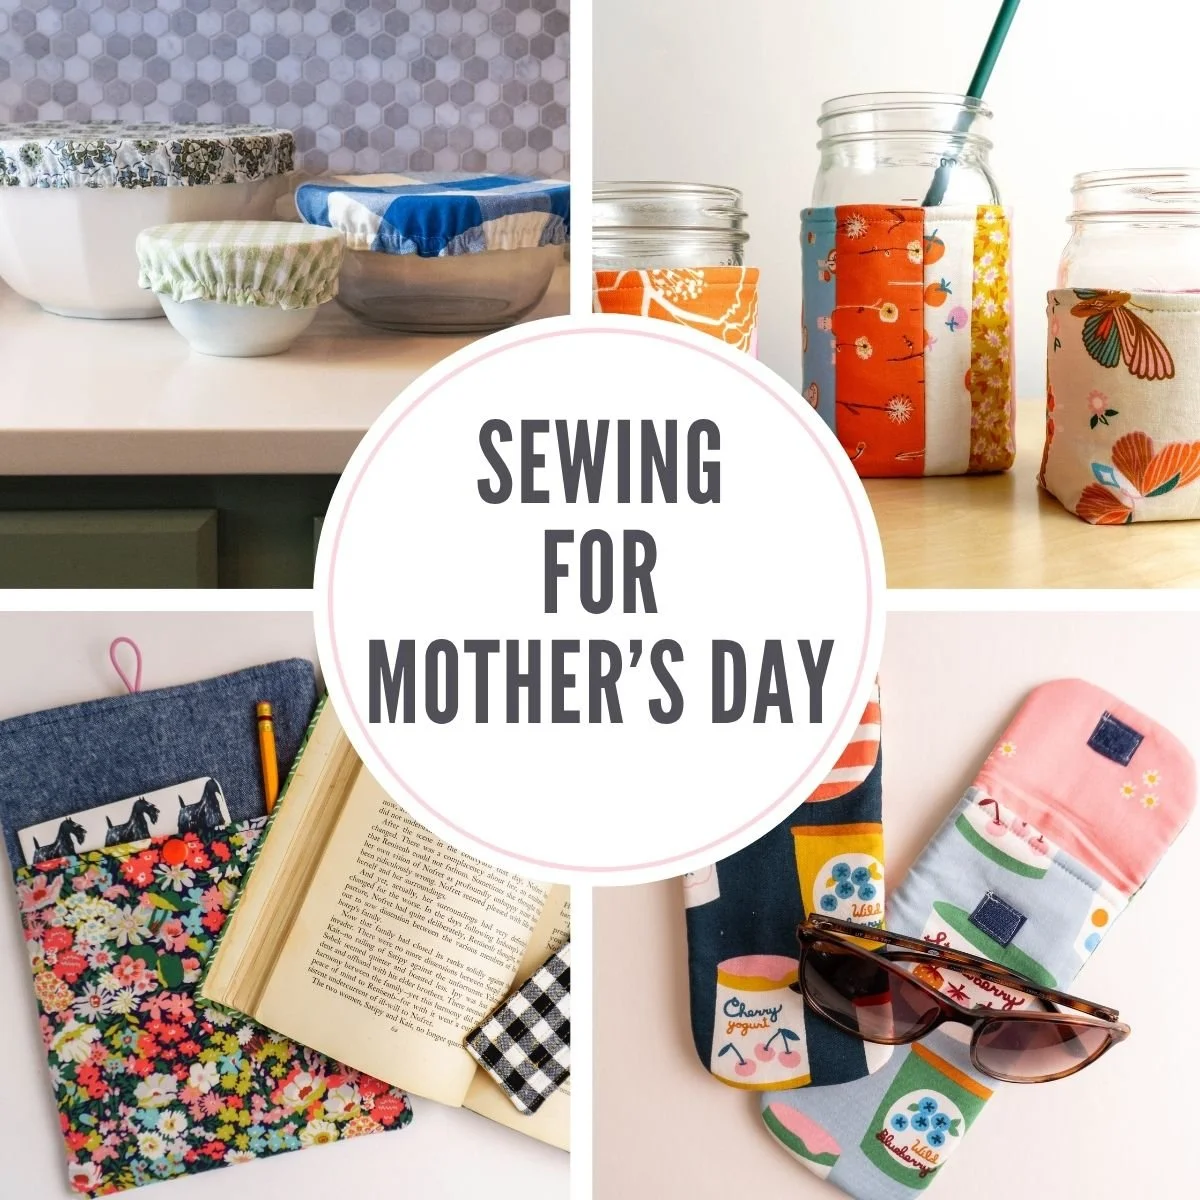
Since the Cahier’s Notebooks come in a three pack, these will make great inexpensive gifts for all occasions, like Mothers Day, birthdays, and Christmas. I might batch sew several just to have on hand for gifts!
I hope you like this idea and make some journal covers with your scraps or languishing quilt blocks! If you need a tutorial for how to cover any size book or Bible, you can use my Bible cover video for that, or buy the printable version in my shop. Once you use those instructions for measuring your journal, the rest of this tutorial still applies.
Cheers!
Nikki