
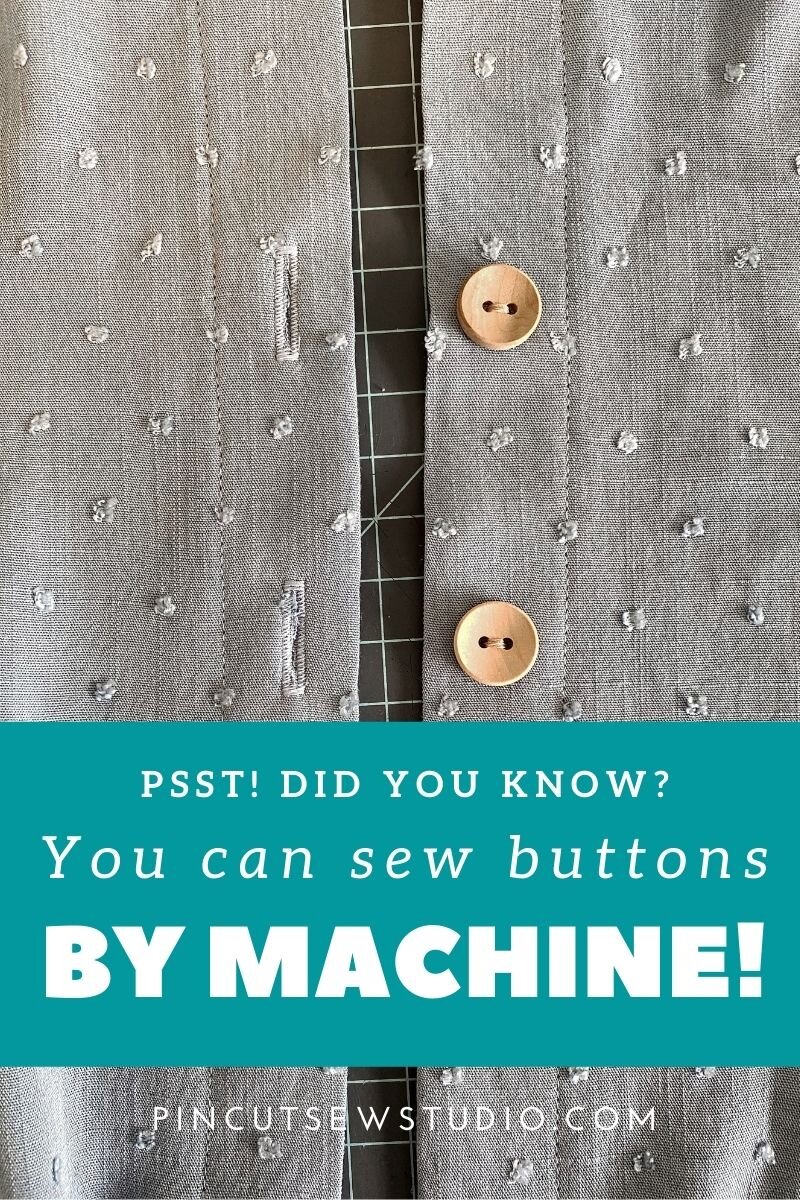
How to Sew Buttons By Machine
I managed to make myself an Easter dress last week, which I really did not think was going to happen this year (which would have been fine because I made one last year only to celebrate Easter at home because, ya know, 2020). Anyway, I had a beautiful rayon Swiss dot from Hobby Lobby and decided to try a pattern in my stash, Butterick 6674. The design has a button placket down the front with ten buttons and buttonholes in total.
I’m a part of a few sewing groups online and the thing I see people avoiding most when it comes to sewing skills is buttons and buttonholes. As for the latter, many sewists avoid them because they’re genuinely afraid of them, and while I have a longer post in the works about how to overcome your fears and start sewing buttonholes like a pro, that’s not what I’m going to talk about today. Today I’m going to spill a secret about sewing on the buttons themselves.
In these discussions in the sewing groups, I came to realize that people avoid button sewing because the handwork is just plain tedious. And it’s true. My mom calls handwork “the H word”, haha! You either love it or hate it and most garment sewists hate it (hand quilters are in a league of their own).
But did you know you can actually sew buttons on by machine? And that the foot to do it with is probably already in the kit that came with your sewing machine? It’s true! There are a few tips and tricks to make sure you end up with a great result with this method, so read on to find out how to sew those buttons on by machine!
This post may contain affiliate links, which means that while I am not paid to promote certain items, I will earn a small commission should you purchase items through these links. For more info, see my disclosure policy.
First off, let me tell you a few instances where you’d want to sew your buttons on by hand. On certain garments, coats for example, the button really needs a proper shank (which means it needs space between the button and the garment) so that the thick fabric has the space it needs.) Also, your machine can handle standard buttons, but very thick buttons will not work with this method, as they won’t fit under the foot. Lastly, the machine method works for buttons with either two or four holes, but if you have four-hole buttons and want to criss cross the threads, it might be faster to sew them by hand, though it is possible with machine … just a little fussier … but you can decide.
So, let’s get started!
How to Attach Buttons By Machine
First, you’ll need a button foot. My less expensive Brother sewing machines that I used to teach with came with a button foot, so I assume many machines come standard with this little foot. If you don’t have one though, you can order a universal snap-on button foot very inexpensively. It looks like this:

The foot has an open toe so that your button gets clamped down under it with the holes centered between the blue legs, directly under the needle. I find an awl or my long sewing tweezers useful when positioning my button onto my fabric.
So, here’s what to do. And don’t worry, I’ve made a little video to show you how easy it is!
Set your machine to a zig zag stitch. Adjust your stitch length to 0 and the width the distance between the holes one your button (I do this once the button is in position and just up the stitch width until the needle hits both holes.)
To mark where my buttons go, I place pins horizontally through the placket. If you need to, you can see a visual of this and read my entire post on marking buttons and buttonholes the easy way, with pins. Then, I lift the presser foot and place the fabric underneath so my pin is directly under the blue legs of the button foot. Then I place the button right exactly where it goes and the foot clamps down on it to keep it in place. Remove the pin. It takes a little practice, but it’s so easy and fast! Hold your thread tails and start by turning the hand wheel toward you for the first stitches, just to make sure the needle goes into the right holes, then sew back and forth 8 or so times. Then lift the presser foot and pull it out, leaving the tails long, and do the next one!
Lastly, you need to secure those threads so they don’t unravel (just a teeny bit of hand work, promise!) To do this, thread both of the top threads onto a needle and thread them through one hole in the button to the back. Then, remove the needle and simply tie the threads to the bobbin tails in a secure knot and trim them close.
As promised, here’s a video for you of exactly how this all looks:
As for four-hole buttons, you’ll first sew the top two and then lift the presser foot to reposition the piece for the bottom two. This will leave a single diagonal thread between the two sets of holes, but if you’ll notice on your ready-to-wear clothes, this is standard practice and it really doesn’t show in any noticeable way.

I hope this has been a helpful tip for some of you! I know it makes a big difference for me, especially when there are so many buttons to sew on. I also really love how they look so neat and clean on the back and are safe from coming unraveled.
Stay tuned for a non-scary post on buttonholes, coming soon!
Cheers :)
Nikki


10 Great Gifts to Sew for Mother’s Day