
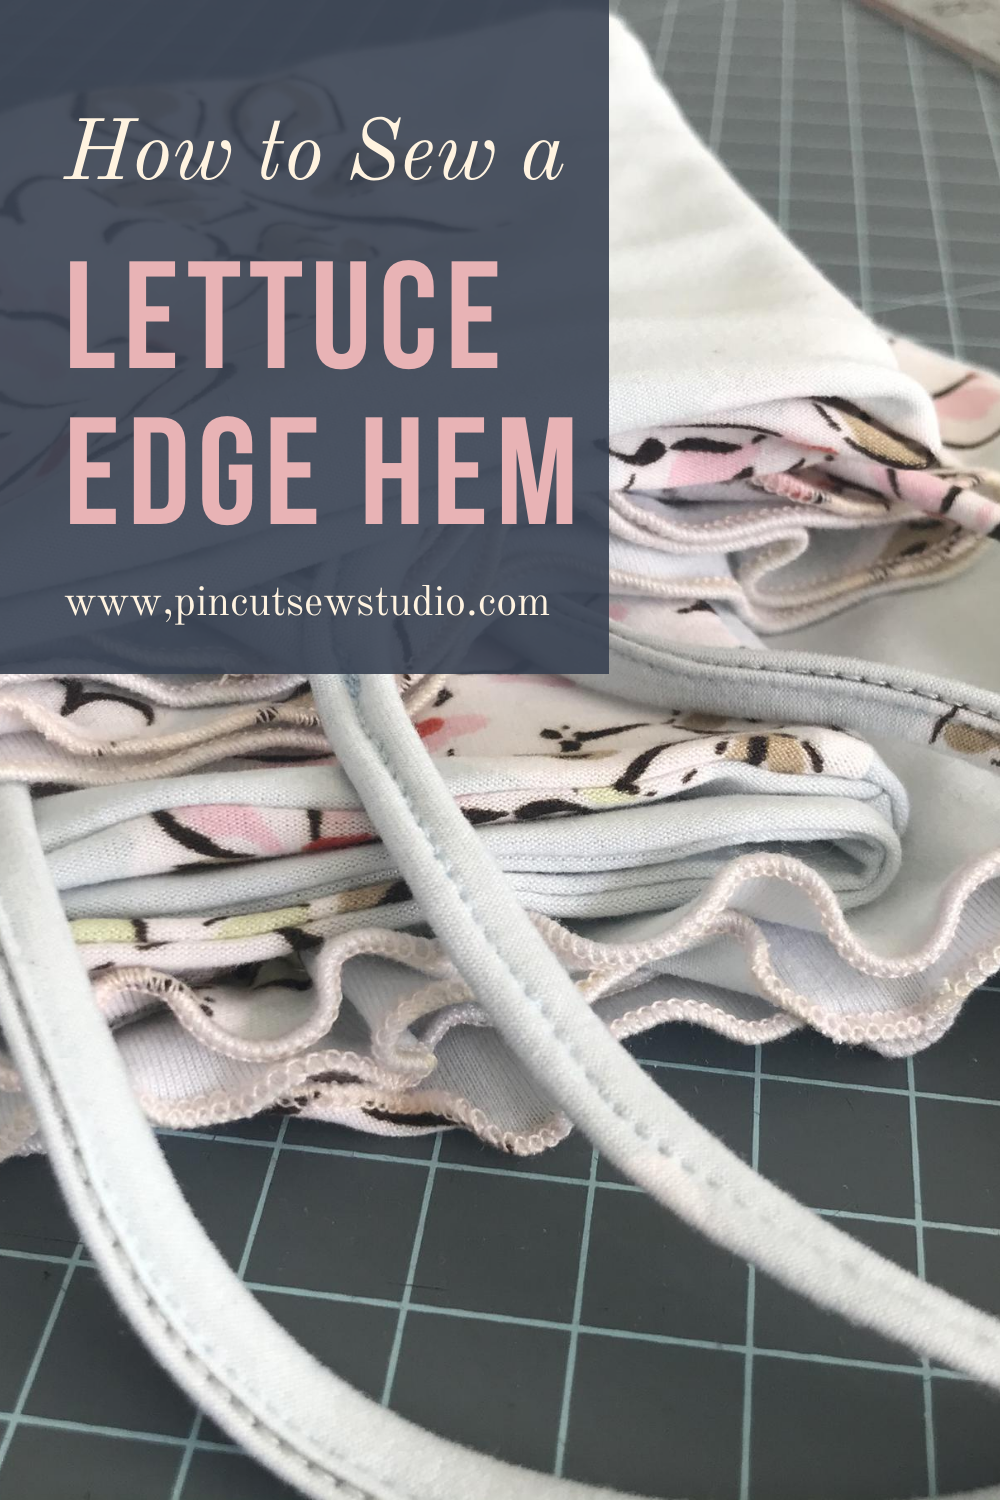
How to Sew a Lettuce Edge Hem on Your Serger
Hi, folks! I have moved to a new state and have been able to get back into the sewing room. Whew! If you’re new here (welcome!), we are a military family and have just made a new home in North Carolina, so blogging was spotty for the last few months. But, I’m loving my new sewing loft and didn’t waste much time after unpacking before getting back to sewing.
I’m excited to share this technique with you because it’s something I put off learning for a really long time, just because I thought it was more complicated than it really is! But, for the pajama set I just made, I really wanted a cute, ruffly lettuce edge hem on it, so I buckled down and learned, and it really wasn’t hard at all. I wish I would have done it way sooner.
This post may contain affiliate links, which means that while I am not paid to promote certain items, I will earn a small commission should you purchase items through these links. For more info, see my disclosure policy.
Hobby Lobby had a one yard remnant of this cute brushed poly knit fabric in the remnant bin, so I snatched it up to make a pajama set with it. Luckily it comes super wide, so I was able to get both a cami and shorts out of it! This ruffly hem is one my mom used to do all the time on cute knit things she’d make for me, so I really don’t know why I’ve been avoiding it. Honestly, it’s because I didn’t want to bother getting my serger guide out and I thought it would be hard to master. It wasn’t at all!
A lettuce edge hem only works on knit fabrics, the stretchier the better, and can be done on a serger. If you don’t have a serger and are in the market for one, I use a Juki. I’ve had it for many years now and have had zero problems with it. It’s been worth every penny!
This one is on sale for an incredible price at Sewingmachinesplus.com!! Snatch it up!
Every serger is different of course, so you may need to look up specifics in your manual, but you want to set your serger for a rolled hem. So that I won’t have to look it up every time, I wrote the settings down on an index card to keep handy near my machine.
Here are the specifics:
Remove the left needle and thread
Disengage the stitch finger (on some machines, you have to remove the stitch finger altogether).
Set the knife distance to the highest it can go (this moves the knife farther from the needle).
Change the differential feed to the lowest it can go (this stretches the fabric even more as you feed it through).
The key to the ruffles is to stretch the fabric from both the front and the back as you sew the rolled hem. There was a learning curve around how best to stretch it, but I got the hang of it by the time I did the shorts and it looks great! I recommend practicing on some scraps and also not sewing right on the edge. You want the knife to be able to cut off some of the hemline to make sure the rolled hem grabs some of the fabric to fold under.

I wish I could share patterns for this set with you, but the top is one I traced off an Old Navy cami I’ve had forever and the shorts are an out of print McCall’s pattern. Let me know if you have something similar and I’ll edit this post to share your pattern suggestions!
Have you made a rolled lettuce hem on your knit garments? ? I’d love to hear your additional tips in the comments!
Until next time,
Cheers!
Nikki


10 Great Gifts to Sew for Mother’s Day