
DIY over-the-collar dog bandana tutorial
Last month I received an email from a reader named Molly and she told me about the bandanas she makes for her dogs. I absolutely love receiving emails from my readers! When Molly told me about this idea, I immediately knew I not only had to try it, but the tutorial needed to be shared! Molly isn’t a blogger and wanted no recognition, but just know this tutorial originated with her and I think it’s just brilliant.
What makes Molly’s pet bandanas different is that they fit over the dog’s collar with a casing, rather than tying on around their neck, AND she has solved the problem of the bandanas bunching up around the collar by inserting a zip tie inside. I made a few for our German Shepherd, Gracie, and they are just so perfect. They don’t stretch out and start to look sloppy like the tie on kind, and they are so easy to make. I timed my second one at 15 minutes and that’s with taking photos for this tutorial!
Let’s get right to it.
This post may contain affiliate links, which means that while I am not paid to promote certain items, I will earn a small commission should you purchase items through these links. For more info, see my disclosure policy.
You’ll need:
A scrap of cotton fabric, at least 12.5” square, depending on what size you’re making
A piece of bias cut fabric 1 3/4” wide OR a scrap of pre-made bias tape
A 14” zip tie
A dog. Or cat. Ha!
That’s all!
If you need some cute fabric ideas, these Hanjunzhao prints have my vote. They are just so darn CUTE, especially these little fruit prints, I’m dying.
Instructions:
Here is the size square you’ll cut from your fabric, depending on the size of your pet:
For big dogs, 75-150 lbs.: 12.5” square
For medium dogs, 30-40 lbs.: 7-10” square
For small dogs or cats: 4-5” square
The first step is to press your square in half diagonally so you have a triangle. Open it back out and you should have a nice visible crease to work with.
Next , fold and press the corners inward, keeping the point right on the crease to make sure it’s straight. For the large bandana, measure 2.5” between the point and the crease. For a medium size, 2” and for a small bandana, 1.5”. See the photo below to see what I mean.

Next, we’ll prep the zip tie casing. Grab your strip of bias cut fabric or pre-made bias tape and press it in half lengthwise. It needs to be just shorter than the length between your folded in corners. Sew the long edge of this strip using a scant 1/4” seam. You don’t need to turn it right side out because the raw edge will be inside the bandana.
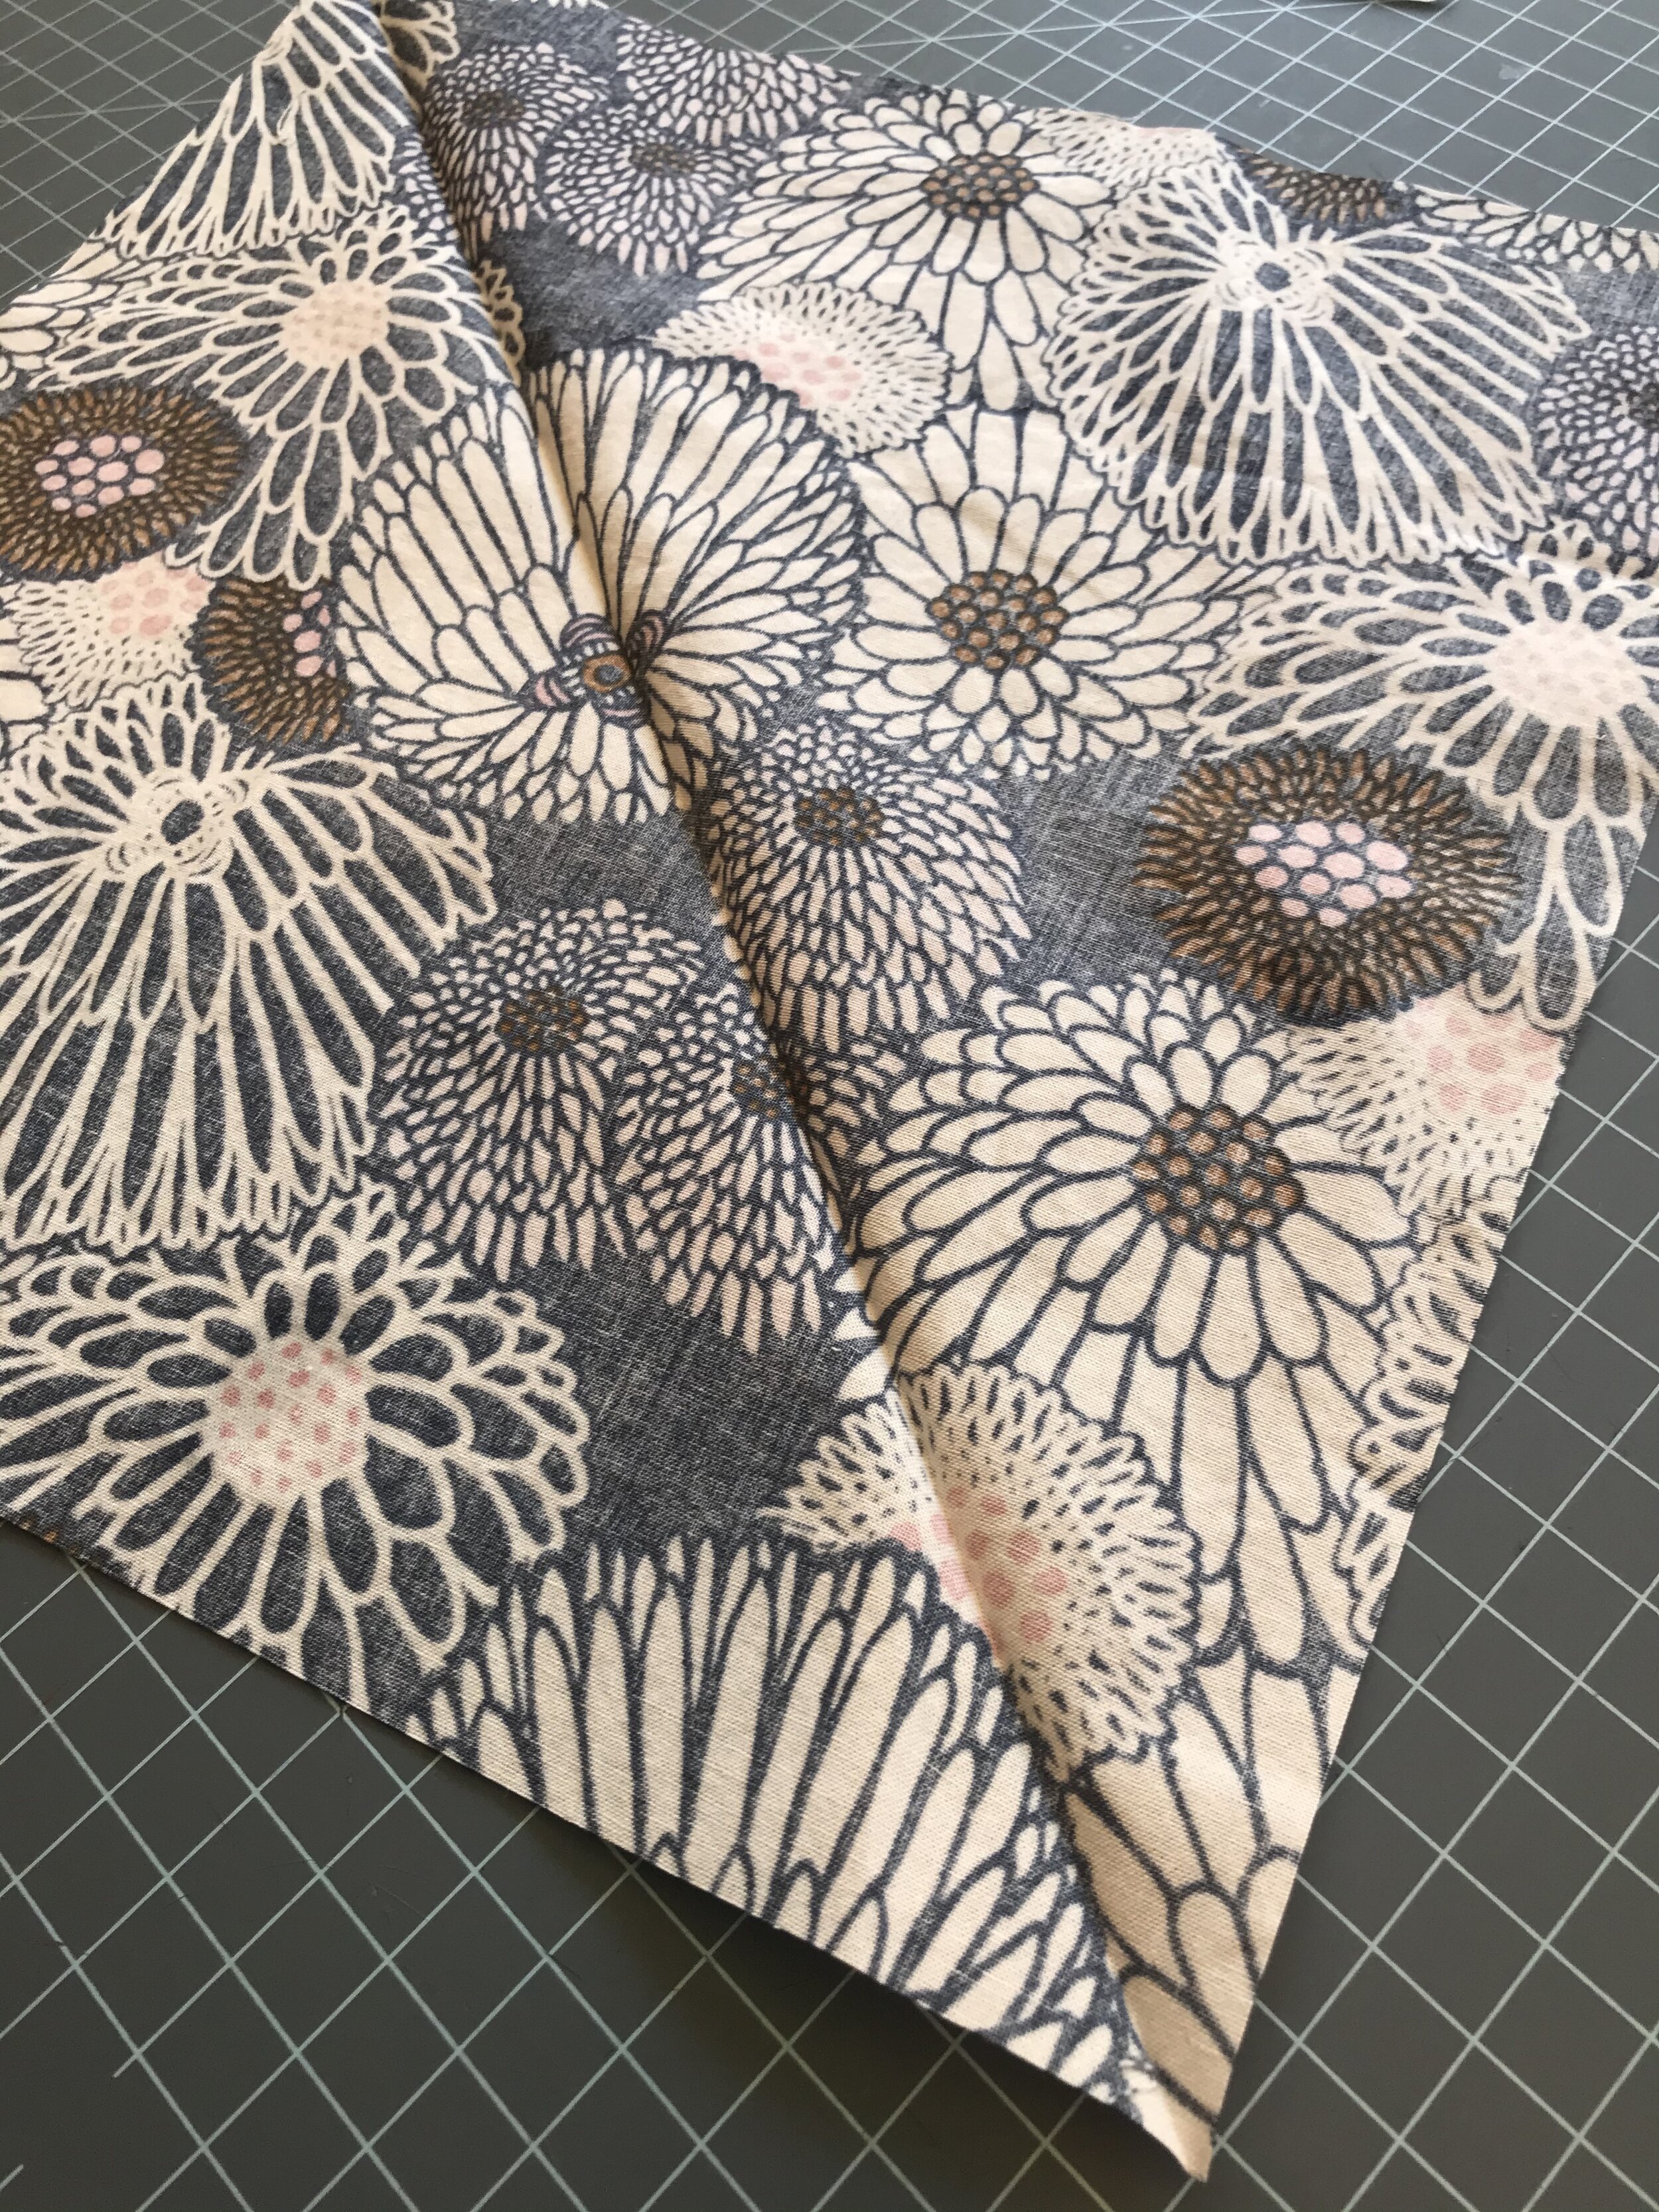
The reason this strip needs to be cut on the bias (that means crosswise on the grain, as shown in the photo below) is so that it comfortably bends around your dog’s neck. It just offers more stretch and give so it will be comfortable and will look nice, without distortion.

And here you can see my finished bias strip, cut to the right size. Don’t stitch it down. It will get sewn into the corners in the next steps.

Slide your zip tie inside of this strip. Here’s a very helpful note from Molly about zip ties:
A word on zip ties… These have been my favorite from Amazon. I use the 14 inch size for all the bandanas. Flexible, not too thick, easy to sew through (Which is optional!). Some are so thick and rated to hold tons of weight, and you don’t want those. You can get some at the hardware store too. I’ve used a variety of colors as well. I once met a zip tie salesman (yes, that really happened), and he said if they get brittle and breakable, wet a paper towel a bit and throw it in a ziplock with the zip ties to rehydrate the plastic and fix the issue. Sometimes they wanna break when you turn the bandana right side out (because it has to bend quite a bit), and then you may have to start over.
So interesting, I had no idea you could rehydrate old zip ties! Nor that zip tie salesmen exist, haha! After you insert it into the bias strip, trim it to fit perfectly.

Now you’re going to place the zip tie onto your bandana, underneath the folded in corners and just about 1/4” above your creased line. Pin it in place by placing pins in the folded in corners and then stitch those corner edges down, sewing through the zip ties. Your machine shouldn’t have any trouble with this if you take those few stitches by turning your hand wheel. If you’re too afraid to try it, though, go back and take the zip tie out and trim it so that the ends don’t quite reach where you’ll be sewing.


So now my corners and my zip tie are sewn secure. but the strip is still loose, as you can see below.

Only two more seams to go! Fold the bandana in half right sides together and sew the straight raw edges together, starting and ended where the folded edges are so that your casing is still open.
Clip the bottom corner and turn it right side out through one of the casing openings. using a chop stick to gently poke the corner out. Press it flat.


Lastly, sew a line of stitching from edge to edge to form a casing to slip over your dog’s collar, as shown in the photo below.

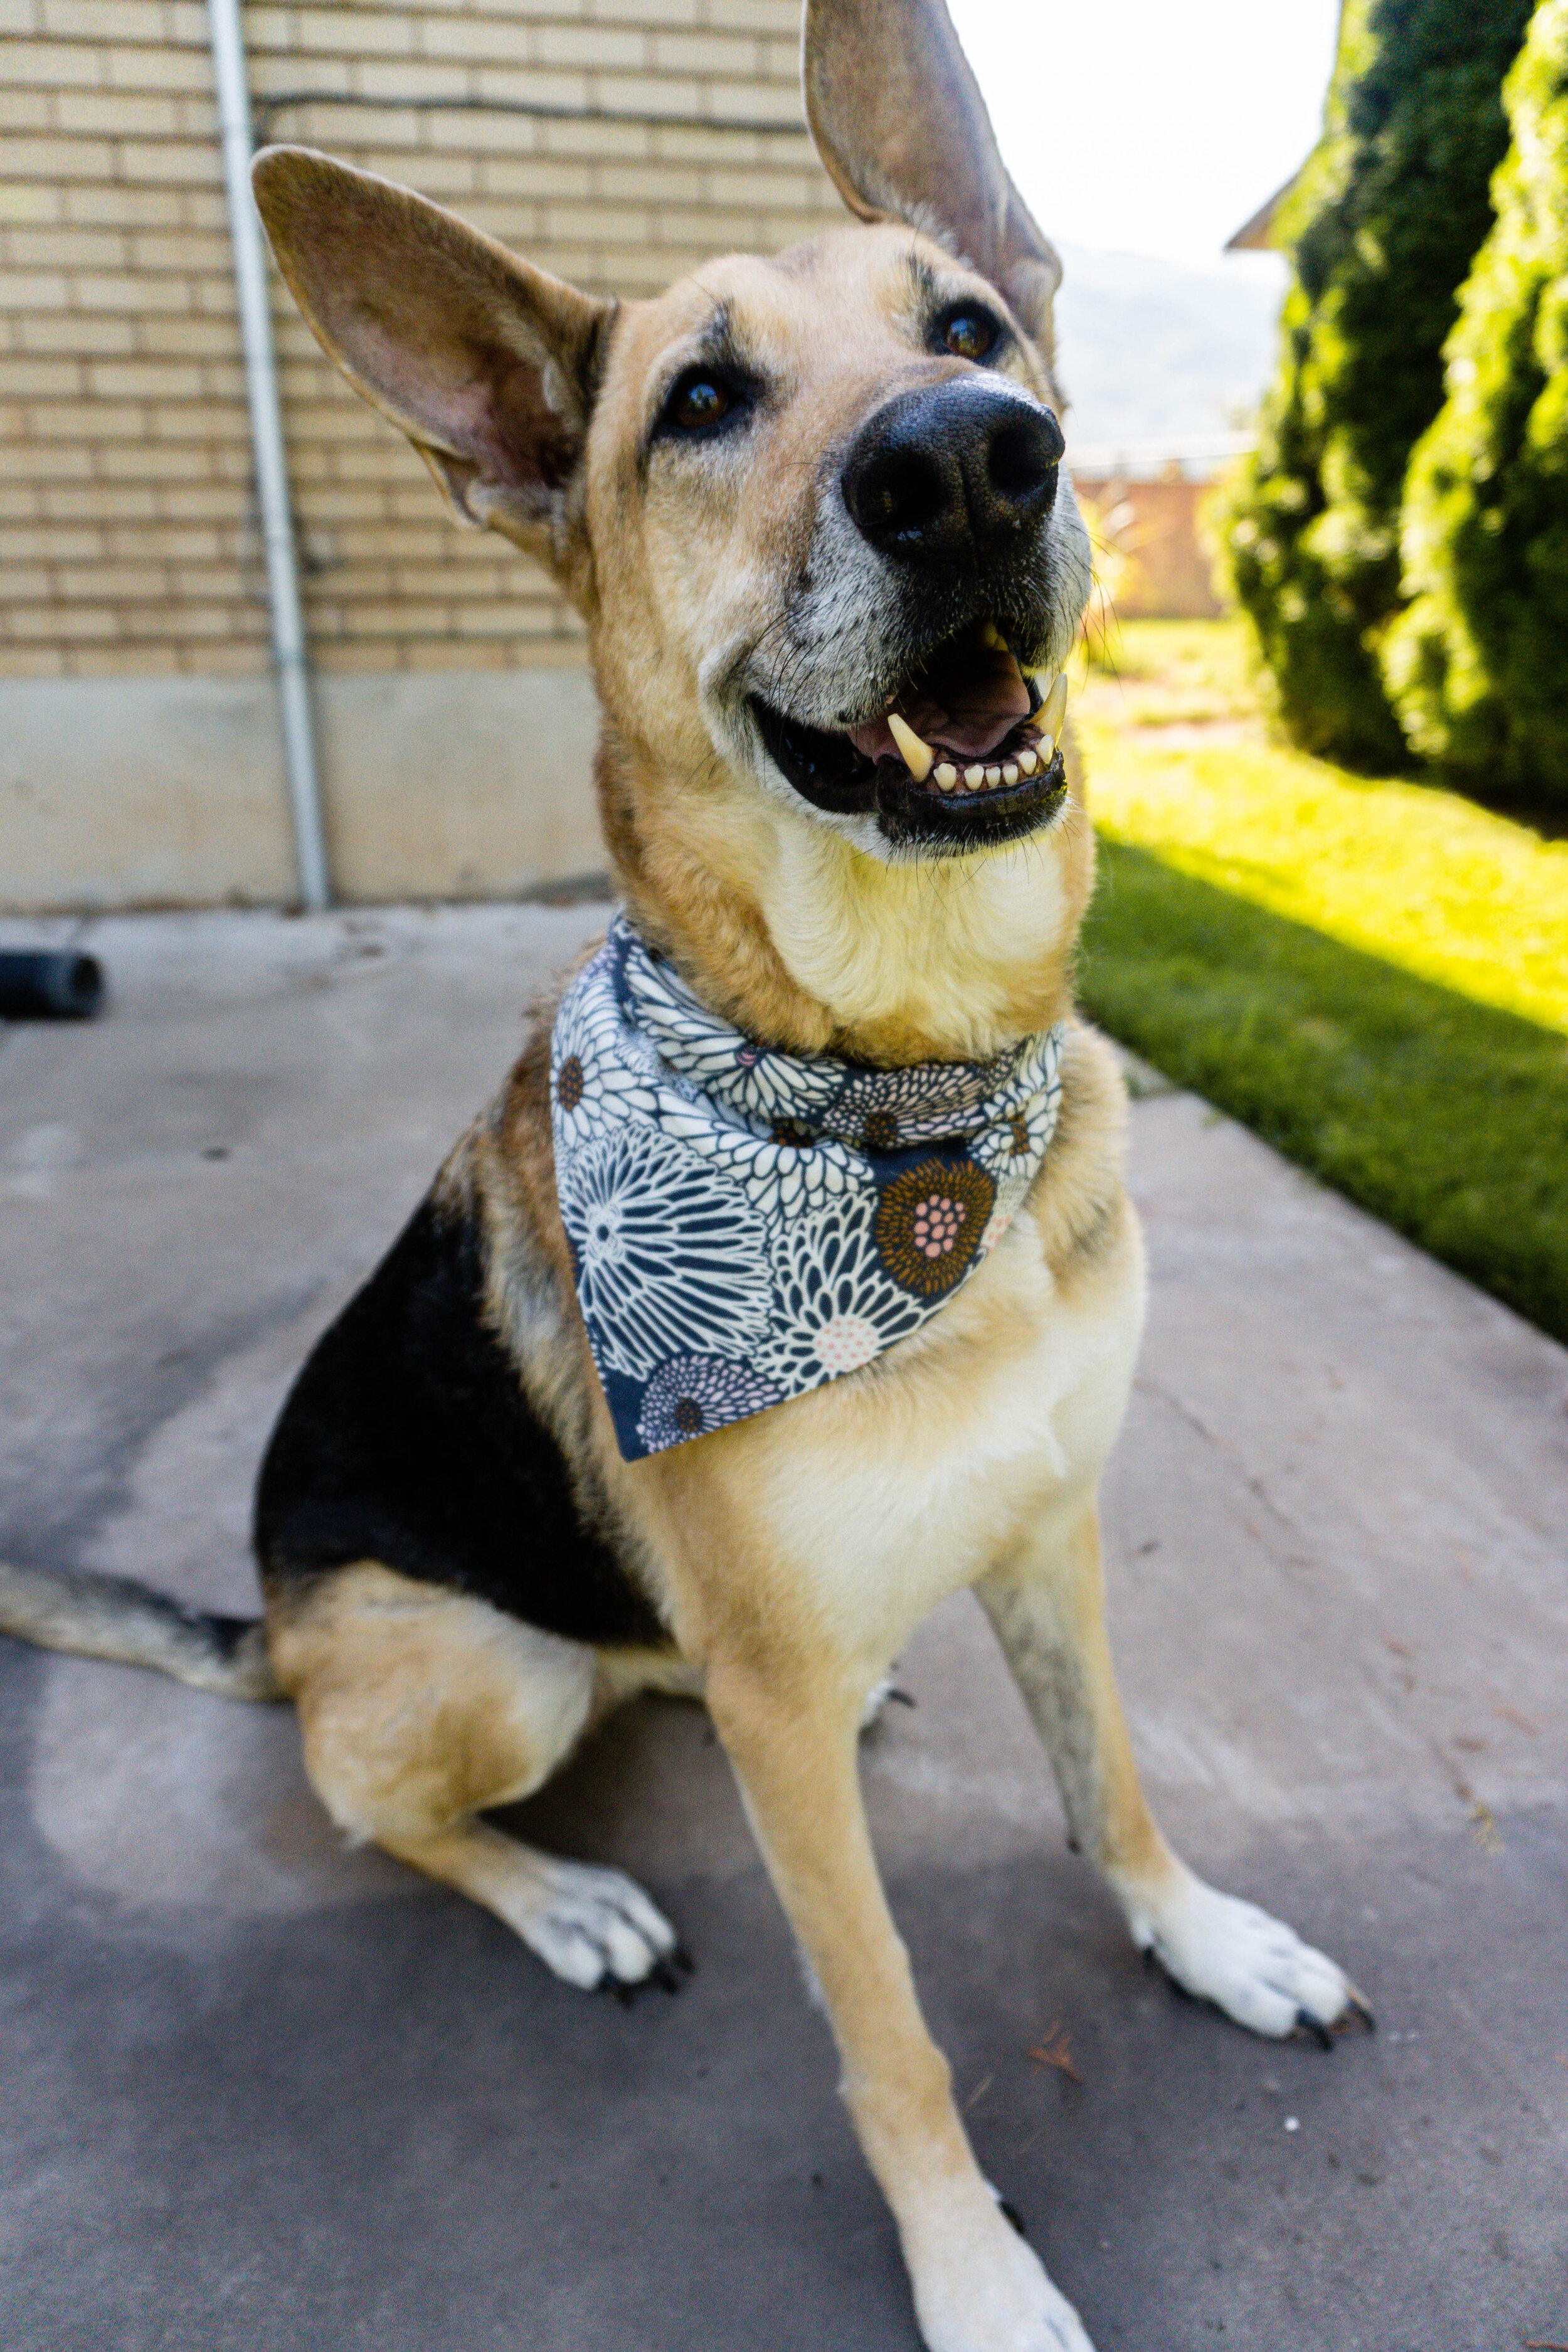
That’s it, you’re done! Just slip it on over you dog’s collar, stand back and tell her how cute she is and maybe even give her a treat! That’s what I did :)
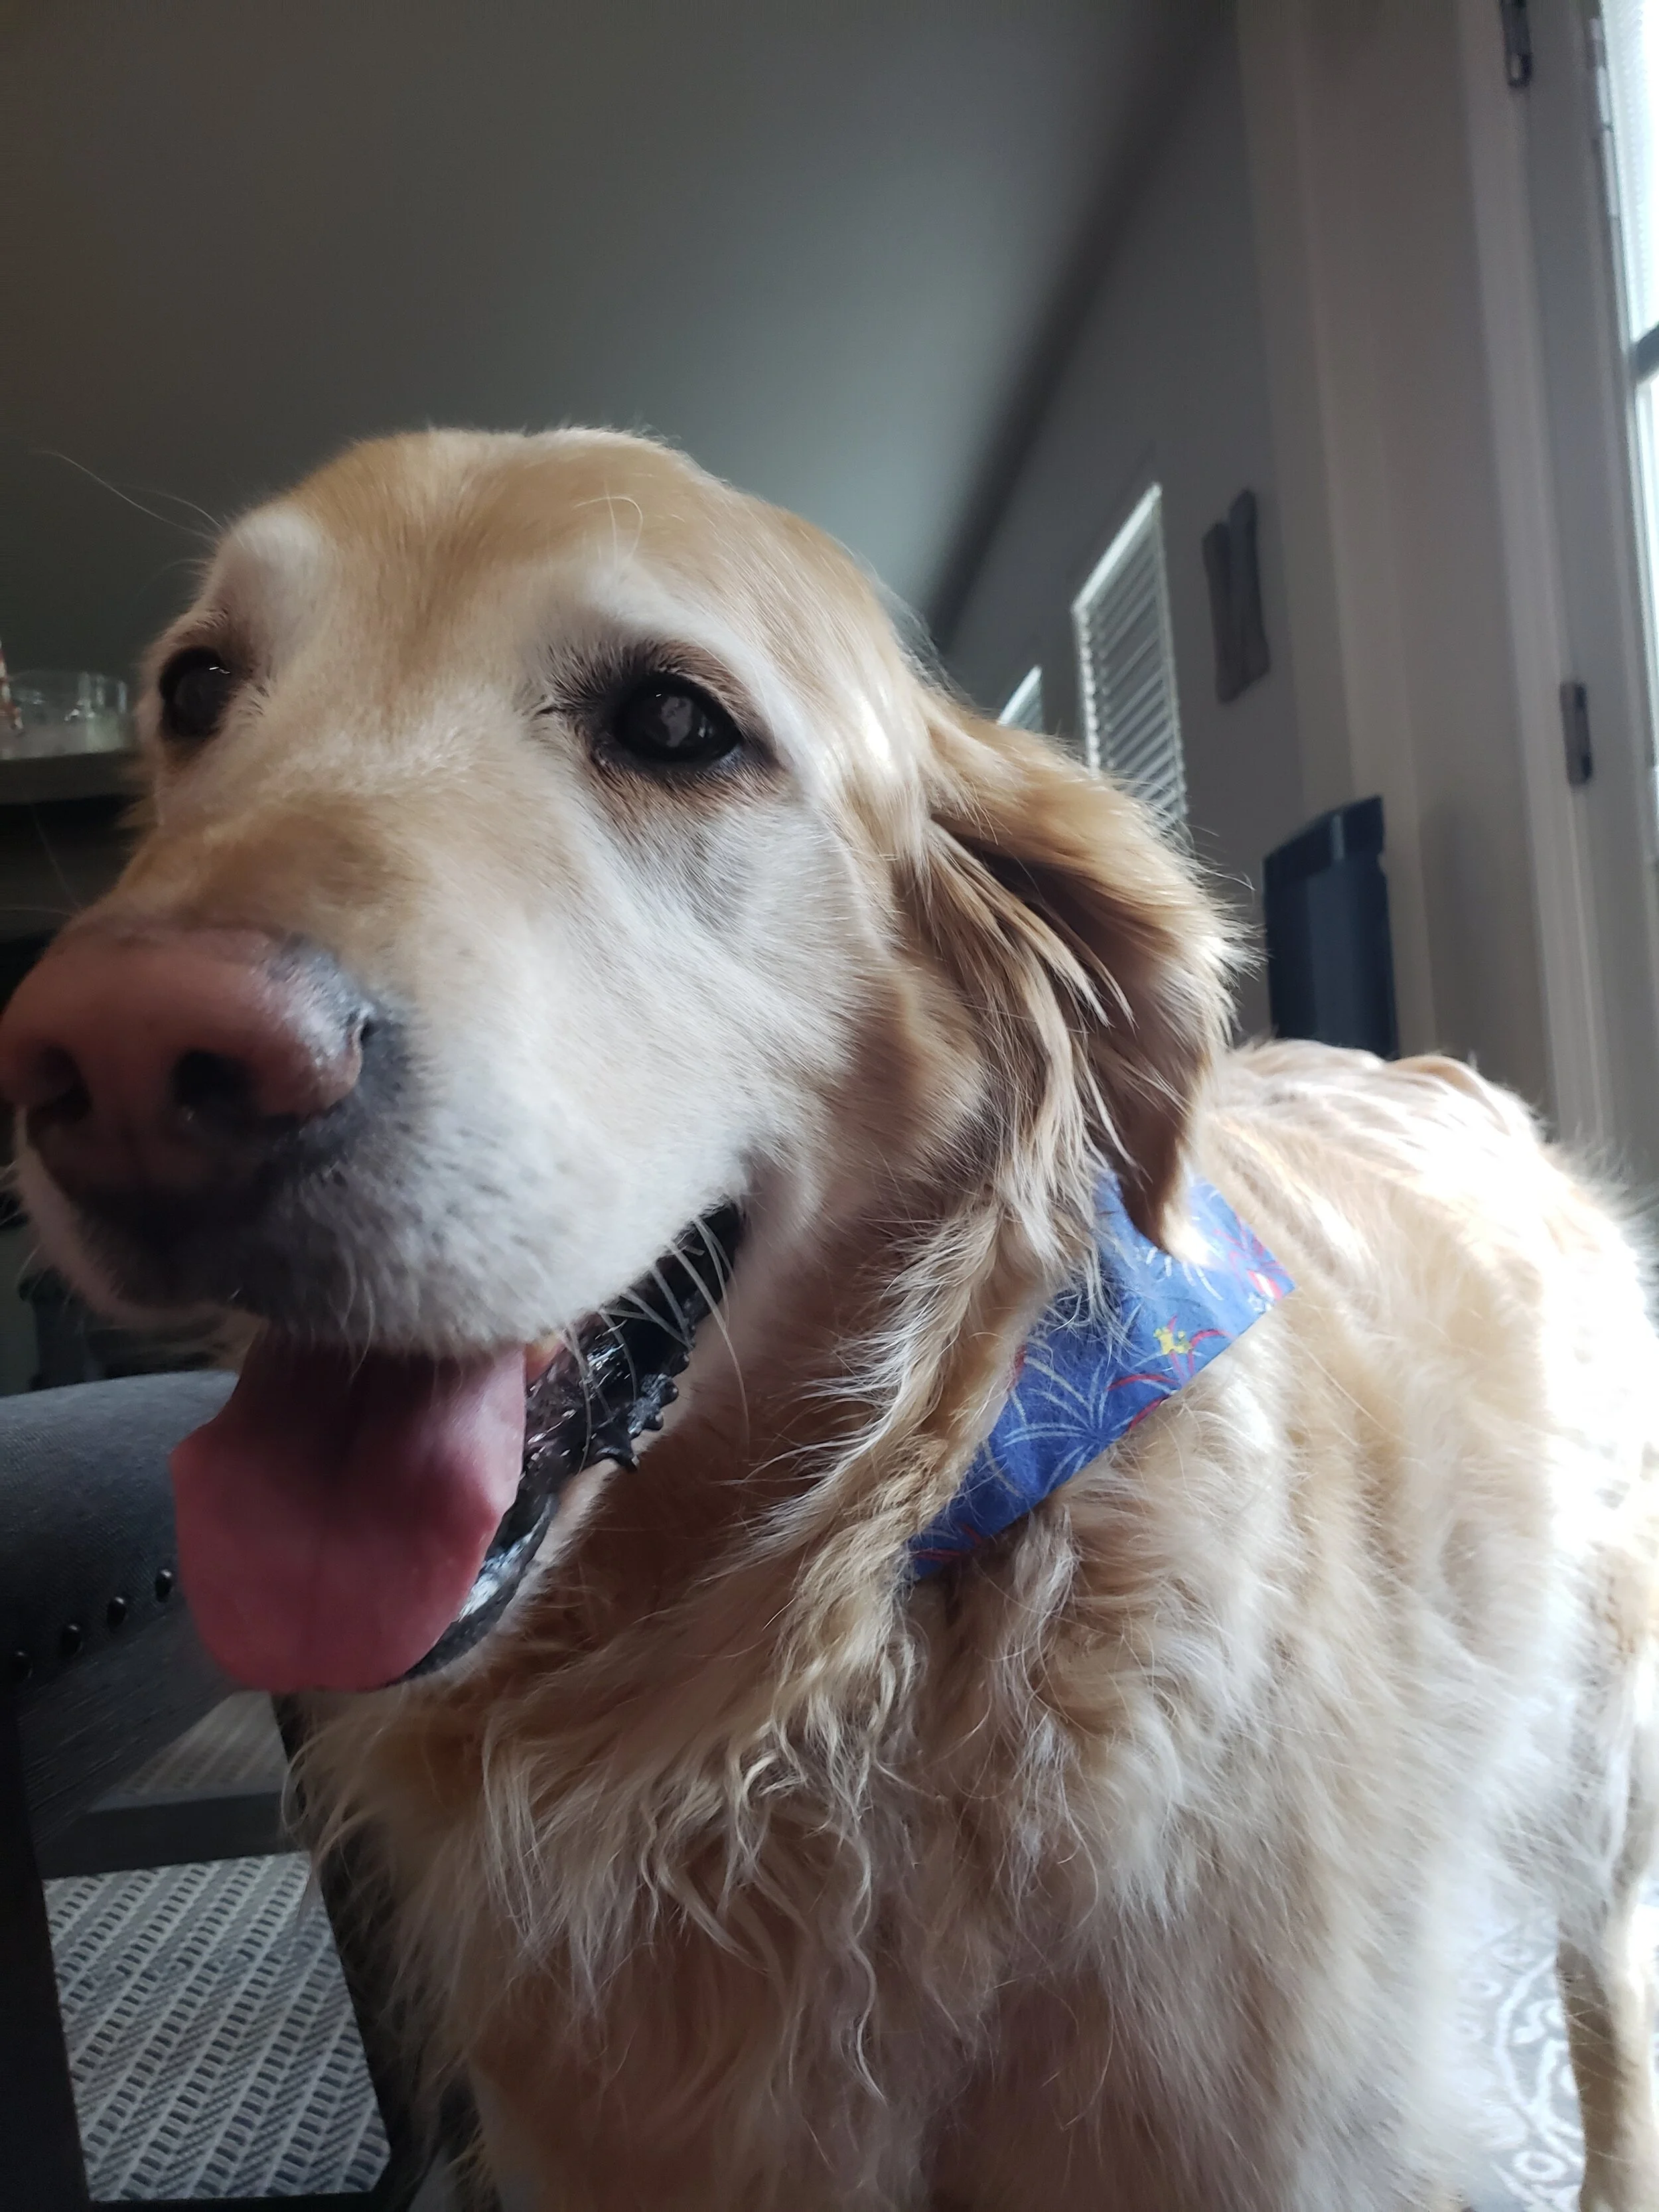
Here’s Gracie sitting for her treat with her new bandana.
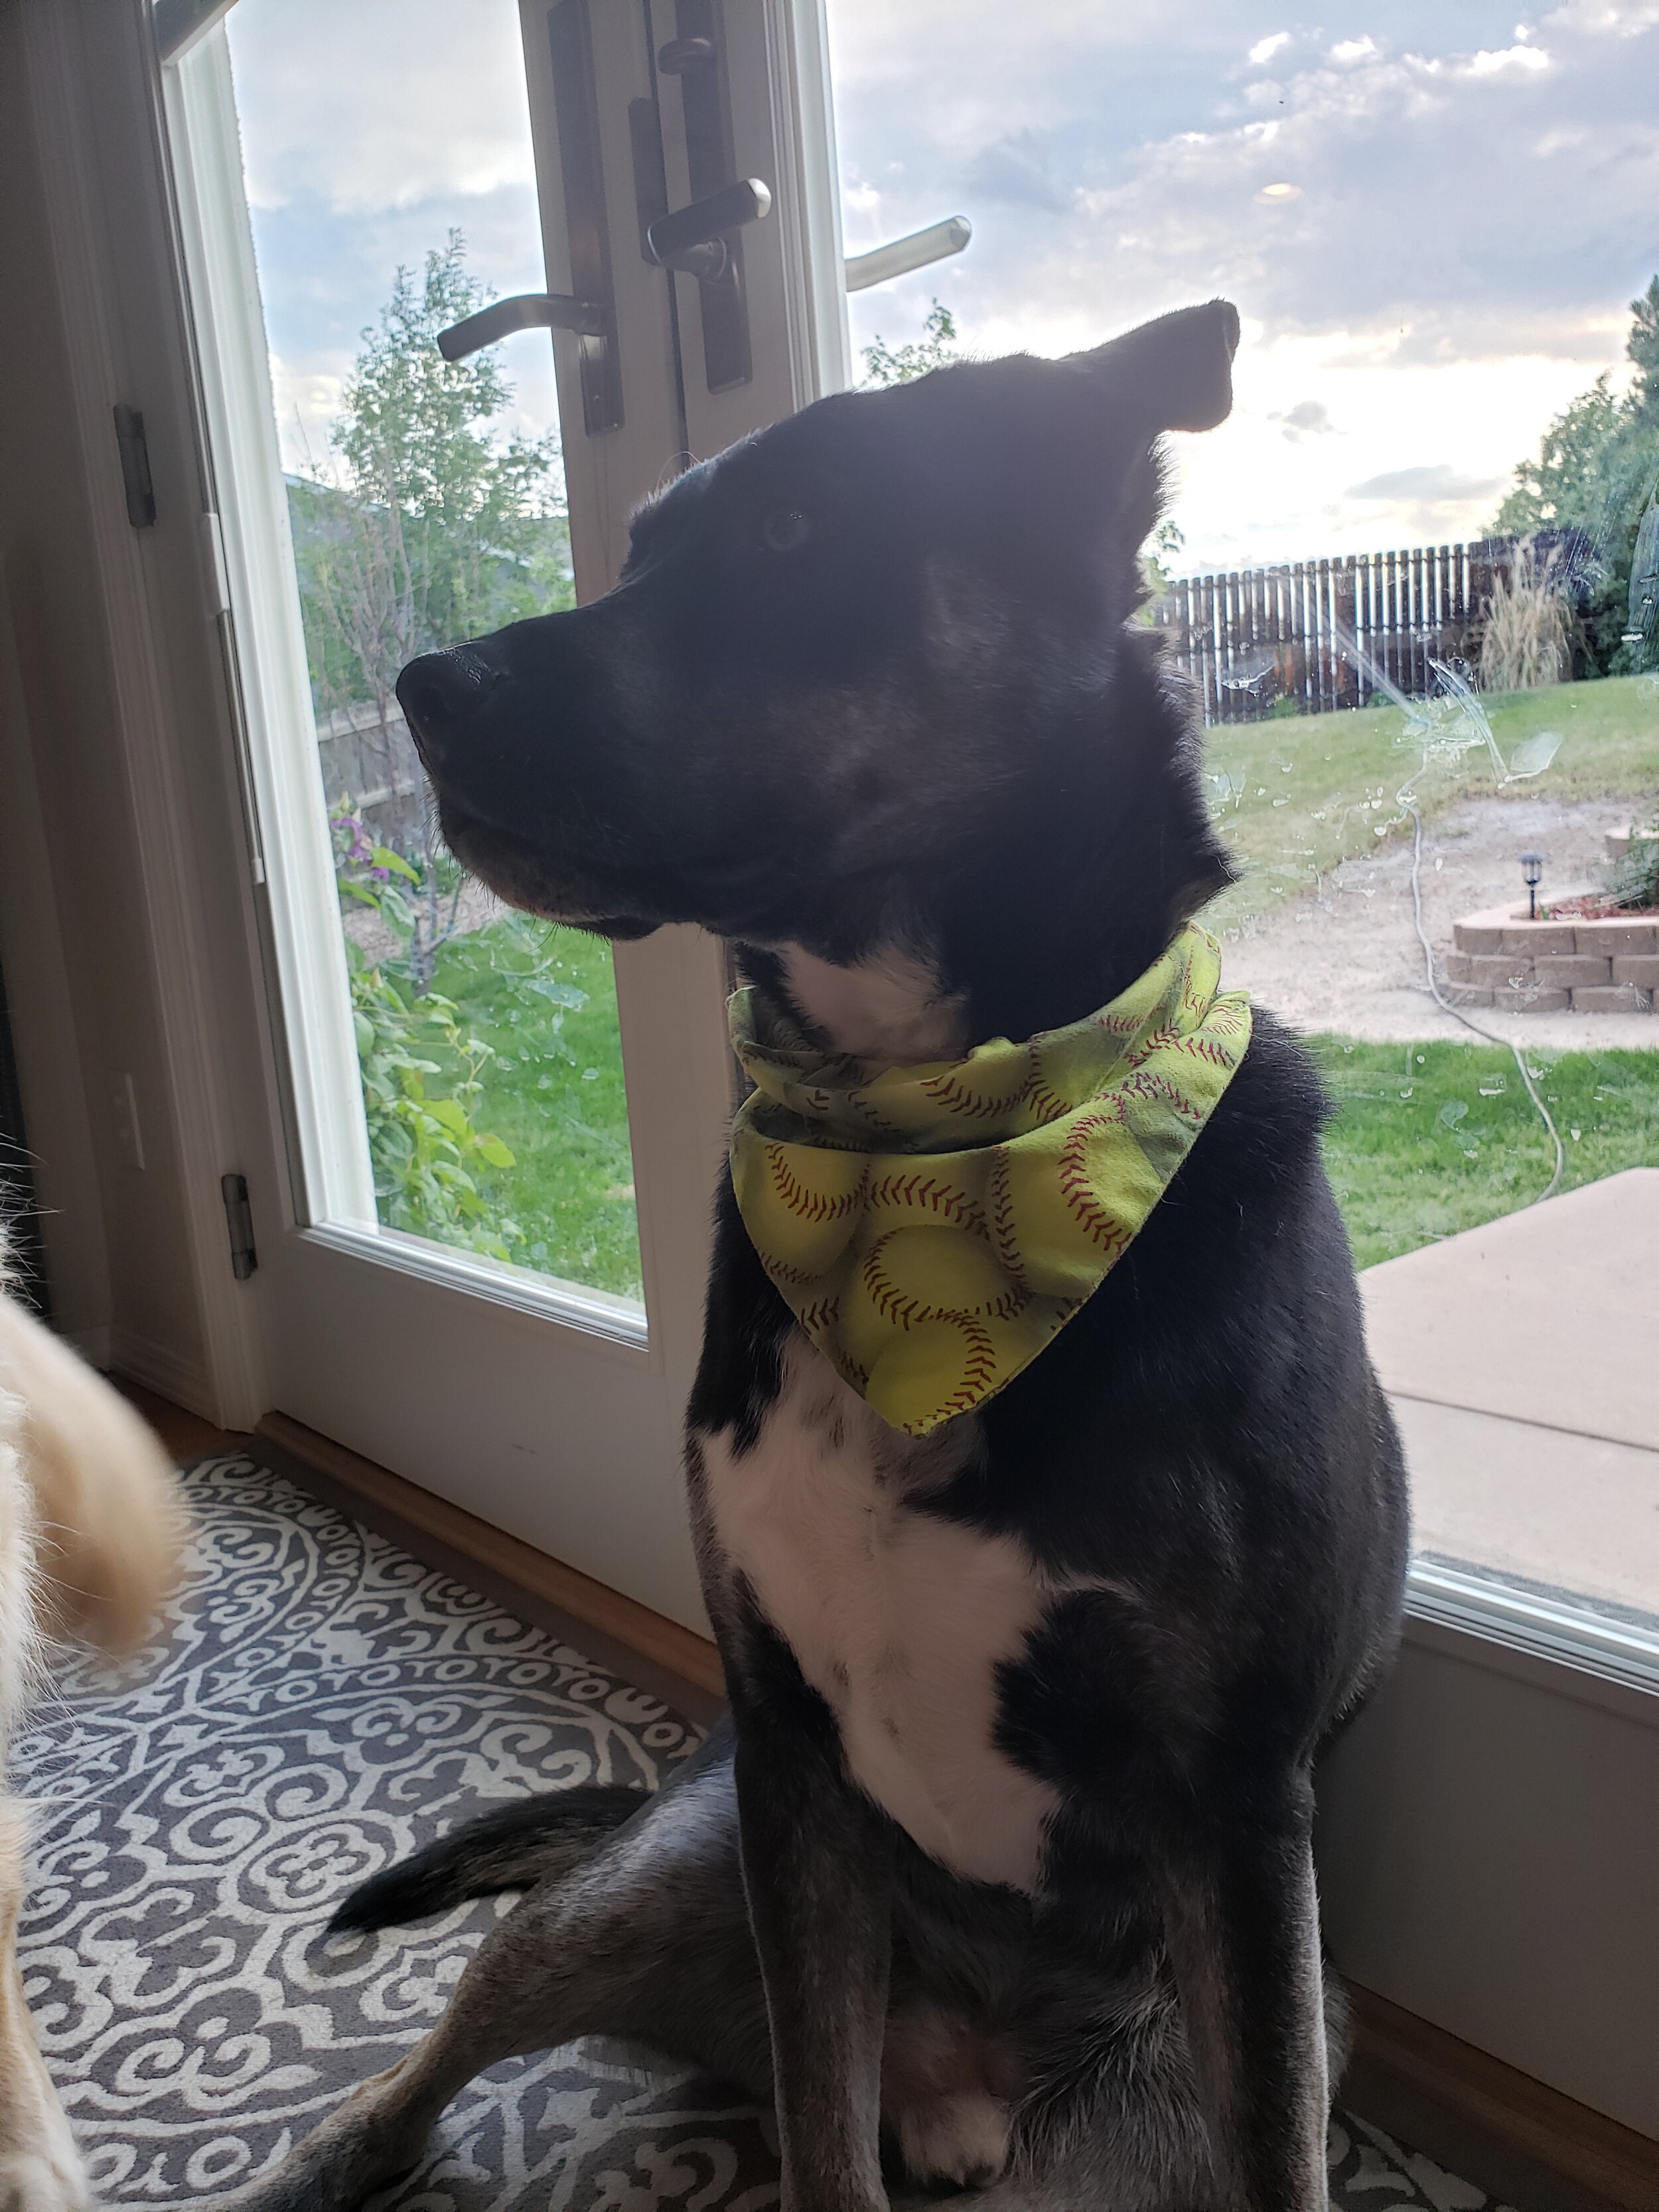
And here are the pictures Molly sent me of her cute dogs wearing their bandanas! I’m such a dog lover, I can’t even tell you. They’re just all so special with their own personalities. Thank you again Molly, for reaching out and sharing with me this idea and telling me about yourself too. Long distance hugs to you!
If you have more ideas you’d like to see tutorials for, or if you can’t quite figure out how to make something, please tell me about it! I’d love to help you figure it out, or showcase your ideas here.
Cheers!
Nikki


10 Great Gifts to Sew for Mother’s Day