Printable Block and Row Markers for Quilting
When I’m sewing a quilt together, I almost always get the blocks mixed up in the process! I lay it out neatly and get it perfect, just the way I want it, only to finish the quilt and realize and sewed a block in upside down or sewed a row out of order.
To solve this problem, I meticulously mark my blocks and rows with quickly scribbled sticky notes pinned to my blocks. This works just fine, of course, but I recently went looking for something a little more ready-made that could be reused over and over. (Side note, WHY are sticky notes so expensive??)
There seems to be two options on the market for this. The first is numbered pins, which I thought would be a huge pain since I’d have to search for the right pin for every block unless I found some way to keep them in order. The other option is pin-on tags, but I didn’t find any for a price I was willing to spend. Most seem to be in the $40 range for a set and I didn’t really love the look of any of them (hey, cuteness matters).
So, I decided to make some printable quilt markers myself! I got to work right away and now I have the perfect set of quilt row markers to keep in my sewing room. Since these tags are printable, I can print another set when they get worn out or if I have more than one project going at once (which I try not to do, haha!)
Obviously, I had to share my new creation with YOU! You can purchase the printable quilt markers in my shop, or on Etsy if you prefer. You purchase includes both a PDF file and SVG files for those who prefer to cut the markers out with a Cricut machine!
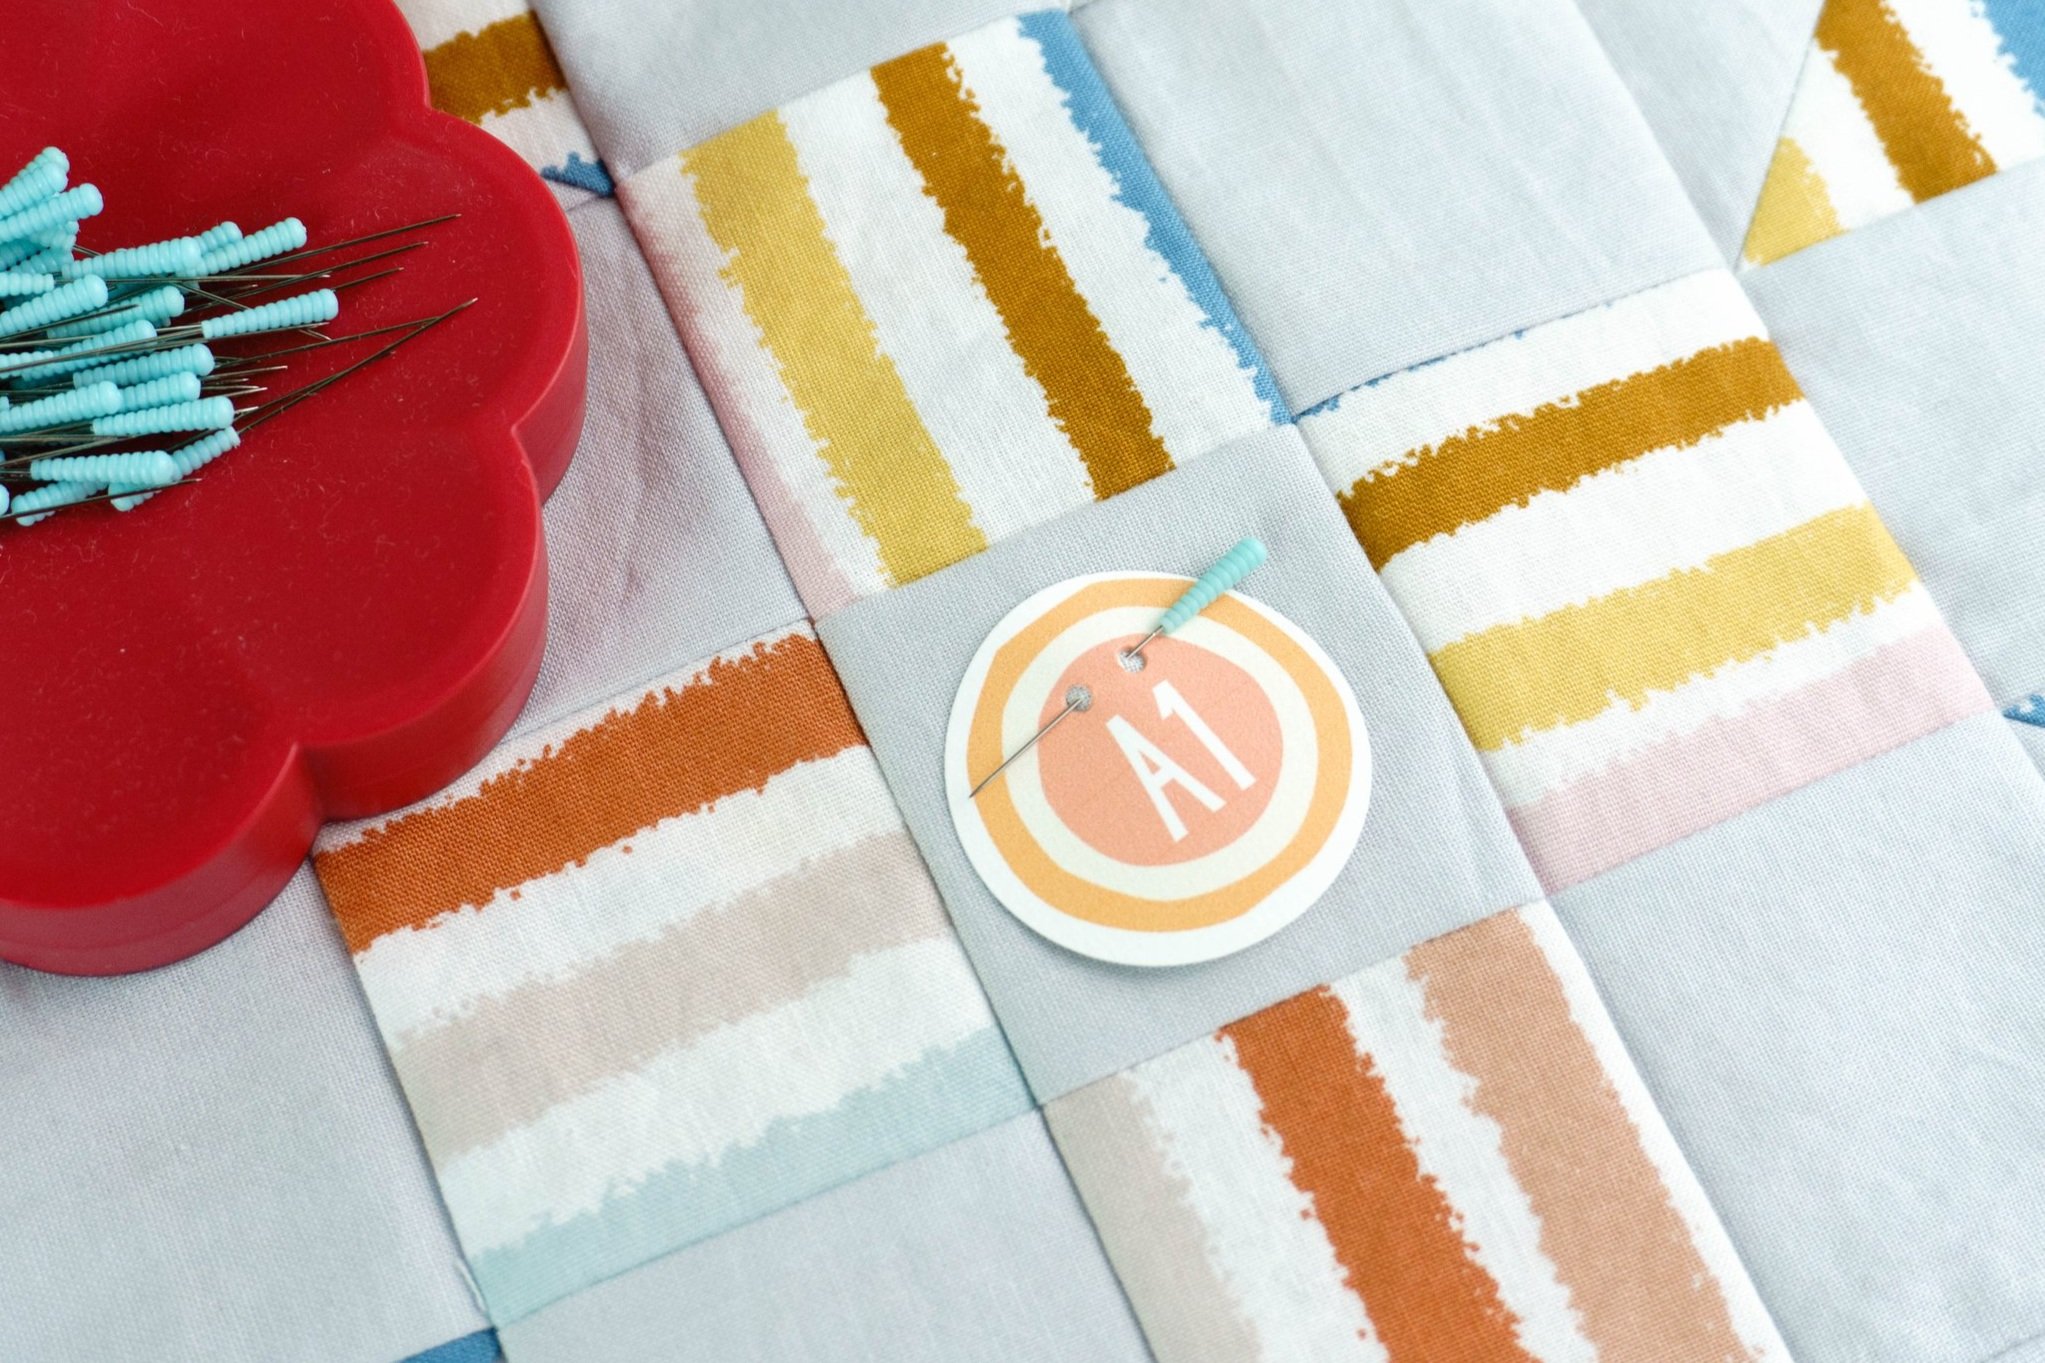
Sometimes I mark just the first block of each row when I’m putting a simpler quilt together, so my printable quilt tags include 16 numbers for this purpose. Then, I included enough tags to mark each block of a quilt up to 12 rows and columns. Each row is colored differently to help even more with keeping the rows in the proper order, since you can see them at a glance.
For printing, I recommend some heavier card stock. And for cutting them out, I used my 1.5” punch, making the process super fast. Of course, they can also be cut out by hand, or by the spare bored teenagers in your home, ha! For those who have a Cricut machine, the SVG file I’ve included will make the process even faster.
Once you cut out the tags, you just need to punch small holes in the pin holes and they’re ready to use! Attach a tag to a quilt block by putting a pin through the pin holes. Cute AND easy!
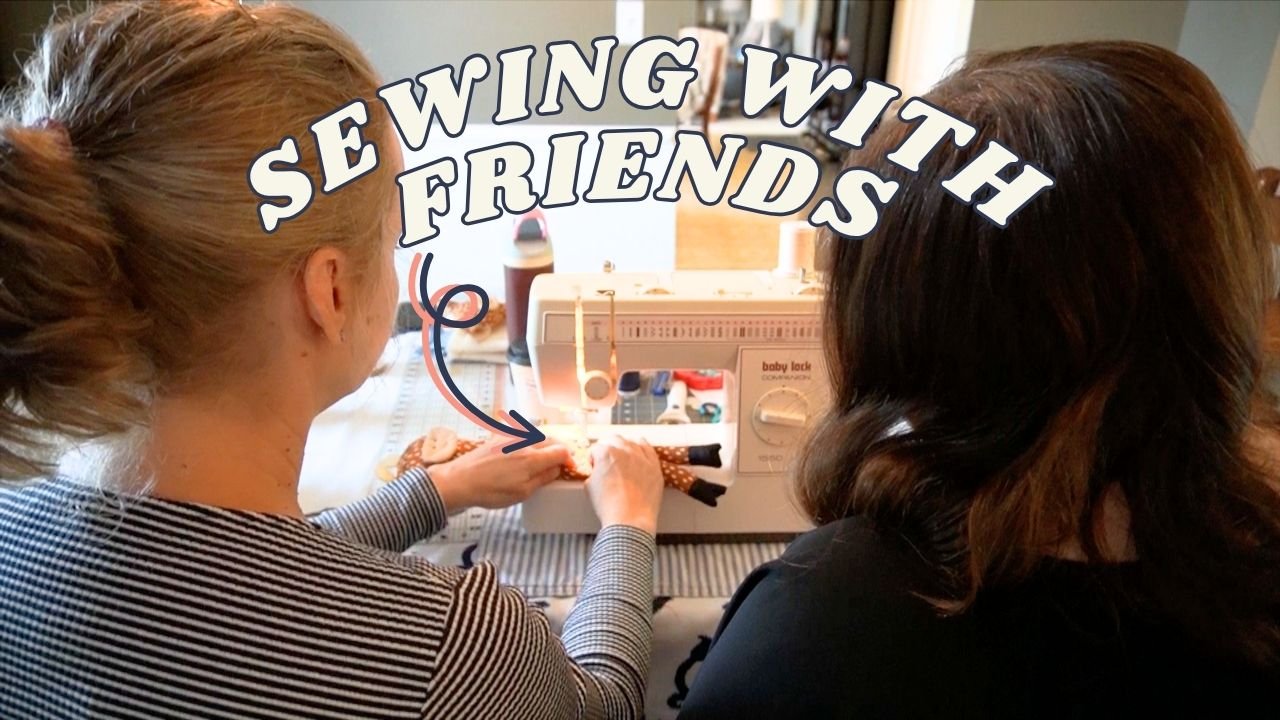
I hope you enjoy this little addition to your quilting life! To see the quilt markers in action, you can watch this video, where they make their debut along with 4 other new sewing tools I’ve gotten recently.
Cheers!
Nikki


