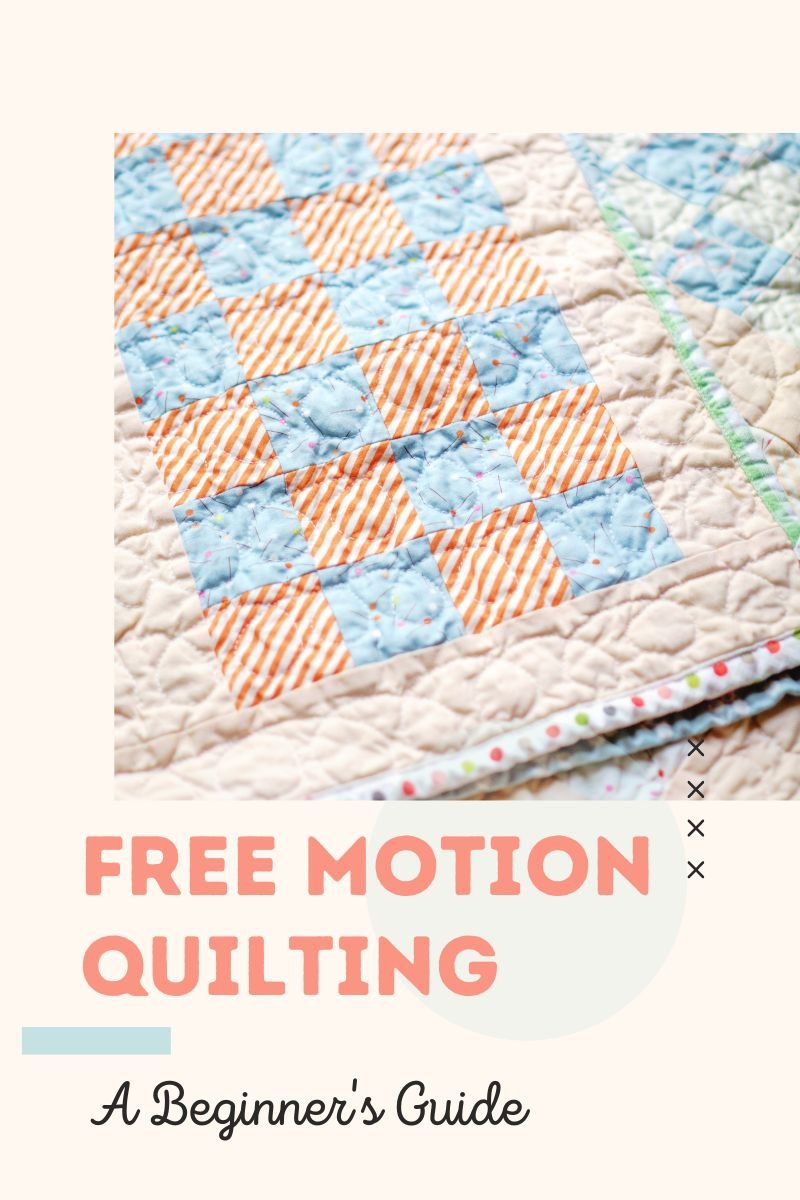
Free Motion Quilting || A Beginner's Guide
I’ve been asked repeatedly for a tutorial on free motion quilting and now is the time! This is something a lot of quilters and sewists find intimidating and I totally understand that because it didn’t always come naturally to me either! With a few helpful tips and some practice, though, you can have success with free motion quilting, even if you’ve never done it before.
If you’re unfamiliar with the term, free motion quilting is when you drop your machine’s feed dogs (the claw-like things under the presser foot that keep the fabric moving along) and you move the fabric along yourself, any which way you want to! Using this technique, you can create very fun free motion designs on your quilts.
I recently used the free motion technique on a quilt I made (get the FREE quide for this quilt here!) and it’s just so fun and relaxing. It’s also a very fast way to quilt an entire quilt, and the best part is the crinkly soft results you get when you quilt with free motion.
Watch the video tutorial below to learn all about how to free motion quilt and to see my own free motion quilting in action, then read on for some specific tips and tricks!
Tips for Free Motion Quilting
Lowering the Feed Dogs
The key to free motion quilting is dropping those feed dogs. Even the oldest of sewing machines have this function, as free motion has been used for darning holes in clothing since the dawn of the sewing machine. So I promise your machine can drop its feed dogs too. Usually there is a lever somewhere on the machine and it’s that simple. Just check your machine’s manual if you can’t find it.
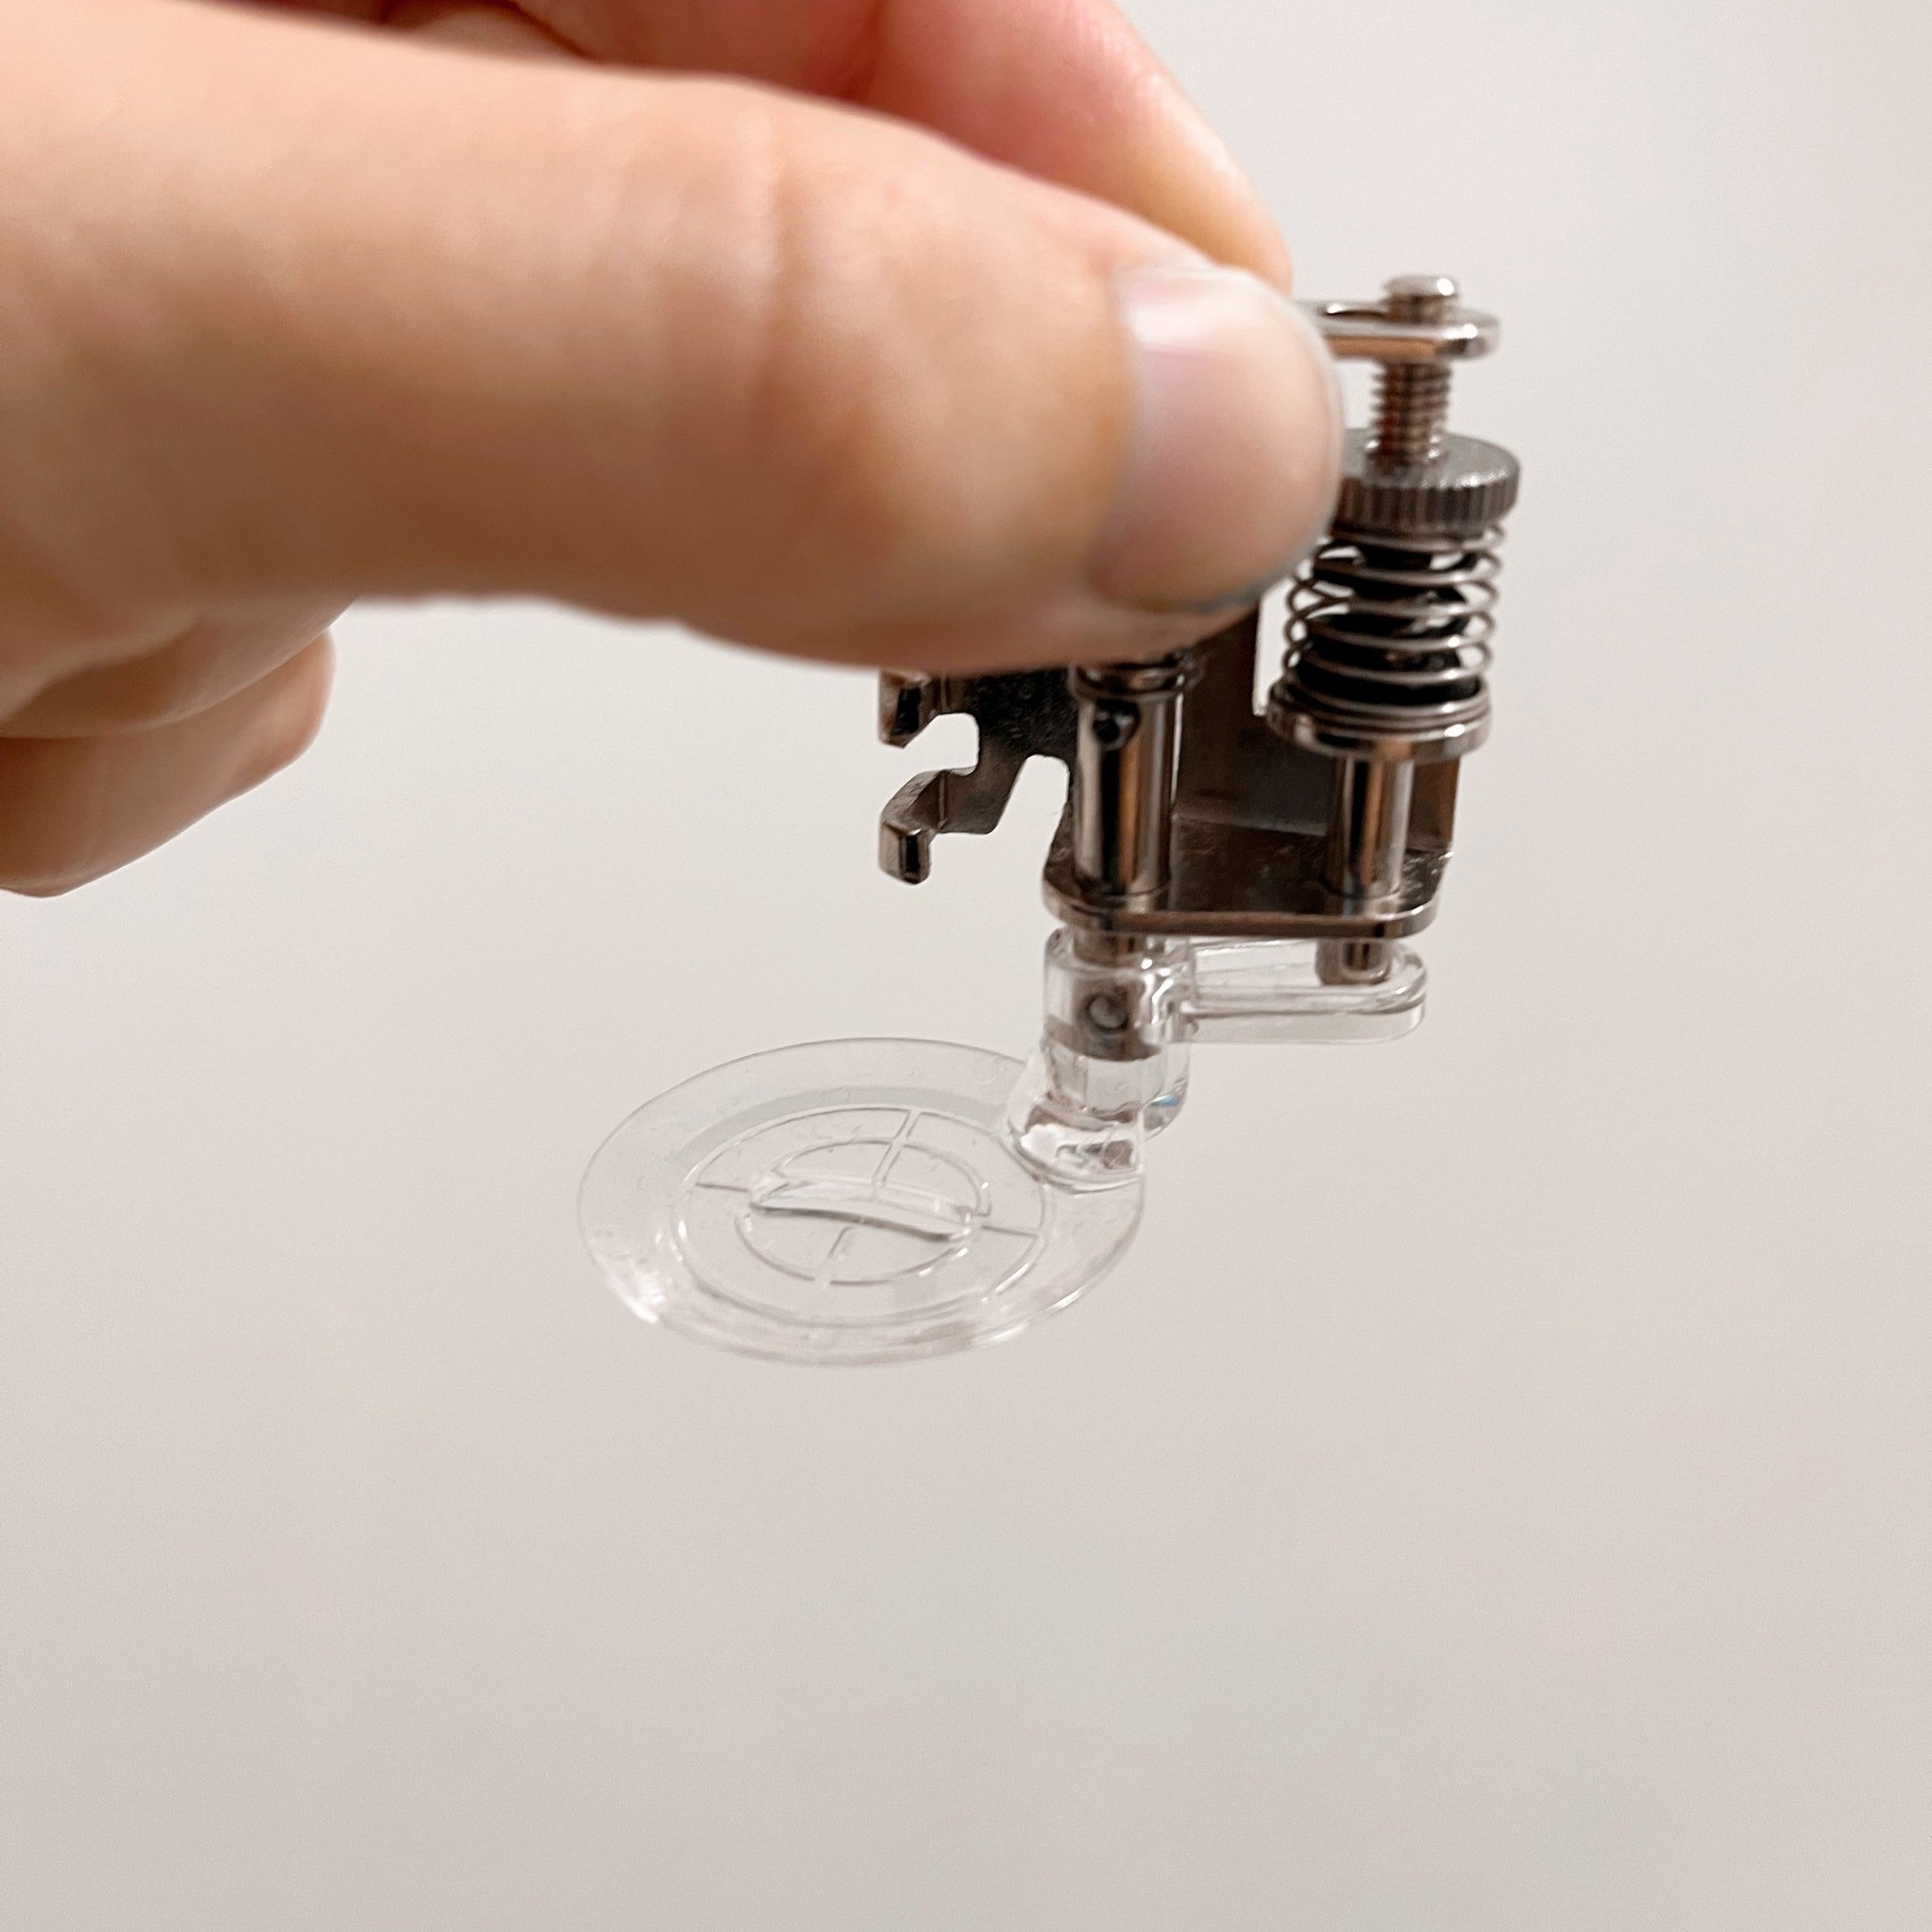
The lever will possibly have a symbol similar to mine:

Note that on most machines, when raising the feed dogs back up into place, you’ll need to take a stitch forward before they’ll actually come back up. I say that because it can be confusing when you’ve switched them back up and don’t see them moving.
The Darning Foot
Your machine likely came with a free motion foot, also known as a darning foot. If not, you can order one specifically for your machine, or even a universal one. This foot does not clamp down as hard as other feet do. This is because you need to be able to move the fabric around freely under the foot in order to make the designs you want.
Practicing Free Motion
To practice free motion quilting, you can make a mock quilt sandwich by simply sandwiching a piece of batting in between two cotton fabric layers. Using my video for some ideas, practice moving the fabric around in loops or lines, or a stippling pattern.
Quilting gloves can be very helpful, since they grip the fabric and save your hands from having to do all the work. Some people have mentioned they use gardening gloves from the dollar store, but in my experience, gardening gloves are much thicker than my quilting gloves and could feel cumbersome. My Fons & Porter quilting gloves are much more comfortable for quilting and are not very expensive, so I recommend the real thing.
The trickiest part of free motion is making sure your stitches are relatively all the same size. It’s easy to move the fabric faster or slower in some parts, or to press too hard on the foot pedal, etc … To help keep things even, I always lower my speed control a little bit so that I can floor the foot pedal and only focus on moving my fabric around at an even pace. If your machine doesn’t have speed control, don’t worry! Just take the time to practice and you’ll get the hang of it.
Beyond Free Motion Quilting
Free motion is a fun skill to try on projects that aren’t quilts too! With some creativity, you can use this technique for so many projects. I made little bunny ornaments for my Easter tree by free motion sewing the shapes onto a double layer of felt and cutting around them. I’ve also free motioned designs onto paper cards!

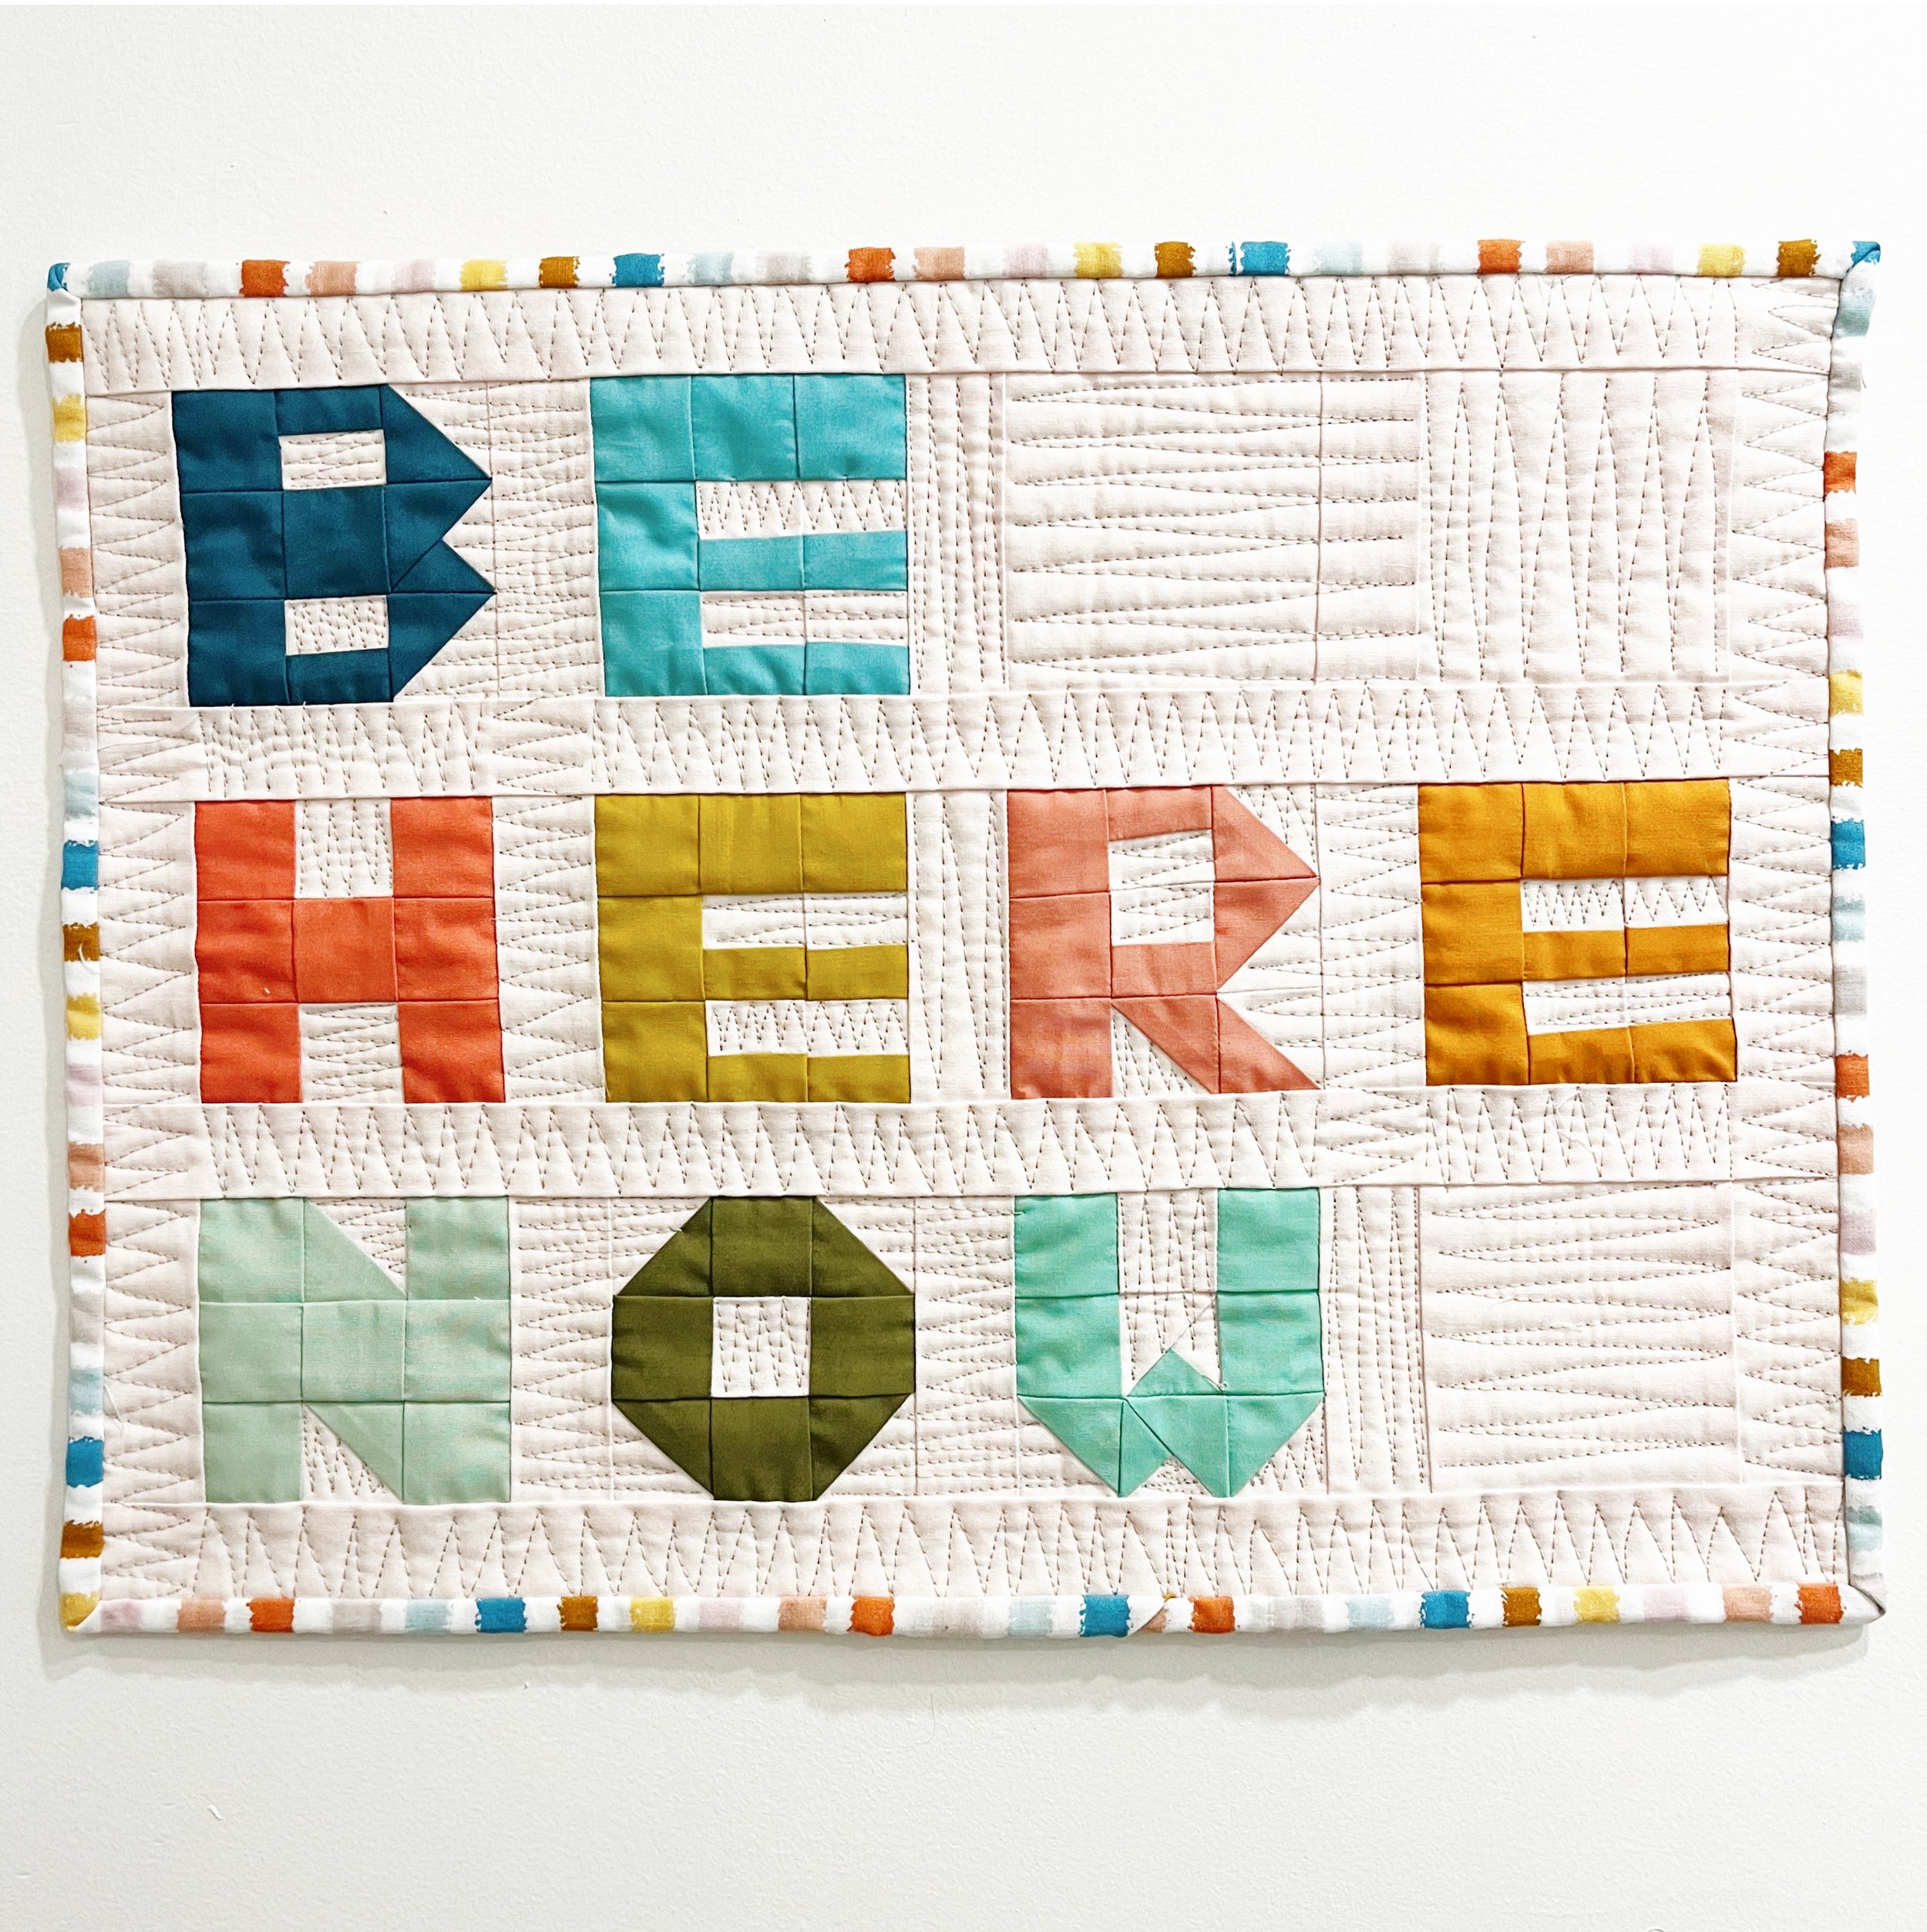
I also love to use free motion techniques on mini quilts. I recently made a mini quilt using the Patchwork Alphabet guide from All Well and I wanted to make the letters pop, so I free motion quilted multidirectional lines in all the non-letter spaces. It turned out so perfectly! I’m trying to find the best spot for this little mini quilt here in my home, I just love it so much, both the quilt and the “Be Here Now” sentiment.
I hope this has helped you get past your fear of free motion quilting and inspired you to try it! It’s a very simple and time tested practice that can be very fun and liberating, so I hope you’ll give it a try on your next project.
Cheers and Happy Sewing!
Nikki