Make a Better Mask Vol. 2: Including a single layer mask option
While my origami mask pattern is the most popular post on this blog ever, and I really love that style, I patterned a different style per my daughter’s request recently and I really like that style too! I added a ruffle to mimic a Target mask she had and it’s just so cute (I mean, for a mask, haha). This new mask pattern comes with options. You can make it with a ruffle or pretty trim, attach the elastic in a couple different ways, AND … you can make it double or single layer.
Now, before you freak out …
I let it slip on Instagram a few days ago that I’ve been making some masks single layer. My daughter dances ballet in a mask and simply cannot wear a thick mask for the entire two hour class. It’s either take it off halfway through or wear a thinner mask the whole time. After posting that, I received several comments and some private messages asking me to go ahead post the tutorial because it turns out there are other people with circumstances in which they are struggling to wear the two or three layered masks. Some, like me, have teens in dance or sports. Others have trouble breathing after wearing a thick mask for several hours at their own desks. Still others are dealing with panic attacks or hyperventilation from wearing a heavy mask. So, I’m not making a political statement with this tutorial, I’m simply aiming to meet a need for many of my readers.
That’s why I’m including instructions for making this style of mask with either two (or three, even) layers, or single layered, and you can choose which is right for you.
This is also another great pattern for glasses wearers. Because it has the metal nose piece, I don’t have any issues with my glasses fogging while wearing this mask.
Let’s get on it :)
This post may contain affiliate links, which means that while I am not paid to promote certain items, I will earn a small commission should you purchase items through these links. For more info, see my disclosure policy.

As always, I strive to make every tutorial beginner friendly. This mask, while not hard, especially made without the ruffle or trim, is slightly fussier than the origami mask pattern. So if you’re wanting super fast and easy, I recommend that one. This one sure is pretty, though, and mixing and matching prints is super fun, so I hope you’ll give this version a try too. It also is easier to wear this type as a single layer mask than the origami pattern, which holds its structure better with the two layers. After my first few of this pattern, I could whip them up in about 15 minutes, so I’m definitely not saying this pattern is hard or time consuming!
Face Mask Tutorial: 3 sizes and lots of options
Supplies:
You need the pattern, of course! Click here to download the free pattern, or right click on the pages below and save to your computer. 3/8” seam allowances are included.
Cotton fabric scraps
Mask elastic. I talked about this quite a bit in the last mask pattern, but for goodness sake, buy the right elastic already! Lol, it will change your mask wearing life. It’s so comfortable and it comes in giant quantities for cheap, so it will last forever. You’ll even be able to share it with your friends and still not run out.
Nose Wire Strips. This style of mask really requires these. I know some people use pipe cleaners, or harvest the wires from disposable masks, but honestly they’re super cheap for a huge quantity, so it makes sense to just order some.
(Right click and save each pattern sheet below, OR click here to download the file easily.)


Cutting Instructions:
Use the pattern to cut out your mask pieces. You’ll need two for the outside and two for the lining, if using one.
If you’re making a ruffled version, cut one ruffle piece on the fold of a scrap of fabric.
Cut a bias strip 1.5” wide and about 10-12 inches long (longer than the top edge of the mask). It can be the same fabric or a fun contrasting one. This bias strip finishes the top edge of the mask and forms a casing for the wire nose piece. To cut on the bias means to cut diagonally across the grain, which allows this strip to stretch and bend around curves.

Instructions for the double layer mask:
(You can add a third layer by cutting an extra lining and layering it with your outside fabric, treating them both as one).
First, sew the center front seam. I’ve included 3/8” seam allowances throughout. top stitch from the outside, with the seam to one side. Repeat for the lining.

Next, if making a ruffle, fold the ruffle piece in half lengthwise, then sew gathering stitches along the raw edge by sewing two rows of long basting stitches, one at 3/8” and the other at 1/4”. If you’re not making a ruffle or using trim, skip the next few steps until the part where we attach the bias strip.

Pin the ruffle to the mask front along the top edge, matching raw edges, leaving 3/8” on either side and matching the centers, pulling up gathering stitches to fit.
Sew the ruffle using a basting stitch.

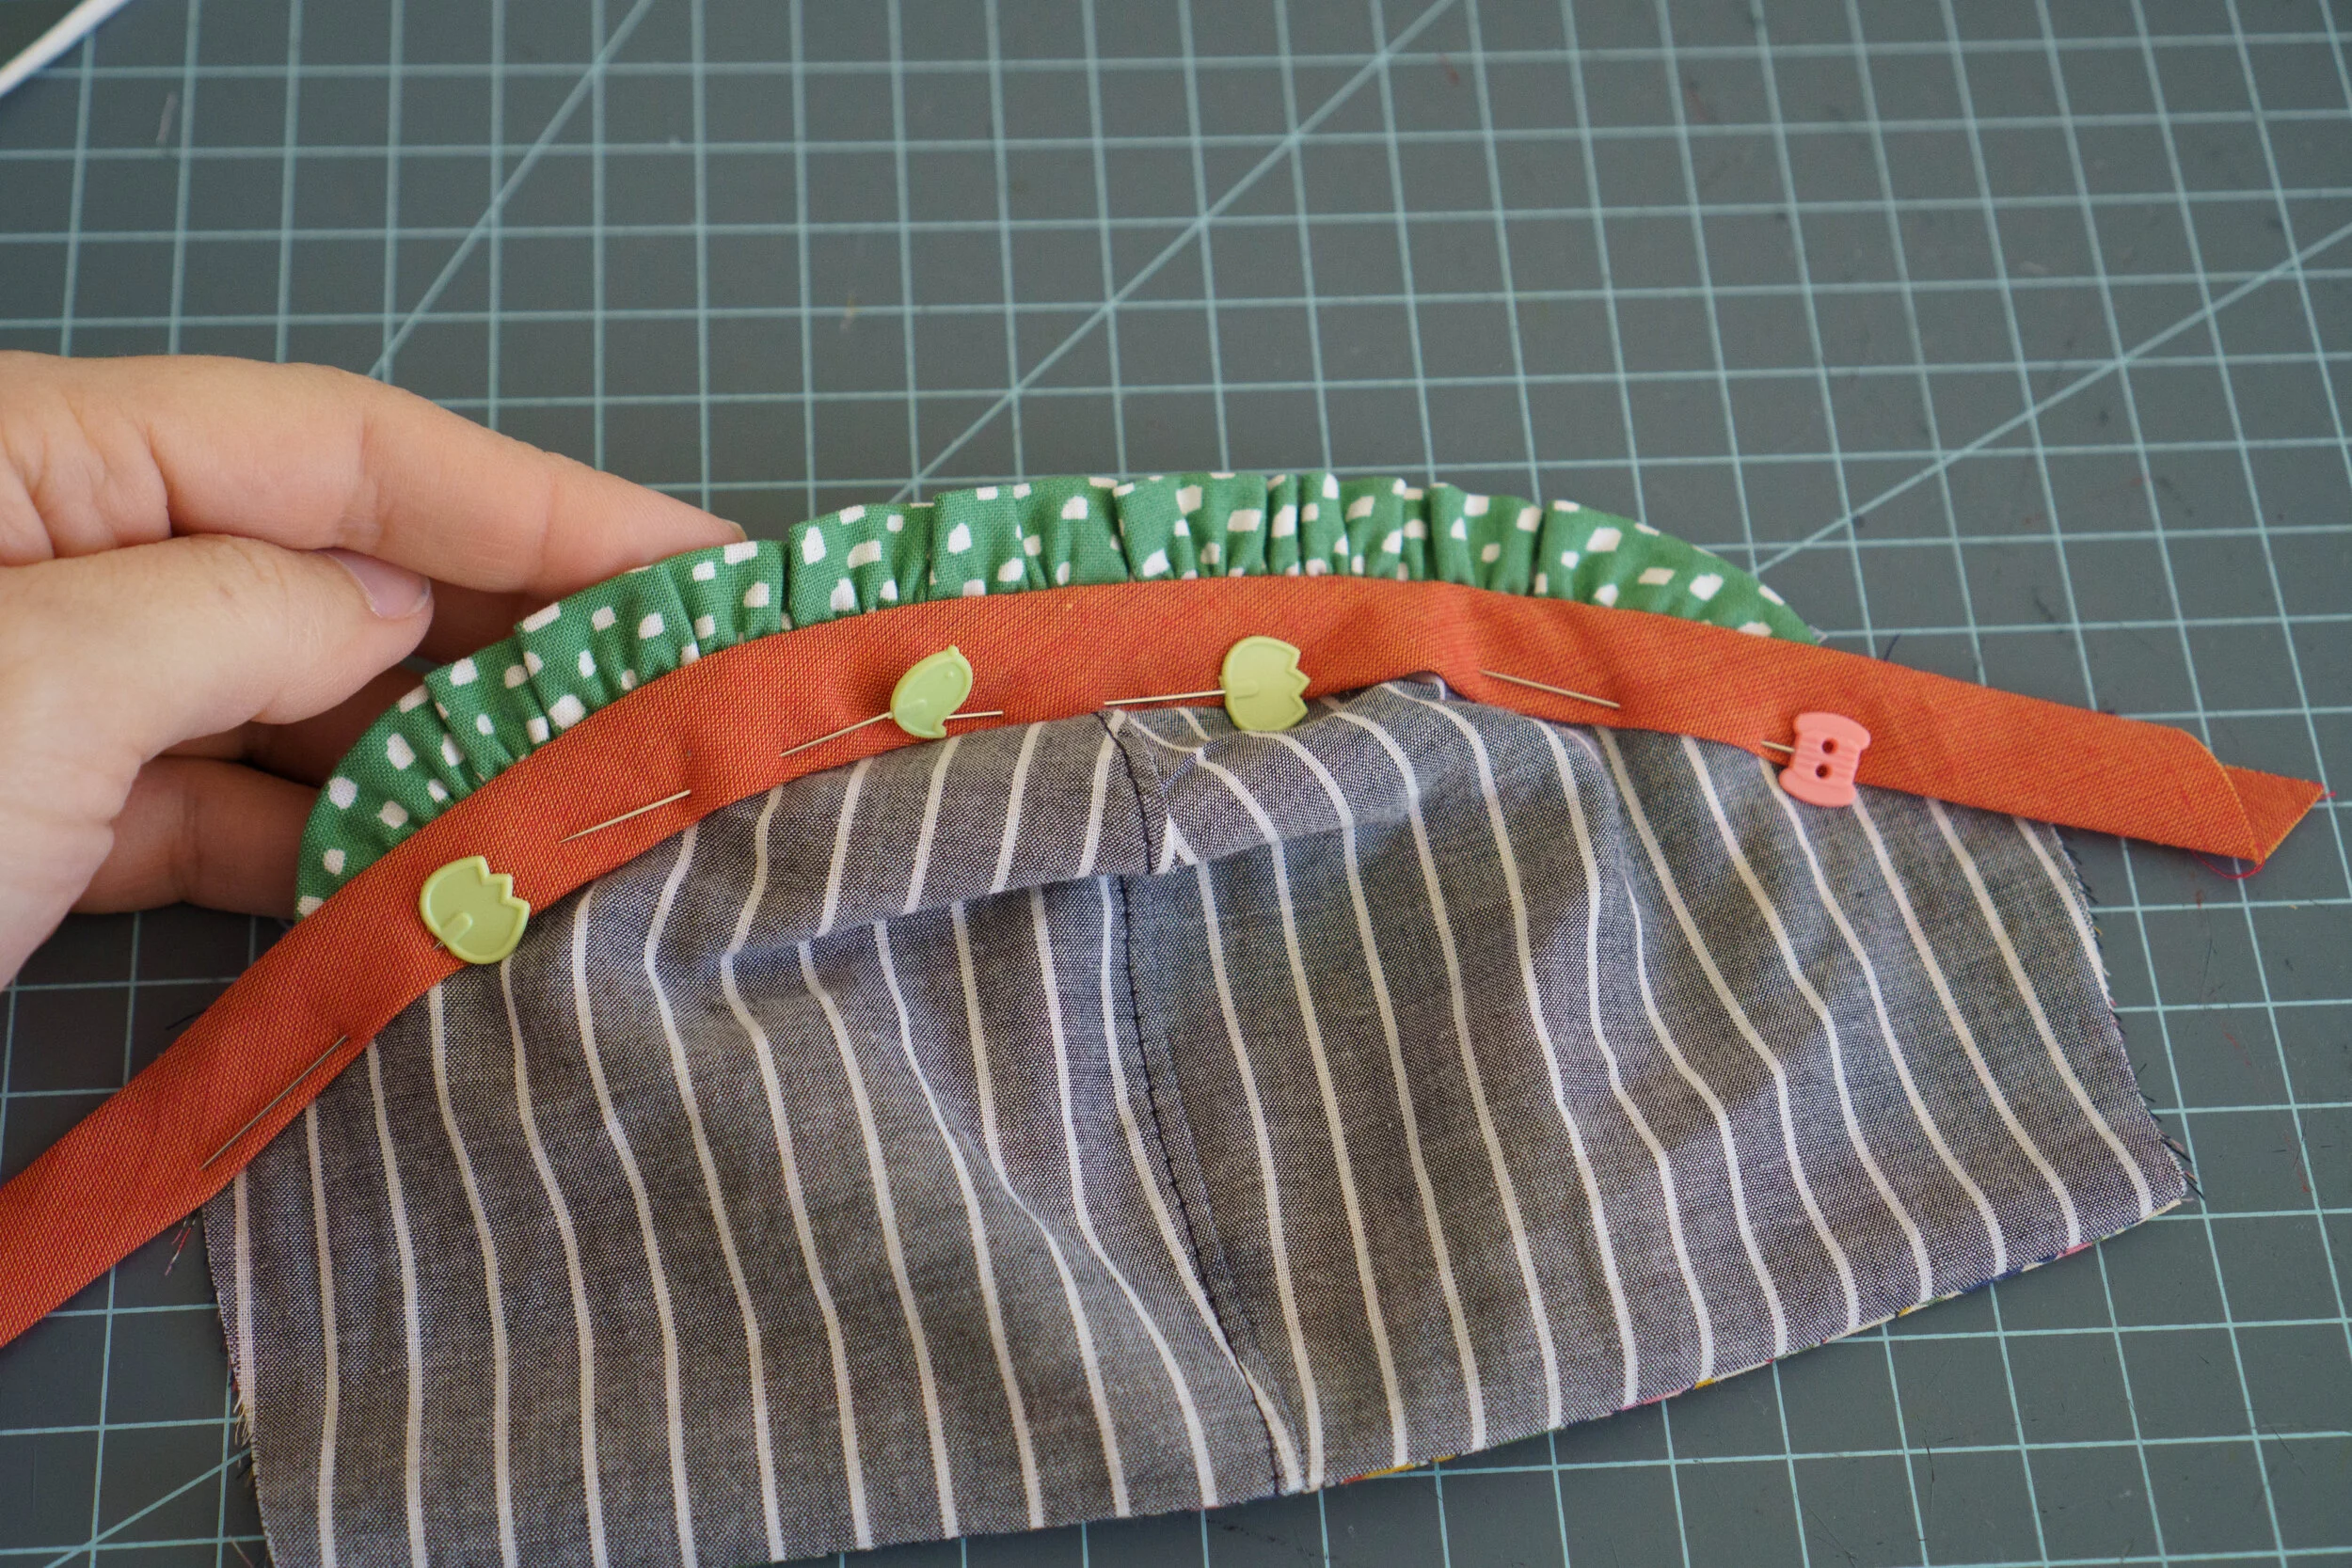
Next, you’re going to place the bias strip, right side down, on top of the ruffle and baste that on. It will be hanging off both ends, but we’ll trim it later. The ruffle is now sandwiched between the outside fabric and the bias strip.

Next, adding to the sandwich, place your lining right sides together with the outside fabric, sandwiching the basted ruffle and bias strip in between. Stitch the top and bottom seams in a 3/8” seam. I sew this seam with the lining on bottom so that I can see my basting stitches from the previous steps and sew right on top of them.


Turn the mask right side out through the sides. Press and top stitch the bottom edge. Press the ruffle up and the bias strip down.
Tuck the raw edge of the bias tape under itself to form a casing. You’re going to pin it down and insert the metal strip inside, centering it over the center seam. Since the top edge is curved, this can feel challenging, but it helps to bend the strip backward a little. you can do it! My nose strips come sticky on one side. I remove the backing and insert the strip after I’ve pinned the casing into place, squeezing it in through the pin gaps.


Edge stitch the casing closed, carefully making sure your needle doesn’t hit the metal strip. (Sewing those few stitches by turning the wheel by hand might be a good idea).
You can now trim the bias strips flush with the sides of the mask.

Lastly, all we need to do is sew the elastic casings. Turn the raw edges of the sides under a scant 1/4”, then again about 1/2”. Edge stitch those down.
(There is an alternate method for the elastic in the next section. My older daughter prefers it and it uses less elastic).
Cut your elastic to 11” per side (try larger for a man, and obviously smaller for a child). Insert the elastic by attaching a safety pin to one side and threading it through the casing. Tie it off to a comfortable length.

That’s it for the double layered mask! I really love how cute these are from the inside. Choosing the coordinating scrap fabrics is almost like choosing fabrics for a quilt (which is my favorite).
Let’s move on to how I make this style as a single layer mask.

How to make a single layer mask:
For this version, I’m using trim instead of the ruffle, but you can refer to the above steps for the ruffle. It’s less work, but still super cute. Of course you can use neither and that’s an even quicker version. Everything else is the same.
Also, I use a serger on mine, but it’s ok if you don’t have one. I’ll include notes on finishes without a serger, but you may consider adding another 1/4” onto just the bottom edge when cutting so that you can turn up a real hem.
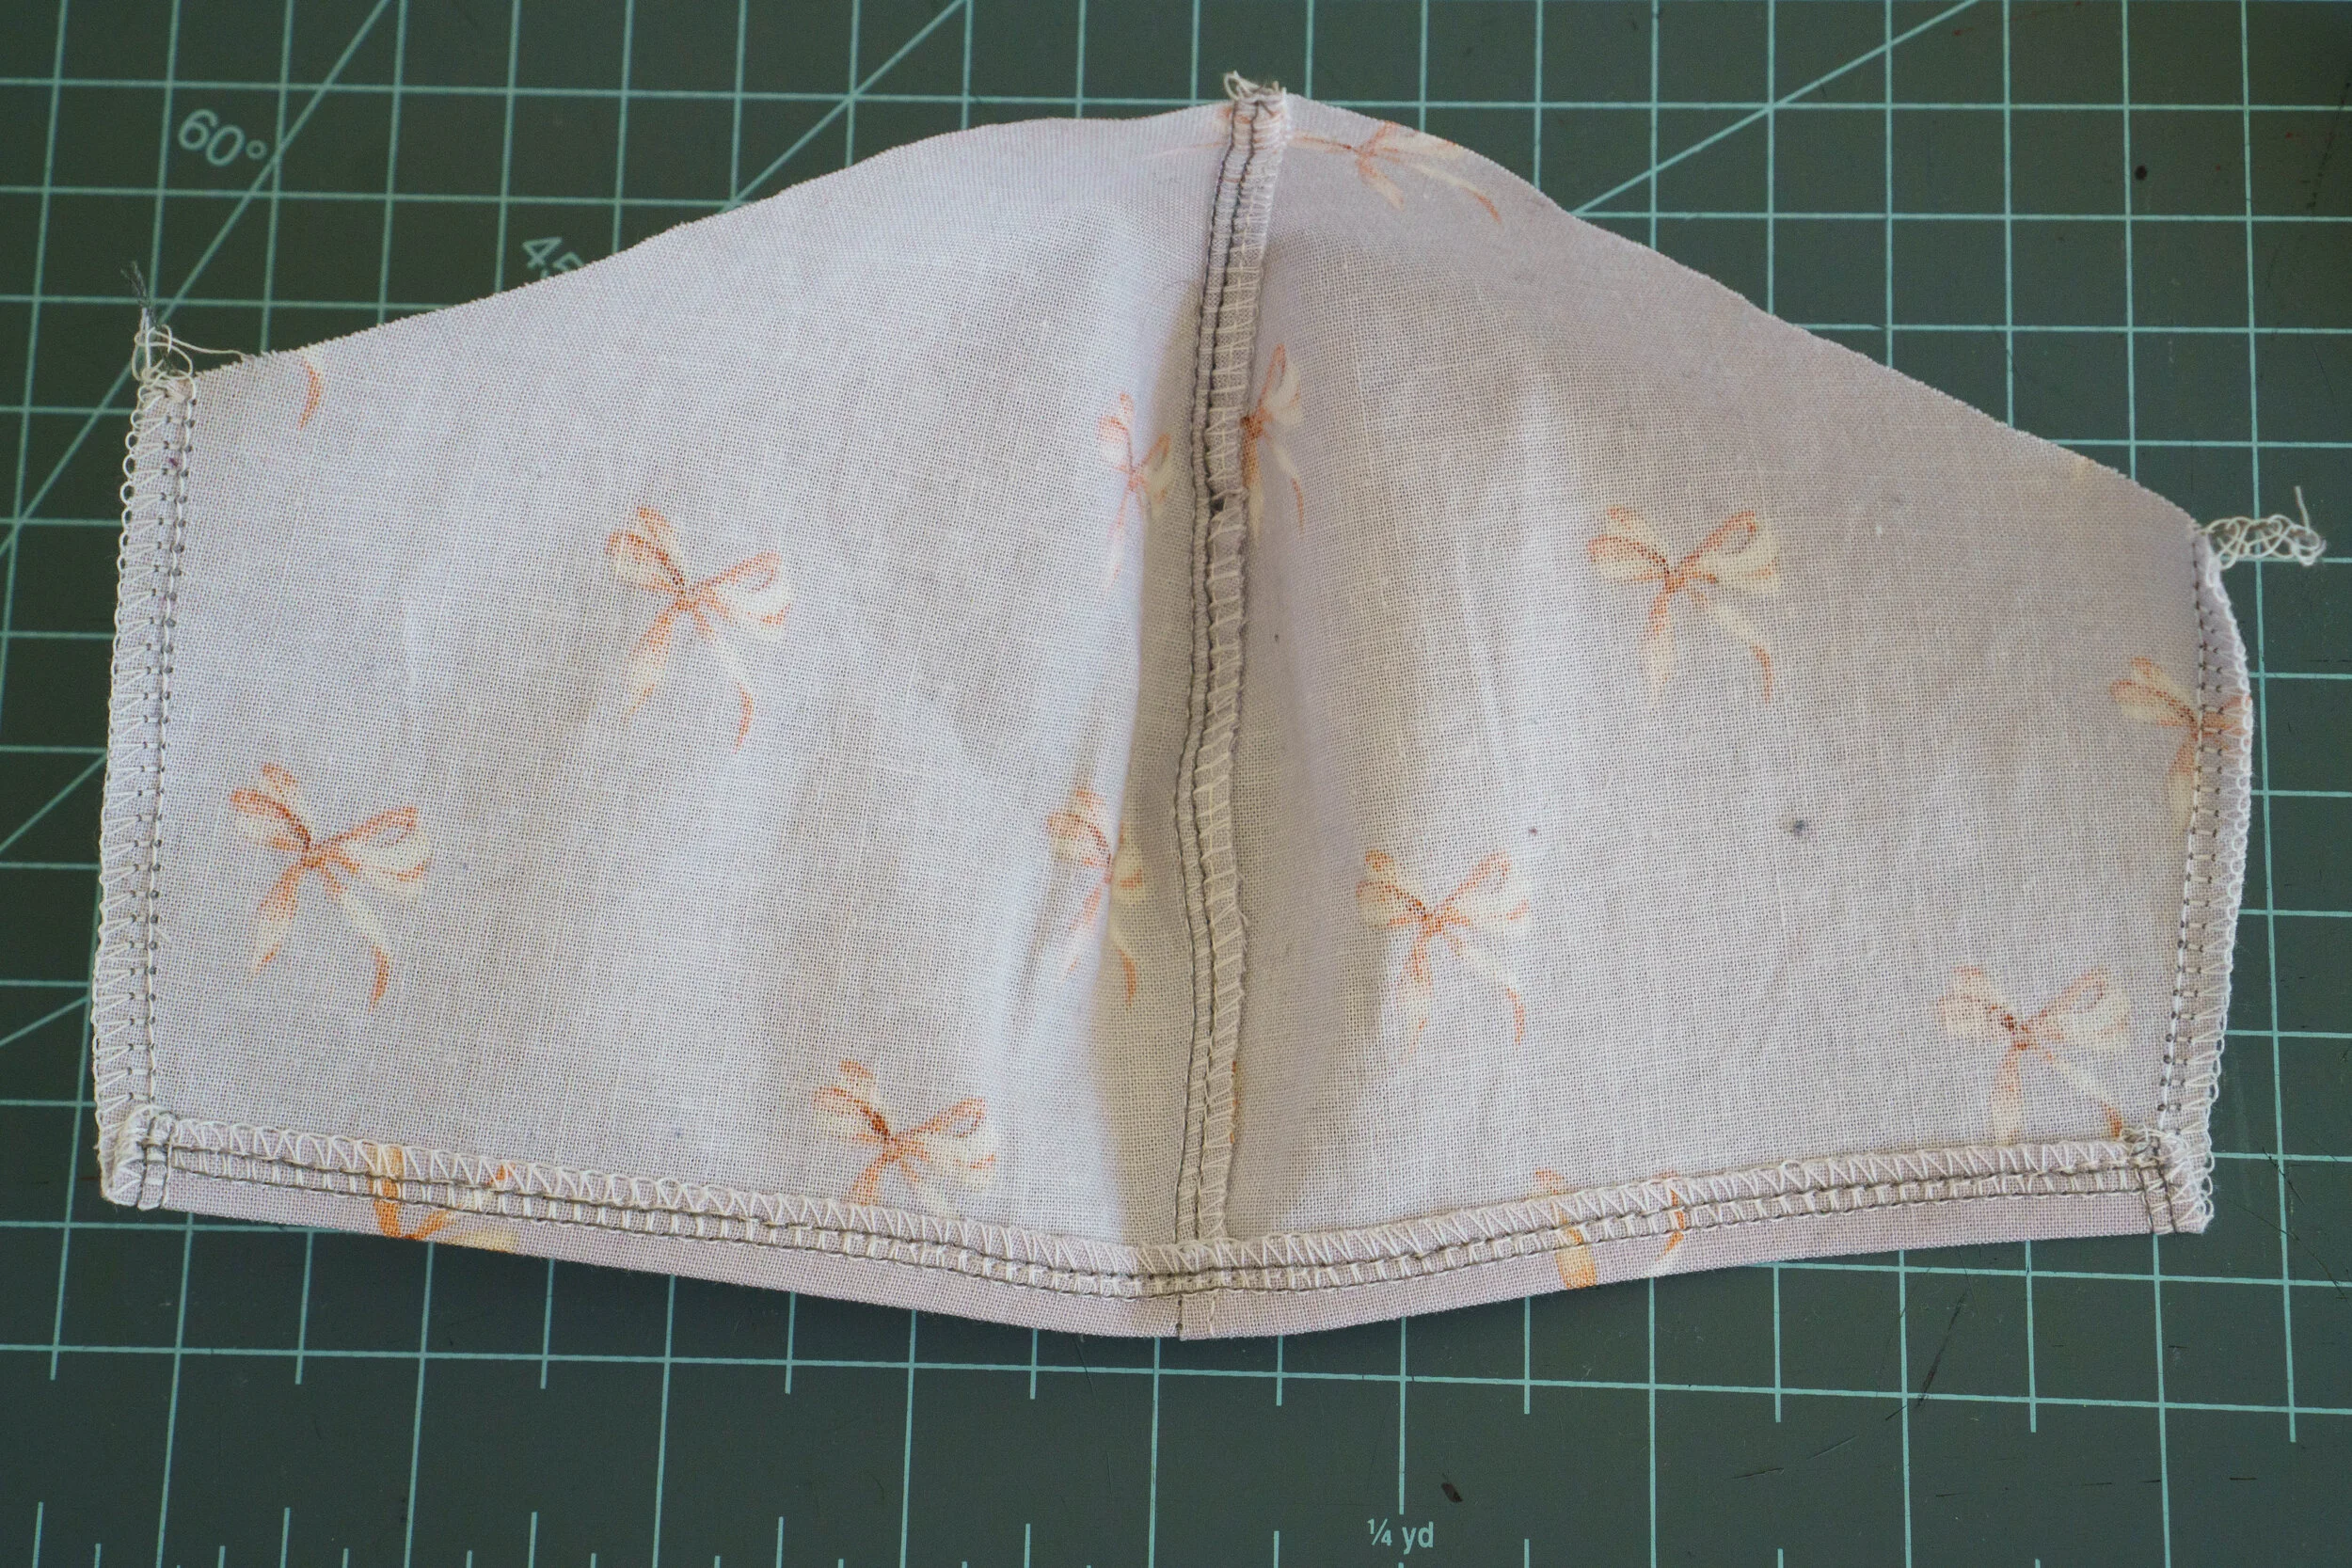
First, sew the center seam and top stitch it. If you do not have a serger, zig zag on the edge to keep the fraying at bay, or consider a French seam. Then, finish the bottom edge by serging and hemming or turning up twice and hemming. (I did serge the sides int his photo, but I didn’t on the others I’ve made. It’s not really necessary.

Next, if using trim, baste it on to the front of the top edge so that the center of the trim is on the 3/8” mark. Skip this step if you’re not using trim, or if you’re doing a ruffle, just use the instructions for that on the double layer mask above.

Next, take your 1 1/2” bias strip and place it over the trim. Sew it on in a 3/8” seam. I sew it with the mask piece facing me so I can sew exactly over my basting stitches. You’ve now sandwiched the trim in between the mask and the bias strip.

The following photos will make this next paragraph makes sense, so don’t panic, haha!
Press so the seam allowance is toward the bias strip. Then fold the bias strip over on top of the seam allowance, then down again so the raw edges are incased (refer to the photos below. Slide the metal nose strip (sticker backing removed) in and center it over the center seam. I find this easiest when I’ve placed some pins. Another easy method is to edge stitch the bias into place half way, then insert the strip, then finish sewing.


If you haven’t already, edge stitch the bias casing, enclosing the metal strip, being careful not to sew over it and risk a broken needle!
You can trim the bias strip so it’s flush with the sides now.

Lastly, form the elastic casings on the sides by turning under a scant 1/4”, then another 1/2”, and thread 11” lengths of elastic through the casings with a safety pin (or use the alternative elastic method coming up next).


Alternative Elastic Application
For many of our single layer masks, I cut 6” pieces of elastic and sew them on under a piece of pretty trim, ribbon or soft lace. I sew around the perimeter in a rectangle. My daughter likes this better, she thinks the sides lat flatter, which must just work better for her face. Also, if your machine has trouble with thick layers, this might be easier to get through than the thickness of making a casing. On the other hand, it’s not as easy to replace the elastic if it breaks (which I haven’t actually had happen, but it could in theory).

Single Layer Mask without the trim or ruffle
In the spirit of making this post as thorough as possible (ha!), here is a photo walkthrough of the basic single layer mask without the bells and whistles, which I can whip up in ten or fifteen minutes now.

Whew! I really hope this covers everything! I’m so glad so many have found my other mask pattern useful and comfortable. I actually had fun mixing and matching fabrics and trims to make my family a new batch of face masks. I like the variety of options with this pattern and I hope you do too : )
Cheers!
Nikki