Beginner Quilt Series Part 3: Making the quilt sandwich
It’s time to make our quilt sandwich! Assuming you have your quilt top all assembled, of course. If you’re stumbling upon this post and haven’t read about the scrappy quilt-a-long for beginners I’ve been writing about, click the intro link below to start at the beginning.
When we started, I did not have a fabric suitable to back my quilt with, nor quilt batting on hand, so I had to wait until some stores opened to obtain those things before I could finish this series. But I got them at the earliest opportunity and my quilt is done!
If you need to go back and start at the beginning, here are those links:
Part 2: Putting the top together
We have two posts left in the series and today’s will be the longest one. It’s about putting the quilt together and how to do the top stitching, which is the actual “quilting” of your quilt.
This post may contain affiliate links, which means that while I am not paid to promote certain items, I will earn a small commission should you purchase items through these links. For more info, see my disclosure policy.
My mom made quilts when I was growing up, but I never quite understood how the whole thing goes together until I made one for myself many years ago. Most people probably imagine (like I did) that the quilt gets sewn right sides together with the backing and batting and then turned right side out somehow. This is done sometimes and it’s called “birthing” a quilt, isn’t that so funny? These quilts are usually tied in the corners rather than quilted. The way most quilts are made, though, the ones with a binding, are put together completely differently. They’re layered together, quilted, and then the edges are neatly bound as the last step.
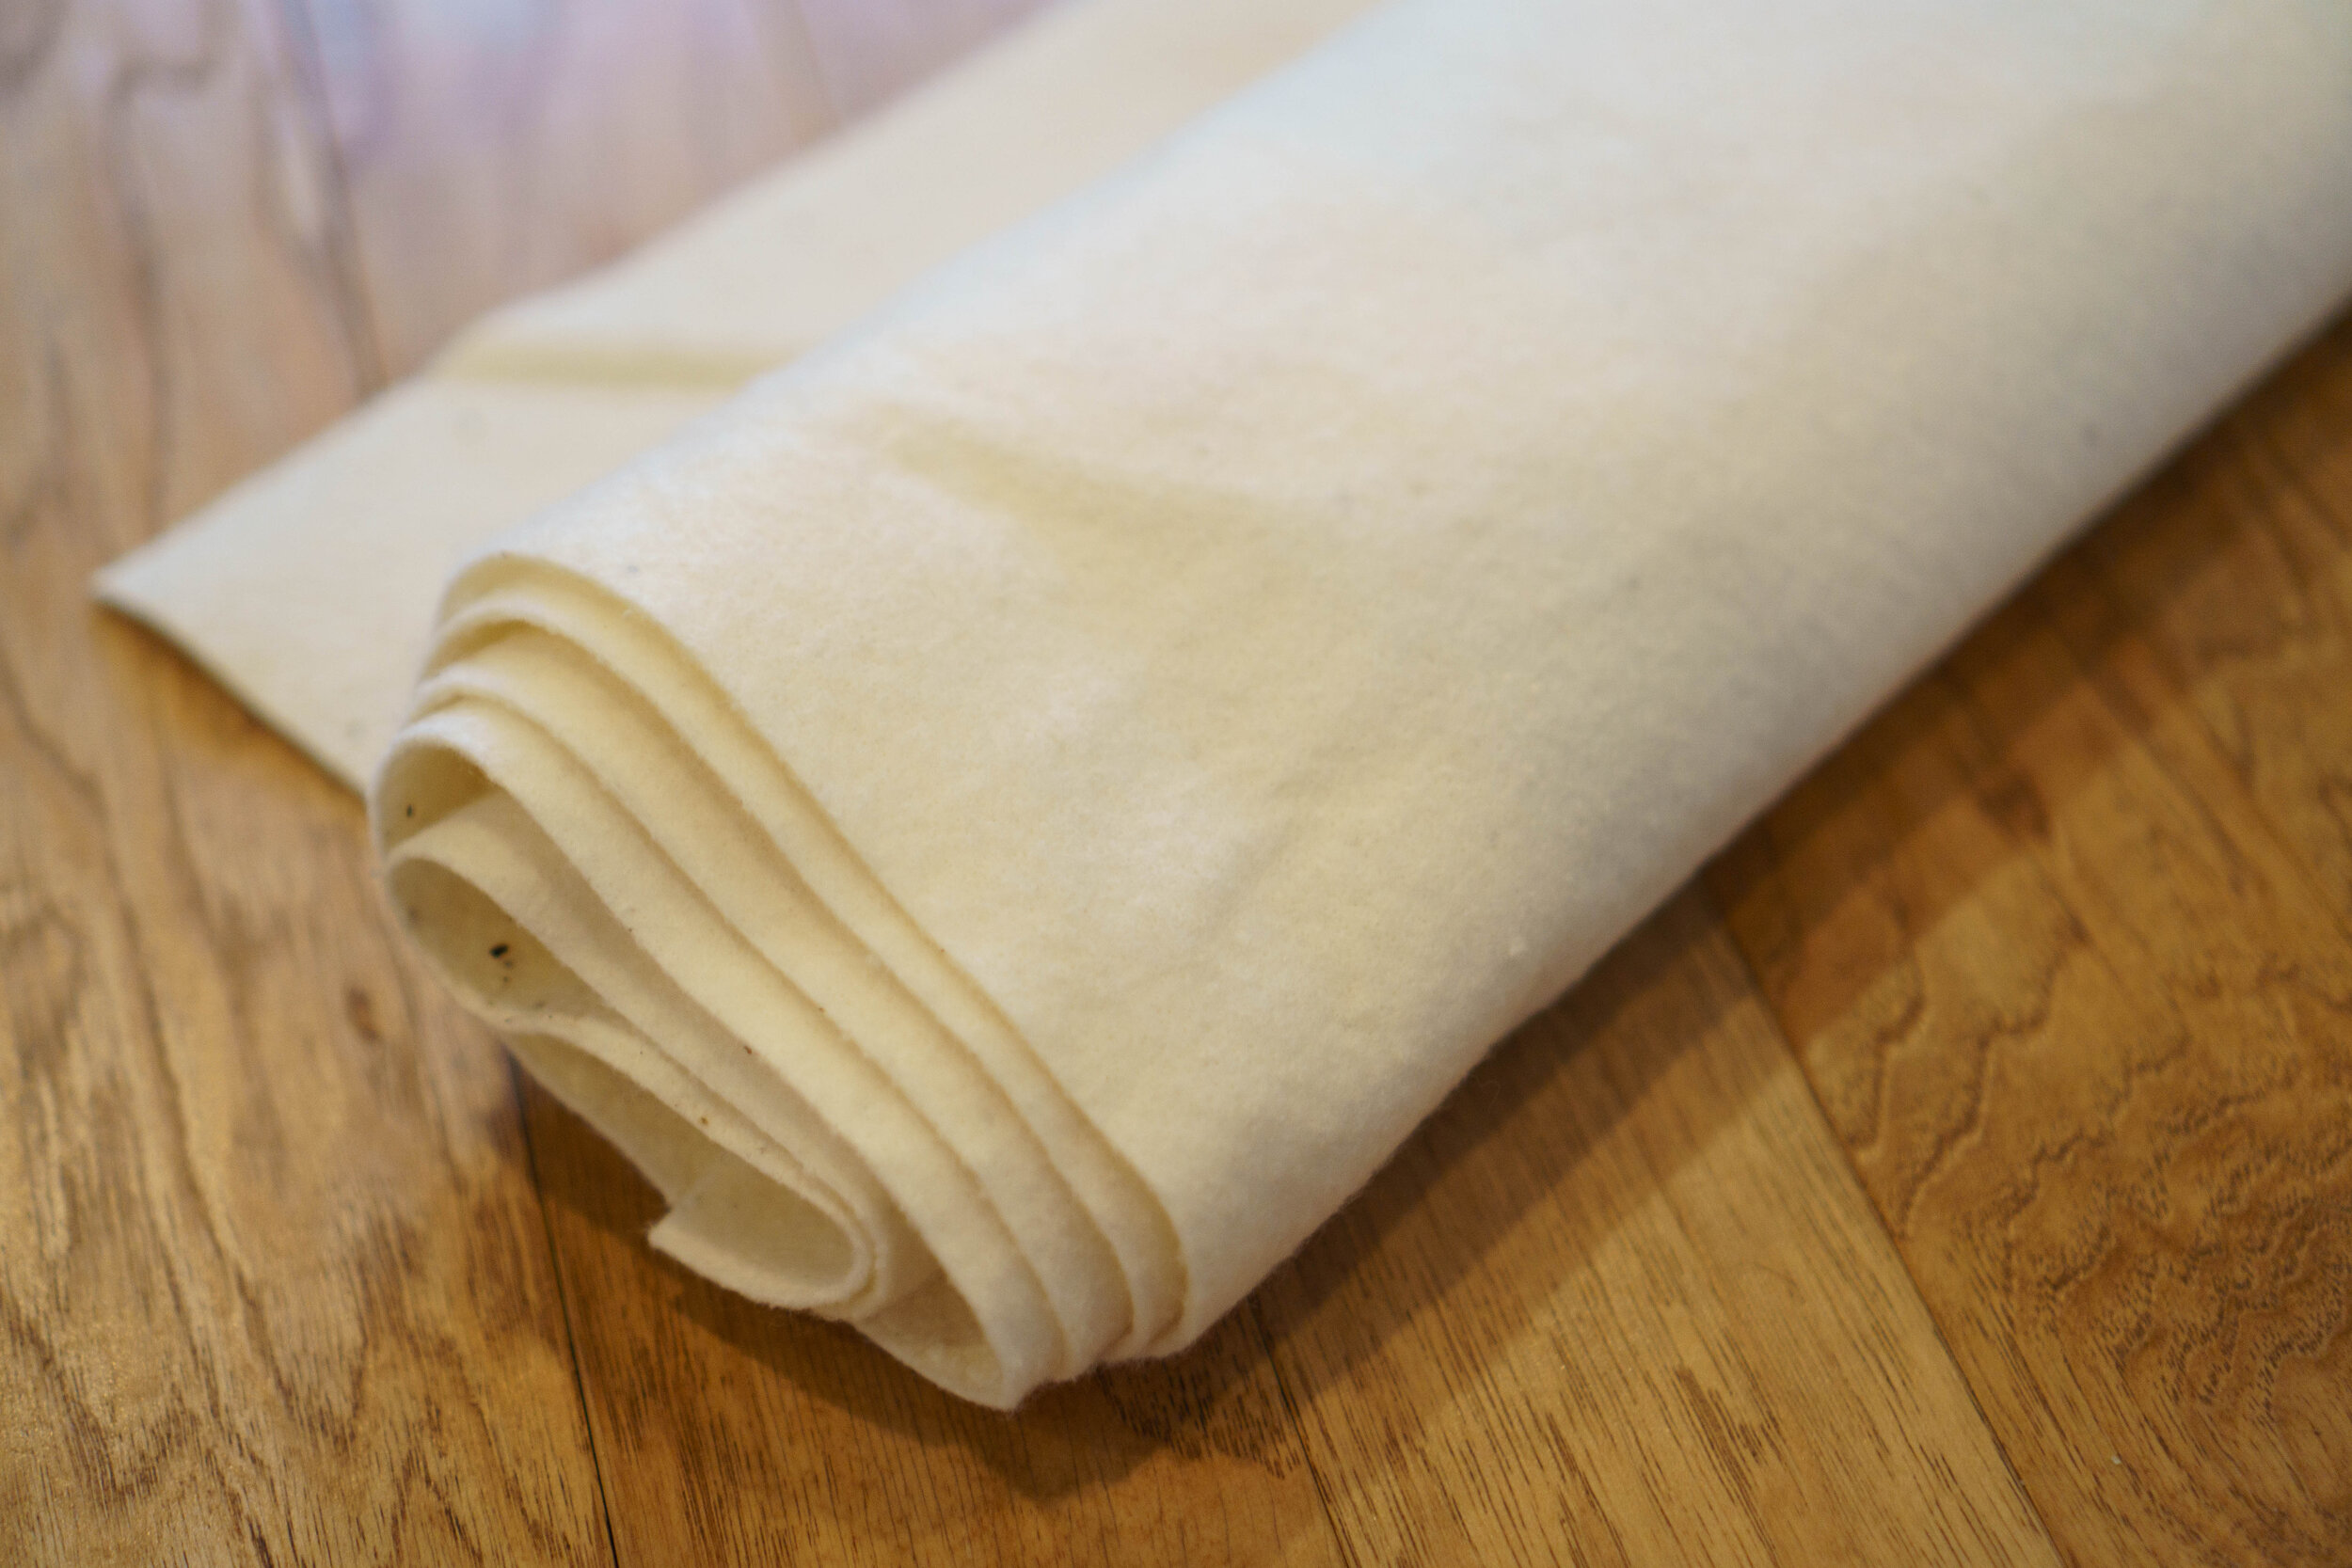
First, we make what we call the “quilt sandwich”. To do this, lay your batting out on the floor. Here is the exact batting I use. This stuff lays nice and flat and doesn’t have any variation in thickness like some cheap-o battings do.
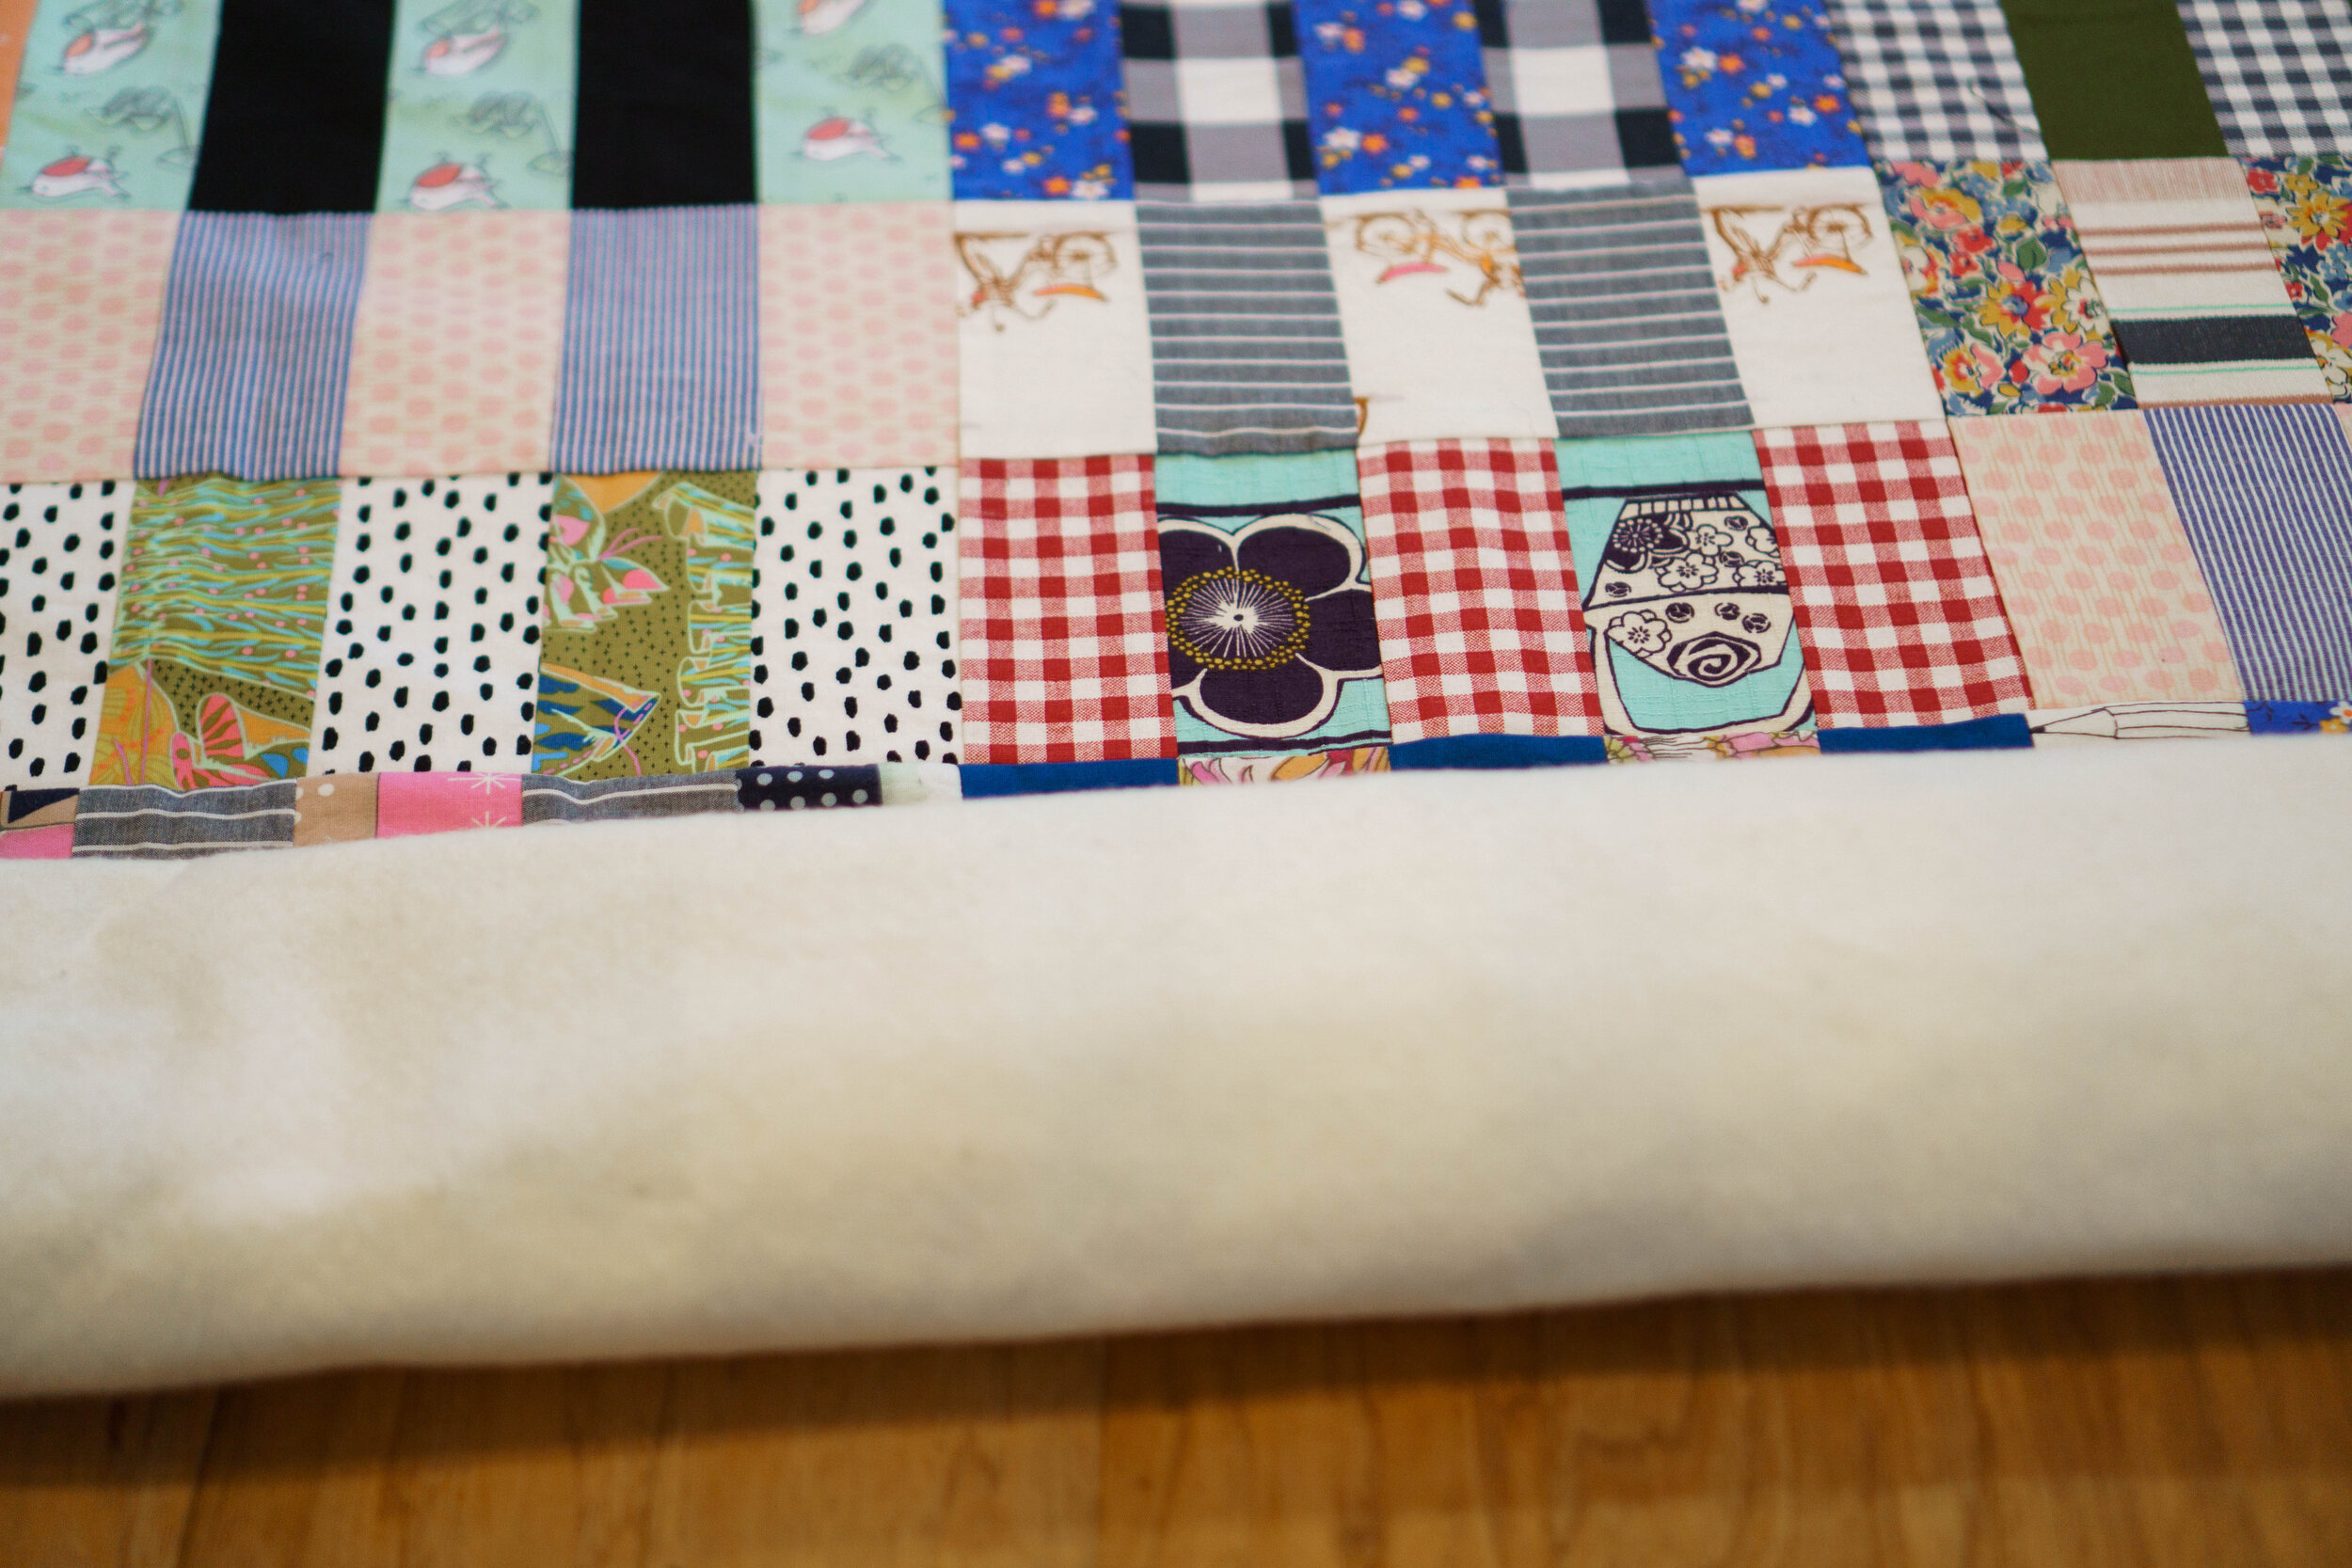
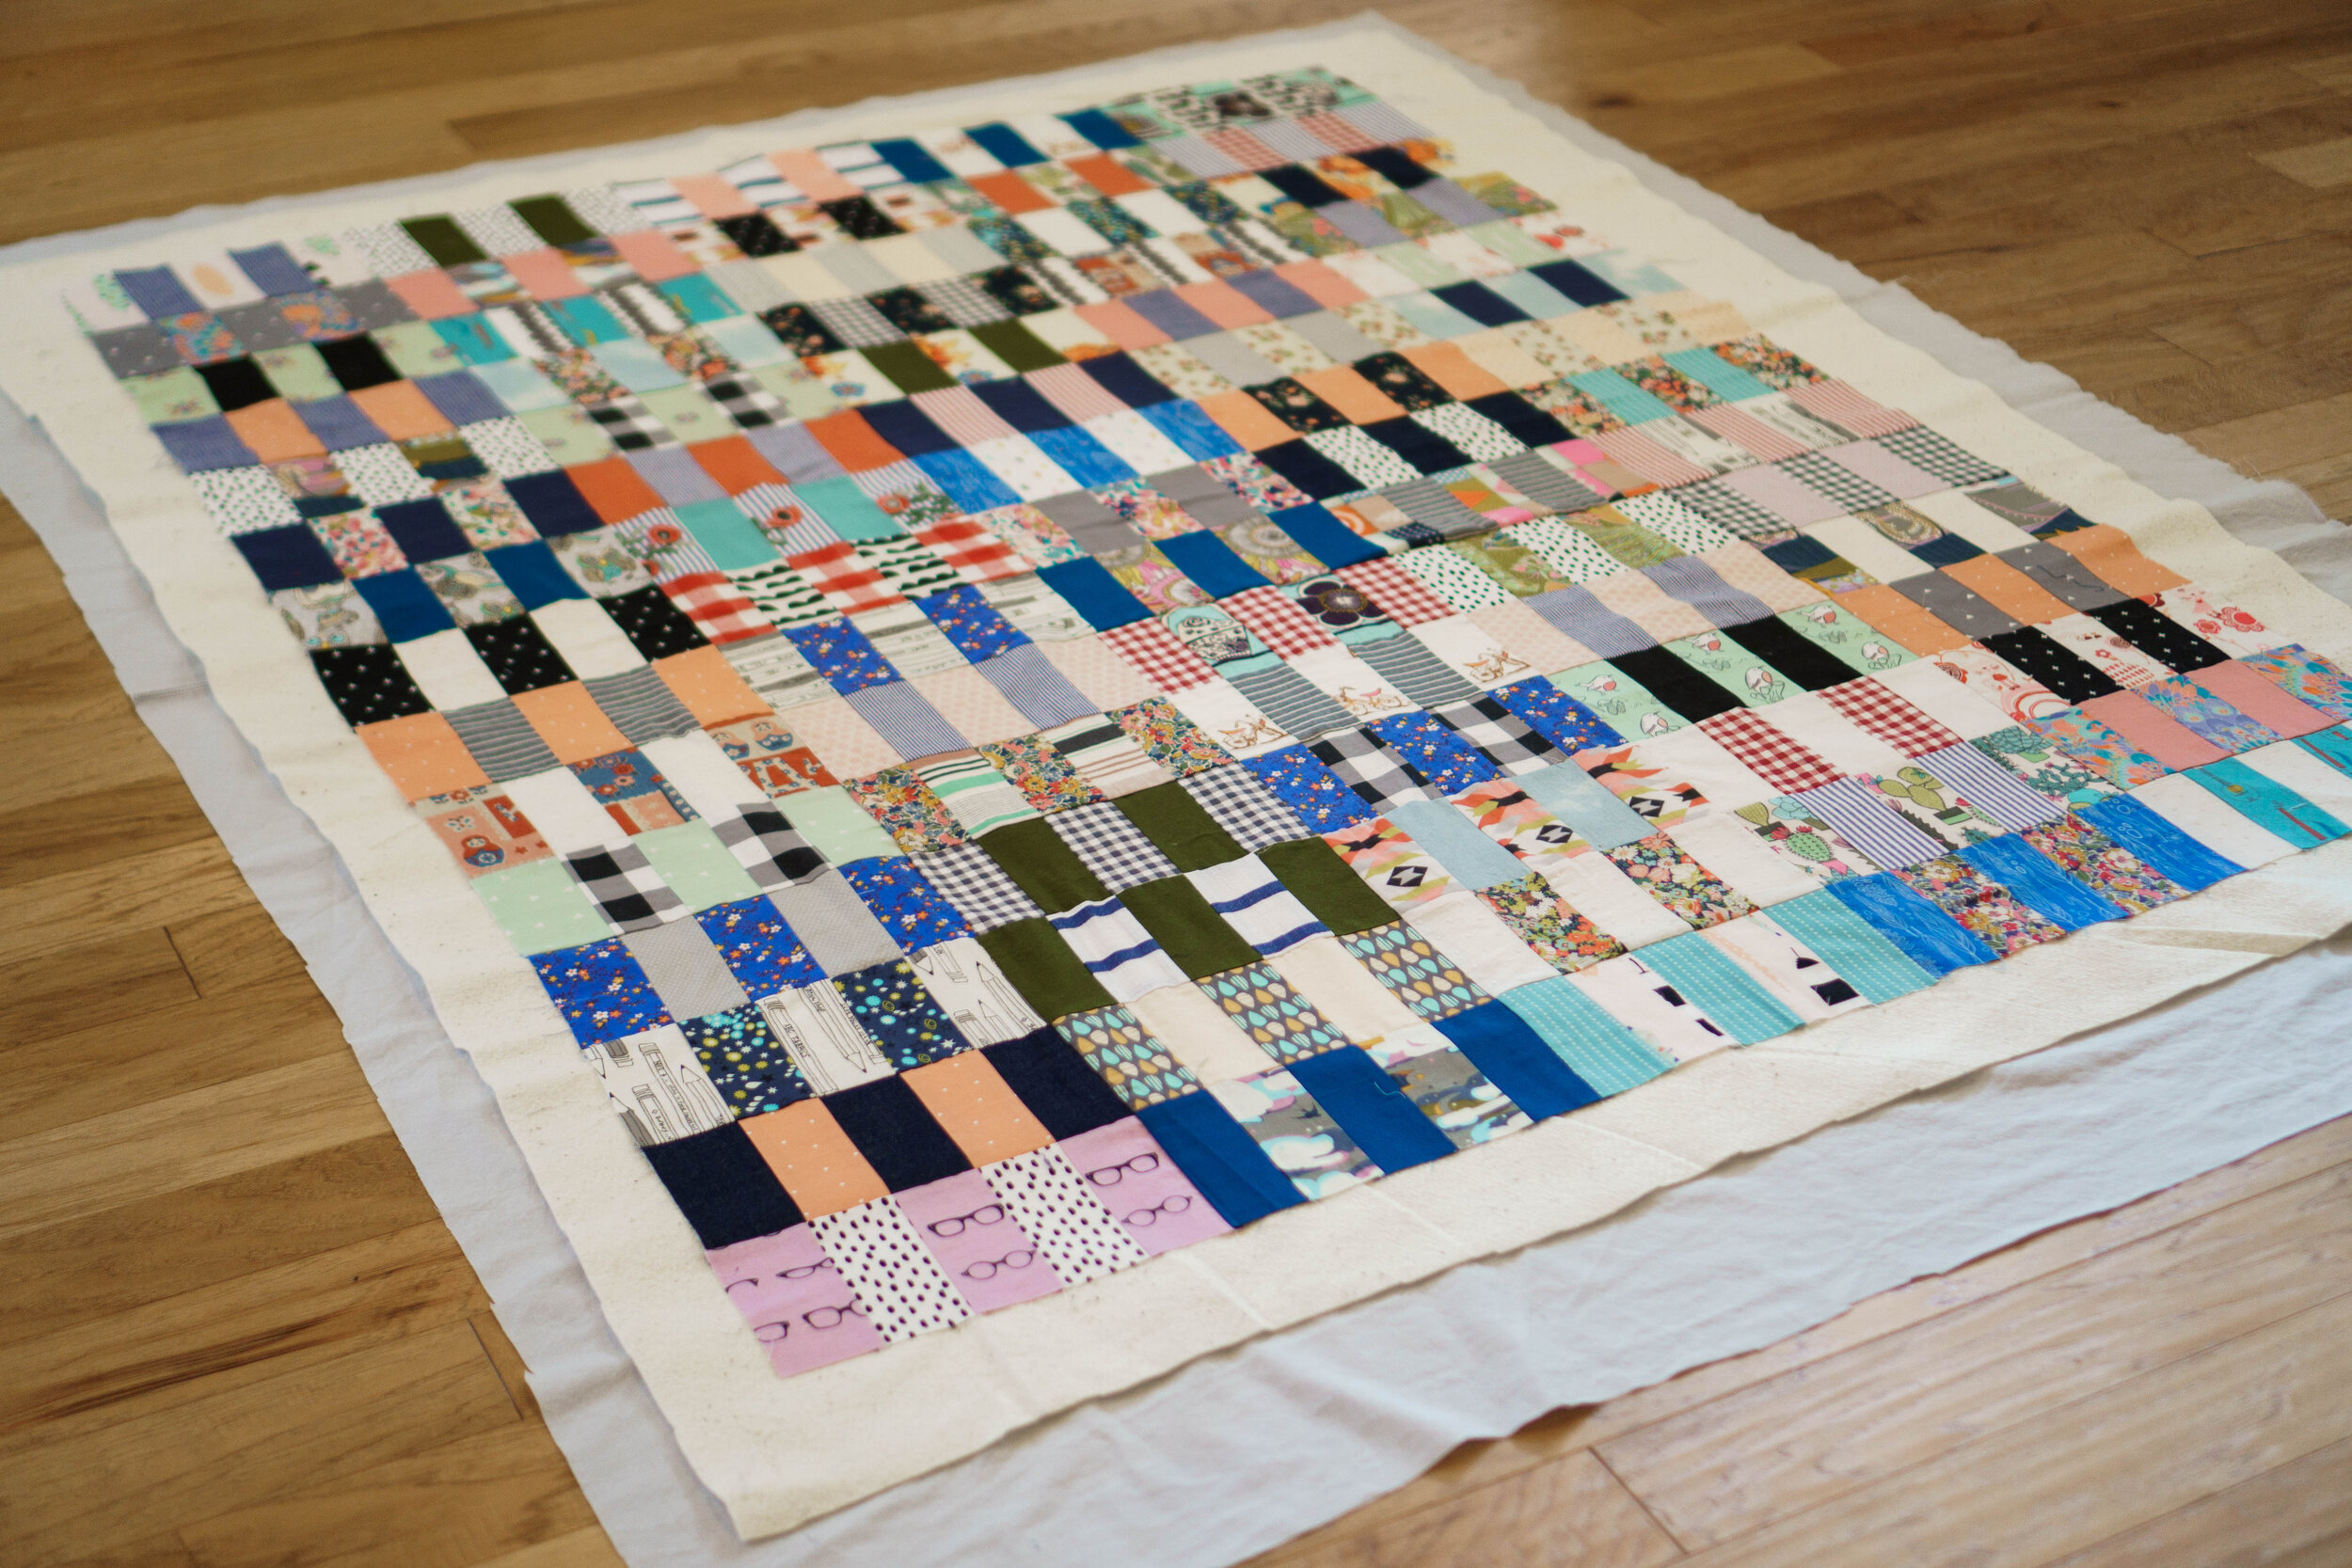
Next, lay your finished quilt top over your batting and smooth it out with your hands, from the center outward to the edges, until there are no wrinkles. At this point, roughly trim the excess batting away, a few inches from the quilt top on all sides.
Once you have it trimmed and smoothed, you’re going to gently roll it up from end to end and set it aside.
Then, get your backing fabric. I’ve backed quilts with all kinds of things, in various frugal ways. I’ve used a tapestry from Urban Outfitters, a vintage cotton sheet, a piece of thrifted denim. And I’ve most often pieced together fabrics that I already had on hand, adding pieces until I had a big enough backing. This time, I simply went with a solid color cotton from Hobby Lobby. I bought four yards of this blue/gray color. In order to make it the right size, I had to cut it in half and sew the long ends together. So my quilt backing has a center seam. Whatever you decide to use, press it nicely and lay it out on the floor.
Sometimes I use painters tape to make sure my backing fabric stays smoothed out, but for a small quilt like this, I don’t find that necessary.
Once you have your backing all nice and flat, place your rolled up quilt top/batting on one end and carefully unroll it onto the backing. Once again, smooth everything out with your hands, feeling for any wrinkles happening underneath. Once you have it all flat, trim away the excess backing fabric, again leaving an inch or two past where your batting ends.
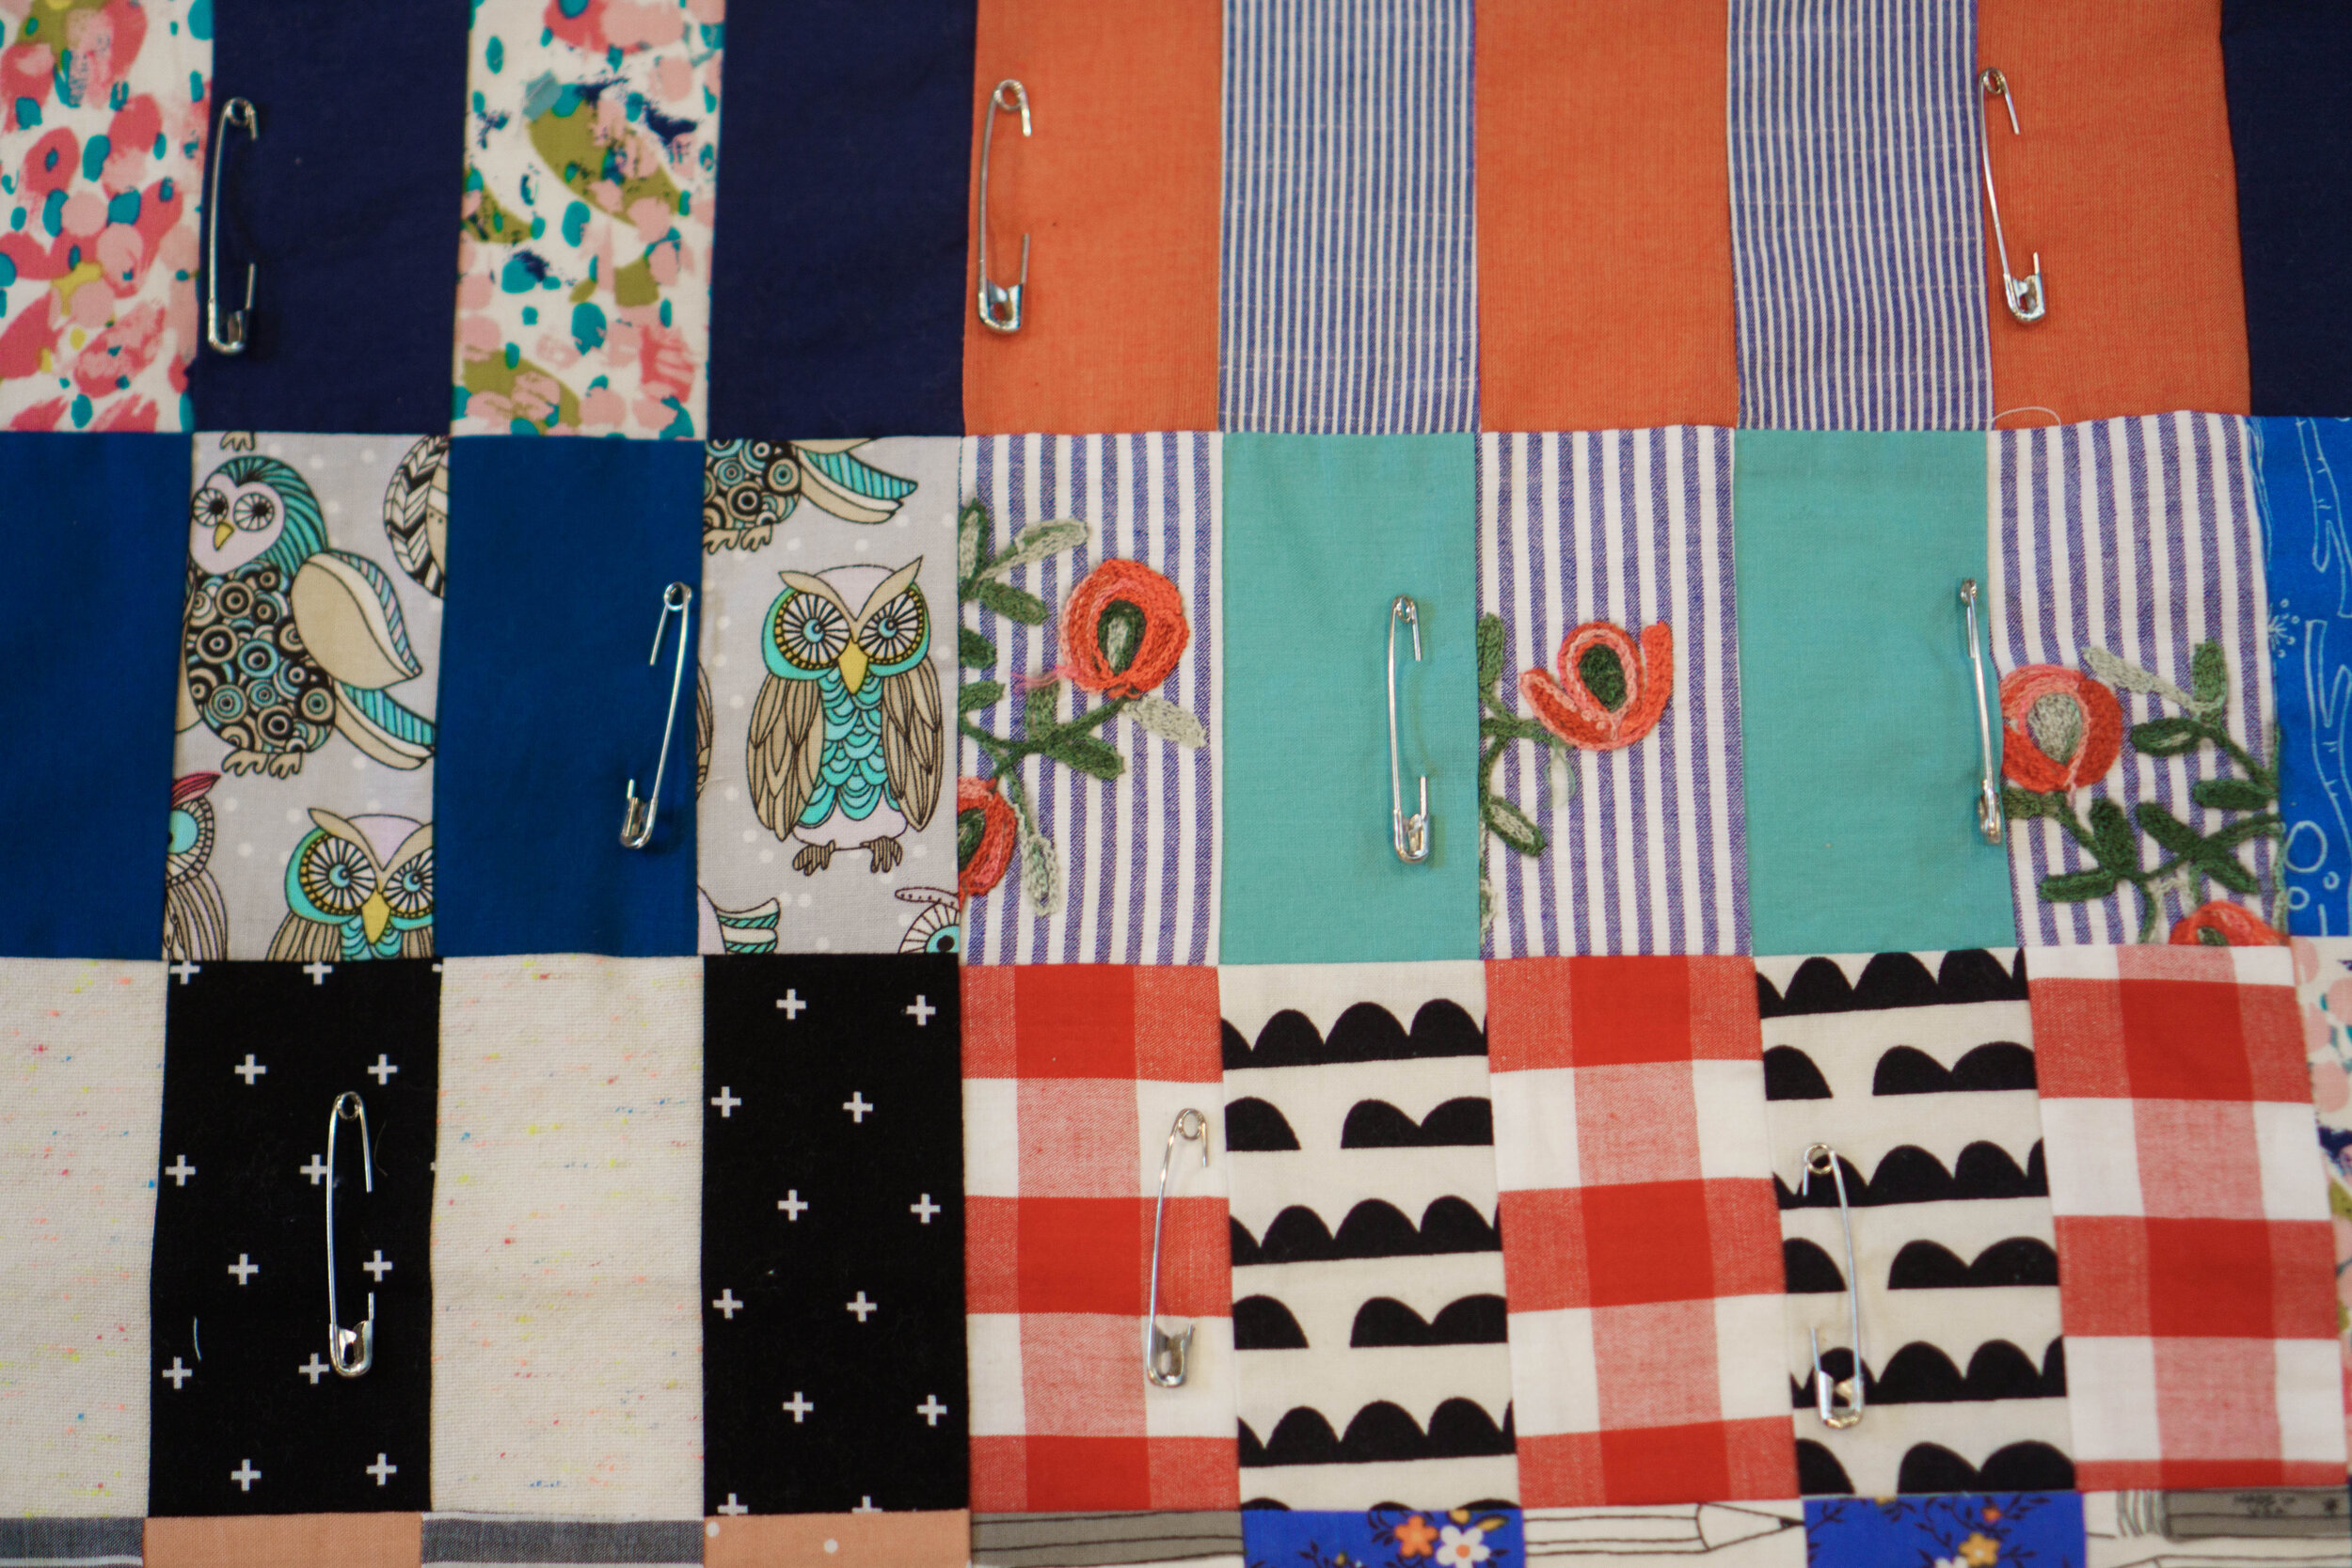
Now for pinning it all together. I use these large basting pins. Don’t use regular sewing pins because you’ll stab yourself constantly when sewing it all together. Cheap safety pins aren’t recommended either because they may leave black marks on your piece and that would be a big bummer. You want to get the right tools for the job! Quilting pins are nickel plated so they won’t ruin your fabric.
Still working on the floor, start pinning your quilt sandwich, working from the center outward, and placing pins around 4” from each other. Below is how part of mine looks after pinning. You can see I didn’t place pins right in the center of my rectangles. This is because I plan to sew through the centers, so this will prevent me from having to remove one every couple of inches.
When you’re all pinned, you’re ready to start quilting! The quilt is quite bulky, so to make it easier to maneuver, roll the quilt on each end so that just the section you’re going to start working on is visible. We always start quilting in the center. For straight line quilting, this means we’ll start with the line that goes right through the middle.
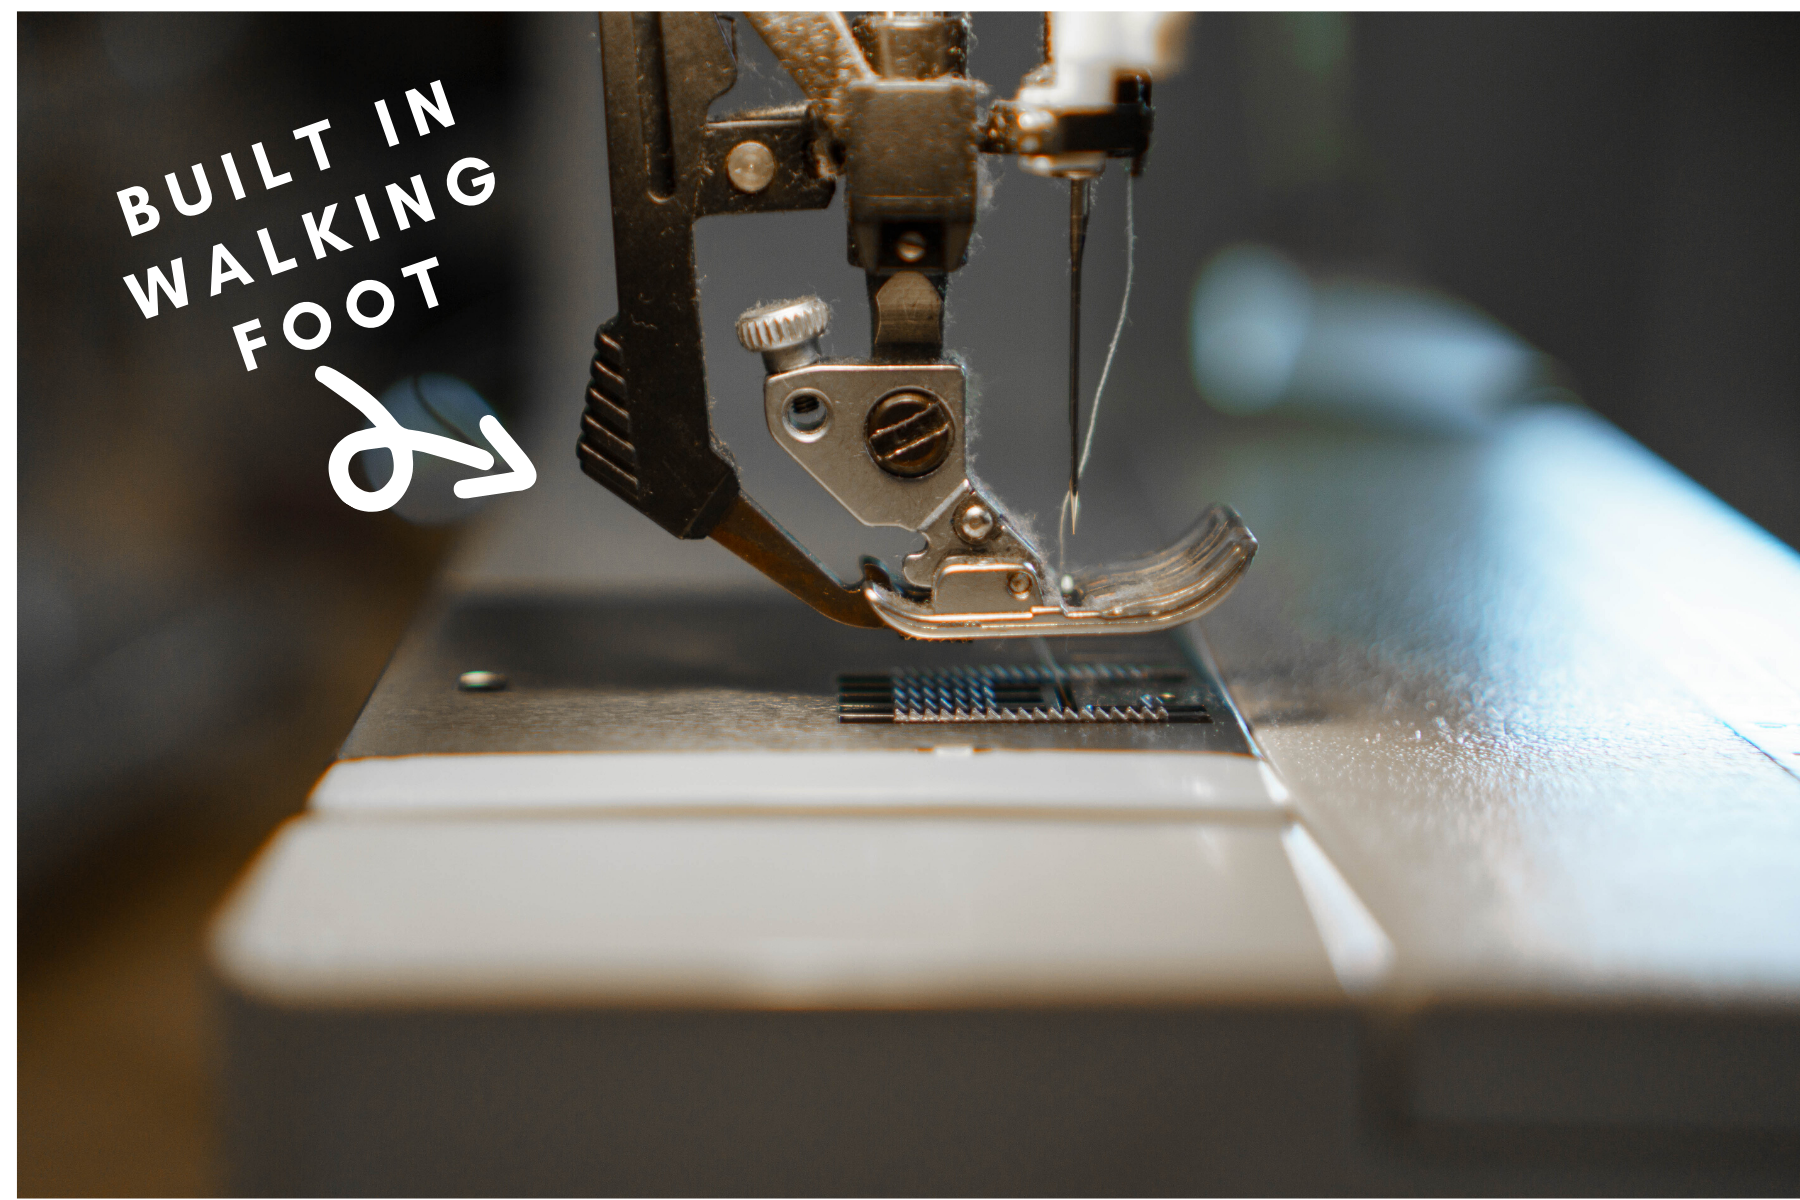
For quilting, there are some tools that you absolutely need and one of those is a walking foot for your machine. If you don’t have one, don’t attempt this next part before getting one. A walking foot moves the top fabric along at the same speed the feed dogs move the bottom fabric along and since you’re working with layers of fabric and batting, quilting without a walking foot will result in tons of puckering and will only end in frustration. My machine (a Pfaff) has a built in walking foot, but most machines will need the kind you put on yourself. They’re not expensive at all. Here is a universal one, but make sure you get one that fits your specific machine.
If you’re not sure if your machine has one built in, here’s what it would look like:
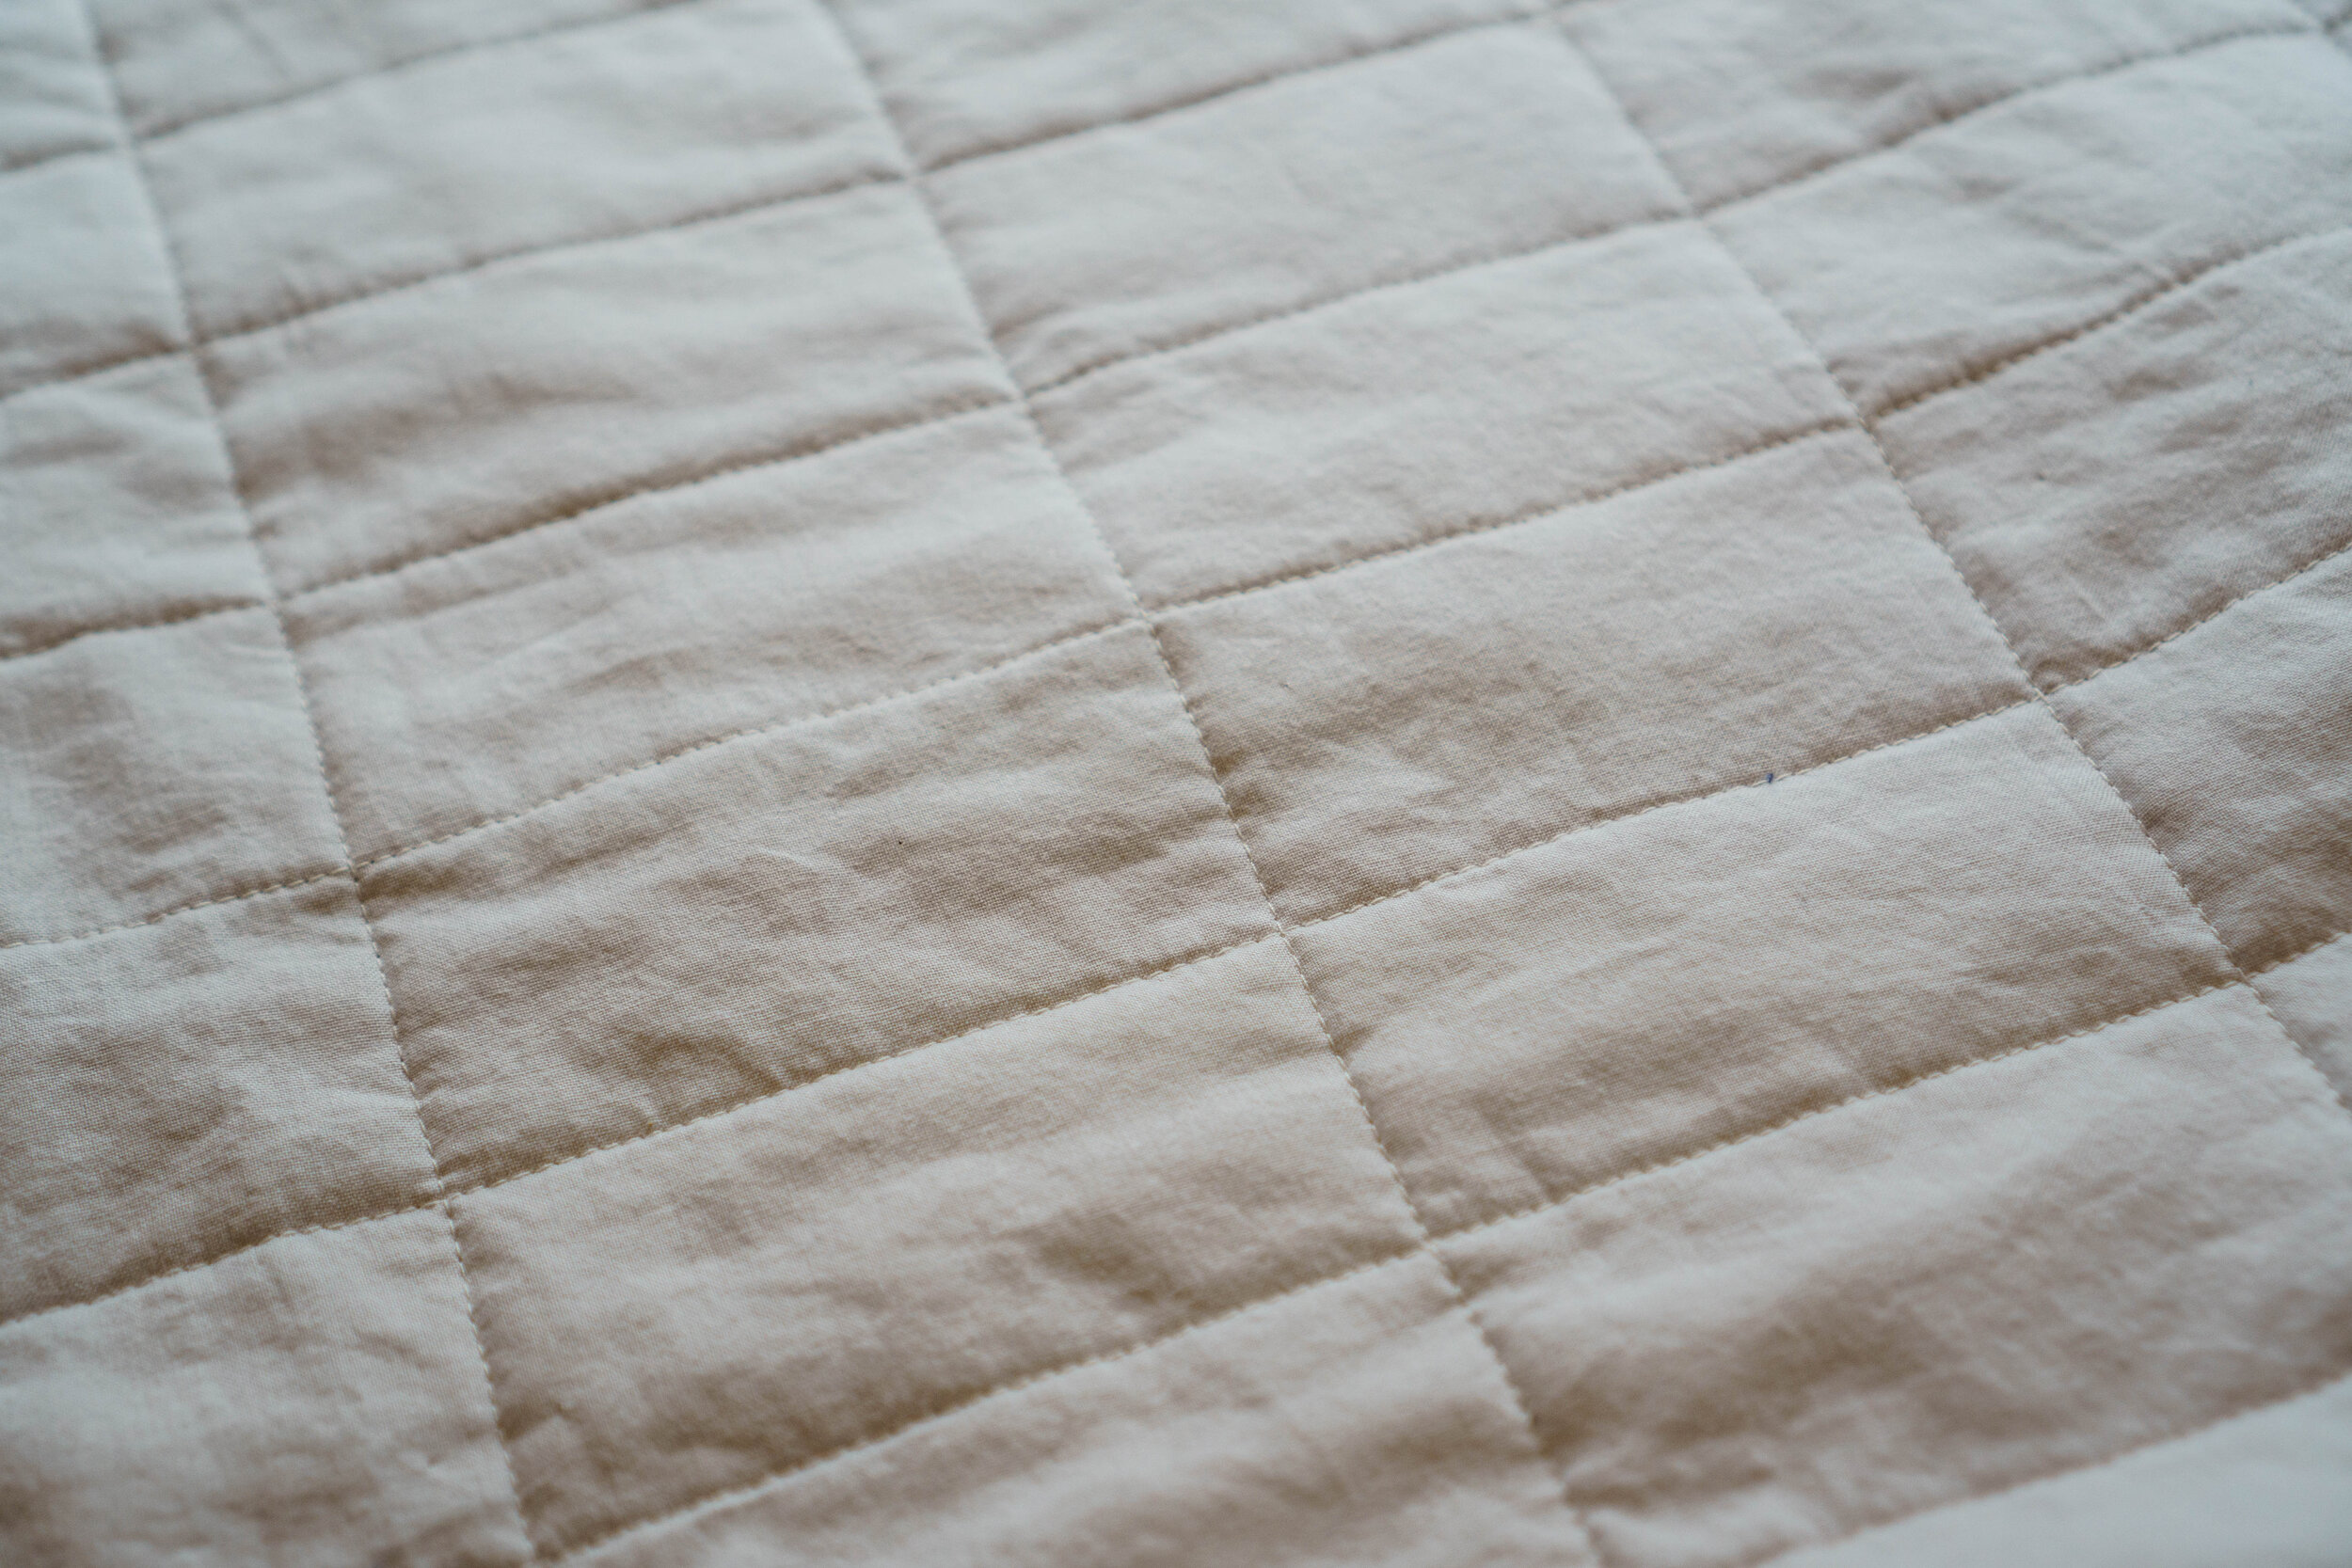
You have lots of options for the quilting part. I’m a big fan of straight line quilting, I think it’s the fastest method (for me) and I like how it looks. For this quilt, I decided to quilt down and across the center of each row of rectangles, creating a window pane pattern in each rectangle. So I’m starting with the middle line of my quilt and sewing down all the horizontal rows first, unrolling the right end and rolling the left up more as I go. When I reach the end, I’ll re-roll it, turn it around and sew my lines in the other direction until I reach the opposite end. As you quilt, remove any pins that are in the way.
Each time you start and stop a row, start and end on the batting, a little bit off from the quilt top. As you go, check the back every now and then to make sure you’re not getting puckers or folds! It’s easier to remove just one line than ten, if you realize too late that there’s a problem.
You’ll notice I did not mark my lines. I’m totally eyeballing it, just aiming for the center of the row. If you don’t trust yourself to do this, you can of course mark your lines or use the seam guide that goes with your machine. It looks like this. If you choose to mark it, I would stick to white chalk only. I’ve had colored marking tools of all kinds stain my projects, so I’m leery of them all at this point.
After I sewed all my horizontal lines, I removed all the remaining pins and then rolled it up and sewed the vertical lines in the same manner.
My little quilted window panes look so pretty!
The last step before binding is to trim off the excess batting and backing with your rotary cutter and ruler.
You’re almost done!! I’m loving my little scrappy lap quilt, I think it’s so fun. I’ll be back in a few days to finish this series by showing you how to attach and finish the binding.
See you in a couple days with the final steps!
Cheers :)











Learn to hand quilt with minimal tools and without the perfectionism!