
DIY Quilted Accent Pillow (For our new guest room!)
We have overnight guests pretty often, especially since we move a lot and don’t live near family. In the past when we’ve had guests, we’ve shuffled kids around and tried to make them as comfortable as possible, but that often involved an air mattress, and/or not much privacy. Our guests were so sweet not to complain, but I can’t tell you how happy I am to now be able to offer them a comfortable space here in our new home!
This post may contain affiliate links, which means that while I am not paid to promote certain items, I will earn a small commission should you purchase items through these links. For more info, see my disclosure policy.

Our first batch of guests is coming this weekend! Just for one night, but we were happy to have an excuse to get this room in shape. We went ahead and ordered a queen size bed from Amazon since we’ve had good luck with the same beds we ordered for each of our kids over the past year. The frame is sturdy and modern looking and the mattress is very comfortable (no box spring needed!)
The bedding and lamps came from T.J. Maxx. I hadn’t really shopped there before, but I found super high quality, beautiful bedding for a really great price! I’m quite picky about bedding. I want cotton everything, no polyester and no microfiber. Ever wonder why hotel duvets make you sweat?? That’s why!
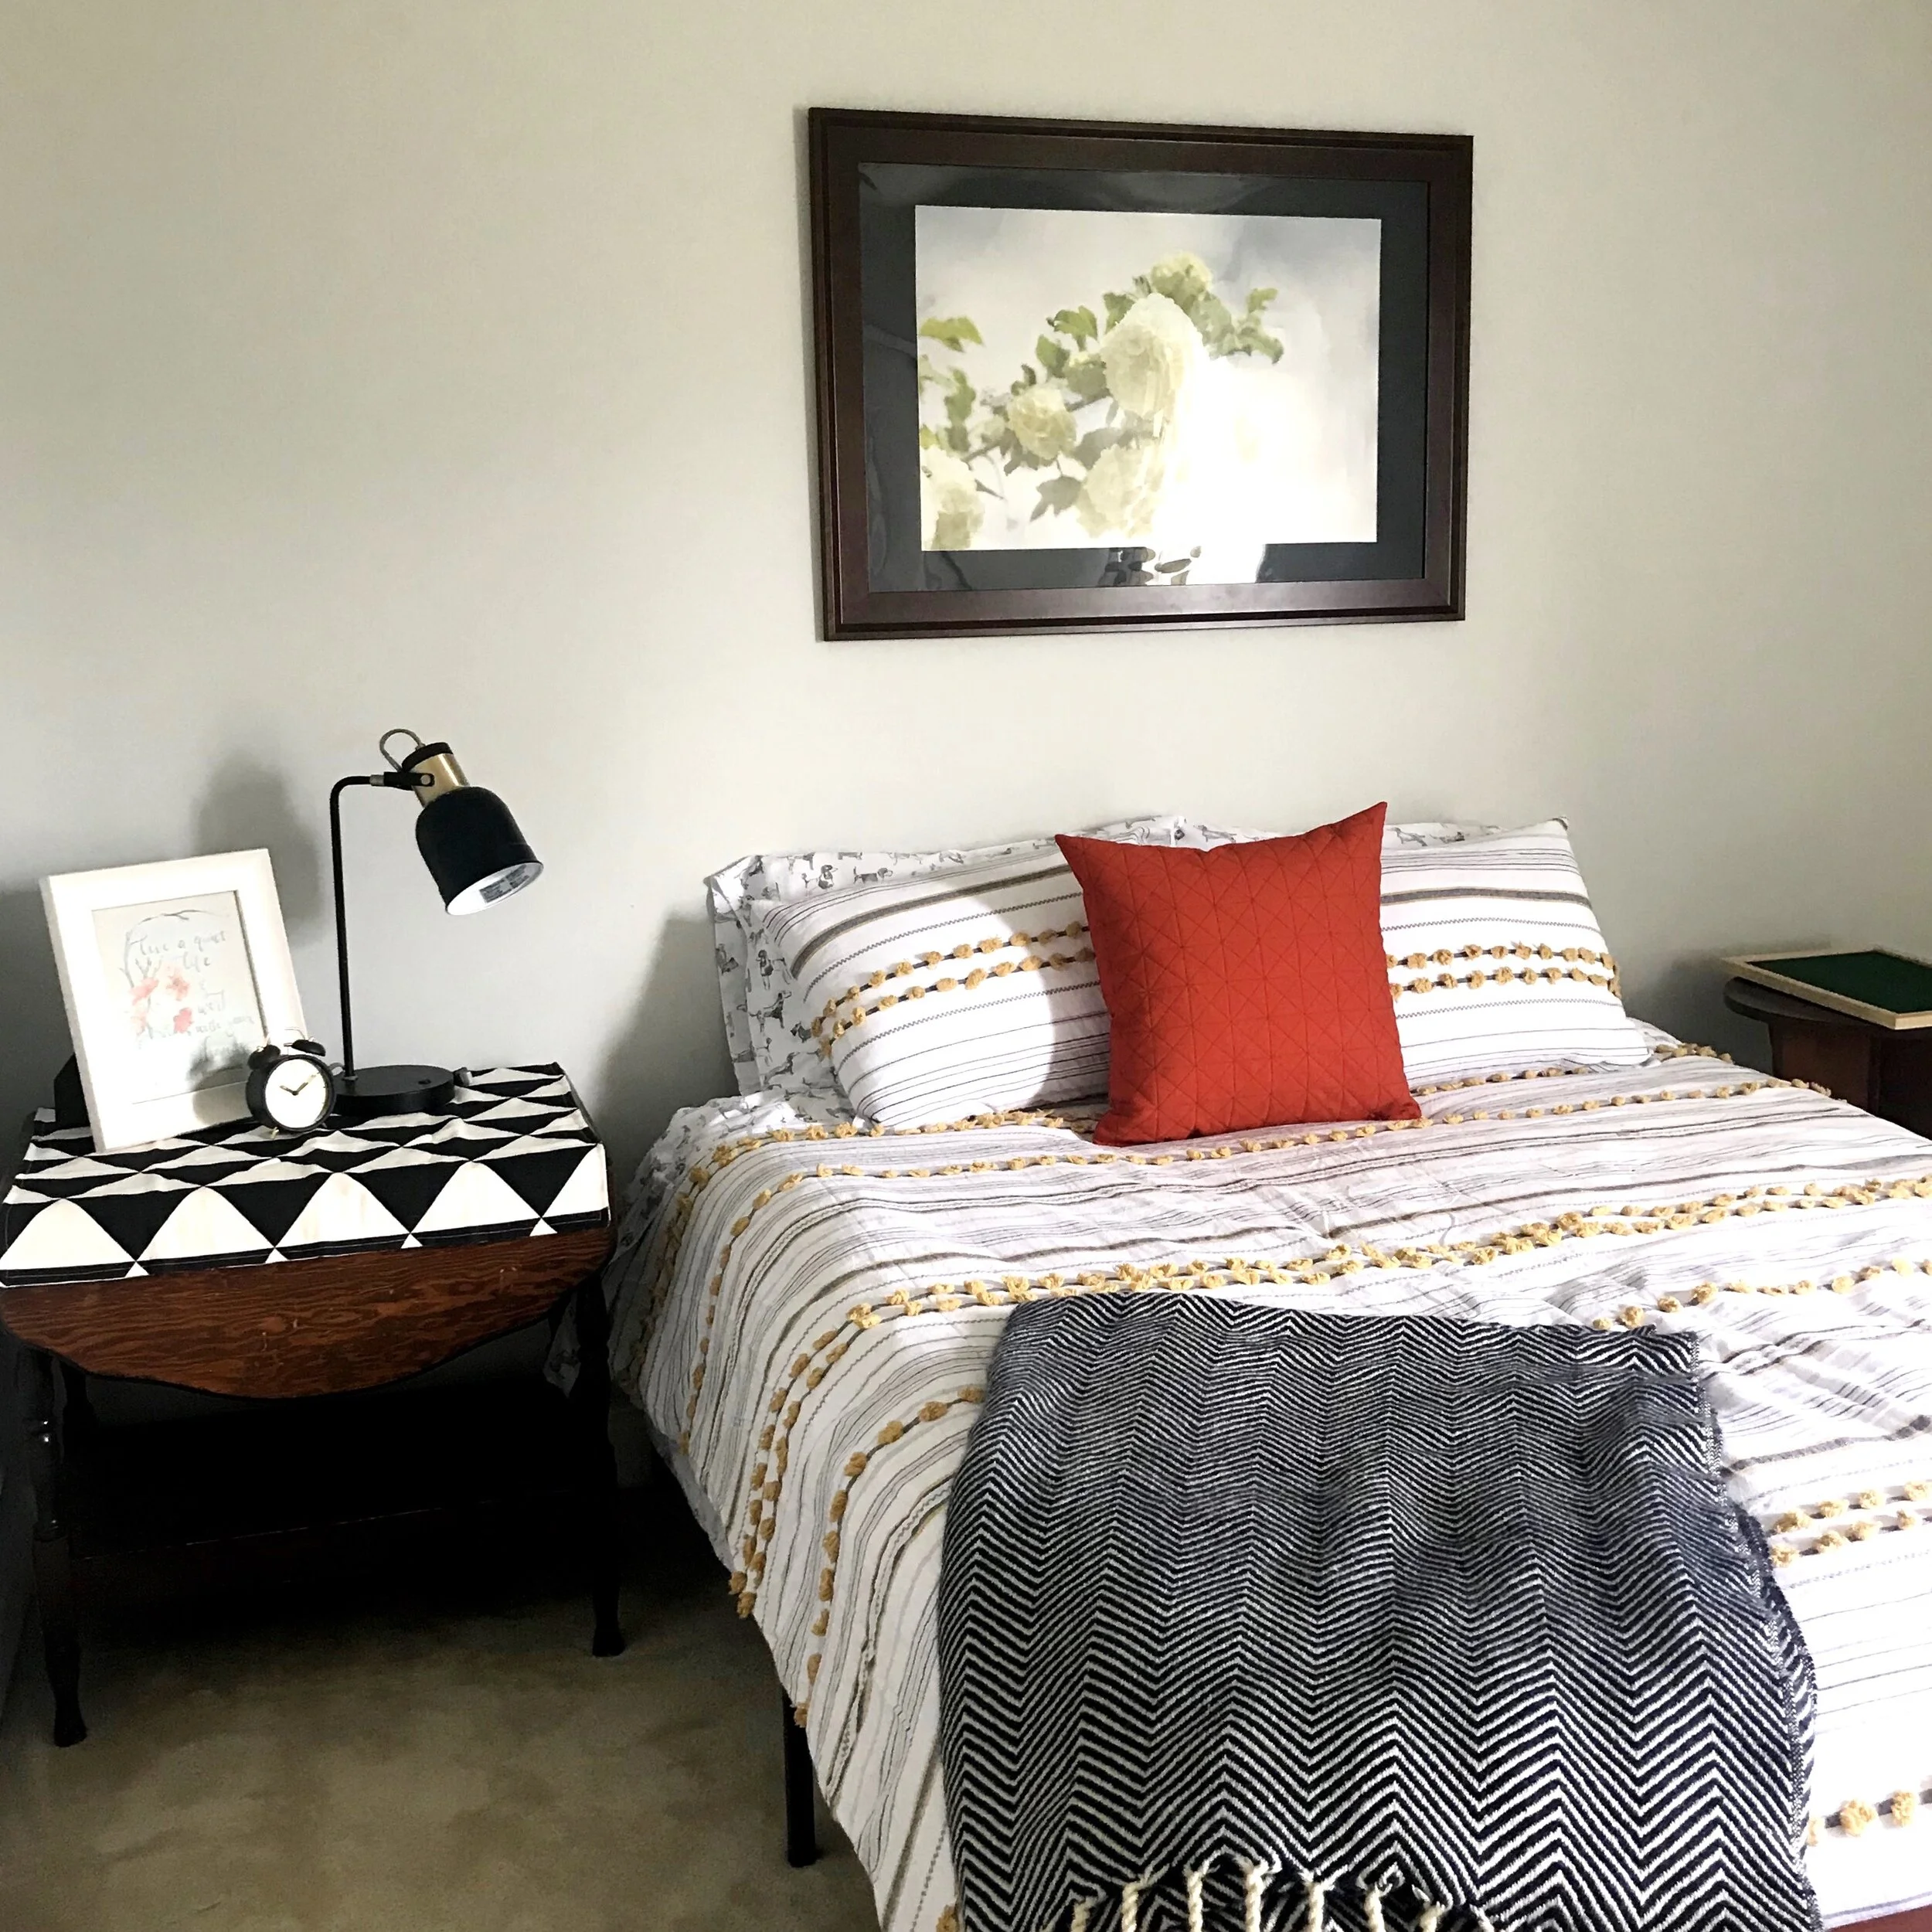
We already had the rest of the elements in our home, we only had to add the smaller side table, which we thrifted for $8. I made a curtain for the window using some Ikea fabric I’d gotten at my thrift store before we moved and held onto for such a time as this.
But, on to the pillow! I wanted a throw pillow, but we all know how pricey simple accent pillows can be! I had a couple of pillows on hand that we used on our covered patio in our last house, but they didn’t match the room at all. When I found some orange denim at the thrift store last week, I knew it was the perfect fabric to recover a pillow in and add a pop of color to the room as well.
I wanted to dress the solid fabric up somehow so I quilted the pillow cover with contrasting thread. Here’s a tutorial on how to do it!
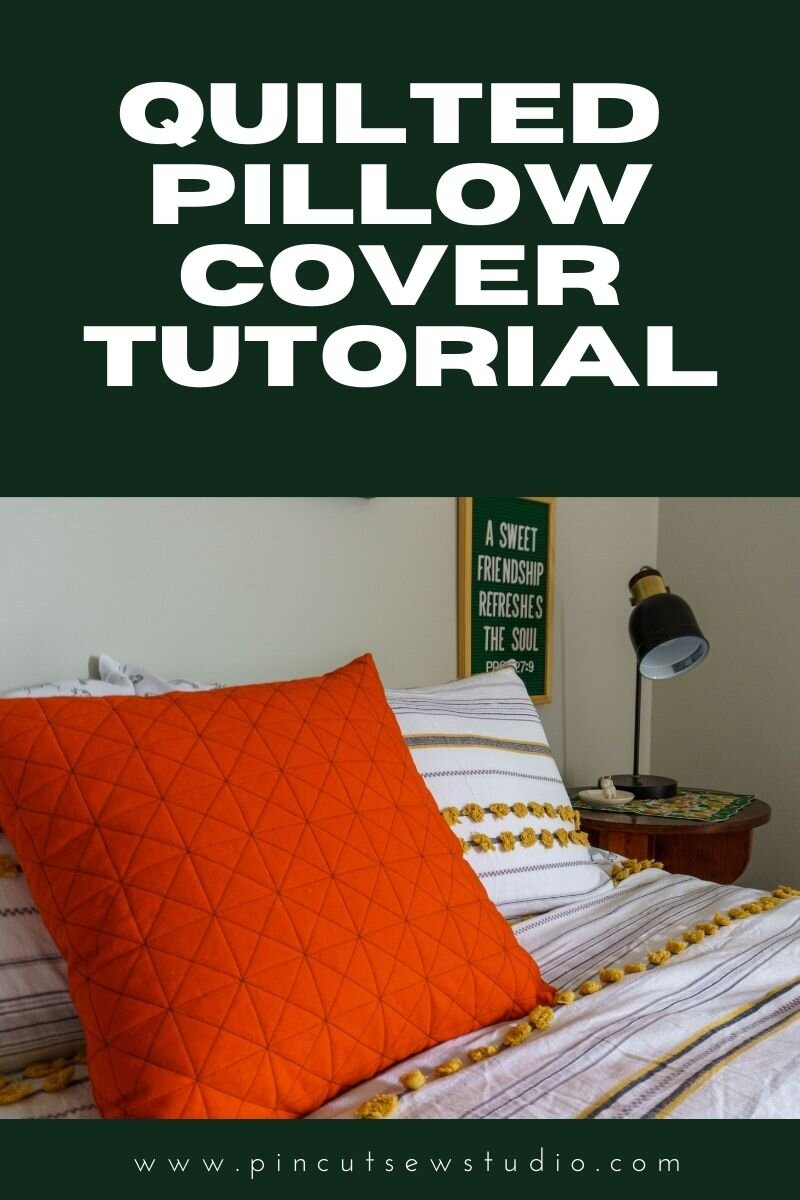
How to make a quilted accent pillow cover:
The first mistake many people make when recovering a pillow is to measure across the middle. The idea is to account for the poof of the already stuffed pillow or pillow form. But if you notice, pillows from the store are very fat and firmly stuffed! So to keep the super-stuffed pillow effect, you need to measure the pillow along the edges and make the pillow to fit exactly; no ease allowed! Mine was 19” square. I added an inch for seam allowances and cut my front and back pieces 20”.

I only quilted the front of the pillow and left the back plain. So the next step is to place your pillow front on top of a piece of quilt batting that’s cut larger than your pillow piece. Then, pin the layers together with quilting pins.
Note: I did not use backing fabric, but one of my machines had trouble moving the batting along, so I switched to a different sewing machine. If this happens to you, you can just put a piece of fabric as a bottom layer, sandwiching the batting in between the two before you pin it all together. You're less likely to have issues with cotton batting, but mine is a polyester scrap I had on hand.
Next, you’ll need to mark your first line. You can use whatever marking tool you like, but knowing I wasn’t going to wash this before I used it, I didn’t want to risk the chalk not coming off, so I marked my lines with masking tape. You want to start in the middle and work your way to the outside.

Start sewing your lines and then move the tape (if that’s what you’re using) to the next spot, or use several pieces of tape to mark all your lines in one direction first. My lines are 2” apart. You definitely need a walking foot! For quilting, a walking foot is non-optional. Without it, your layers will shift bunch up. My machine has a built in one, but if yours doesn’t, you can buy a walking foot to attach. They’re not expensive!

Keep sewing your lines until all the vertical lines are done, then do the same thing for the horizontal lines, again starting in the center. Here’s how mine looked after I had my vertical and horizontal lines:

I then sewed diagonal lines in both directions. I didn’t need to mark these, I just aimed for the next intersection. Start and stop your lines on the batting and you can avoid back stitching.
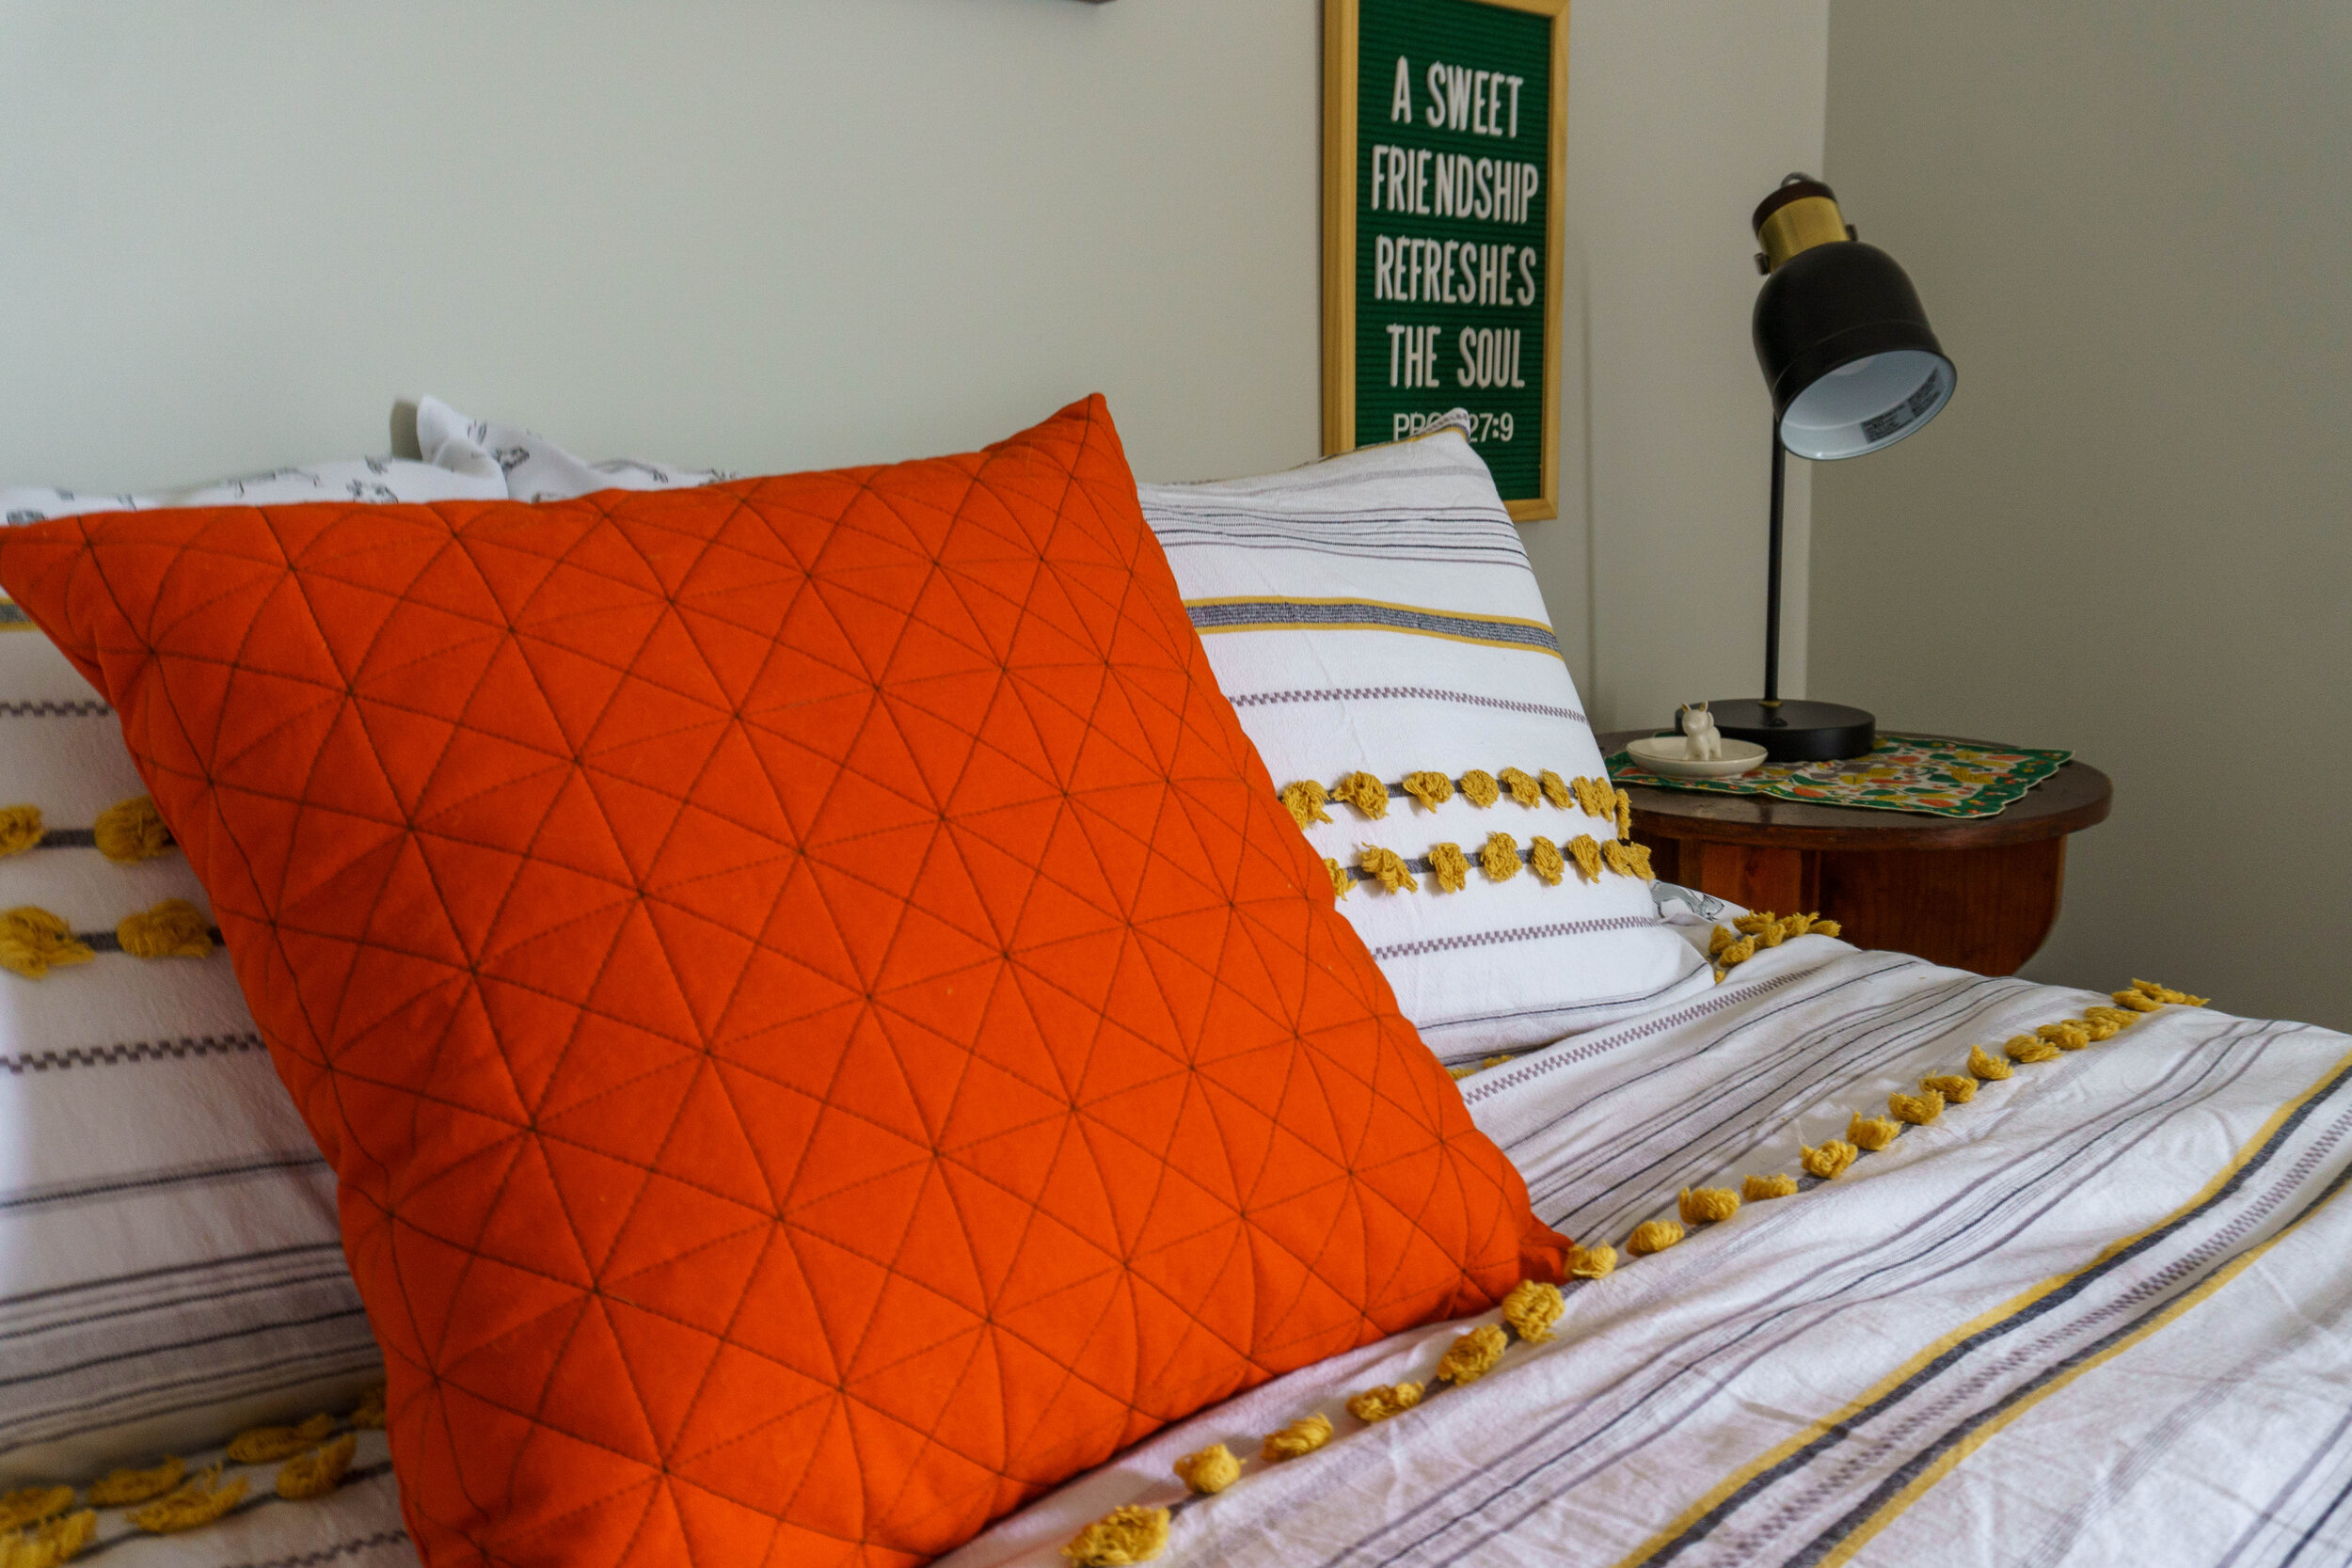
Tada! my top is done. I love how it looked with the contrasting thread.

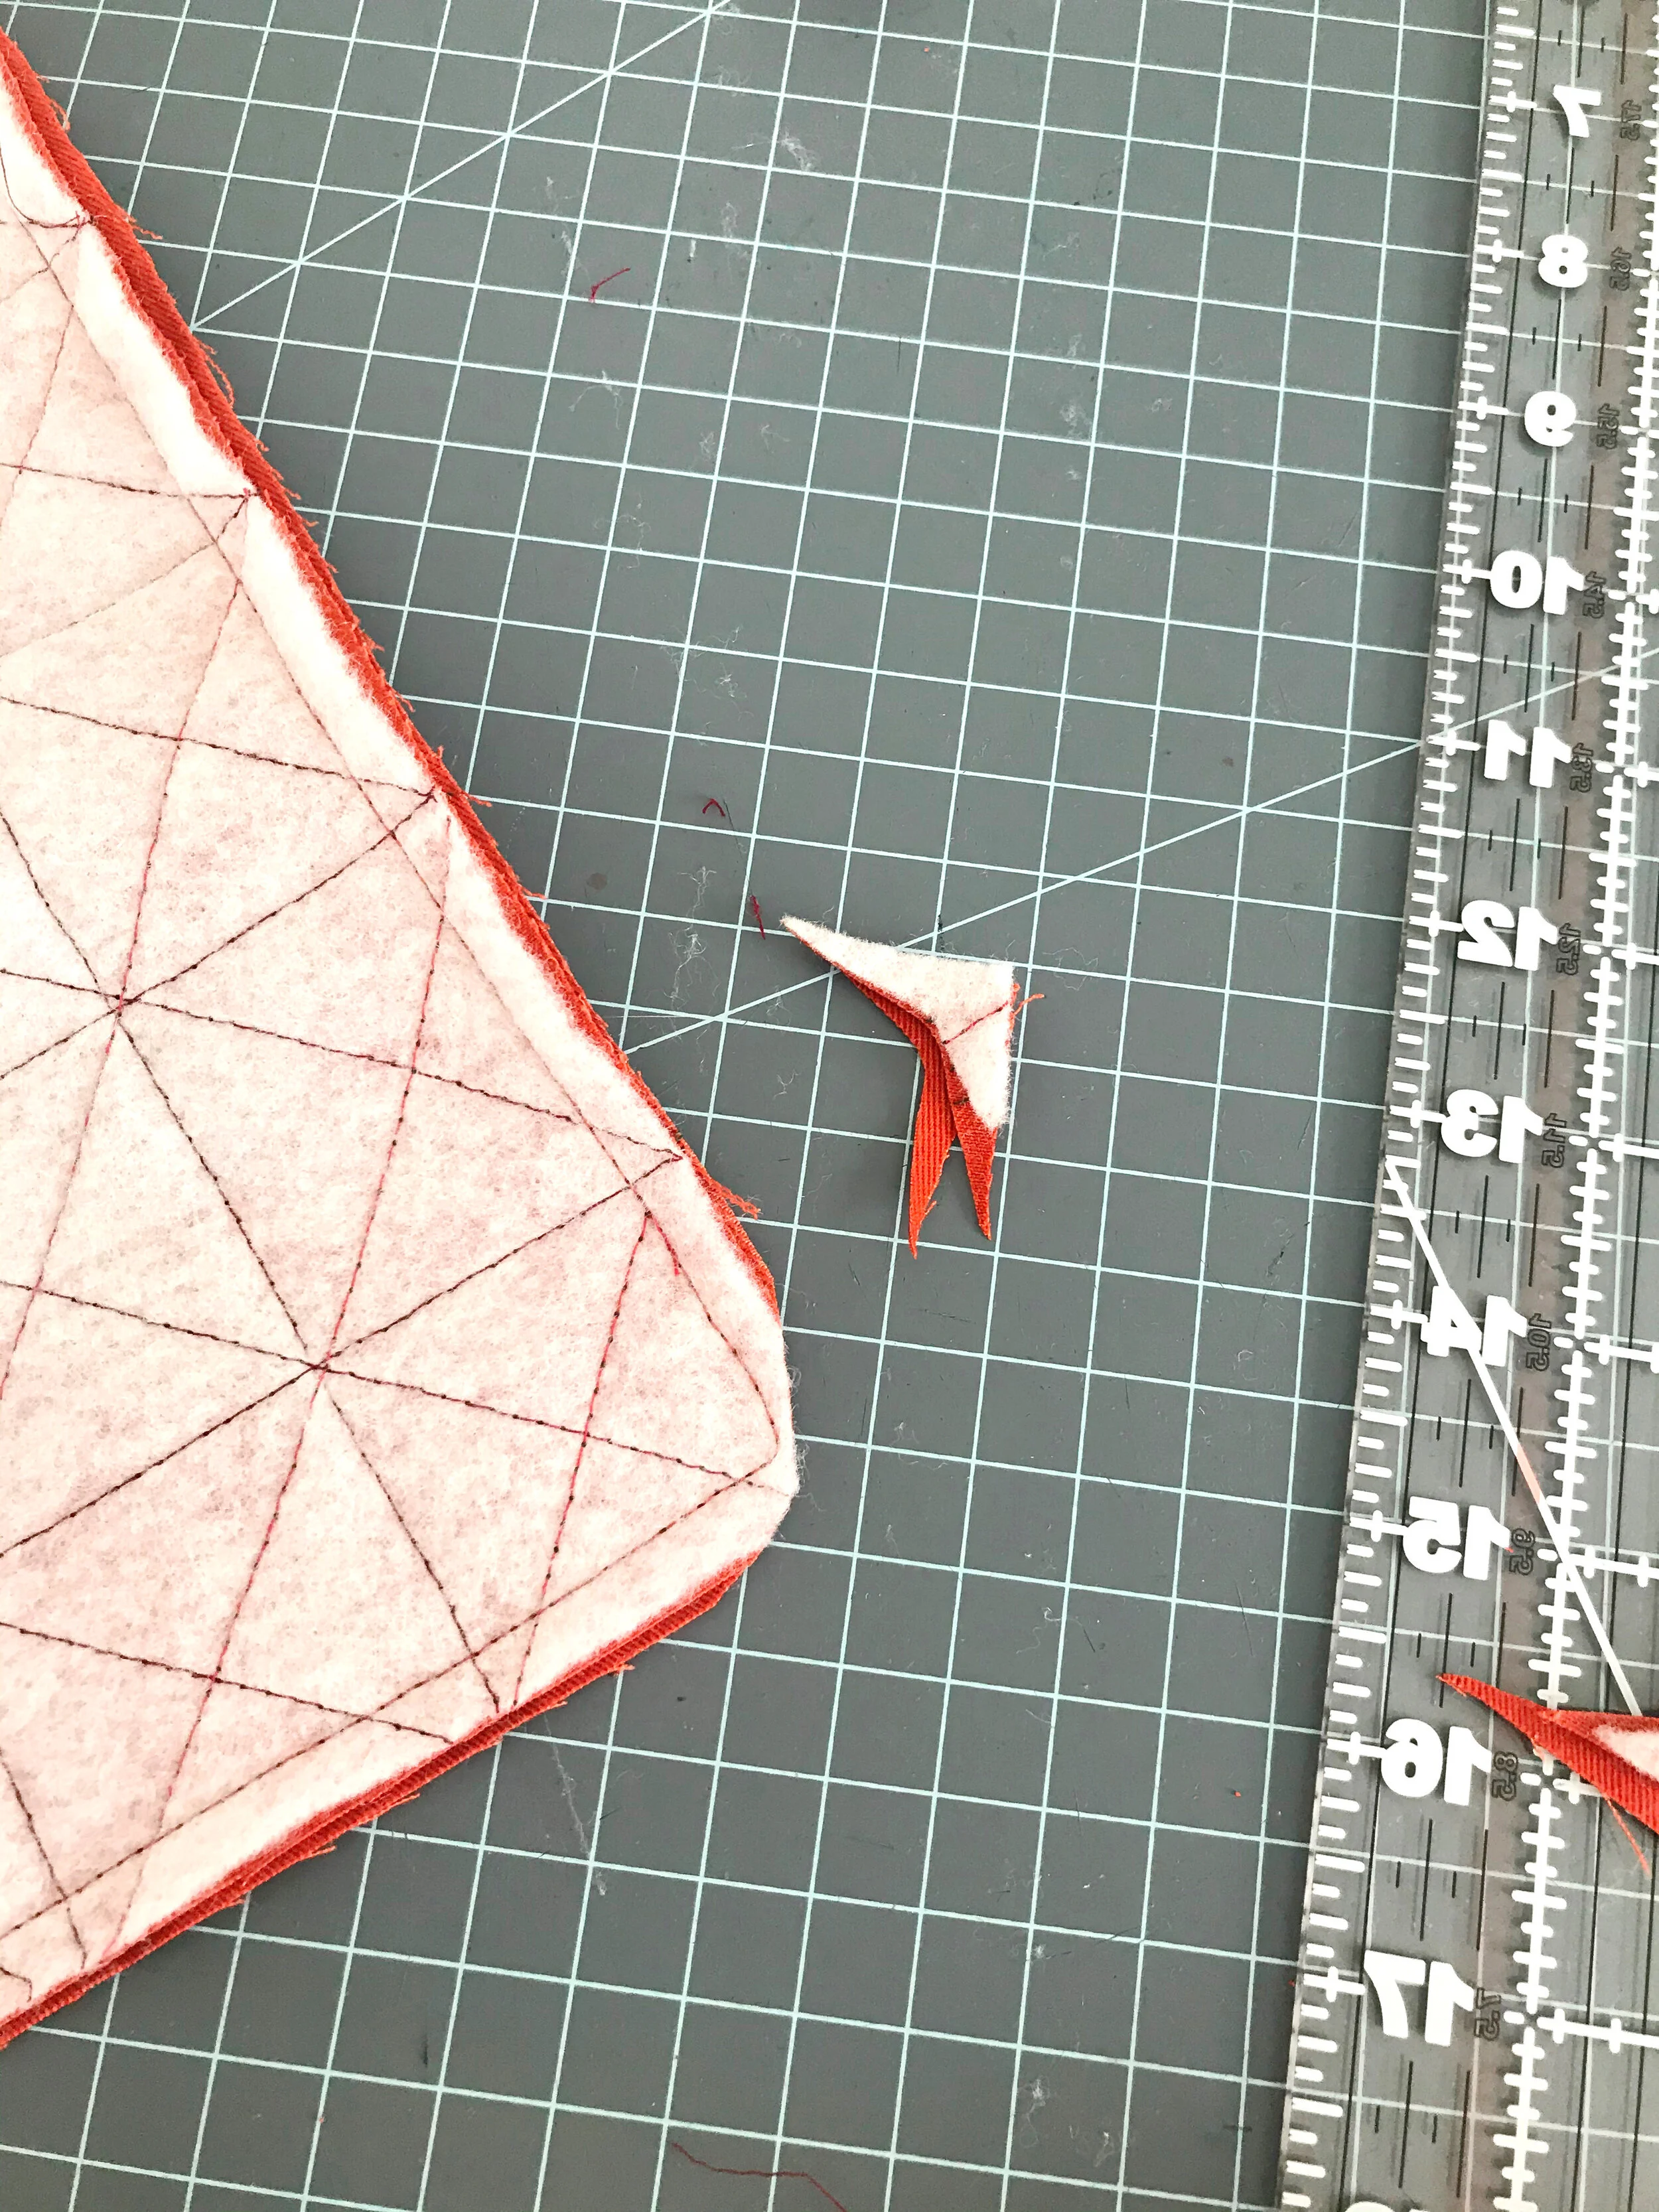
Now, you’ll need to trim the batting off and square it up to the original size you intended, using your rotary cutter and mat.

Then, place your finished front piece right sides together with the back. Pin them together and sew, using 1/2” seam and leaving a rather large opening on one side so you can stuff the pillow into it. I backstitch extra at this step because sometimes getting the pillow in is rough on those seams.
Clip your curves and turn your pillow cover right side out, using a chopstick to gently poke the corners out.

Stuff your pillow inside.
You may be tempted to close the opening by machine, but this is a mistake! It rarely works, even with a zipper foot and it if you get it across, it never looks good. The bulk of the fat pillow just makes a nice machine finish impossible.
Pin or clip that opening closed and hand stitch it closed, I promise you won’t regret taking the extra few minutes.
See how invisible my closure is?? It takes practice, but it’s worth it!

All done! I love the pop of color this pillow gave my new guest room! Such a simple way to update a pillow on a budget.
Cheers!


Learn to hand quilt with minimal tools and without the perfectionism!