Sensory Baby Block Toy Tutorial
I get to go to a baby shower this weekend! I love baby showers and I usually like to buy something off the registry and then make a few things to go with my gift. This time I was in the mood to make something different from my usual bibs, blanket, or burp cloths.
I landed on the most FUN handmade baby toy idea and it’s probably the cutest baby shower gift I’ve ever made! This baby sensory block toy is super easy to put together, it’s a scrap friendly sewing project and it leaves room for tons of creativity in adding all the cute, fun elements.

I not only filmed a free video tutorial for you, I also created a convenient printable version of this sensory baby block project, which you can grab from my shop or on Etsy if you prefer.
Let’s get right to the tutorial!
How to Make a Sensory Baby Block Toy
Gathering Materials
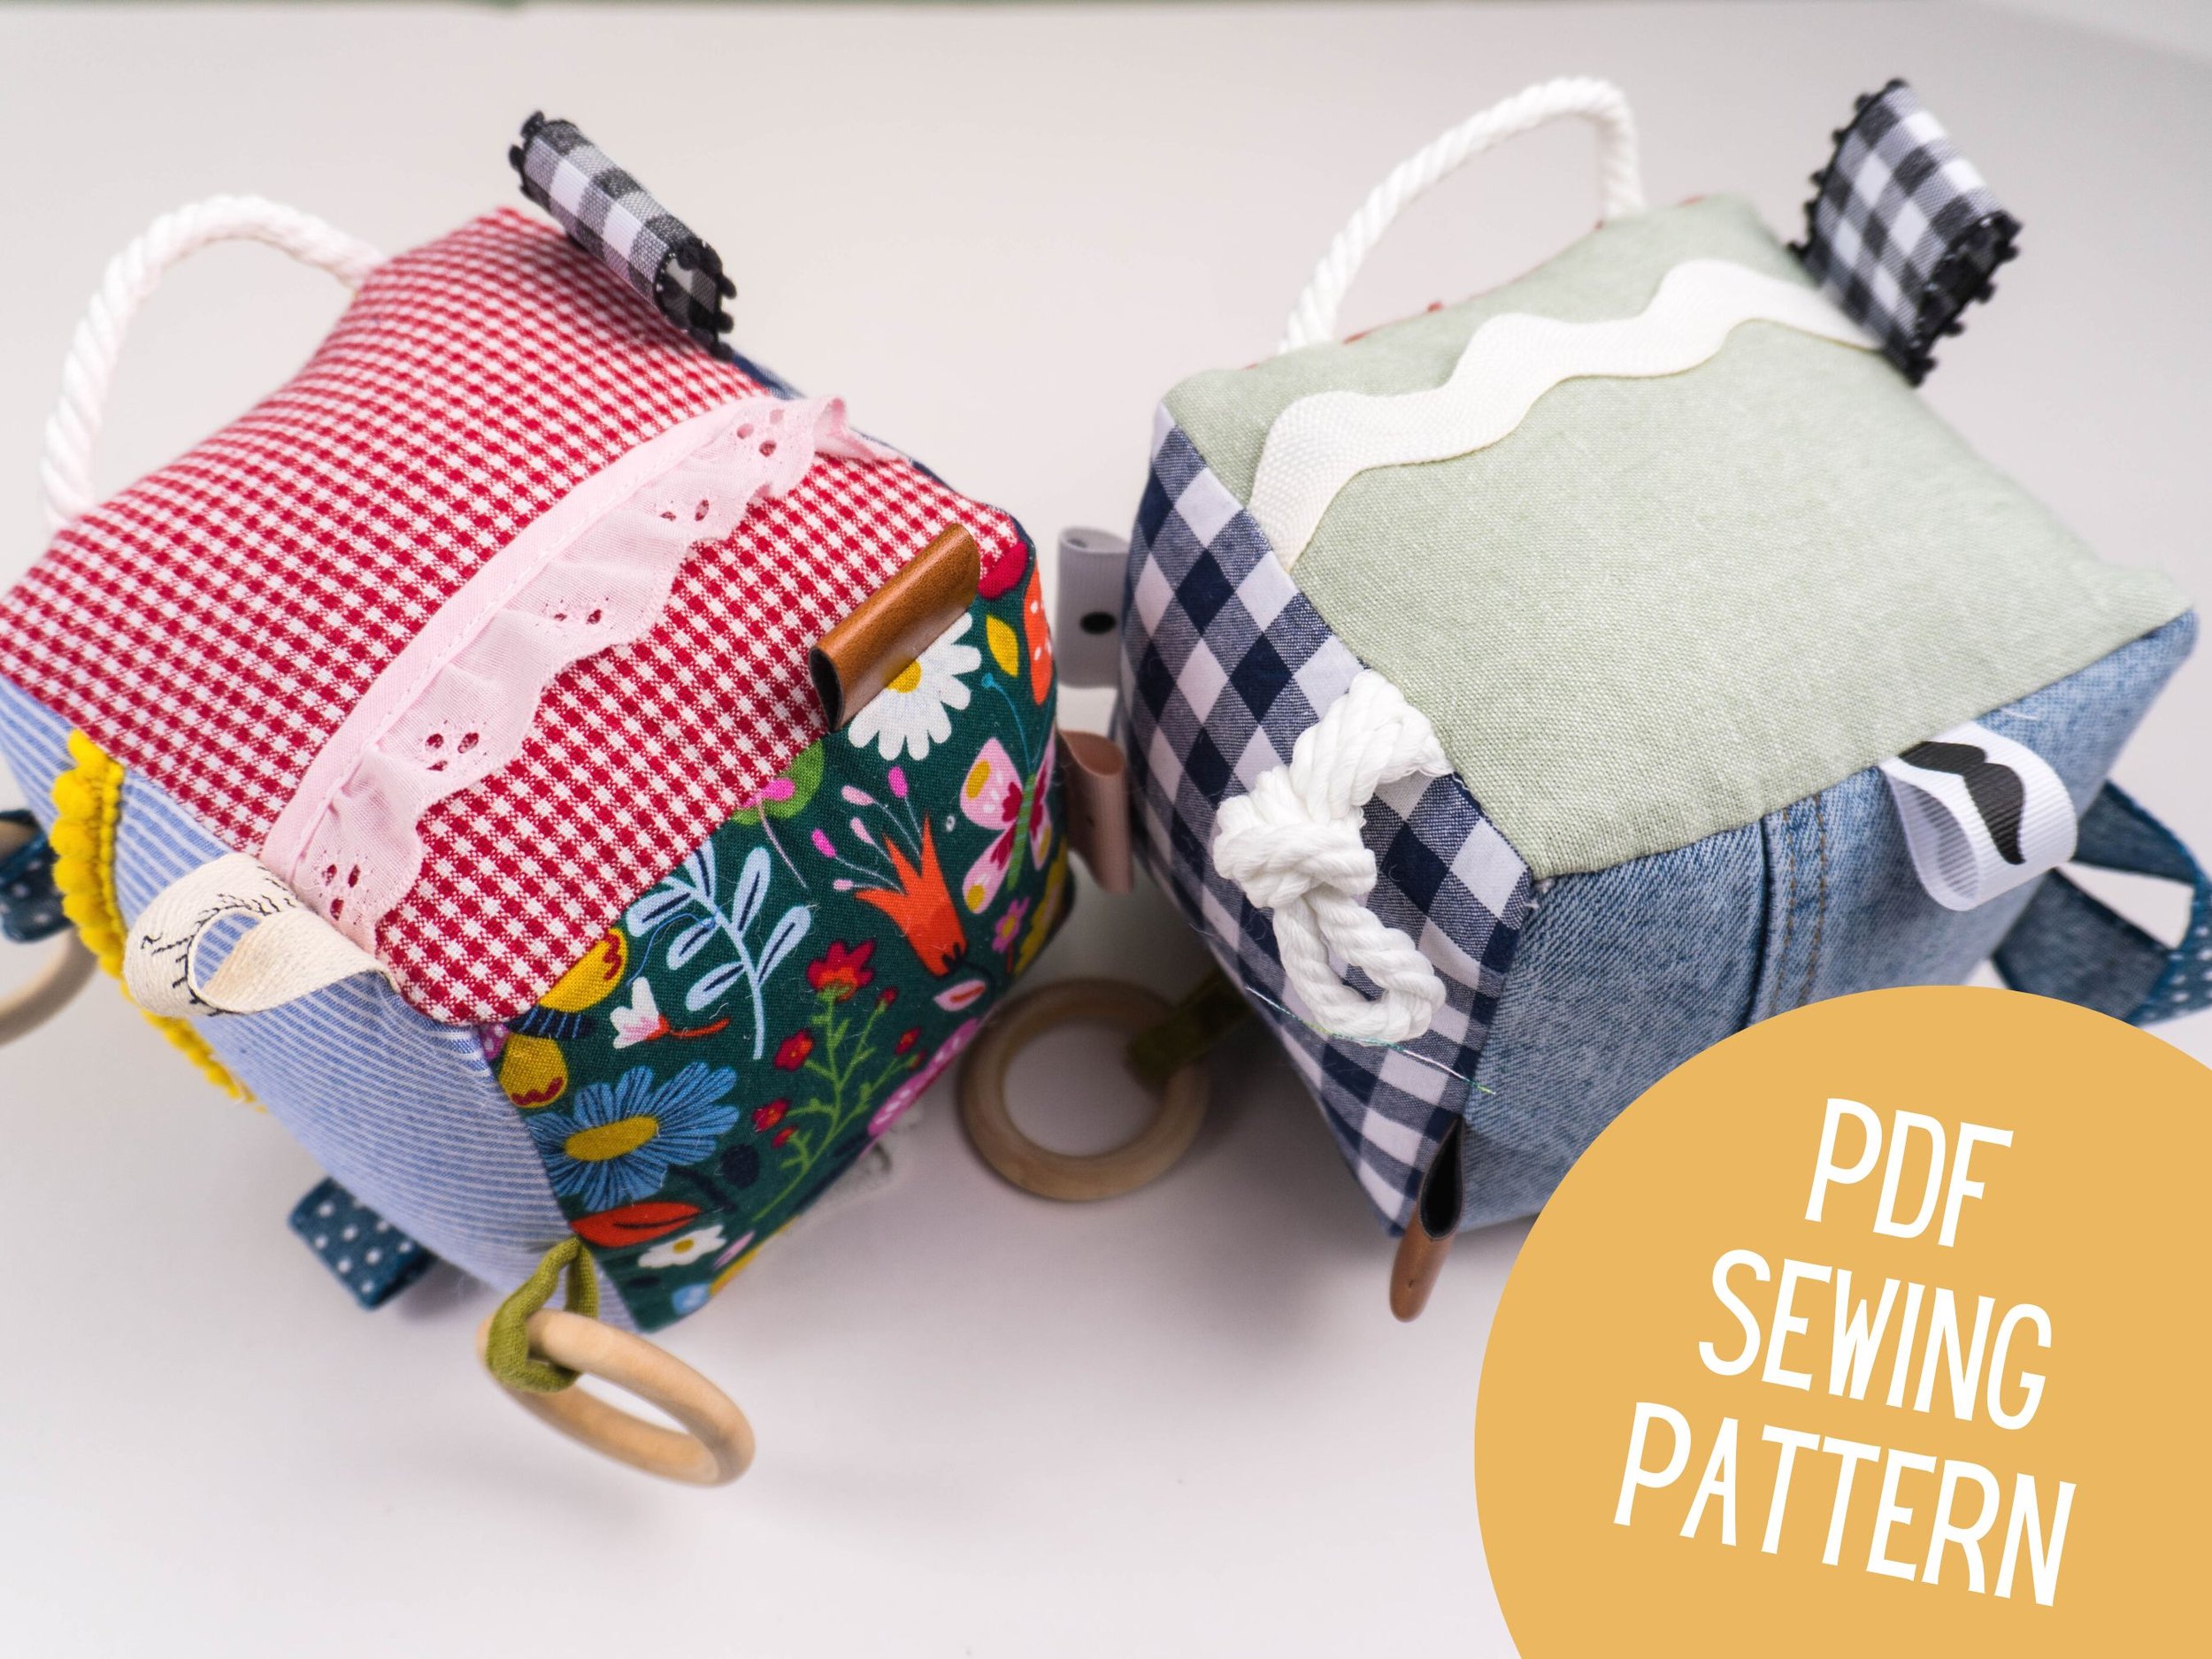
This sensory baby toy leaves a ton of room for creativity! I used all cotton and linen fabrics for mine, but I cut one square from a jeans pant leg, one was a cotton dobby (which has little bumps) and one was a cotton gauze. Adding textured fabrics is a great idea, so things like corduroy, boucle, minky, anything like that that babies will love to feel will work great. Raid your stash or your bag of giveaway clothes for fabrics that have texture! Interfacing the backs of your squares will help make the stretchy fabrics work well with the wovens.

For all the little elements sewn into the seams, I used a variety of fun things I had on hand. I love the little rope handle, plus I also tied the rope into a knot for one element. I looped ribbons and trims, I played with jumbo rick rack and even used the drawstring from a linen skirt I’d removed and kept. Cotton lace, eyelet trim, and multiple widths of ribbon are other things I used. It’s very important not to use anything that could come off and present a choking hazard, such as ball fringe or tassels! It’s also wise to keep the looped elements small so the baby can’t get a hand stuck in one, or anything like that.
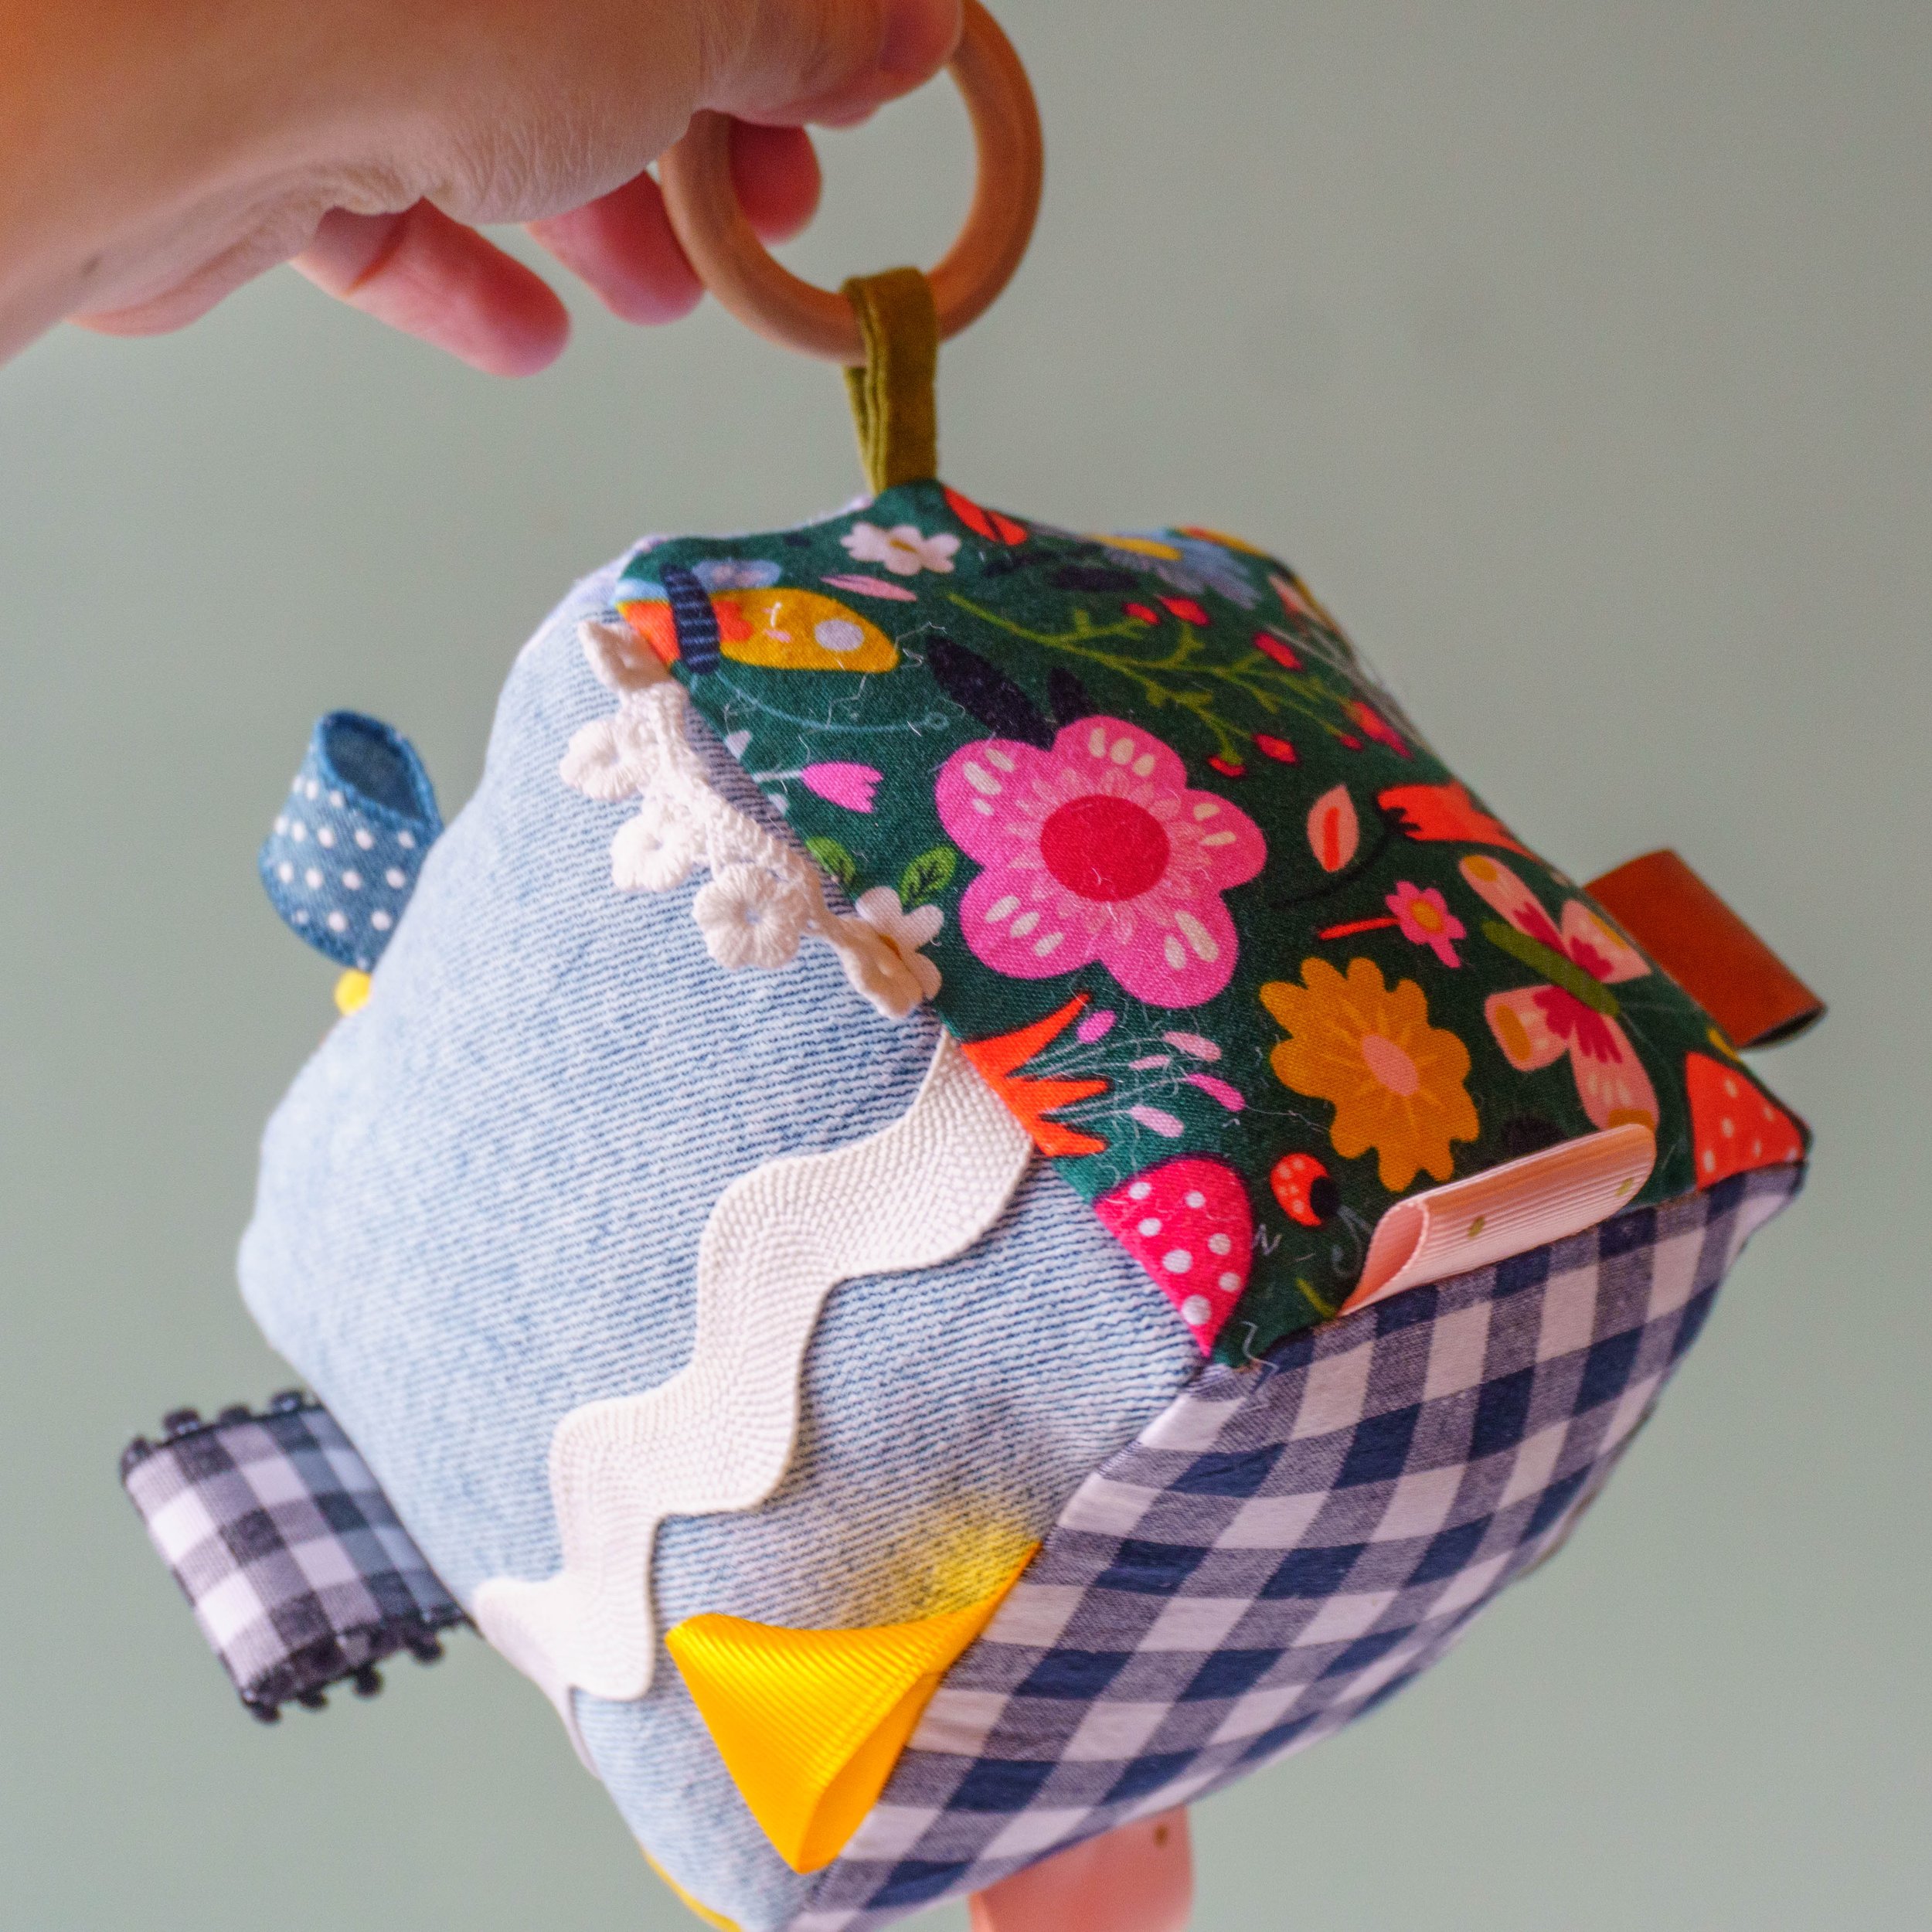
The wooden teething rings are a great addition! Not only do they give the baby something to hold and teeth on, they make the toy able to be clipped onto a carseat handle or other things like that with the plastic rings that usually come with hanging baby toys.
I found the wooden rings at Hobby Lobby (in the leather section, oddly) and I’m sure they are in most craft stores, but it turns out Amazon has a bigger package of them than I could find locally, and for a great price. So next time I’ll get them there.

If you don’t already have a stash of ribbons and trims, there are a few ways to build a collection! Harvesting from old clothing is a good idea, and you can buy big color coordinated bundles of 2 yard cuts of ribbons and trims from Michael’s. Many Hobby Lobby stores bundle ribbon remnants together and sell them in baggies for a few dollars. Usually they’re on an end cap in the sewing ribbon section. And of course, you can simply stock up on spools of ribbons and trims when they go on sale. Hobby Lobby’s prices beat Joann and Michaels and they go on sale every other week.
Once you’ve gathered your supplies, watch the tutorial and have fun! For me, this project is such a blast because of the creativity involved. It was a big mess I really enjoyed making! I had fabrics and ribbon and trims everywhere, haha, and then I wanted to just make more. I passed the finished blocks around to my family and we all fidgeted with it. Fun for all ages.
I hope you enjoy this tutorial and keep it in mind for your next baby shower gift! Or make some for your own babies and grand babies, that’s even better :) Don’t forget that you can also get the printable pdf version of this project from my shop so you don’t have to refer back to the video each time!
Cheers!
Nikki