How to Make a Military Doll
As I was developing my newest doll pattern, I had the idea to turn this pattern into a military doll! You may know that we are a military family and have been living the Army life together for over 20 years.
A few years ago, my husband deployed overseas and my youngest, who was 9 at the time, had a photo of him with his dad that he kept hear him and even slept with some nights. There are makers and Etsy sellers who make custom “Daddy dolls” and “Mommy dolls” just for this reason! Having a doll that looks like their parent, wearing clothes made out of their deployed parent’s uniform gives children something to help them feel near to their mom or dad who’s deployed. It’s such a sweet idea.
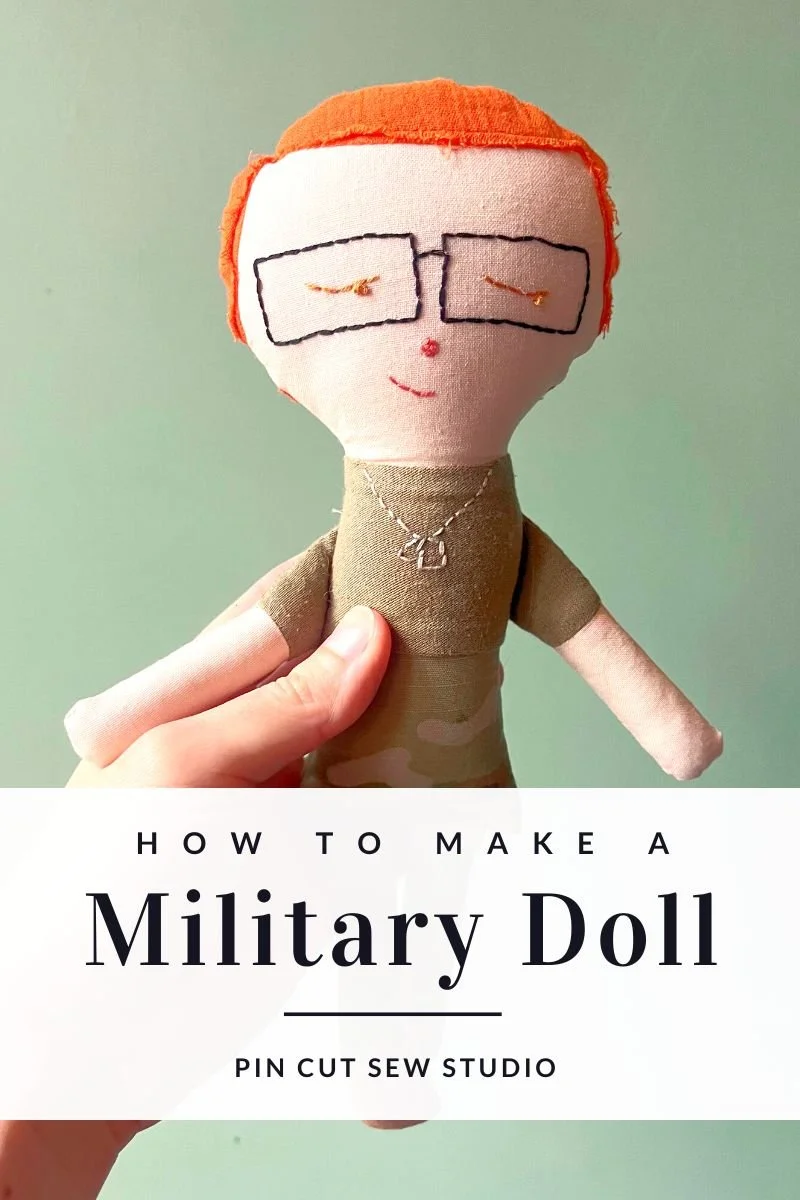
Armed with old uniform of my husband’s and my grandparent doll pattern, I made a military doll that looks just like him (if I may say so myself). It only took a couple small changes to the pattern! I thought I’d detail today what changes I made so you can make a military doll too.
How to Make a Military Doll with the Grandparent Doll Pattern
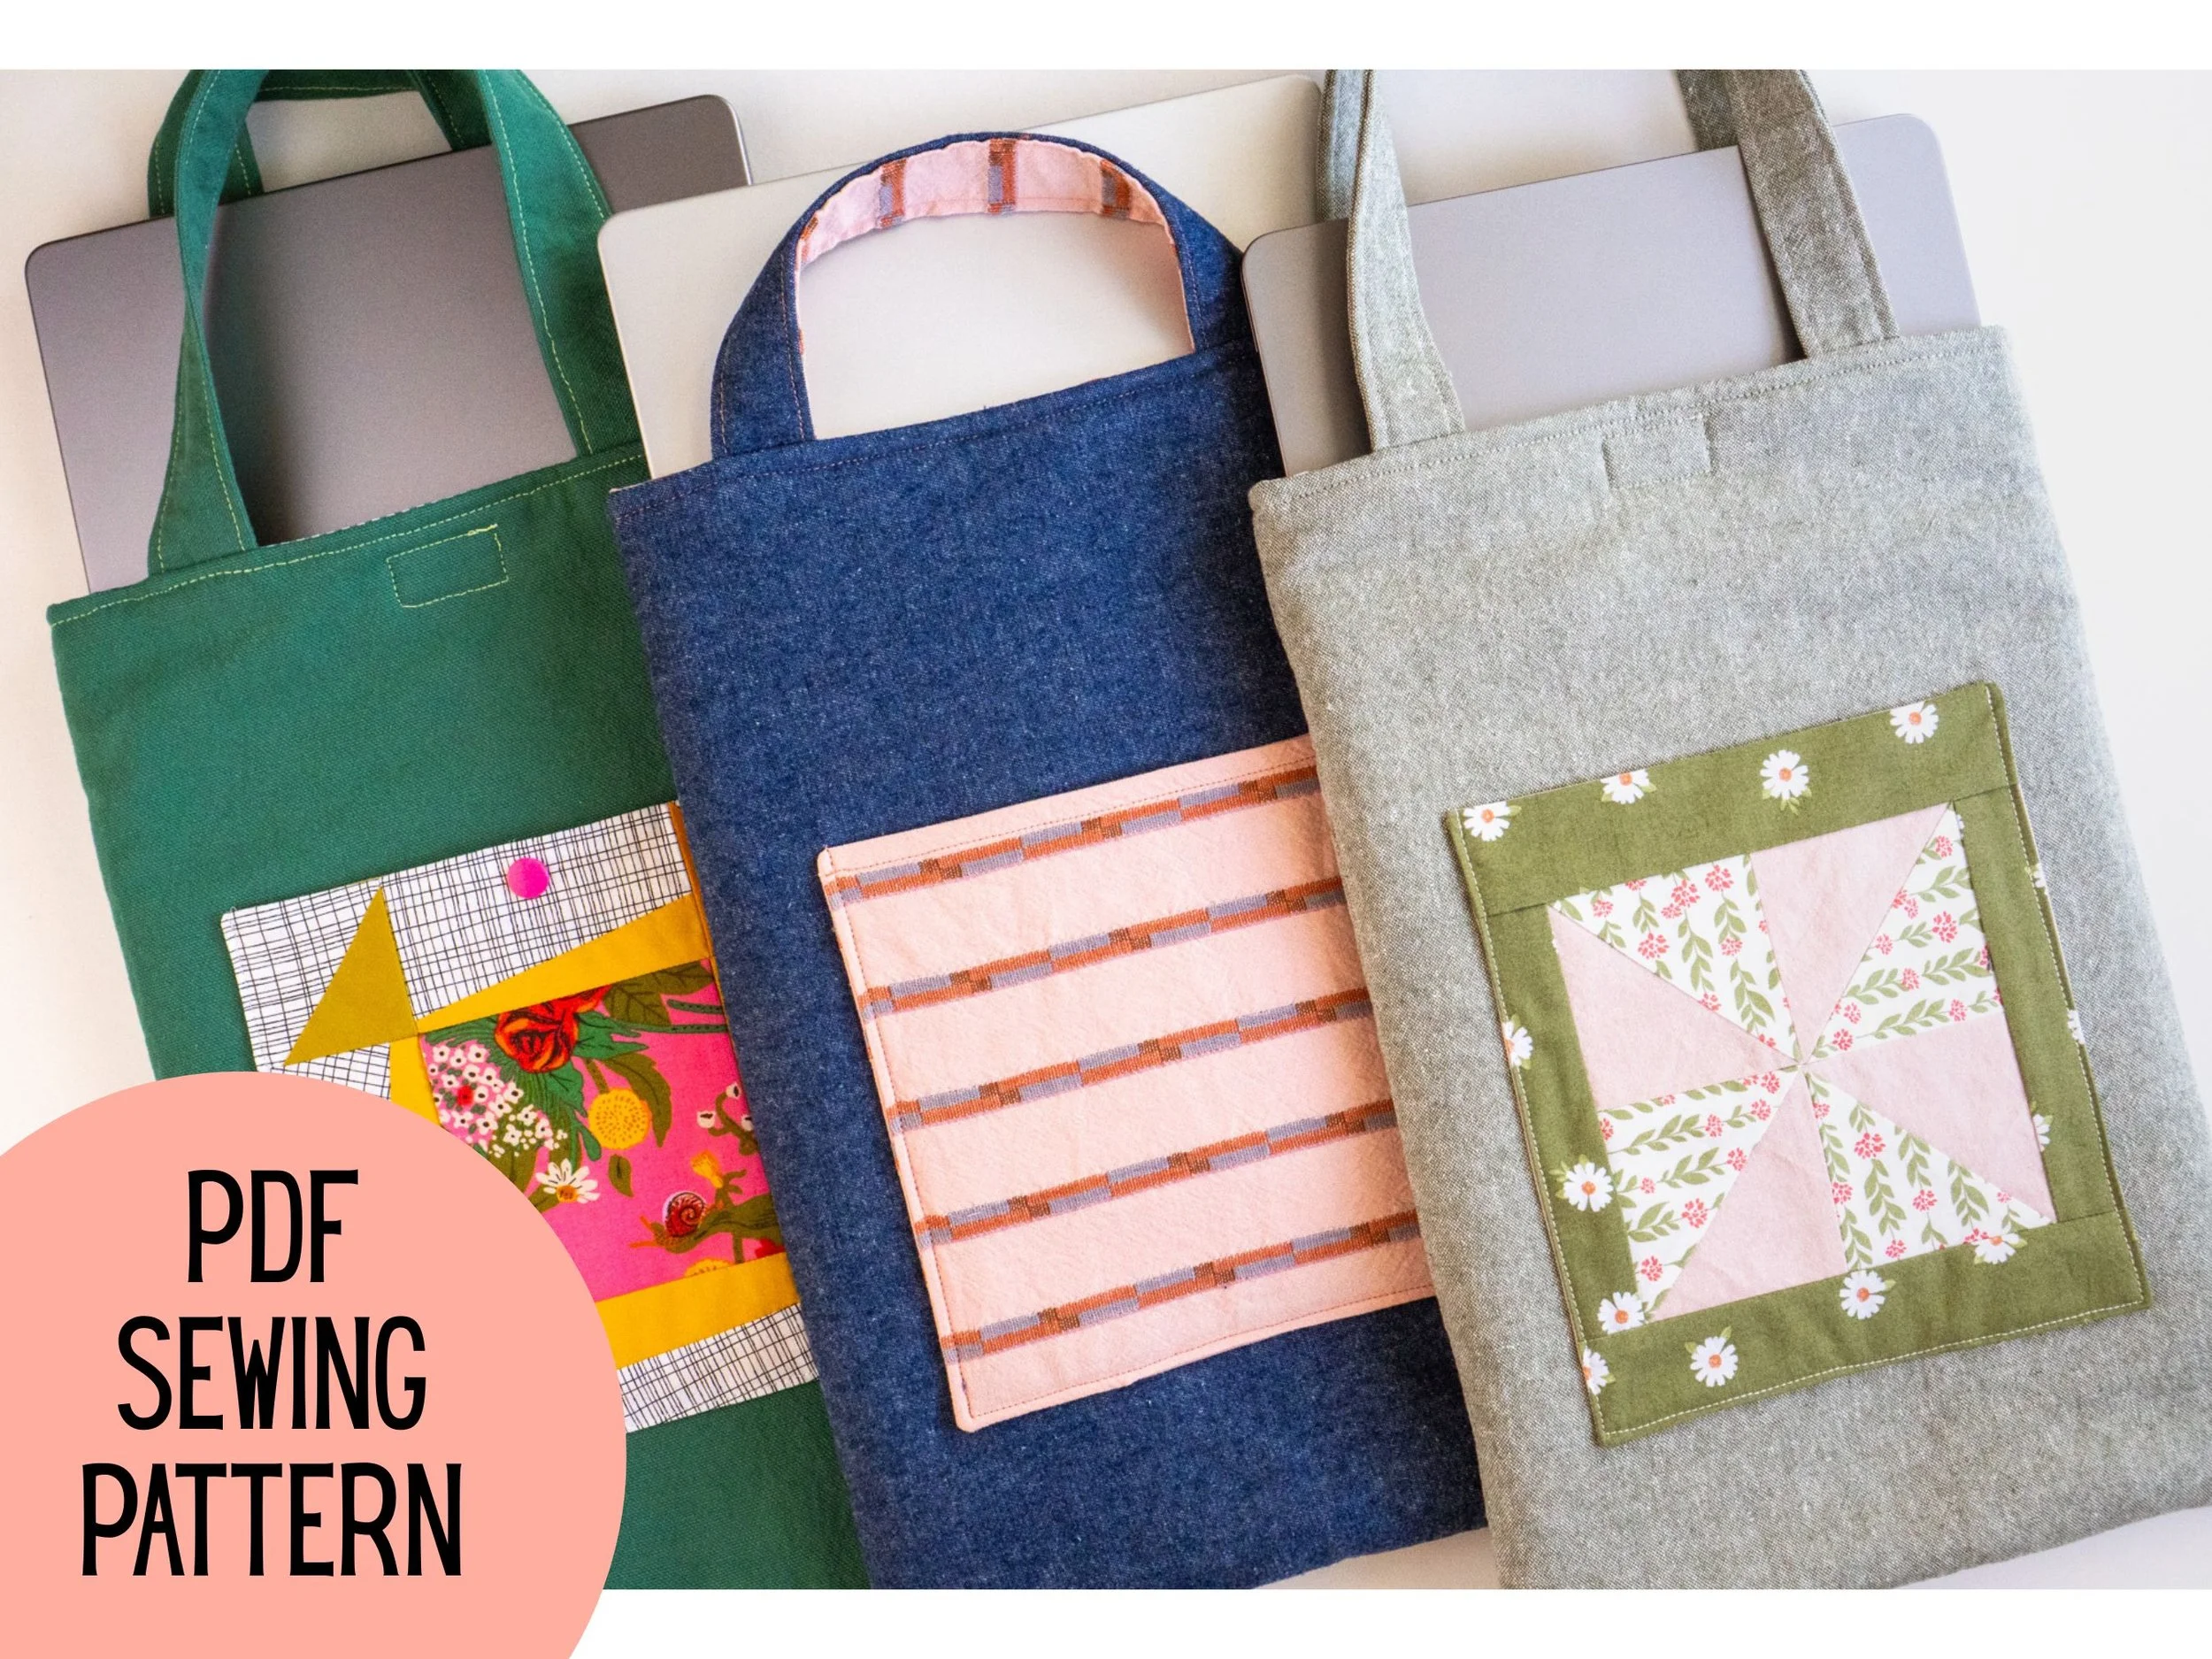
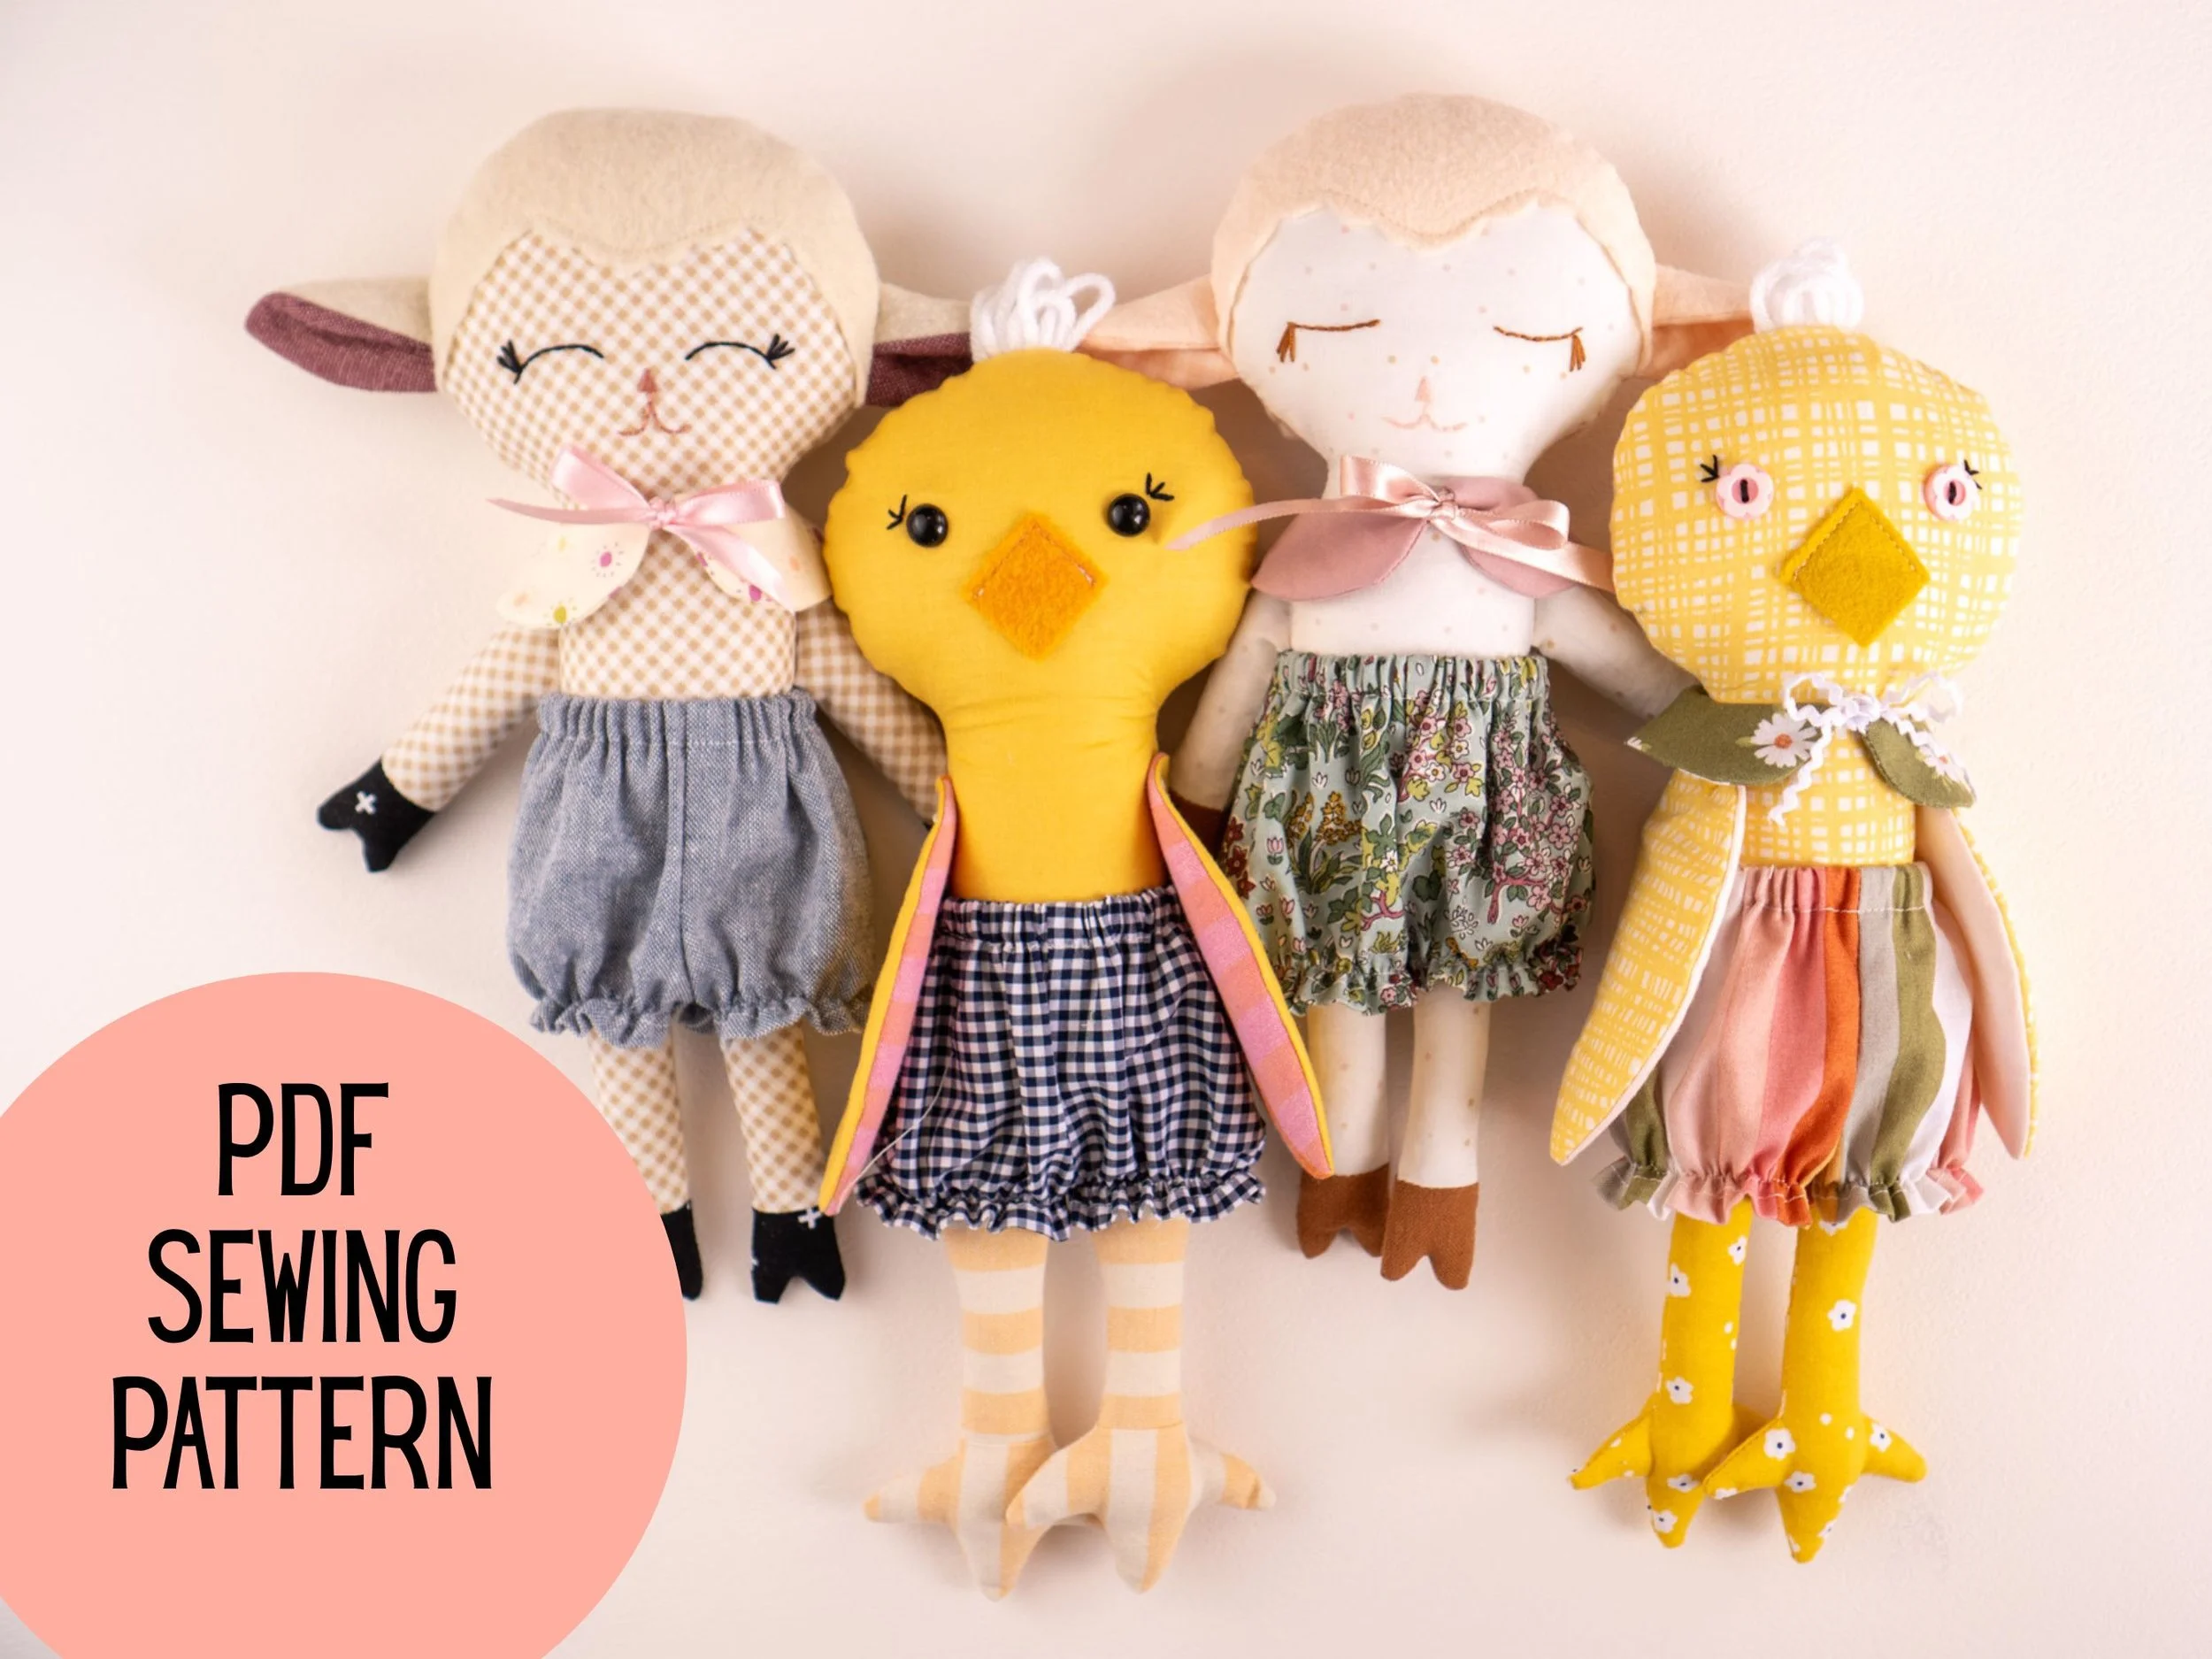
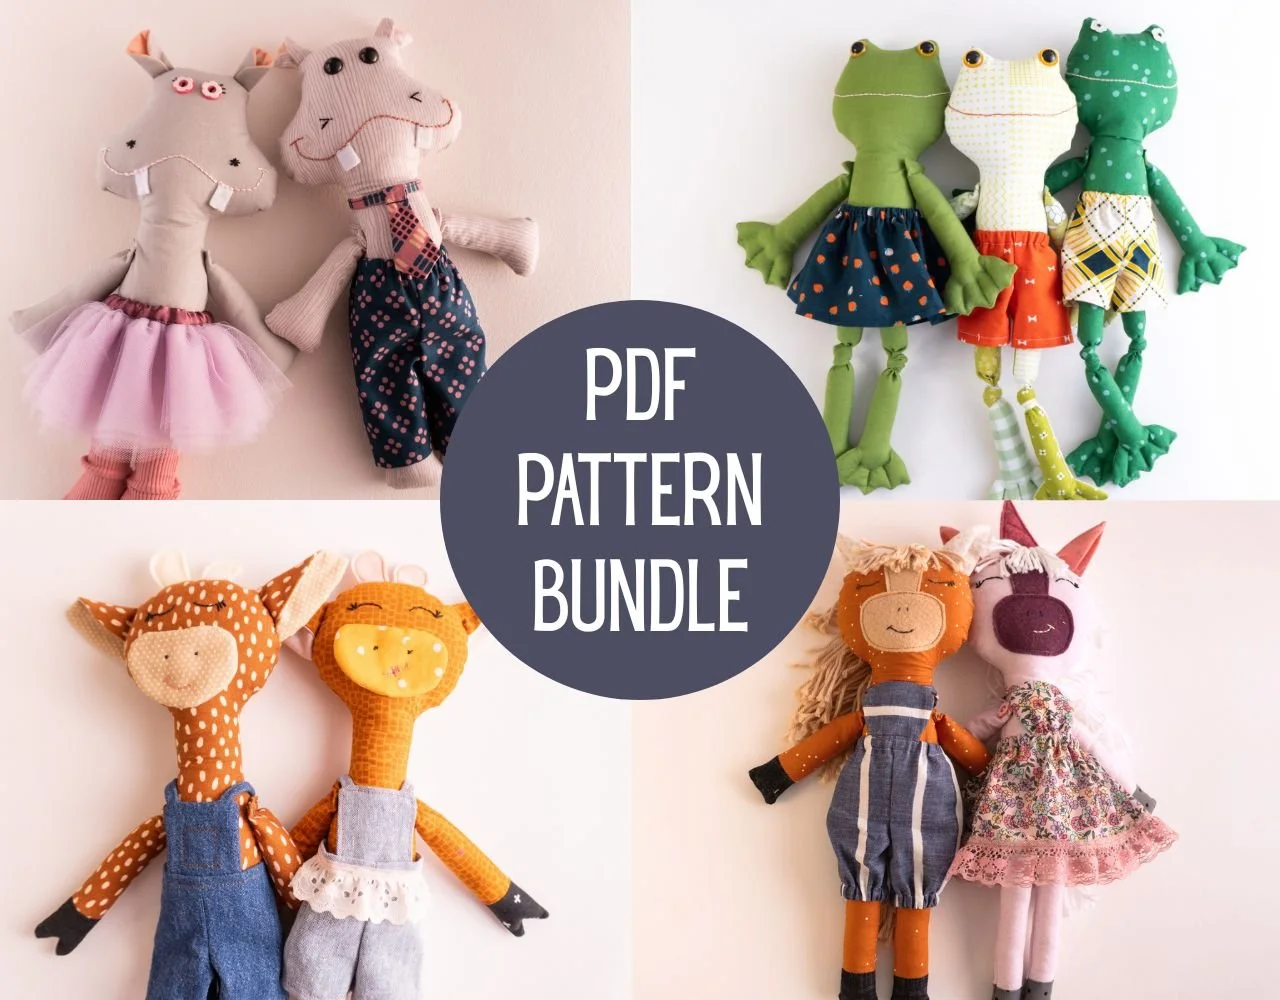
First you need the pattern! If you have a rag doll pattern already, you can use that too with some creative thinking, I’m sure, but I’m using this pattern because it has sewn on clothes, is easy to sew, and already comes with styles of hair and glasses that would fit this purpose. You can grab the pattern here from my shop, or here on Etsy if you prefer.
I used a pair of my husband’s old uniform pants for the doll’s pants, and I used the Army undershirt for his shirt. Because the shirt is short sleeved, and the pattern is for long sleeves, I had to adapt the arm and hand pattern pieces. I taped the hand piece to the bottom of the sleeve piece, then simply cut it apart again 1.5” from the top of the armpit, as shown below.

That done, I cut the upper arm pieces from my t-shirt fabric and the lower part of the arm from the skin tone fabric I was using. (For tips on finding great skin tone fabrics for doll making, read my post here!)

Otherwise, I didn’t make any other changes to the pattern! It’s important to know what colors each brand of the military wears currently. They don’t change super often, but they change often enough so that the picture you have in your mind may not be accurate. For example, the Army wore black boots for forever, so many people imagine their boots are black, when they’ve actually been desert tan for many years now. Here are current photos of uniforms for each branch of the U.S. Military.
Where to Find Military Fabrics
If you don’t have the advantage of a service member living in your house and putting their old uniforms in your giveaway bag, you can often find them at thrift stores! Some yardage can also be found at general fabric stores and even though, the camo patterns may not be exactly right, they’ll get the job done. Another option is to go to a military post (if you’re near one and can gain access) and purchase a bandana in the correct camo colorway.
The only other change I made to the grandparent doll pattern to make the Army doll, is to embroidery dog tags instead of the collar and tie that the pattern comes with. The rest of the pattern can just be followed as-is! And there is a full video walkthrough of this doll project right here.

Since my husband is a ginger, I had trouble finding a felt color that wasn’t super bright orange or bright red. I did find a bit of burnt orange cotton gauze though, so I used fusible webbing to affix the hair in this case, then stitched it on according to the instructions. It worked just fine!

This one simple doll pattern really has endless possibilities for creative doll making! I hope it gets used over and over in a myriad of fun ways to bring joy to the makers out there.
Cheers and Happy Sewing!
Nikki