
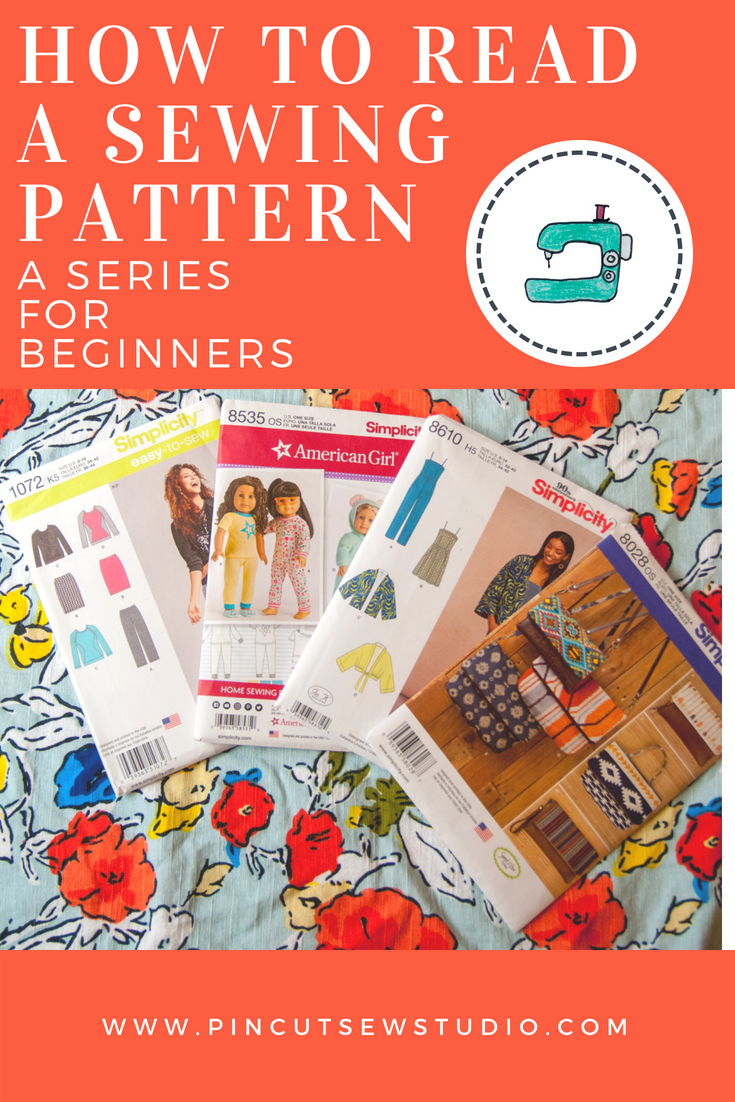
How to read a sewing pattern part 1: Choosing your pattern and reading the envelope
This post contains affiliate links, which mean that while I am not paid to promote certain items, I will earn a small commission should you purchase items through these links. For more info, see my disclosure policy.
I have had no fewer than three people lament to me that they wish they could read a sewing pattern in the last week! Two of them were mothers of my students, who can thread a machine, but are lost when it comes to helping their children sew, and the third was one of my older students.
Clearly the world of patterns is confusing to beginner sewists, so I am taking it upon myself to try and clear up the confusion! This is part one of what will be a five or six part series over the next few weeks.
EDIT:
Here are links to this complete series!
Part 1: Choosing your pattern and reading the envelope.
Part 2: Making Sense of Sizing
Part 3: Cutting our your pieces
Part 4: Reading the instructions
Today's topic starts at the very beginning. There are so many sewing patterns, how do you even choose?
Let me state up front that the patterns I'm referring to in this series are the kind you'll find at the fabric stores by companies known in the sewing world as "The Big 4" (also the title of an Agatha Christie book I'm currently reading, incidentally, ha!). McCall's, Butterick, Simplicity/New Look and Vogue. There is an entire industry of "Indie patterns" out there, but these are quite different and much more expensive than you can find at your local craft store, although there are many great things about those patterns too.
Speaking of expense:
Pro Tip #1: Do not ever pay full price for Big 4 sewing patterns!! The sticker prices are something crazy like $18 or even $25, and then most places have their everyday sale prices of 40% off. But don't pay that either!! JoAnn and Hobby Lobby continually put these patterns on sale for ONE OR TWO DOLLARS!! And if you live somewhere without those stores, the pattern websites themselves often have $3.99 sales, which I would wait for when I lived in Hawaii. When I made this shorts pattern with my sewing students, I snagged the patterns for $.99 each, meaning I was able to purchase one for each girl to use and take home to keep. (This intel is for people in the U.S., I really don't know the best way to get good deals on patterns in other countries, I'm so sorry!)
If you're brand new to patterns, keep it super simple. For our purposes in this series, I'll be using Simplicity pattern # 8401. I've recently sewn this pattern with my students and know that it only has two pattern pieces to make a pair of cute shorts! There are another two pieces for a pair of doll shorts. If you're wanting to start with clothing, choose something basic and take note of fancy elements, such as zippers, button holes, pleats, godets, etc ... I'm not saying steer clear of those elements, but I may be saying, choose a pattern with one new-to-you concept and not five. If you add one new skill per project, you'll be a pro in no time!

Pro Tip #2: Just because a pattern says "Sew Easy" or something similar, doesn't necessarily mean it's true! Look at the line drawings on the back of the envelope to give you a better idea of what's involved than the photo on the front of the envelope will, and then decide what you're willing to tackle.
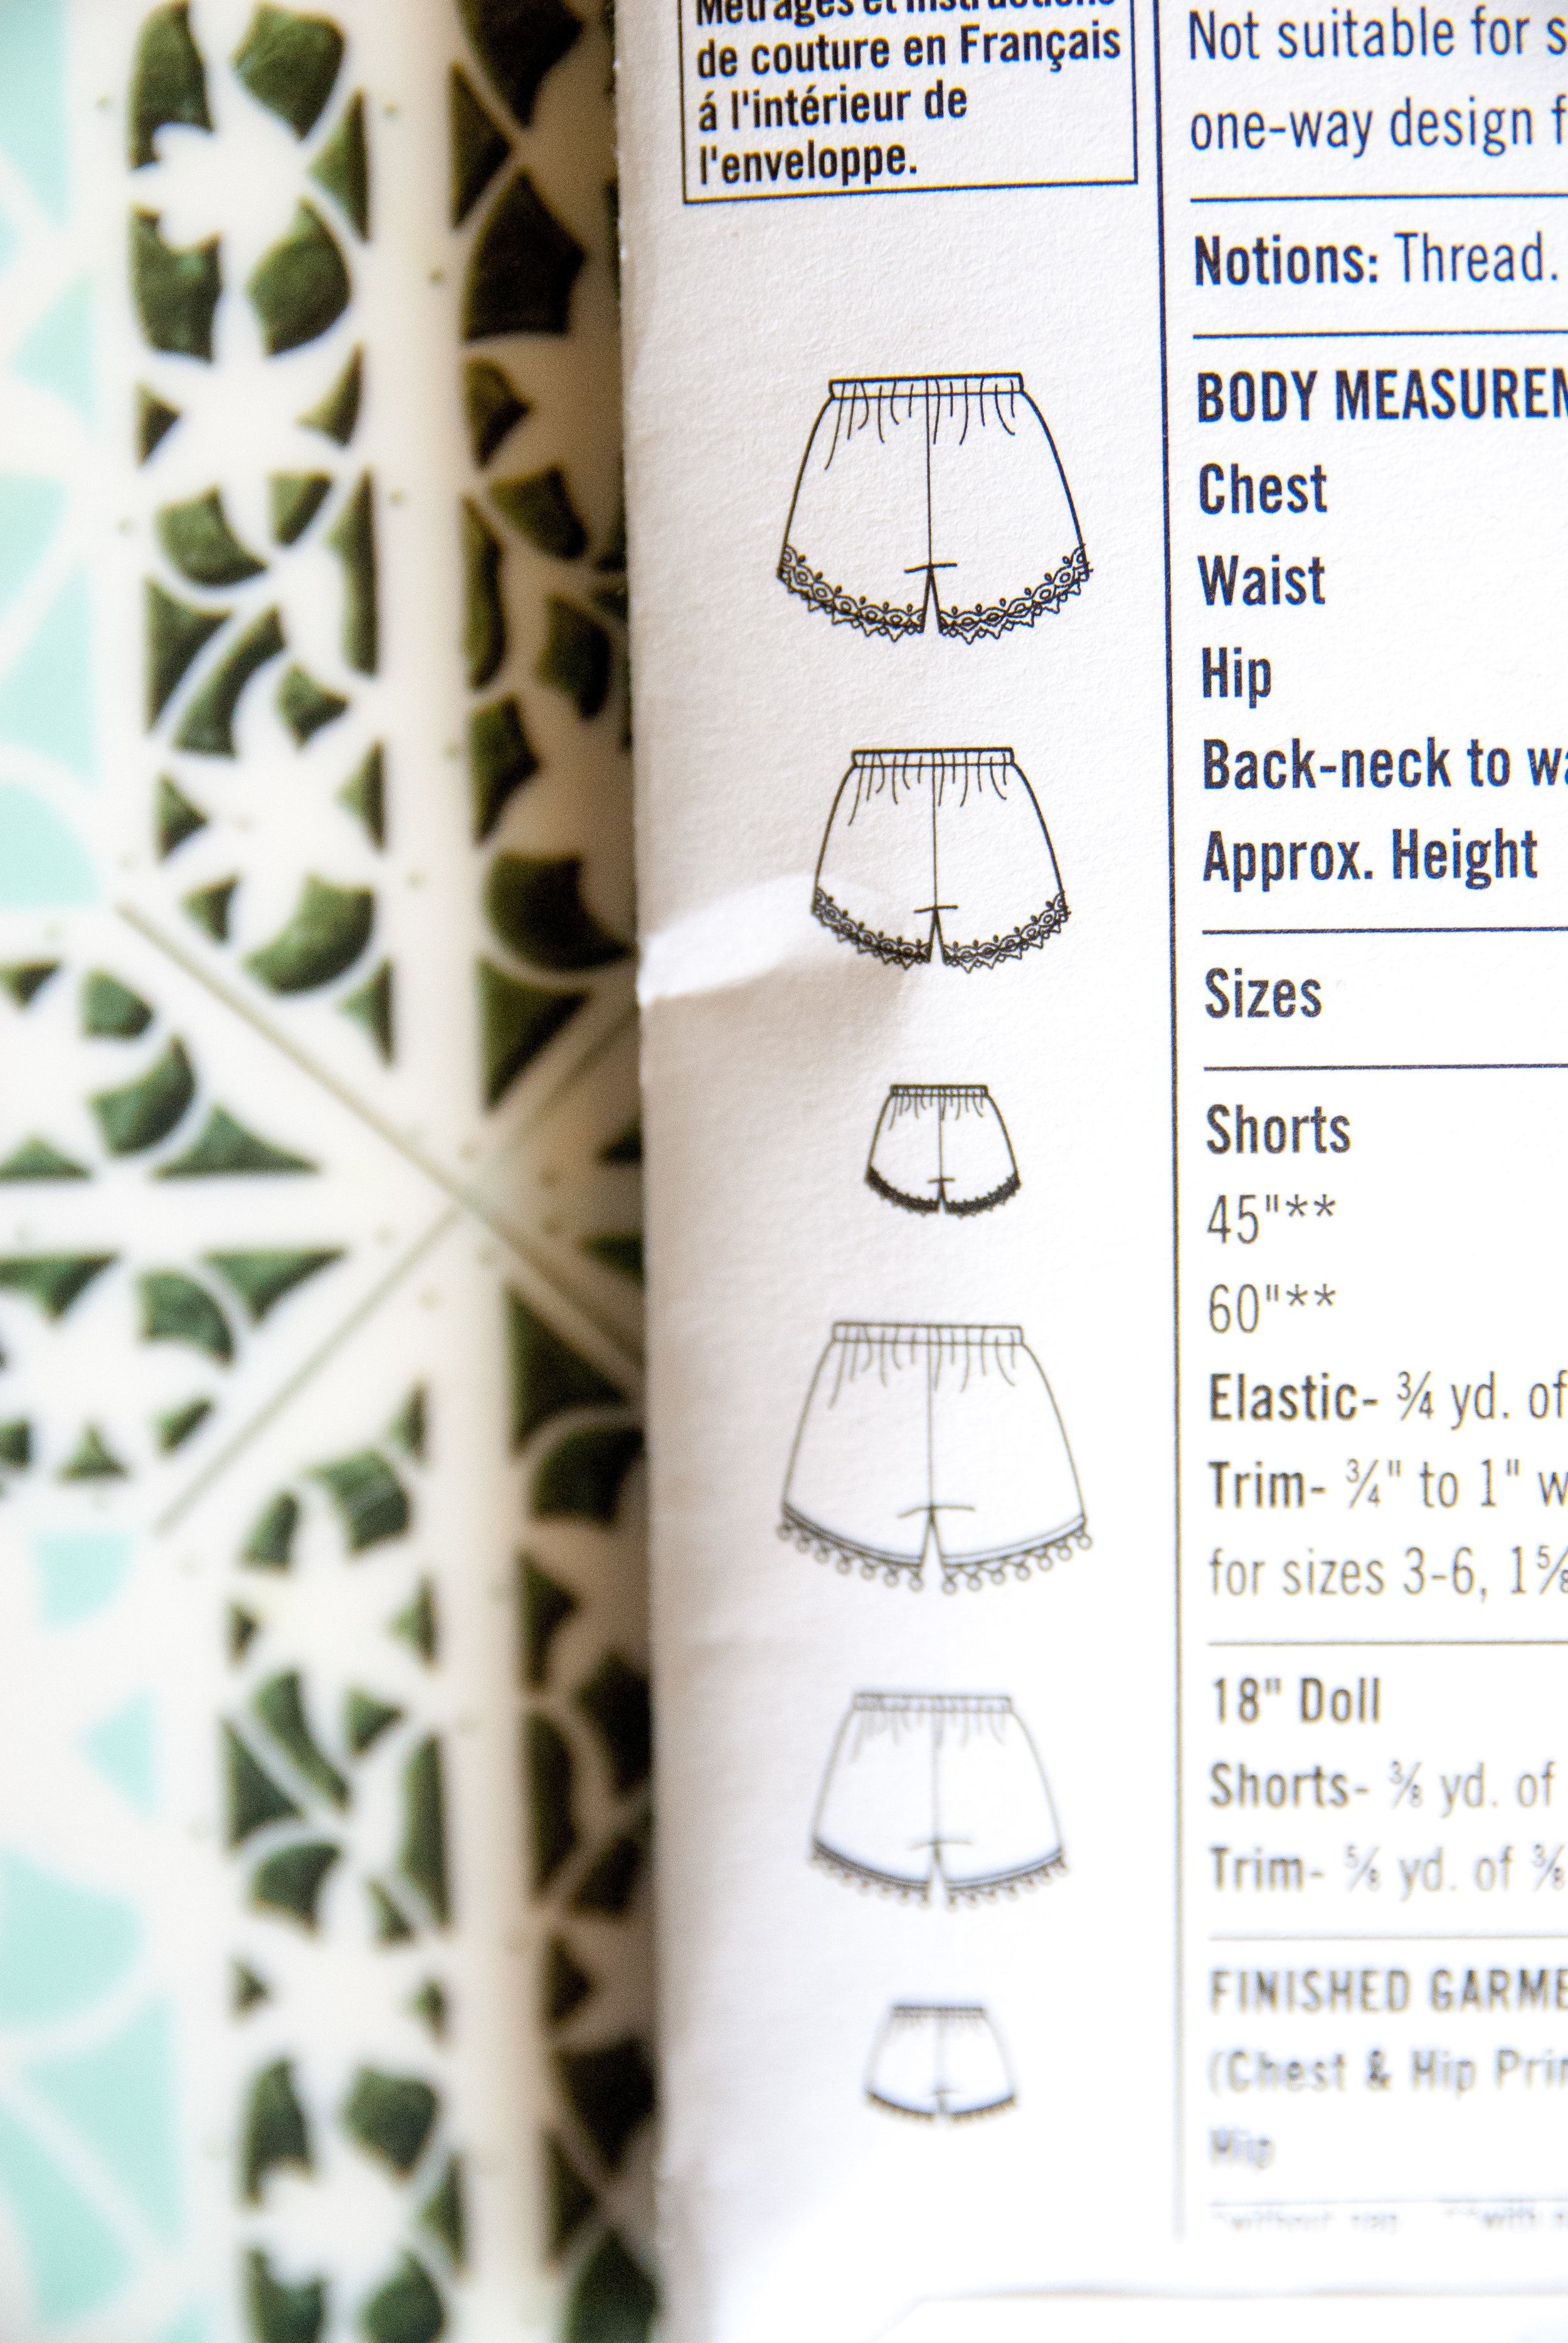
So, once you've chosen your pattern, spend some time on the back of that envelope. Other than those helpful line drawings, there is lots of important info back there. The top box should tell you which kinds of fabrics the pattern is suitable for. Don't obsess too much over this, but for sure don't choose a knit (stretchy) if the pattern is made for woven fabrics (non-stretchy). Also, if you're making a flowy skirt, don't choose a stiff quilting cotton unless you want your skirt to stand out like a tent around your body. This part is somewhat intuitive and comes with experience and trial and error.

The next box is the sizing chart. I cannot overemphasize that pattern sizing is very different from ready-to-wear sizing! If I wear a 6 or 8 at Target, I'll probably sew a 12 in patterns. This topic requires a post by itself, so stay tuned for part 2 of the series, coming in a few days!

Next, there is a box that tells you how much yardage to buy based on your size. If your pattern is say, for a lined skirt, the box will tell you how much you need of both your skirt fabric and your lining. If you're making a garment with two fabrics like a top with a lace inset, the pattern will usually refer to the accent fabric as the "contrast". This section also tells you which notions are needed for each view, although sometimes the notions get their own little box. Our shorts pattern says that the girls' shorts need 1" elastic and the doll pair requires 1/4" elastic. It also tells me how much trim we need. You may want to buy a smidge more fabric than required to accommodate for either shrinkage or cutting mistakes.

One more thing about the fabric requirement. You can see my pattern says different amount of fabrics for either 45" or 60". This is referring to the width of your fabric. If you choose a quilting cotton for example, the width will be 45" wide, but most linens and denims and also many knits and other types of fabrics come wider. The end of the bolt of fabric will give you this information, along with the fabric content, the washing instructions and the price. Actually, those wider fabrics tend to say 58", not 60" like we always say they are, but at any rate, they will still work for those 60" fabric requirements. Just thought I'd mention that in case someone is standing in the sewing store with a bolt in their hands wondering why they can't find anything that says 60" wide!
Pro Tip #3: You can find fabric or even sheets at thrift stores to try out your pattern with if you want to do a practice run. We can this "making a muslin". This way you can figure out the fit without worrying about messing up your good fabric.
I think that sums up the pattern as far as the outside of the envelope! Be sure and come back for part 2, (Part 2 is here!) in which I'll attempt to unscramble pattern sizing for you!
