
Beginner Quilt Series Part 2: Putting the top together
How is your scrappy quilt coming along?? I finished all my blocks pretty quickly. I only made 25, a perfect amount for a lap size quilt, which is what I was wanting. Today I’m going to talk about how to sew all those blocks into rose and put the quilt top together.
If you have no idea what I’m talking about, you can read the introduction to this project here and Part 1: making the blocks here.
This post may contain affiliate links, which means that while I am not paid to promote certain items, I will earn a small commission should you purchase items through these links. For more info, see my disclosure policy.

Even if you’re a total quilting beginner, after learning to make these blocks, you can probably assume how to put them all together. First, of course, lay out all your blocks in an order than looks nice to you. Stand back and make sure you don’t have too many dark fabrics in one cluster, or that you didn’t put two blocks with the same fabric right next to each other, things like that.
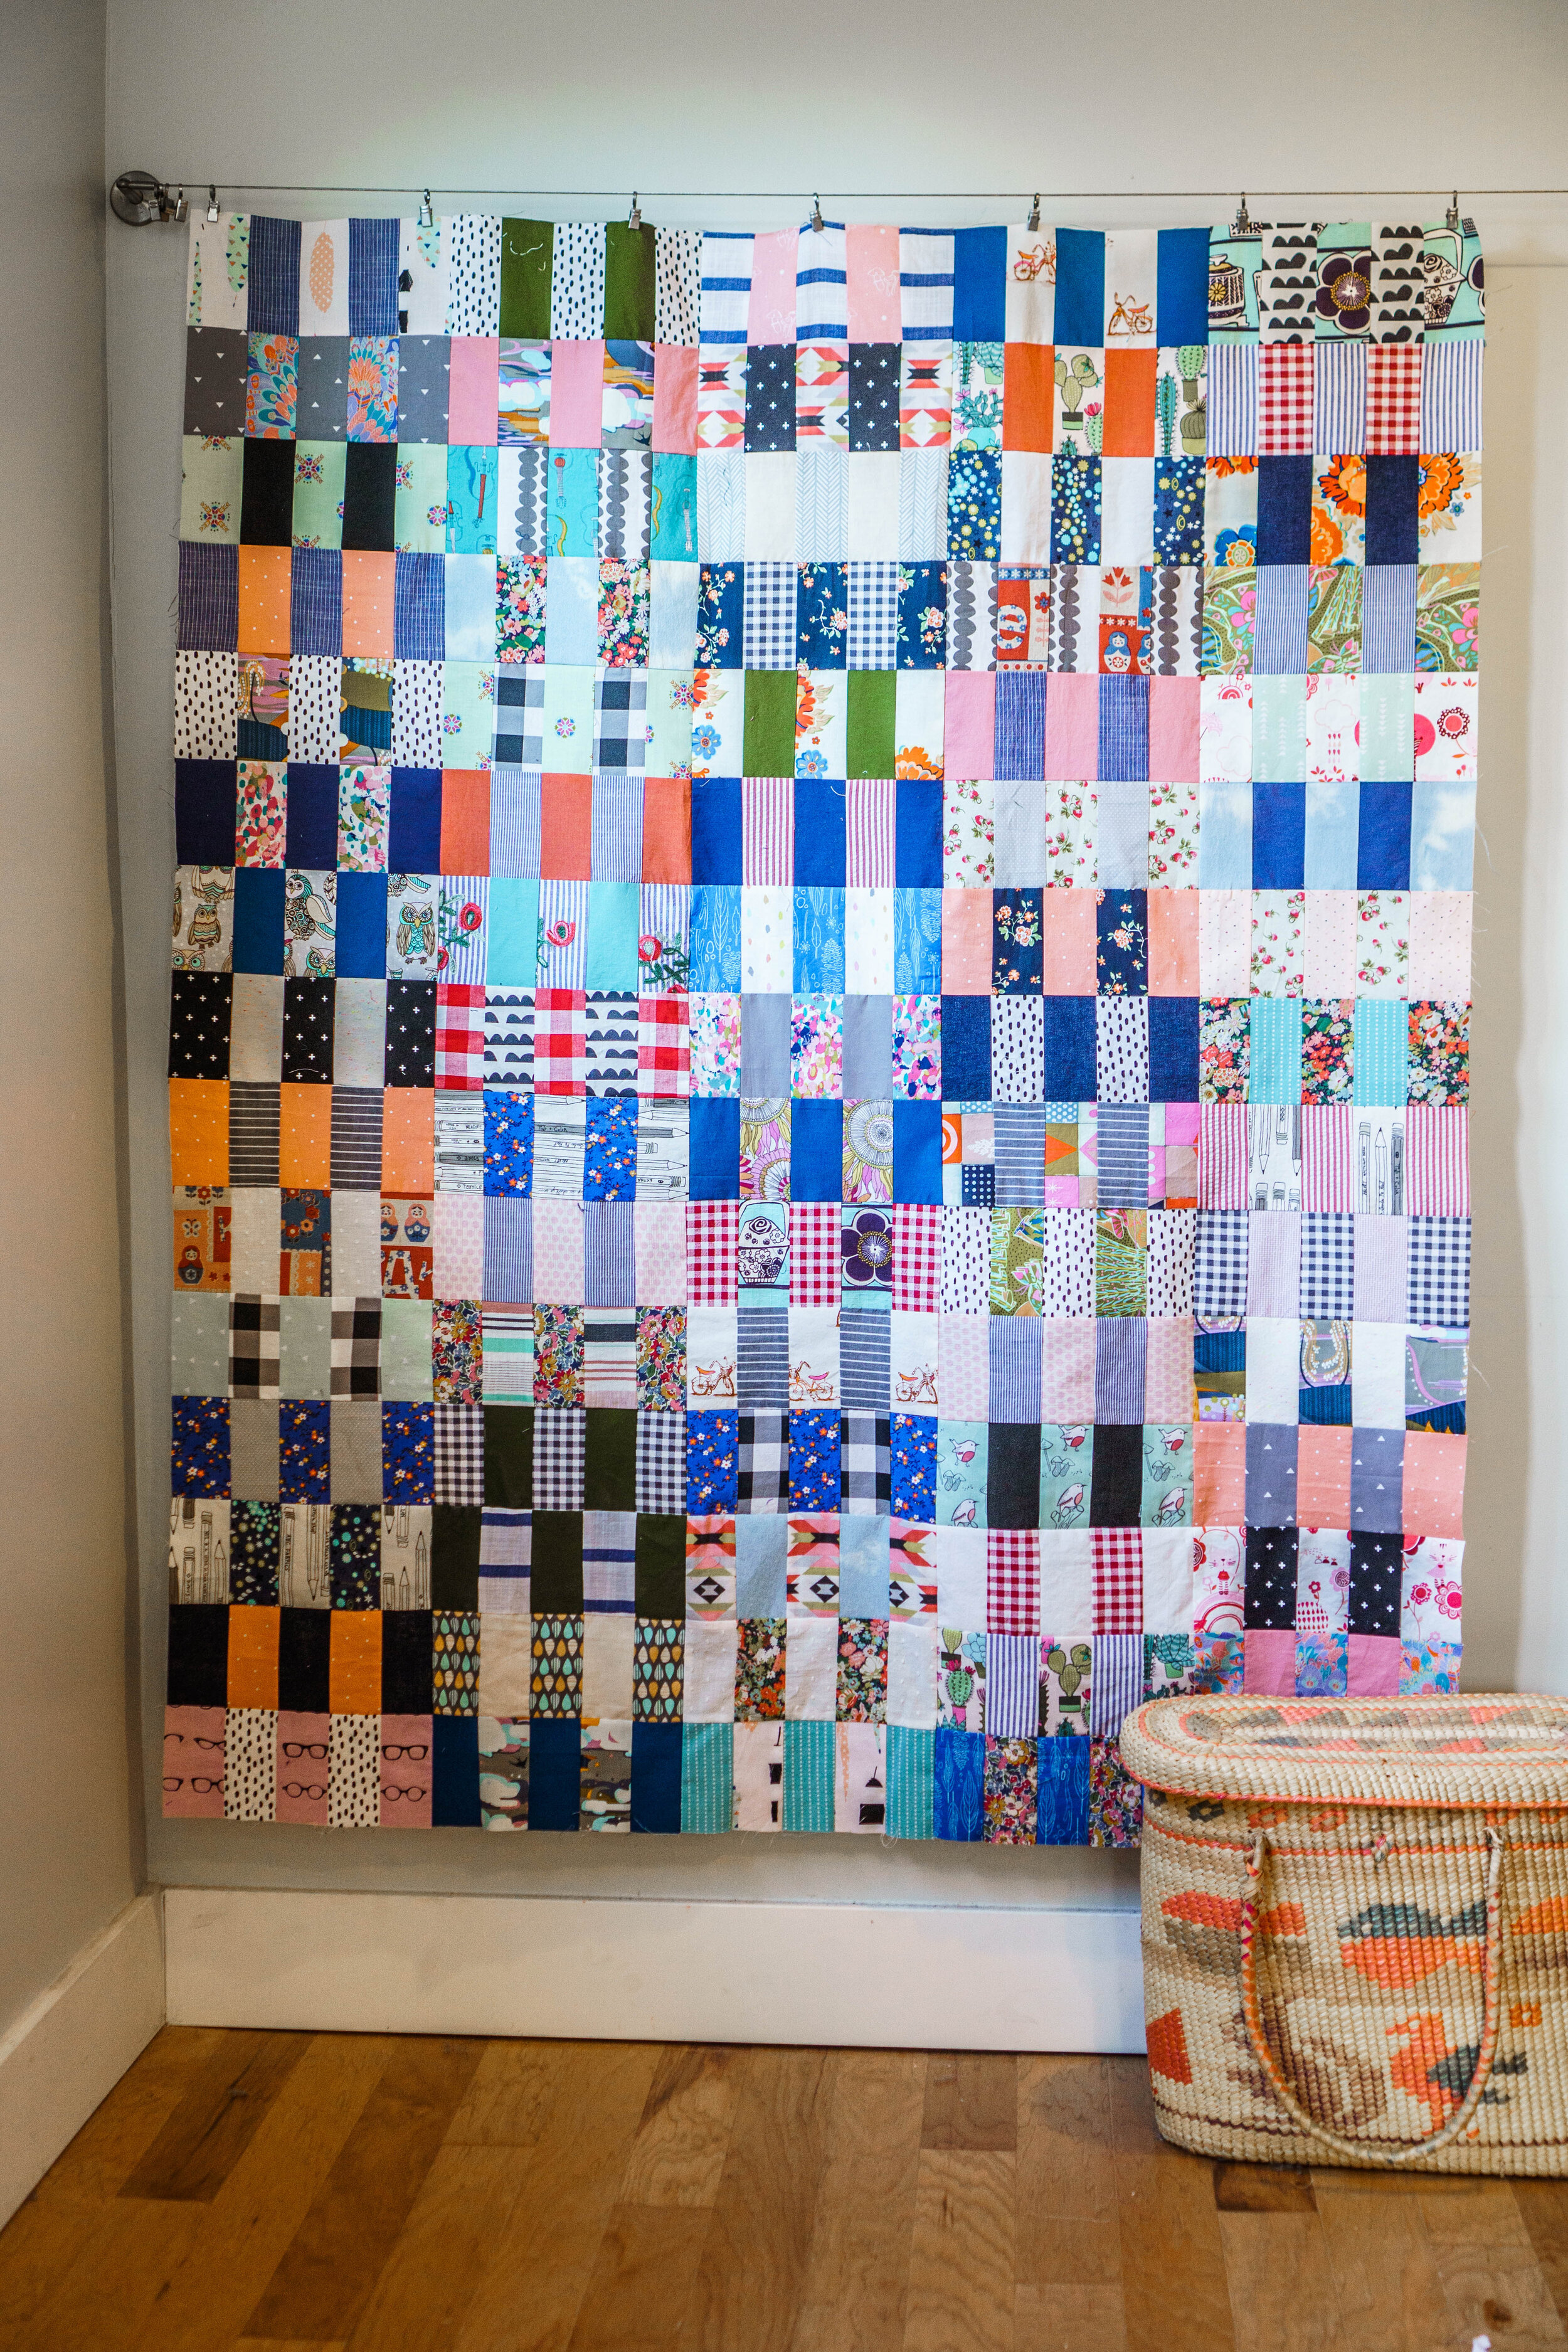
Here are my blocks all laid out.

After that, start sewing your blocks together, sewing the horizontal rows first. I like to keep my quilt laid out on the floor as I go, picking up one row of blocks at a time. It’s a good idea to take a photo of your laid out blocks to reference in case you get them mixed up. Sometimes I mark the first block of each row with a numbered sticky note too, but I didn’t do that here.
As you sew, make sure your seams are matching up as best you can, but also know that if this is your first quilt, or if you’re new to sewing, it is not going to be perfect and that is okay!! Scrap quilts are so forgiving and the top quilting you’re going to do later, along with the washing of the quilt for that crinkly soft feel, will hide a a lot of flaws. So relax, okay? Also make sure the seams are going under the machine in the direction that you ironed them to go.

Once you’ve sewn your horizontal rows together, start sewing them to each other in the order you laid out, again matching the seams the best you can by using pins at the intersections before you start sewing.
And you’re done, you have a finished quilt top!
Next Steps:
Now, unfortunately, as we are all in lockdown to some degree, obtaining the rest of the materials is presenting a challenge for me, as I’m sure it is for you. I don’t have any batting on hand, unfortunately, and it appears Amazon isn’t shipping it in any sense of a timely fashion currently. I might order it from Hobby Lobby instead. This is the exact product I recommend. I encourage you not to cheap out on batting! The warm and natural quilt batting is the best out there for a reasonable price. For one recent project, I initially bought a cheaper bagged batting because it was on sale and it was truly horrible to work with. It came out of the bag so wrinkled and warped that I couldn’t get the quilt smooth at all. So I washed it, hoping to the get the wrinkles out and it literally disintegrated in the washer! Total waste of time and money. I went back and bought the good stuff. I’ll buy two yards for this size quilt.
For backing, you have lots of options. I’ve been known to piece large swaths of fabrics together for backs. I’ve used thrifted cotton sheets for backing. I’ve used flannel, or denim, or both. Once I used a tapestry from Urban Outfitters I already had around for backing a denim picnic quilt. This time, I really want to use linen! I think with the busy-ness of the quilt top, I want a nice muted backing and linen provides such nice texture. I’ve actually used a 100% linen table cloth from Target’s clearance for sewing projects before (see this jacket that I still love so much), so I’m going to try that first. If I don’t find anything, I’ll probably order this from Amazon.
Two other things you will absolutely need for the quilting part are a walking foot for your sewing machine and quilting pins or basting spray (I’ve never used the spray, so I’ll be using the pins).
Since I’ll have to order supplies, it could be a few weeks before I finish the quilt, but I’m working on other projects in the meantime, so I will do my best to post more inspiring content for your quarantine! Haha.
Edit: Here are the rest of the posts in the series!
Introduction
Part 1
Part 2
Part 3
Part 4


Learn to hand quilt with minimal tools and without the perfectionism!