
Moveable Doll Arms Tutorial

I’m back with another short video tutorial for the Clara Ballerina Doll, this time for how to sew moveable, button jointed arms onto a rag doll. After all, a ballerina needs to move her arms, right?
This technique is great for rag dolls who have smaller bodies, making it hard or impossible to stitch the arms into the seams when you sew the body together. Even if the arms do get sewn into the side seams, they stick out straight and can’t move around, which is totally find for lots of dolls, but for others, it’s not ideal.
Sometimes patterns call for simply hand stitching the arms to the outside, which works for projects like sock monkeys and other kinds of dolls, but I much prefer the button jointed moveable doll arms for the ballerina doll, because they turn out more symmetrical, they lay nicely instead of sticking straight out, and of course, they can move up and down!
How to Make Doll Arms that Move
Enjoy this short video tutorial and be sure and subscribe to the Pin Cut Sew YouTube channel so you don’t miss the next video, how to create the doll’s yarn hair!
This technique can be used for various rag doll patterns, but you can of course purchase the Clara Ballerina Doll pattern in my shop! You can also buy it on Etsy if you prefer. It comes with complete instructions with lots of photos, and I’m making video tutorials for the elements that are probably new to many sewists, such as the face, arms, and hair.

Ballerina soft rag doll sewing pattern with plenty of changeable dance clothes, including a ballet leotard, wrap skirt, leg warmers and tutu! This sweet ballet doll will be a perfect handmade gift for the little (or big ;) dancers in your life. This pattern is a PDF download for you to print instantly at home. Or, you can print the pattern pieces only and read the instructions straight from your computer or iPad.
For the arms, you’ll need small buttons with just two holes. I like the cute colorful ones, especially the hearts! I keep a nice button stash on hand, it’s helpful to have many colors and sized for when projects like this come up.
I also recommend having some heavy duty thread and a doll needle on hand in your sewing room. They are two tools that you think you can get by without just fine, but when you have them, you’ll reach for them super often!

Attaching the arms is sort of a tufting process, which I only recently learned to do when I was creating the Flower Power pillow pattern. It’s kind of funny that I went on to use that technique again so shortly after learning it! I love learning new skills and ways of doing things, there’s always more to learn, which is one thing I love about sewing.
Stay tuned for the rest of the videos in the Clara Rag Doll Playlist!
Happy Sewing,
Nikki
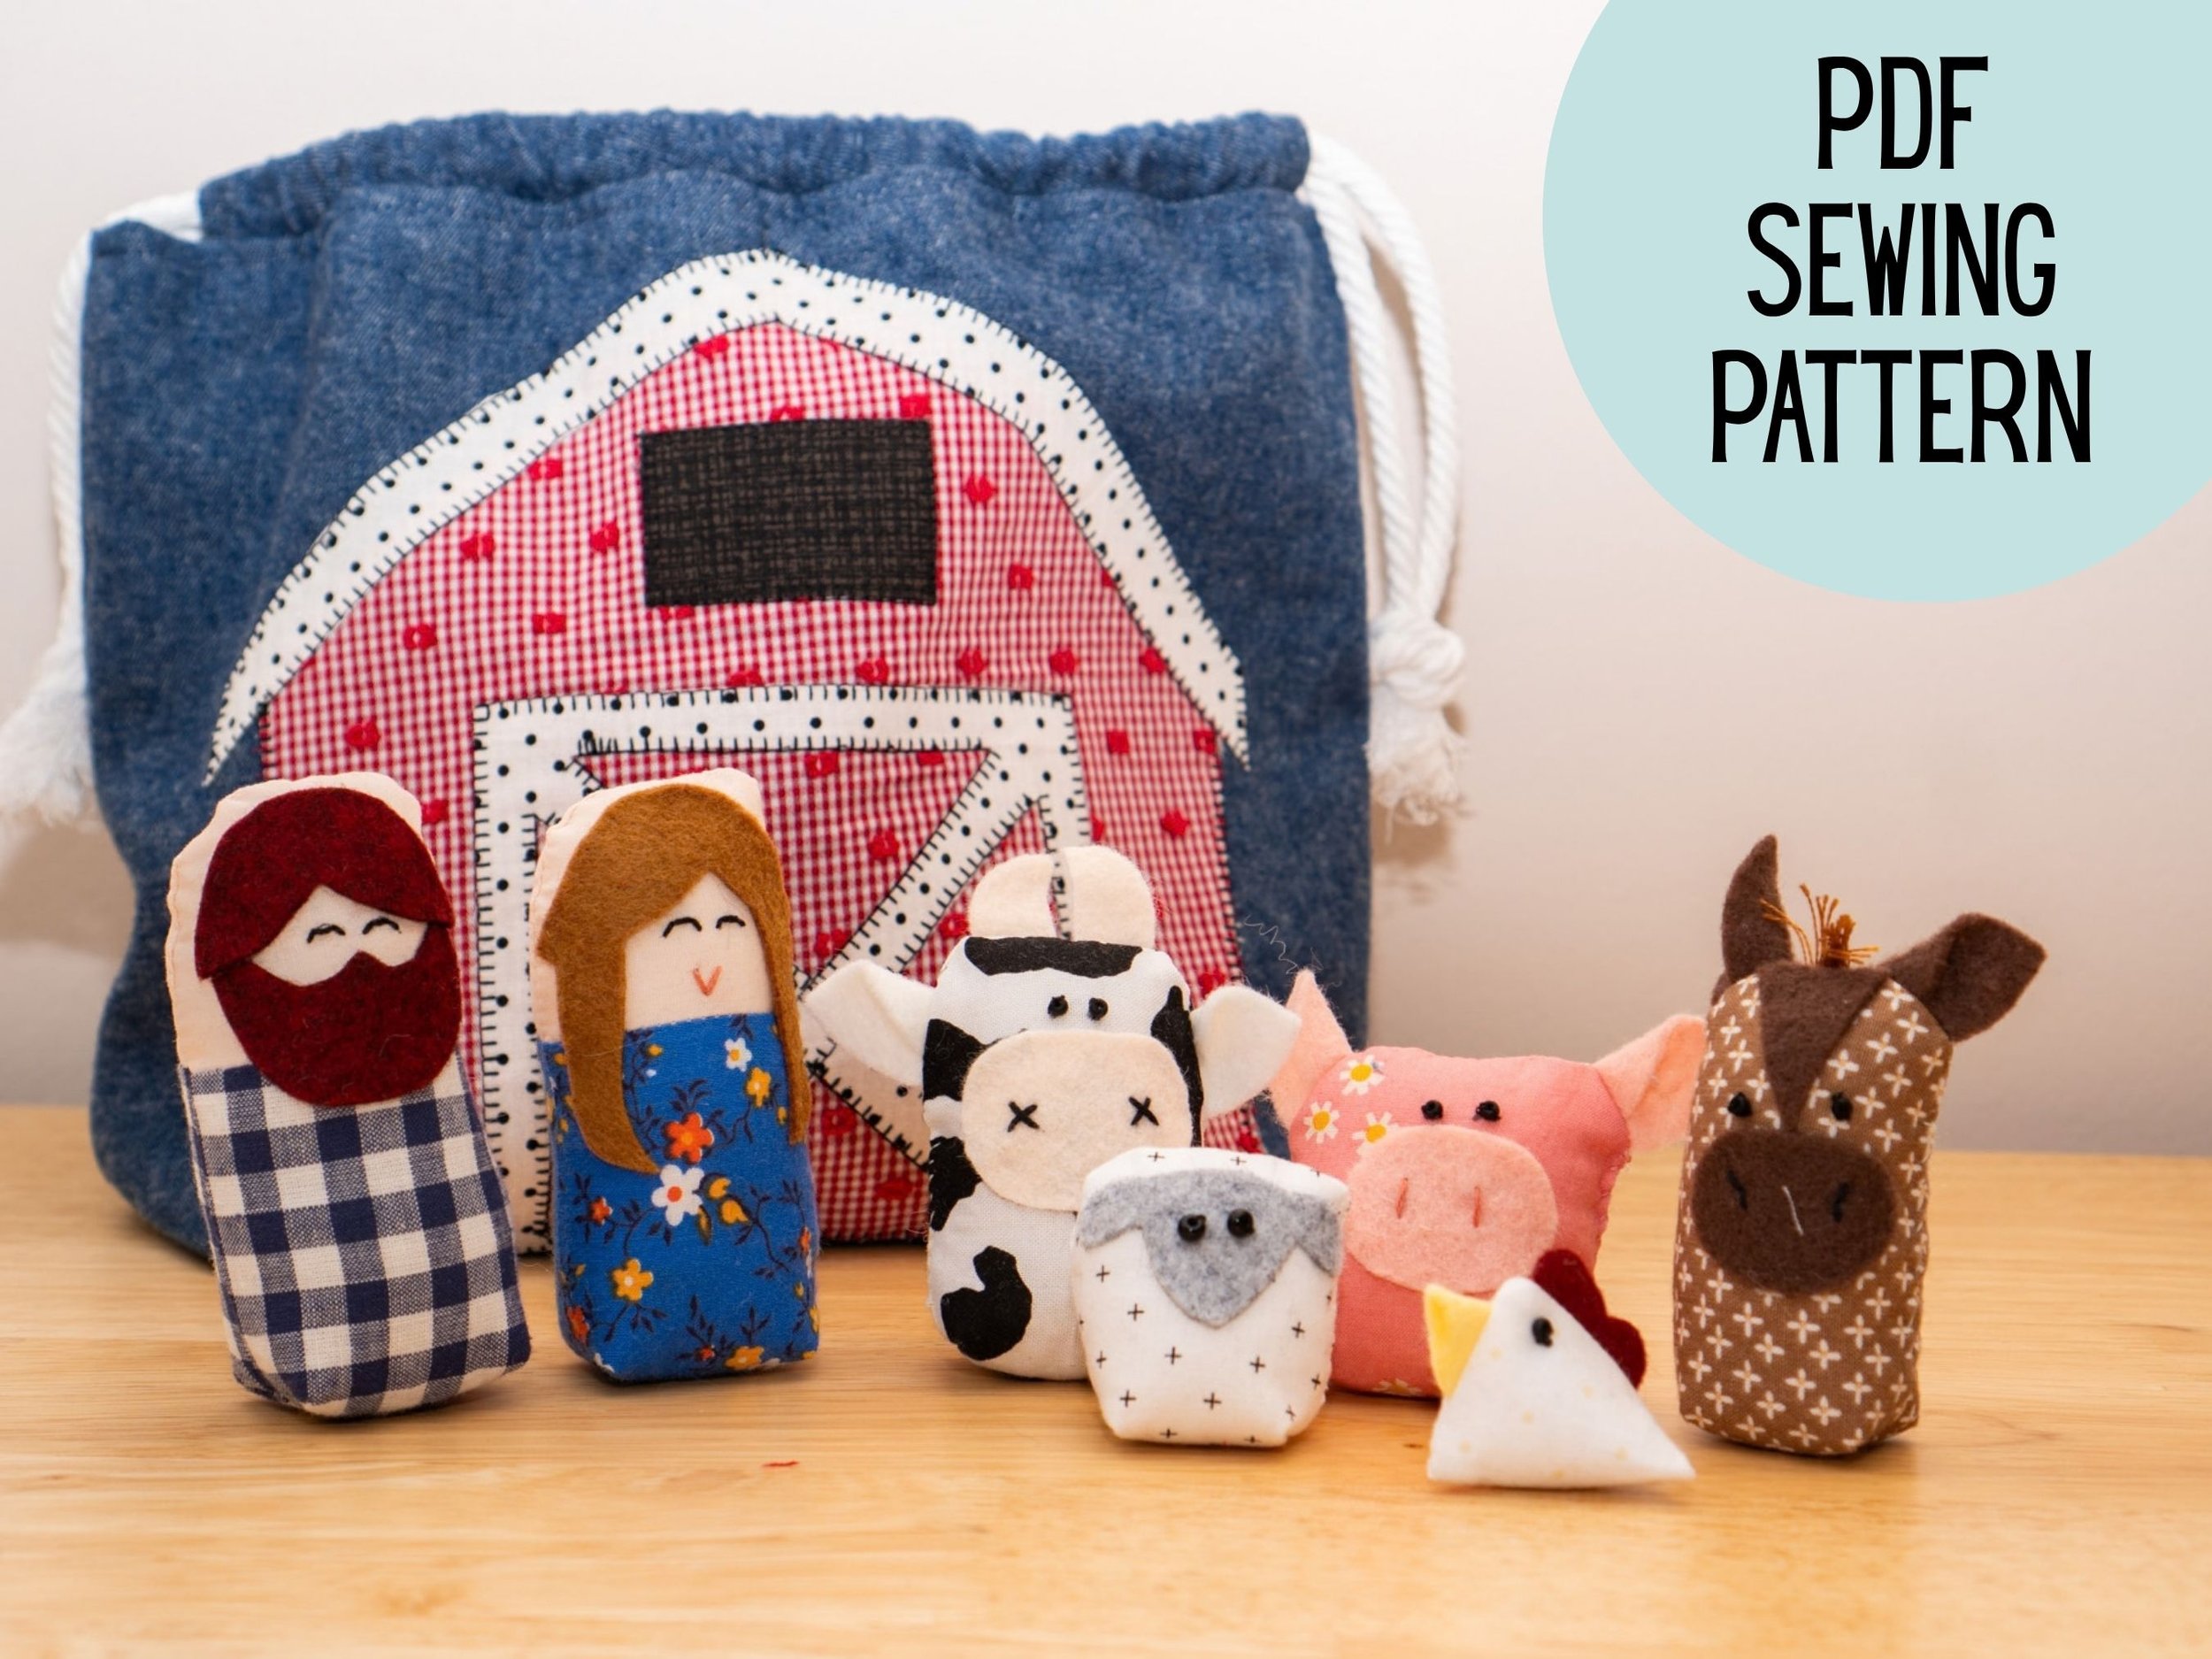
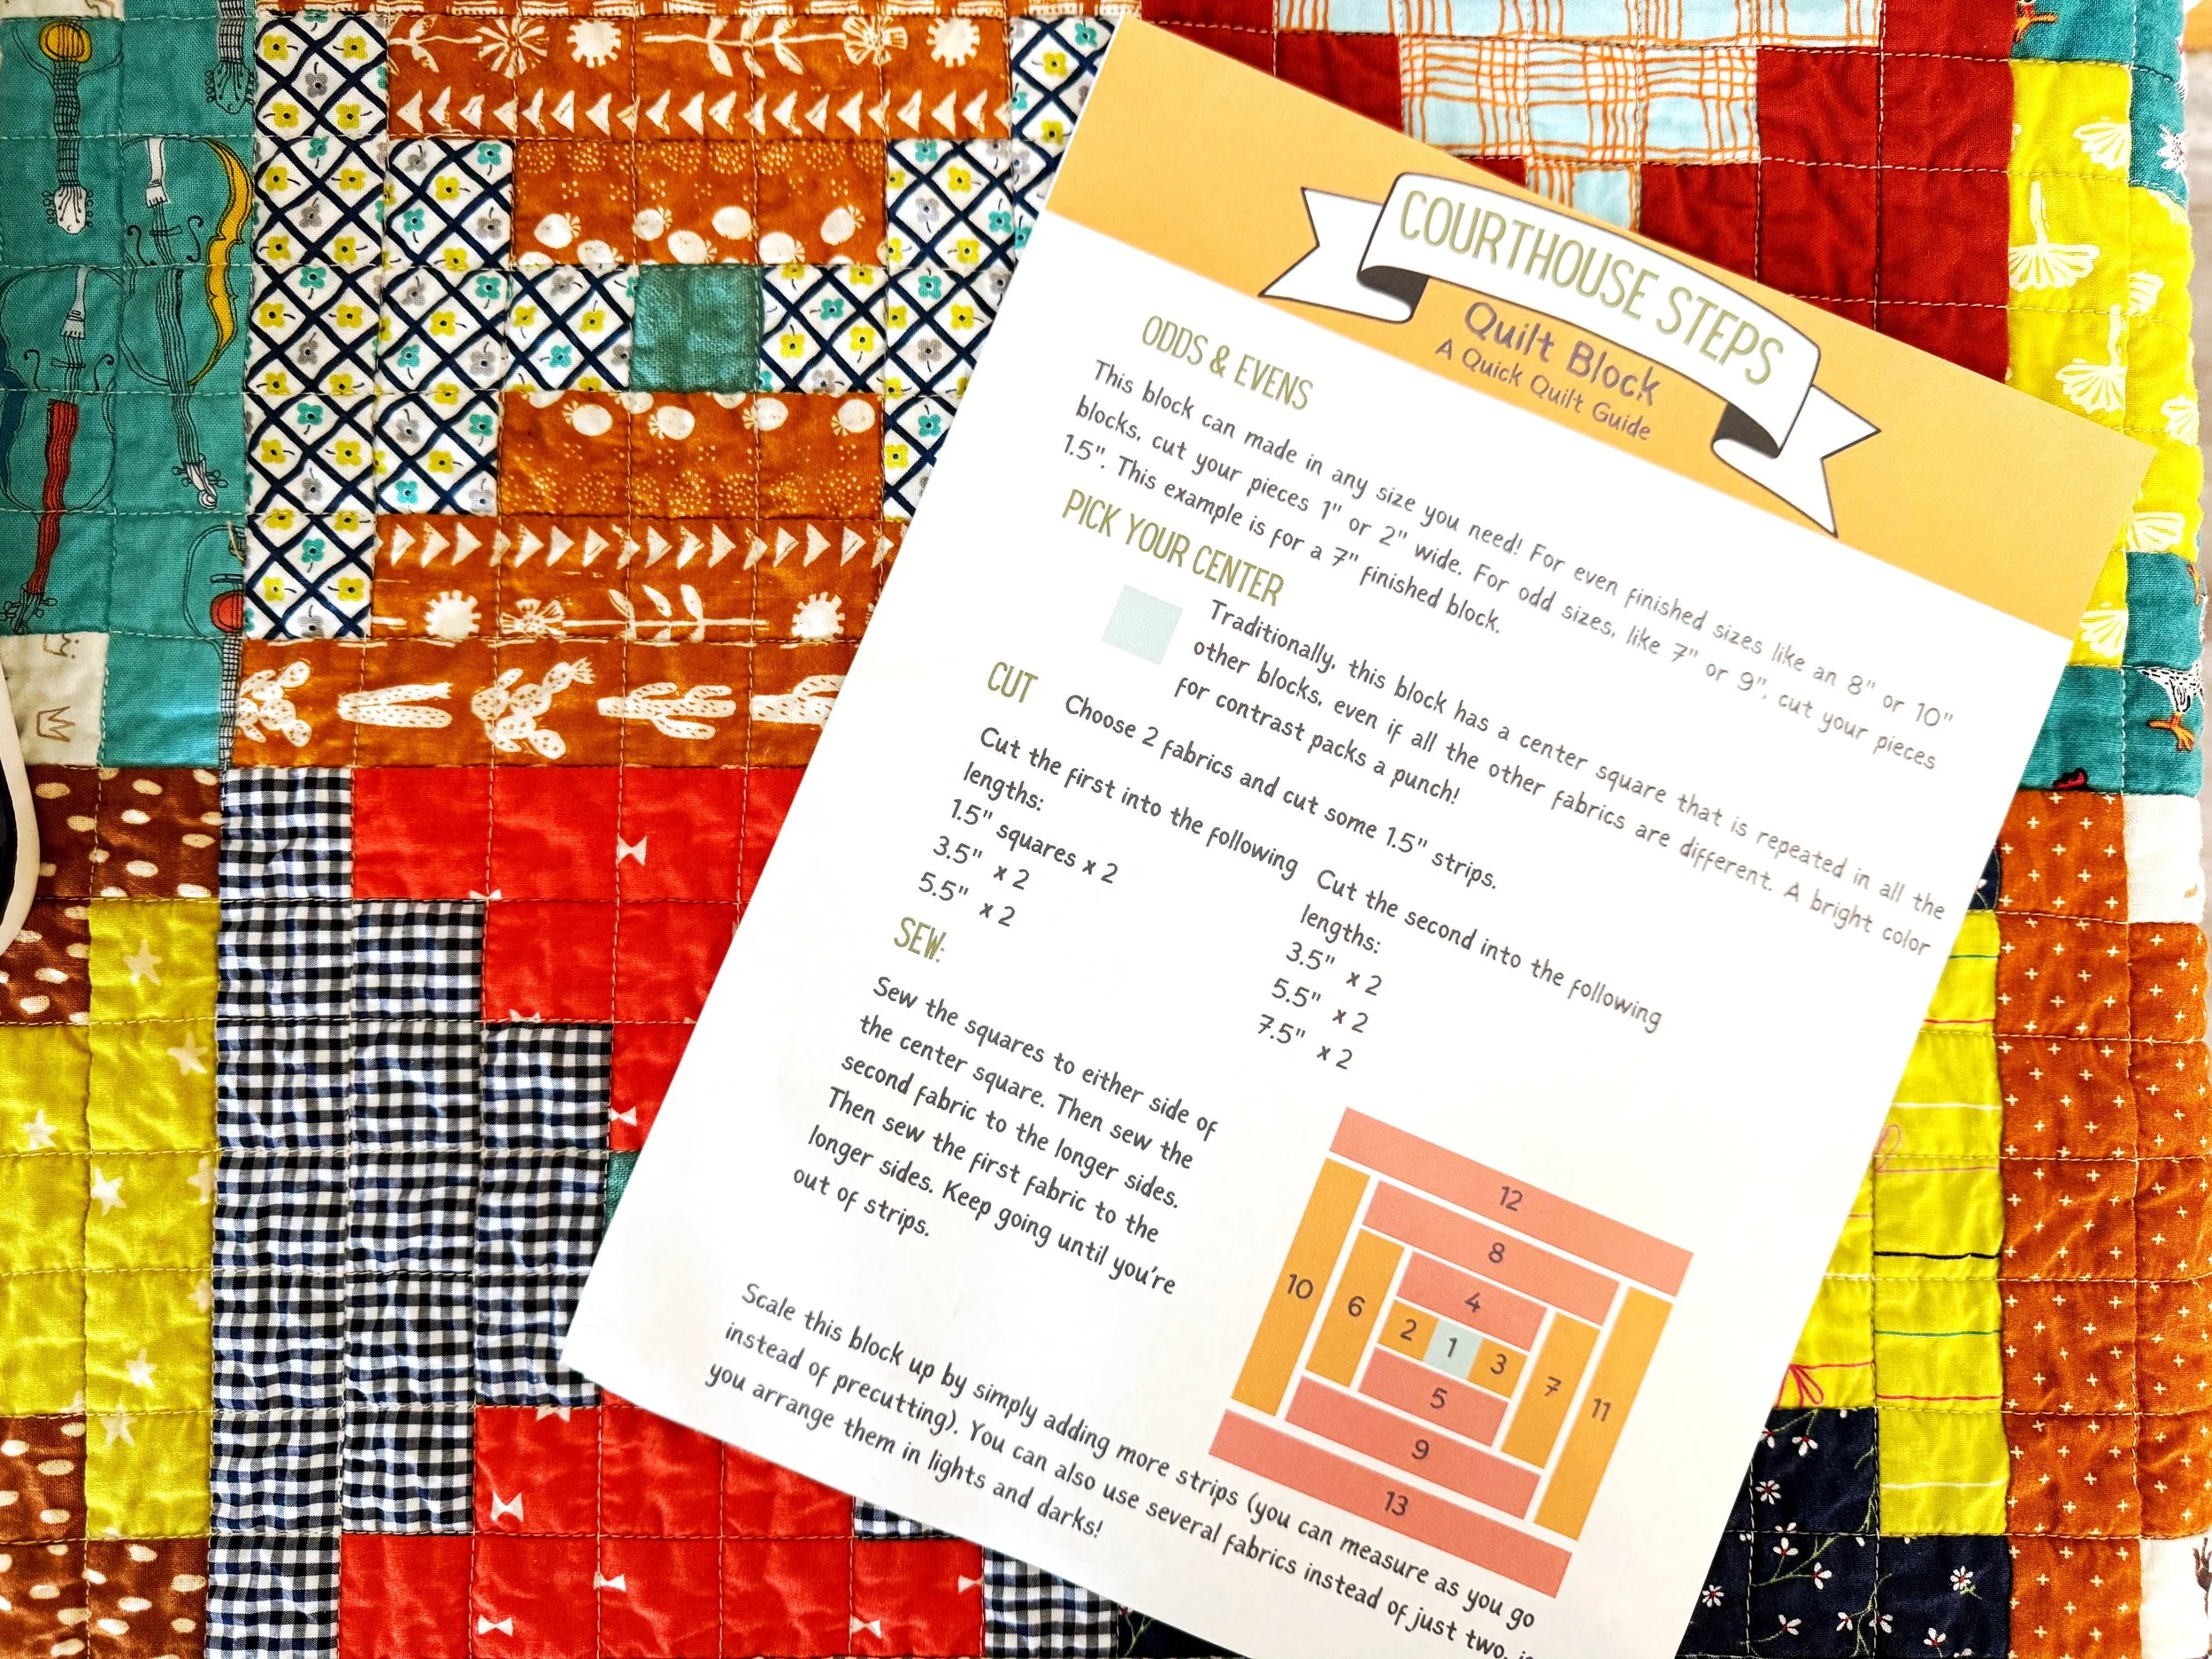
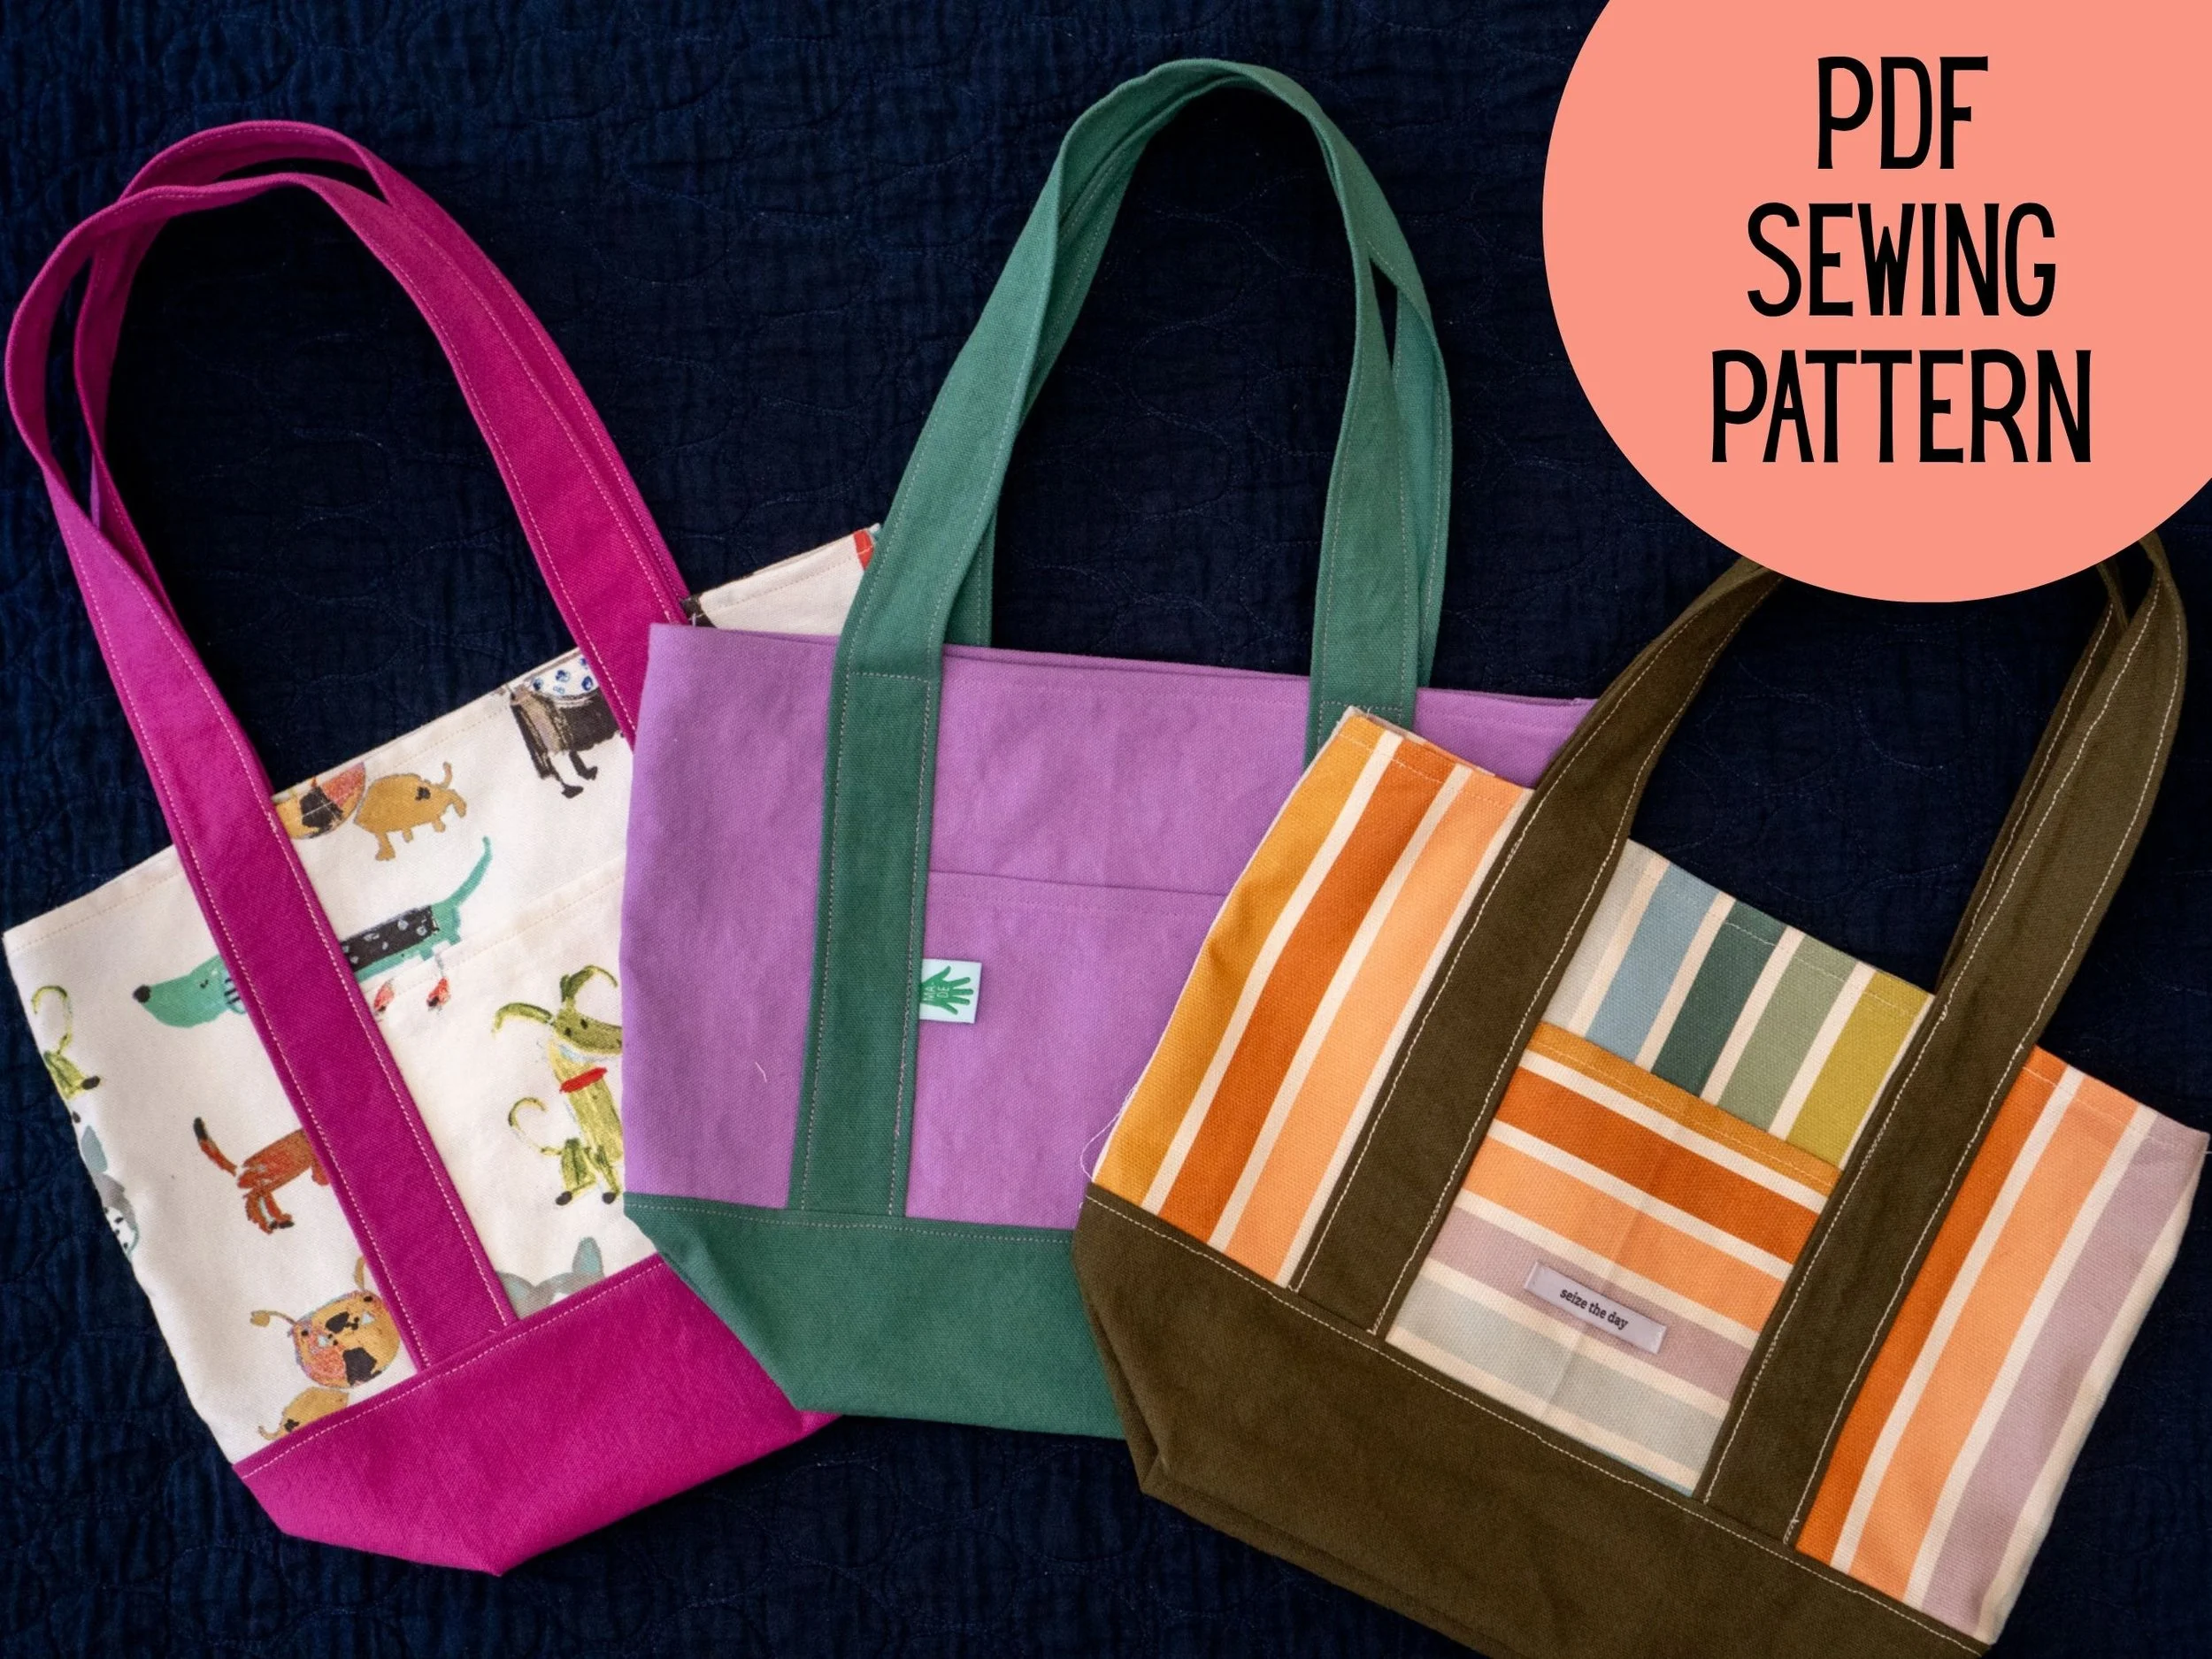
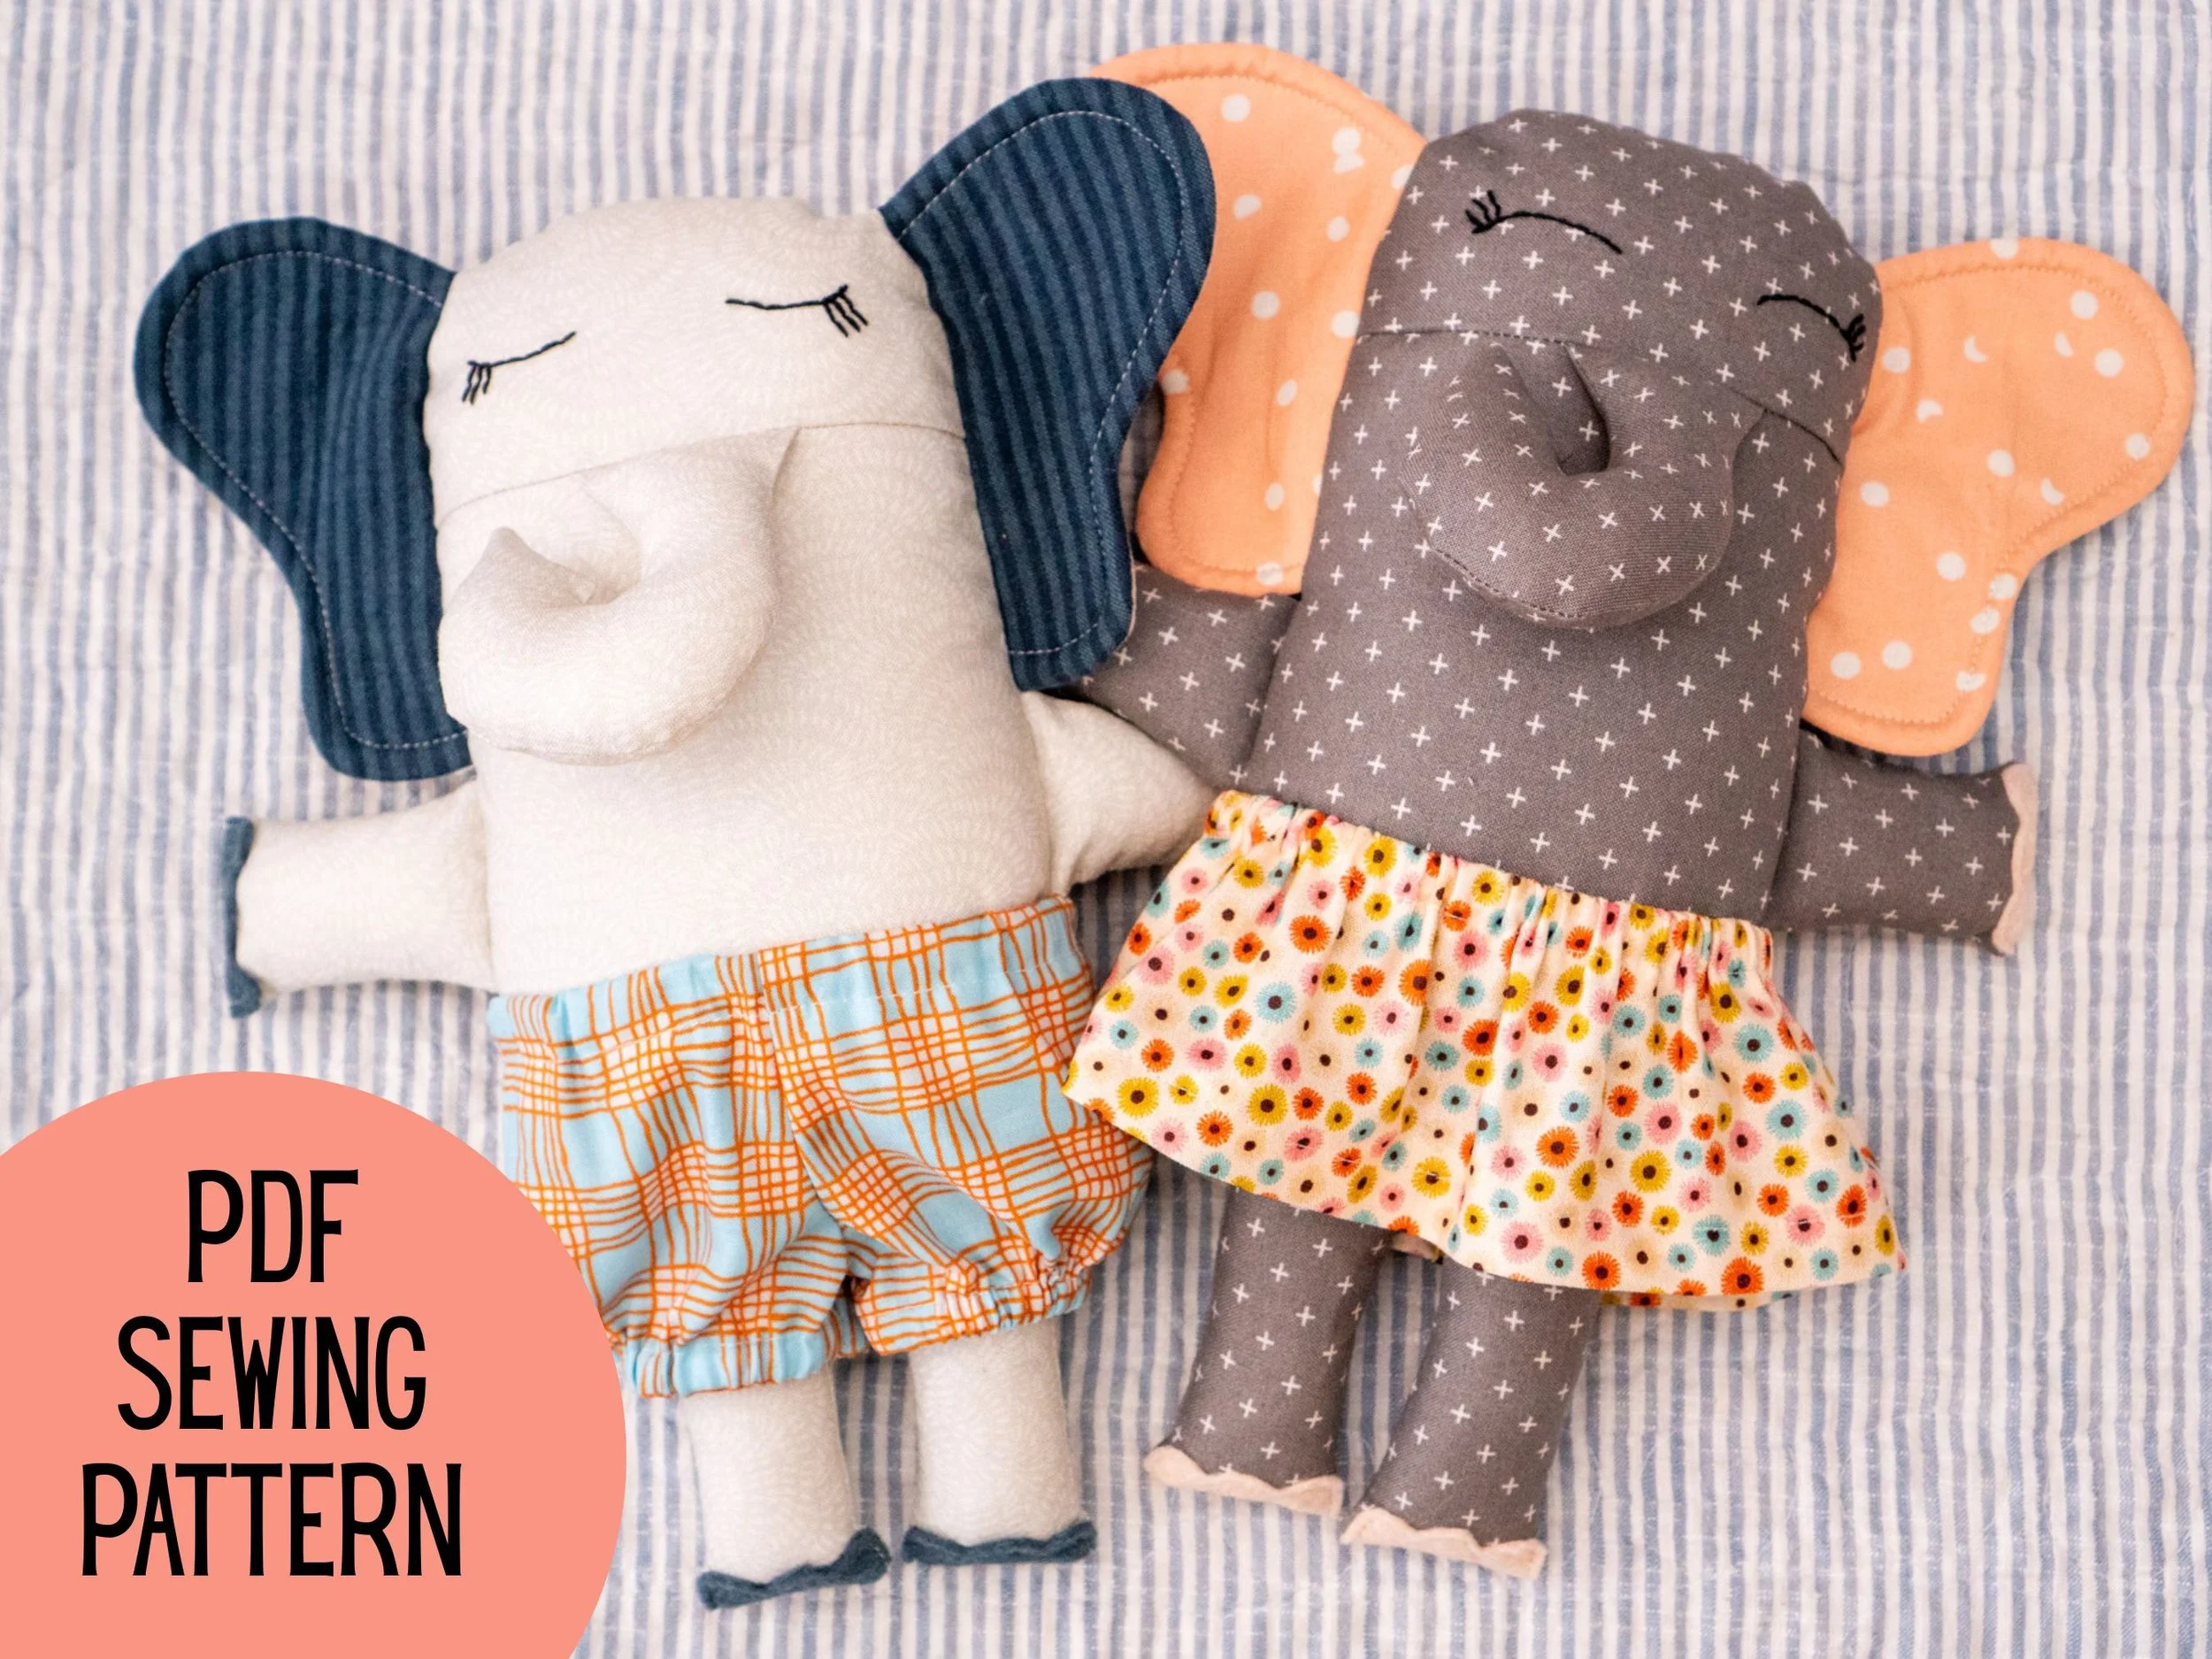
Sew TWO different soft toy play sets with this bundle of patterns. The Farm play set and the Nativity play set all have people and animals, plus a carrying bag.
PLEASE NOTE: You are purchasing a printable PDF of the patterns instructions! You are NOT purchasing actual play sets, nor are you purchasing physical instructions to be mailed to you. This tutorial is for you to print at home. Refunds on PDF patterns will not be issued after the pattern has been downloaded.
Upon purchase, you will receive two files to download and print. Each pattern includes a list of materials, pattern notes, pattern pieces where applicable, plus step by step instructions with photos.
You are allowed to sell items made from my patterns on a small scale, but selling, copying, giving away for free, or otherwise redistributing the pattern itself is prohibited according to copyright law.
Printing: This tutorial is designed to be printed on 8.5" x 11" paper. Make sure your printer is set to 100% scale.
These instructions are in English only.
If you make items with ay of my patterns, I would love to see! You can send me a message or review here on Etsy. Also find me at www.pincutsewstudio.com, or on Instagram @pincutsew.