
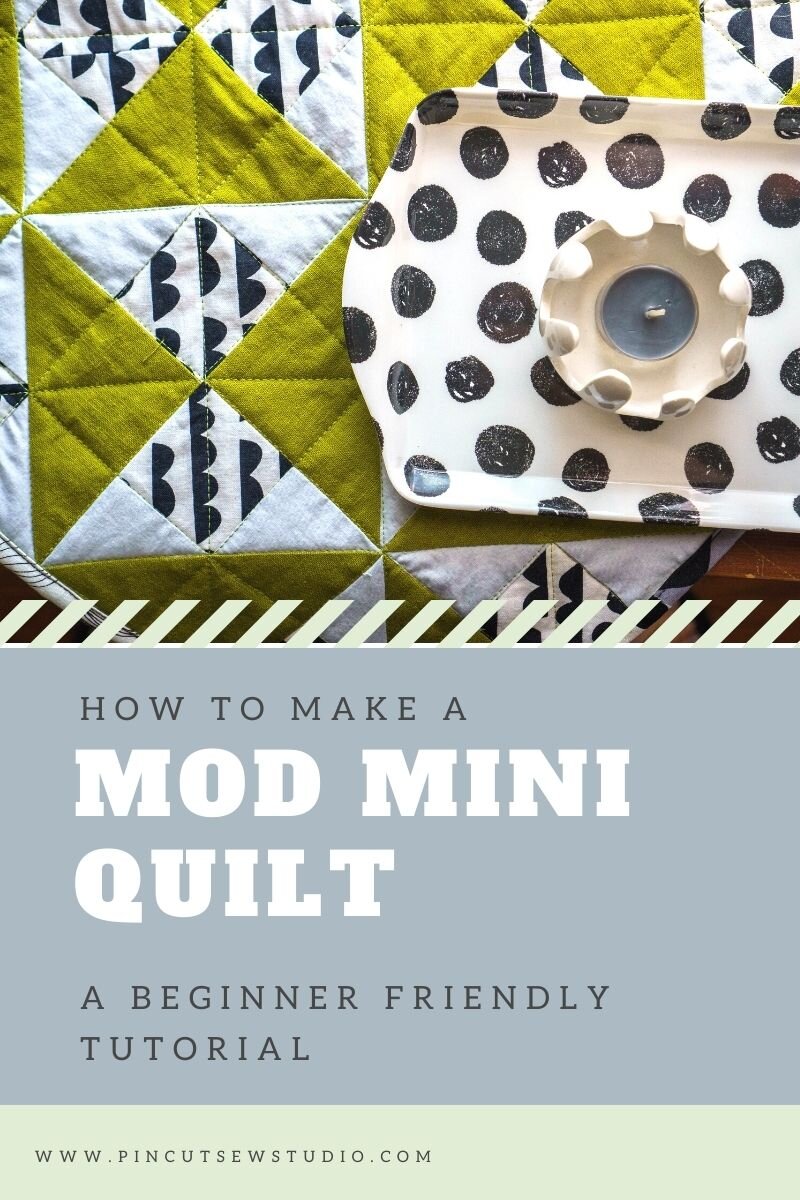
Vintage Inspired 70s Mini Quilt Tutorial
There’s a great used bookstore near my daughter’s dance studio and a couple months ago I scored a few really great vintage sewing books there. One of them is called Modern Patchwork and was dated 1970. It’s so, so fun to take a peek back and see what quilters were up to in the 70s! I’ll post some photos of the book’s pages after this tutorial, so read on to see that eye candy.
I didn’t just buy the book for the entertainment value, though. I actually thought the patterns inside were really cool! I got the quilting bug last week while waiting on my new garment fabric order arrive, so I pulled out the book and some scraps and made a fun little mini quilt, and of course I documented the process to share it with you :)
This post may contain affiliate links, which means that while I am not paid to promote certain items, I will earn a small commission should you purchase items through these links. For more info, see my disclosure policy.
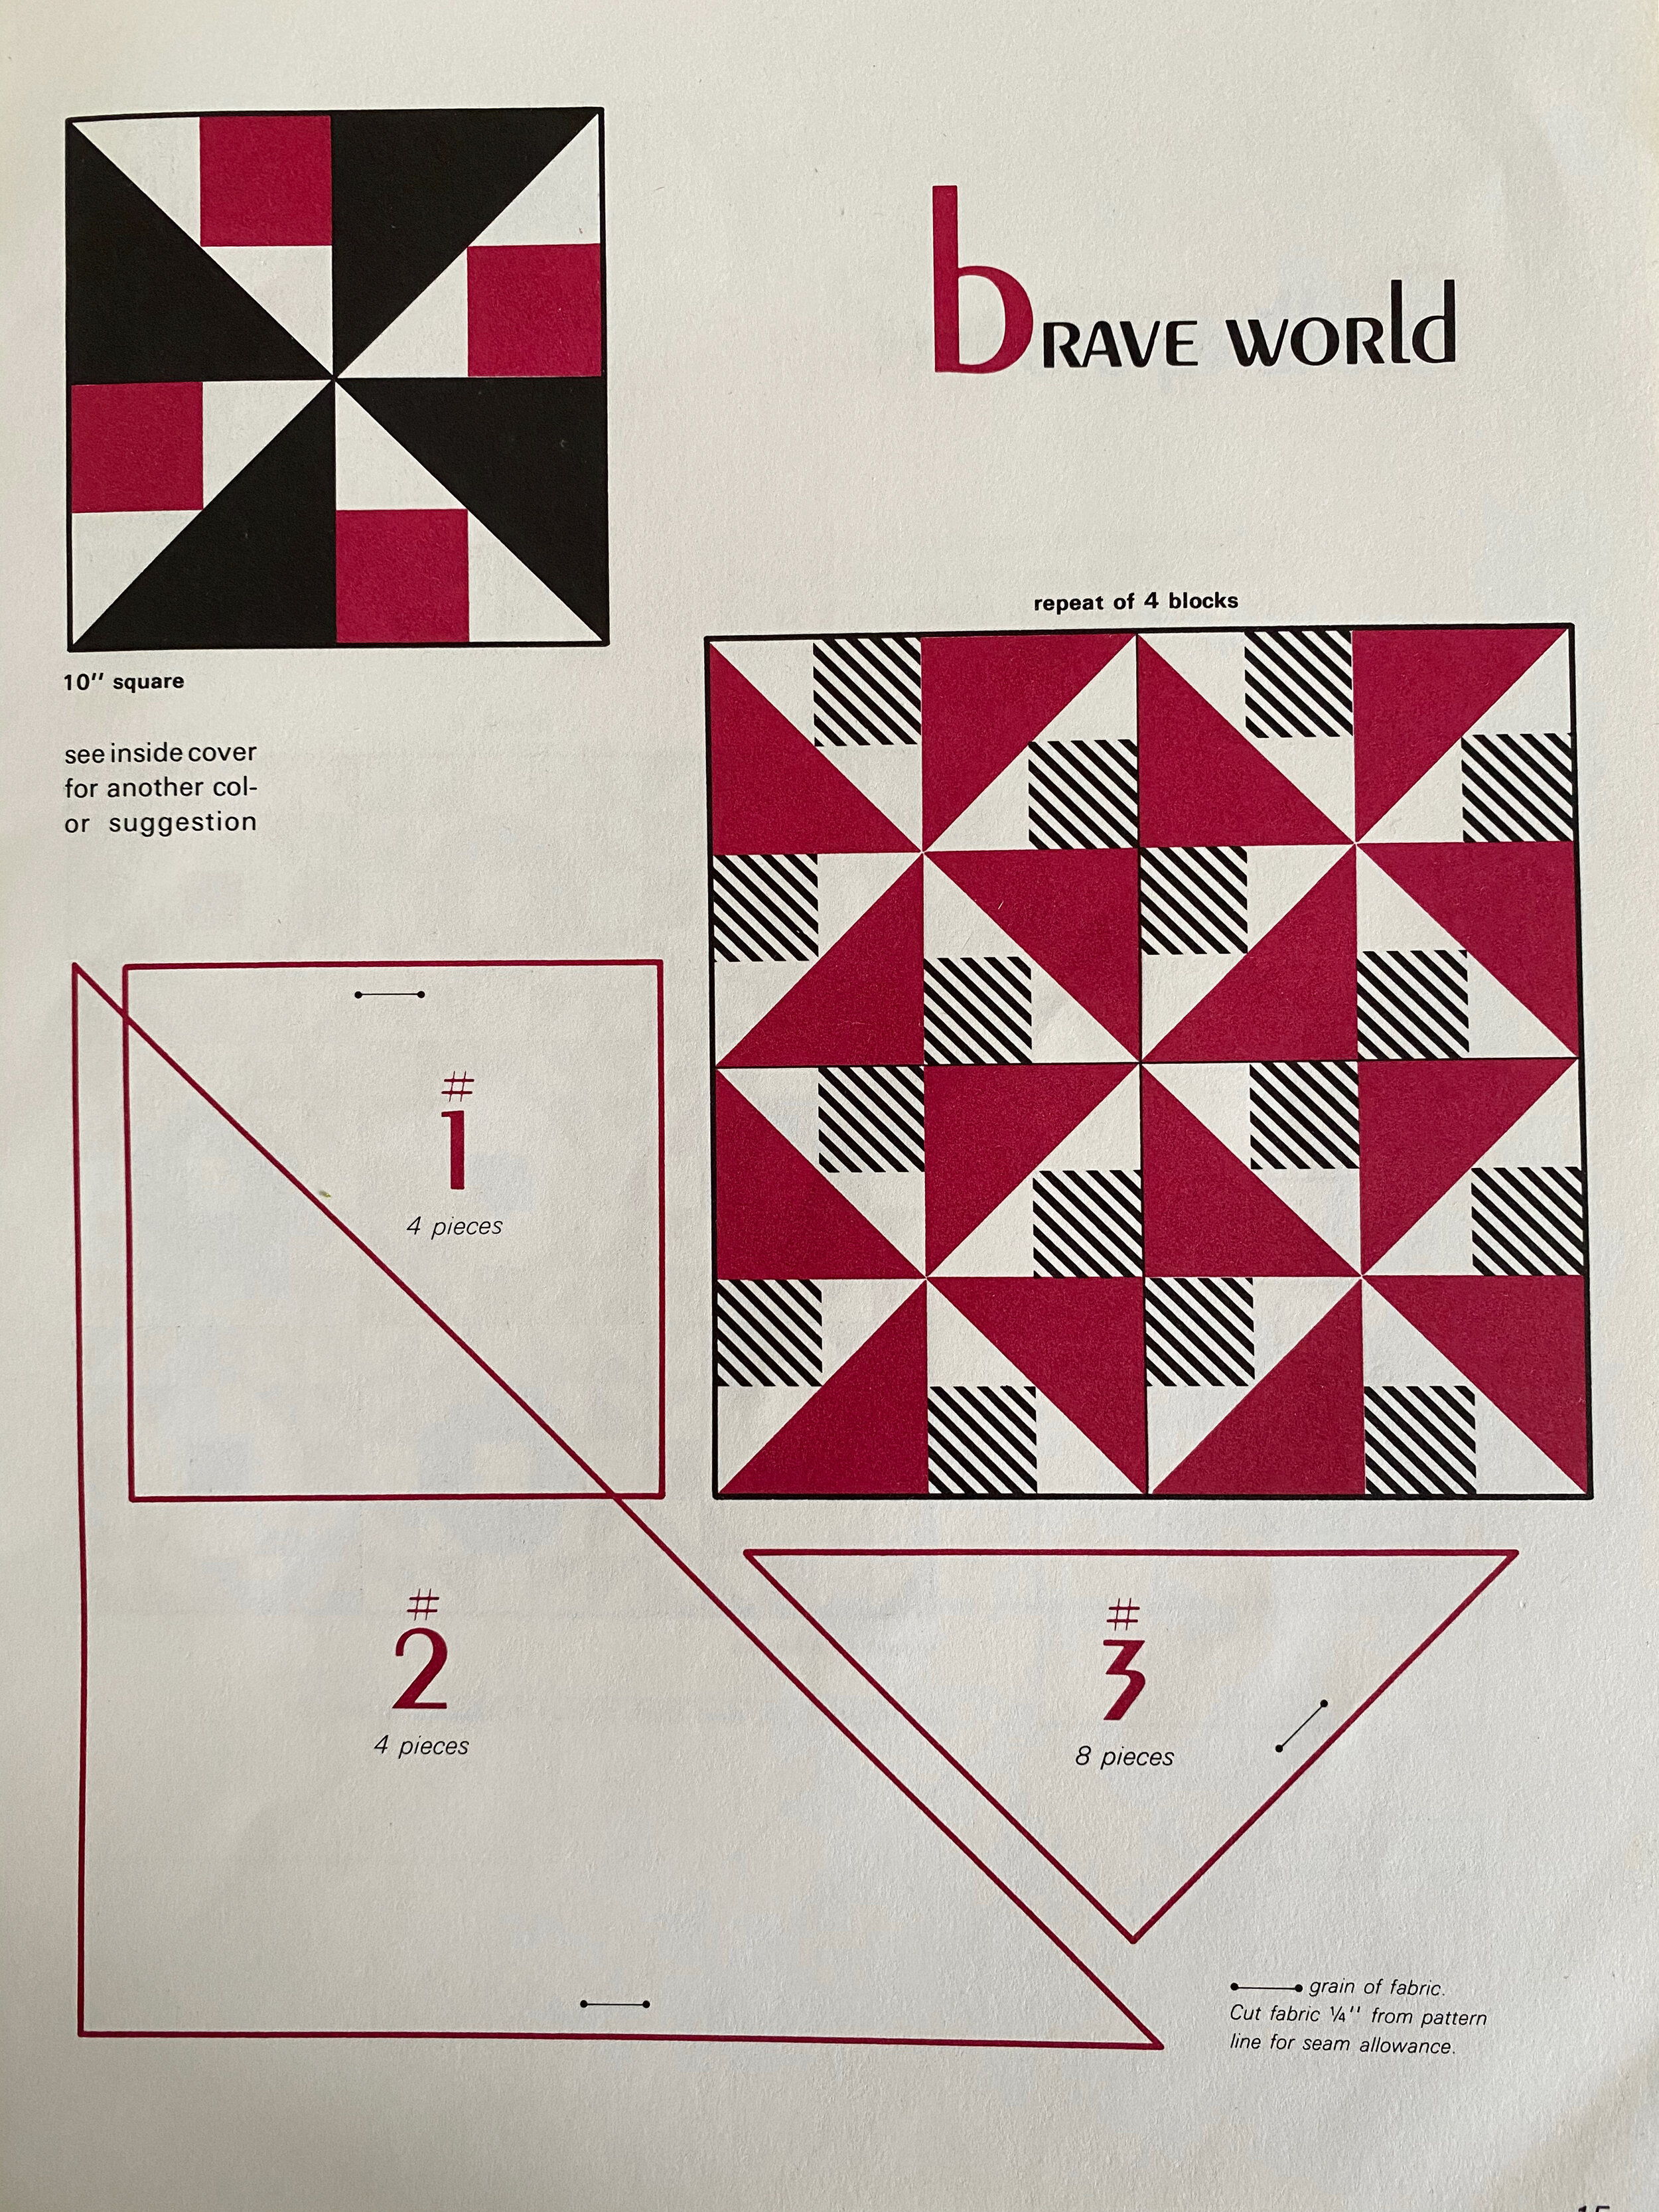
The block I chose is essentially a fancy pinwheel block. I took the illustration in the book pretty literally, since what drew me to it was the fun stripe, with a bold solid. However, I didn’t read the tiny instruction telling me to add 1/4” to the pattern pieces, so I had some adventures in cutting, eek! In the end, I’m using the basic idea in the book here, but adjusted the sizes of the pattern pieces to accommodate what I’d already cut, and also because I was using a very small scrap of the black and white print and wouldn’t have eked the blocks out of it if they’d been any bigger. So here’s the inspiration, but read on for the measurements I cut for mine.
How to make a vintage inspired 1970s mini quilt:
You’ll need three fabrics, a dark solid, a light solid and a stripe or print of your choice. I like how the stripe creates a directional look, but it would be cool with a different print too! You’ll also need a scrap of cotton batting and fabric for the backing and binding.
The finished size is 16” square.
Cutting Instructions:
Cut 8 squares from a dark solid, 4 & 3/4” each. Then cut them in half diagonally so you have 16 triangles.
Cut 16 squares from the lighter solid, 2 & 3/4” each. Then cut them in half diagonally so you have 32 triangles.
Cut 16 squares from the striped fabric, 2 & 1/2” each.
If you’re unfamiliar with using a rotary cutter and ruler, I have a tutorial for that :)

Piecing the blocks:
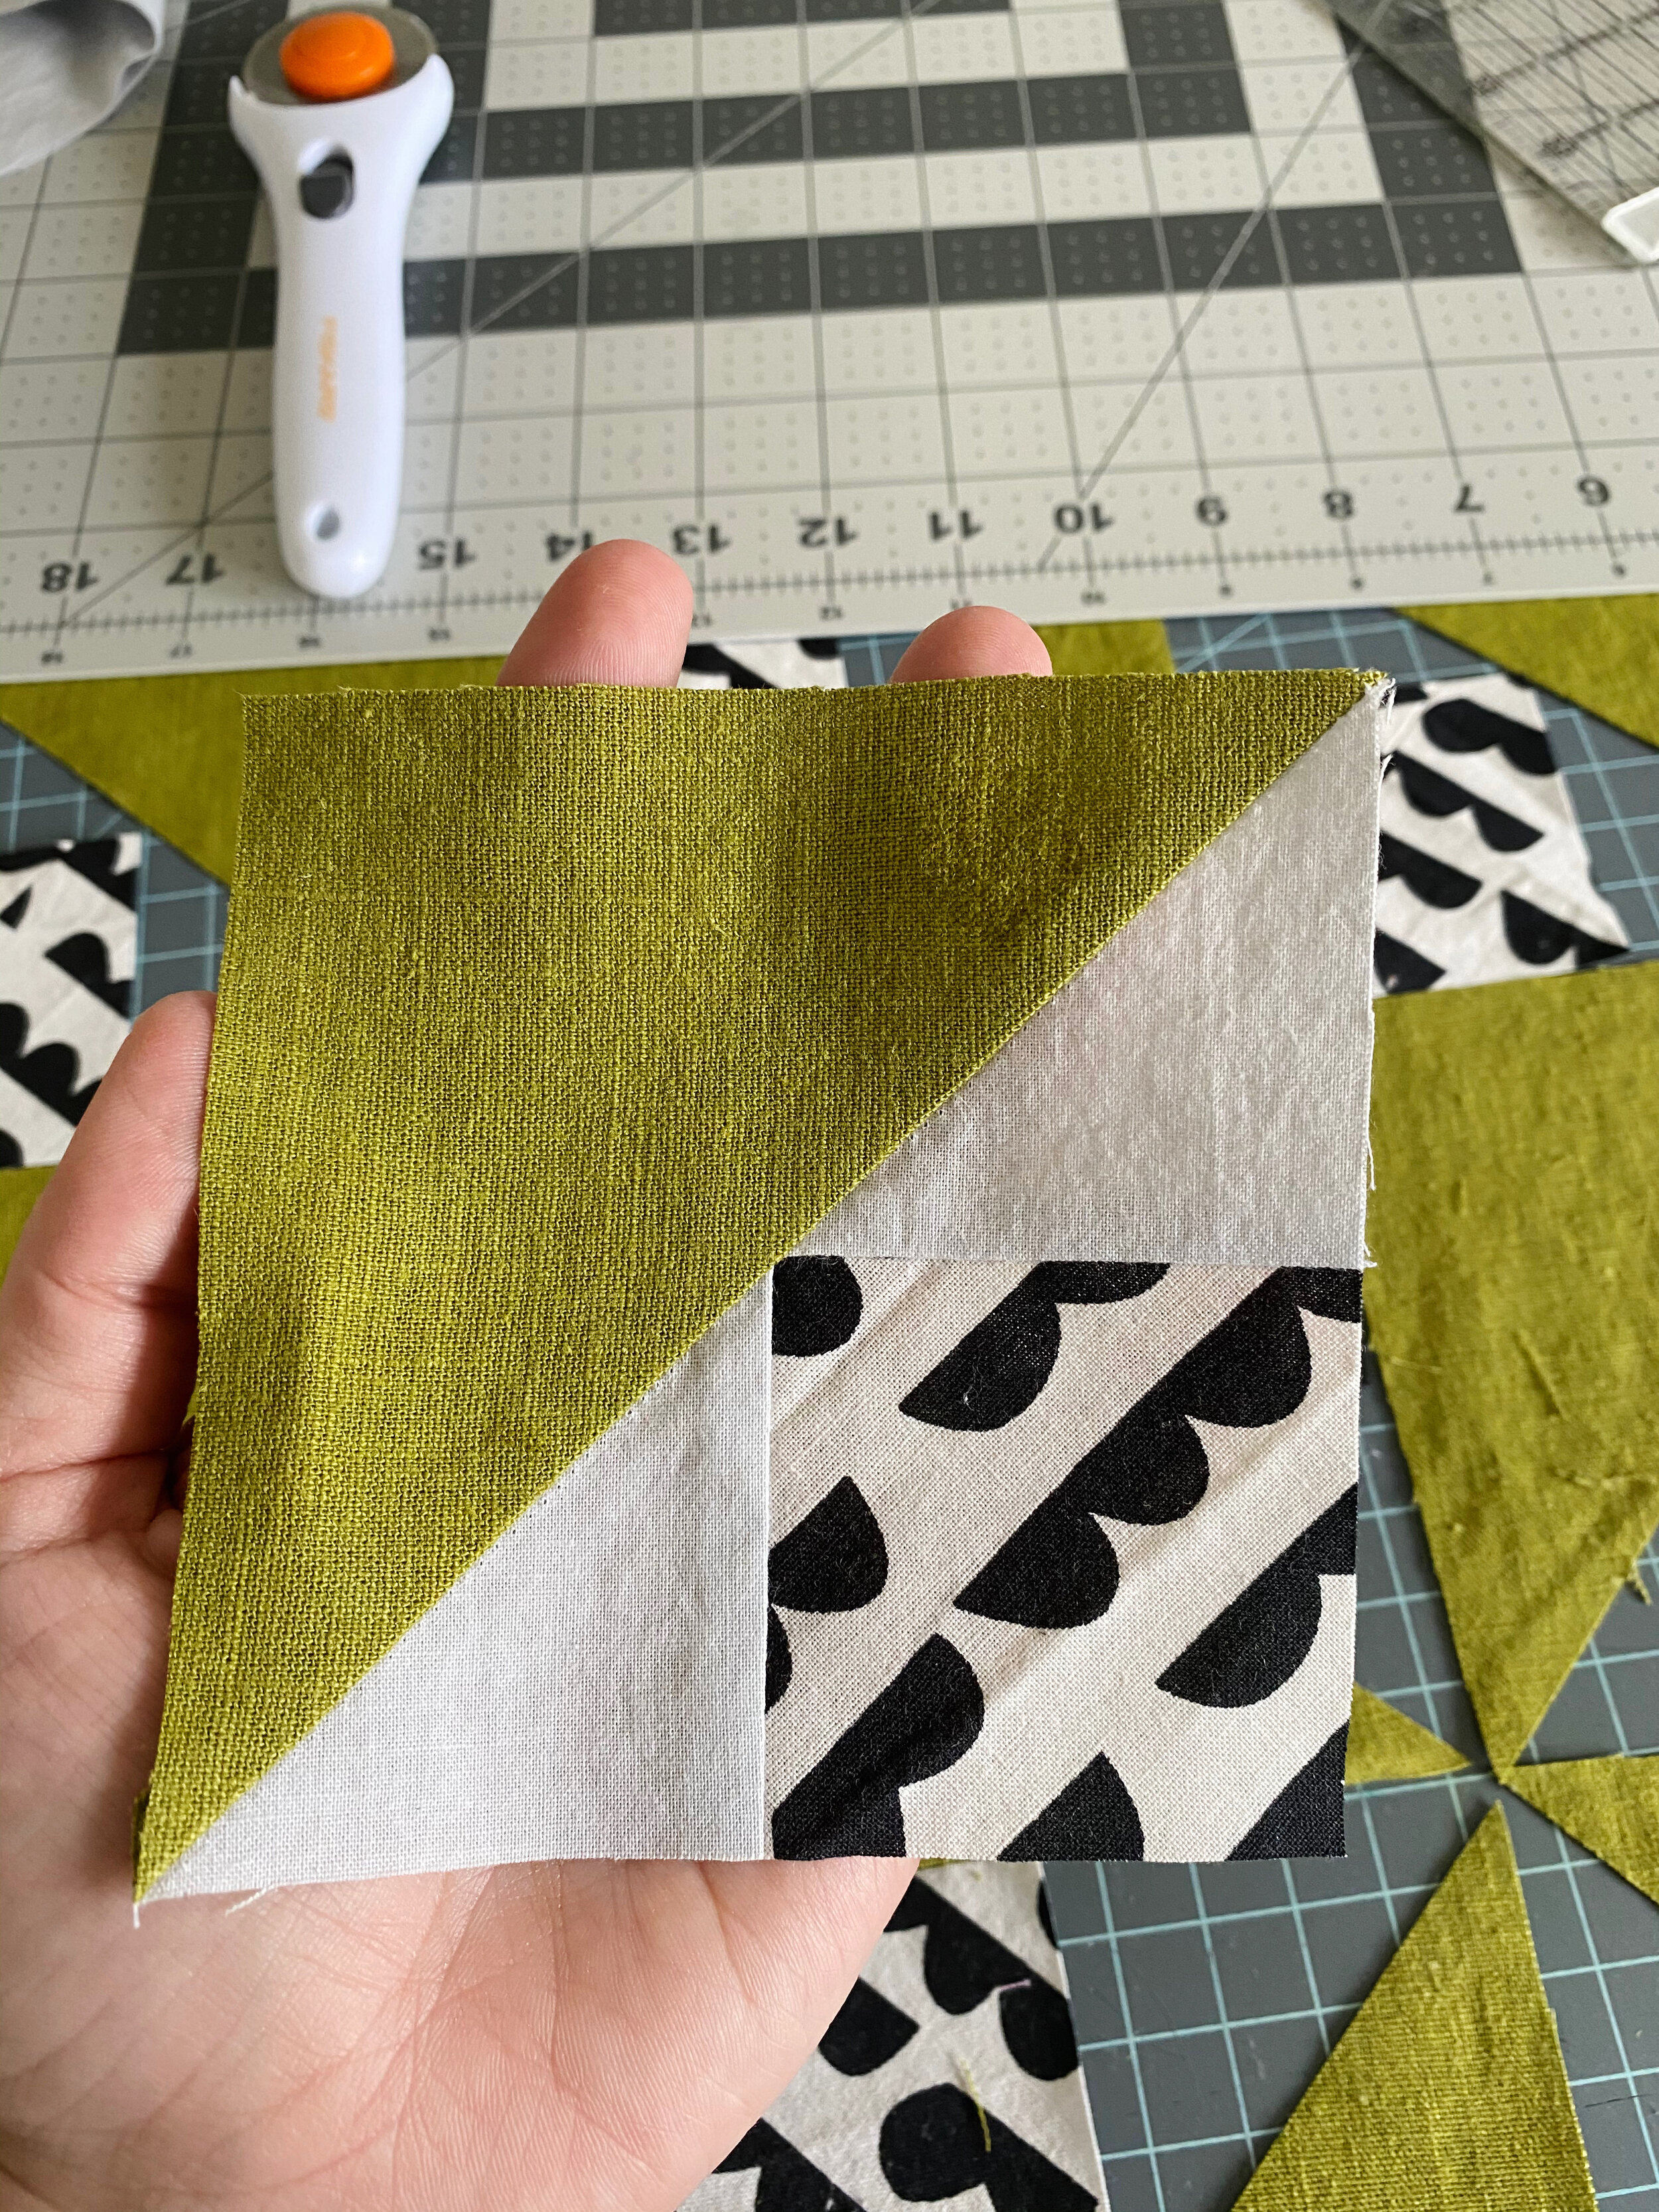
We’ll be making 16 small blocks to form the four larger pinwheel blocks. I like to lay my pieces out so I can see how it goes together. (Note that in this photo, I’d made a cutting mistake with my lighter fabric. When cut correctly, the light triangles will be bigger than these. I recut, but neglected to take a new photo!) Laying it out helps you make sure you sew the correct pieces together. We’ll need four blocks that look like this.

I was working with a very small scrap of my black and white fabric, so some of my pieces have seams in them. I decided it adds interest, haha. When laying out the blocks, make sure your stripes are all running the same direction … unless you don’t want them to, of course ;)
Start by sewing one light triangle on to the side of one striped square. You’ll have a “dog ear” at the inner corner of the square, but the straight edges will be perfectly lined up. Use a precise 1/4” seam, as always for piecing.

Finger press that seam, then sew the other light triangle onto the square on the other side, again starting by lining the straight sides up. Again, you’ll have a dog ear where the triangles meet.

Press your block, pressing the seams to one side. Be careful that you’re pressing, not ironing. If you iron by pushing the iron heavily along your piece, it will distort your block. Instead, press by holding the iron down, lifting and pressing in another spot if needed. I hope that makes sense! This is one of those things beginners often don’t know and it can cause blocks to come out wonky.
Our small pieced triangle is done and you’ll notice that there is enough overhang where the two light triangles meet beyond the square’s corner to accommodate the seam allowance when we sew the other side on.

The rest is pretty straightforward. Sew the larger green triangle onto your pieced triangle, long sides together. This completes the mini block. Be careful not to stretch it as you sew, since we’re working with bias cut edges. And, quick tip, if you sew it with the pieced triangle on top, you can make sure you sew perfectly into the intersection of the piecing, creating a perfect corner where the square meet the triangle.
When you’ve made four of those mini blocks, you can sew them together into one big pinwheel block. Again, if you want the directional effect like in the picture, make sure your stripes are all running the same way!

When you have all four large blocks made, sew them together into your mini quilt top and you’re ready for the quilting process.
I press my seams open when sewing the big blocks together, to reduce bulk on one side or the other.

I have blogged before all about the long version of how to make the quilt sandwich. Our quilt is mini, but the process is the same. You won’t need to lay it all out on the floor, of course, though. The short version: Place your backing fabric (cut a few inches larger than your quilt) pretty side down onto the table. Place a piece of batting on top, just smaller than your backing. Smooth that out and then place your quilted piece on top of that. Smooth it out and place pins all over it. I don’t bother with quilting safety pins for mini quilts. Straight pins work just fine.
Then you’ll just sew lines onto to your quilt top, using a walking foot, of course, to keep the layers from shifting and bunching. The same post I linked above has the full details of this process if you’re brand new to it.

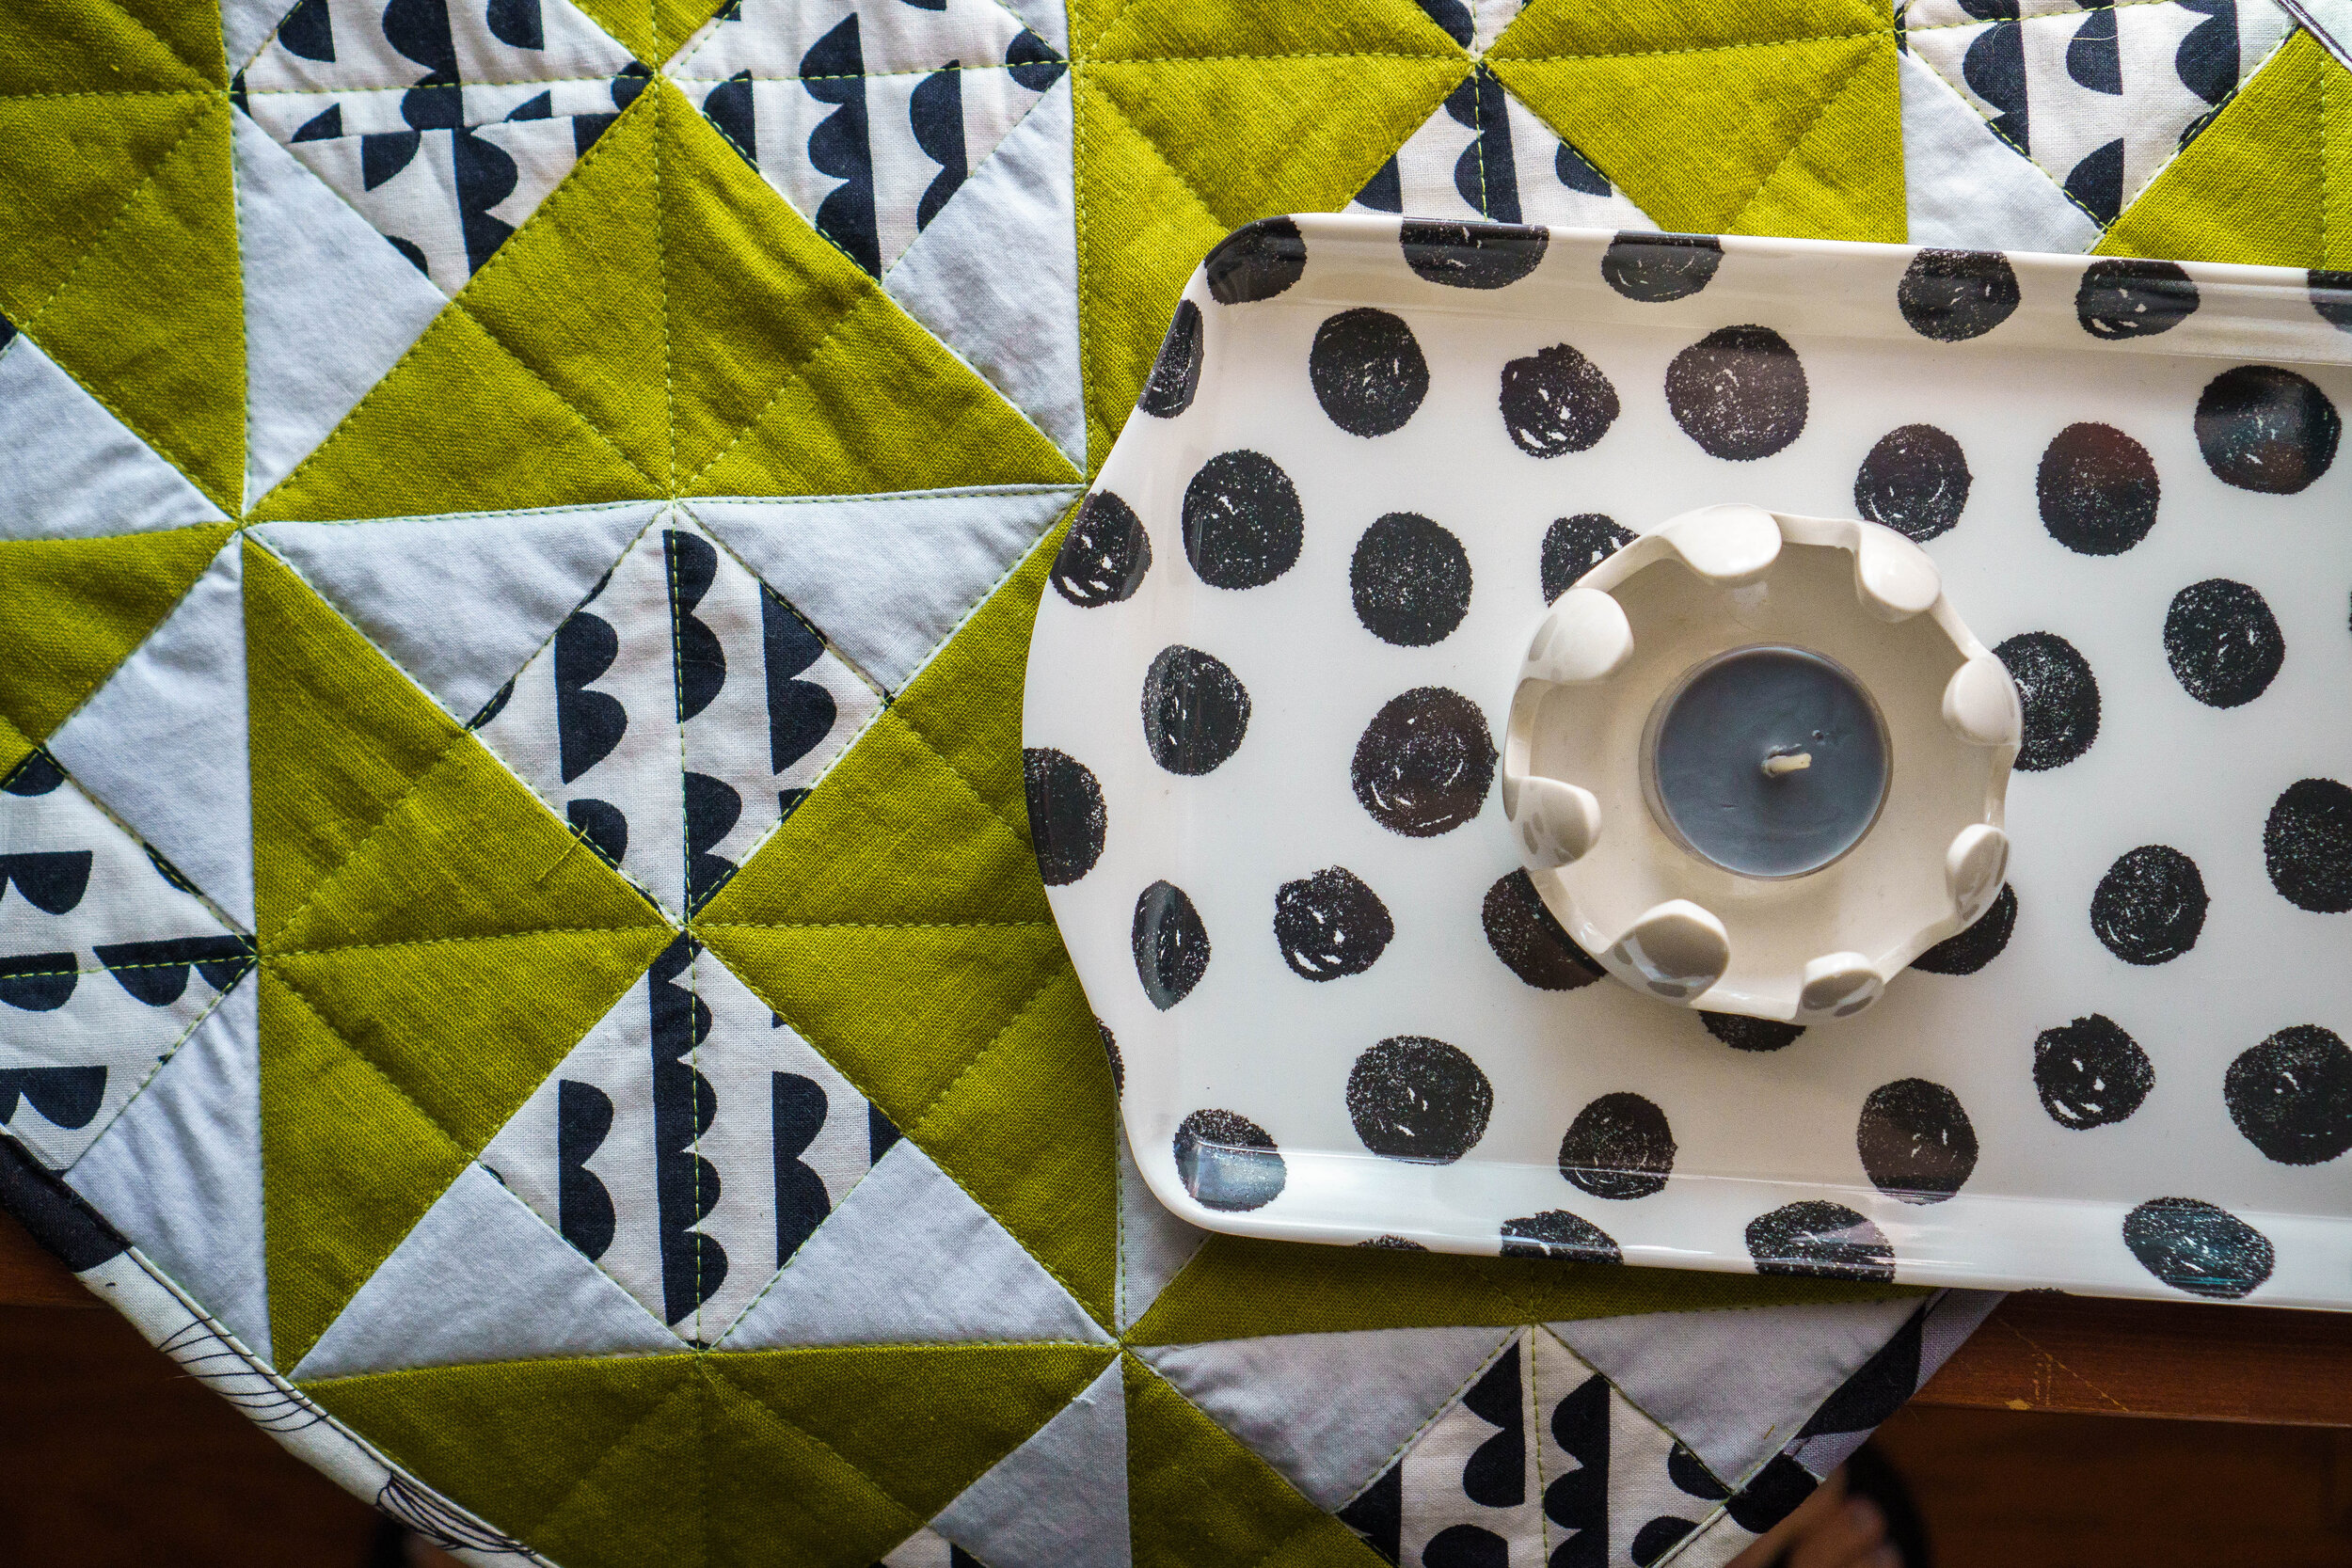
I chose to quilt mine both with a straight line grid and also diagonally. You can choose to quilt yours however you want, though!

I have a few different tutorials to choose from for the binding. For this mini quilt, I chose the machine binding method. I have a video tutorial for this on my quilted coaster post. I really love this method for smaller pieces, but if I were to do those over again, I think I’d do the hand finishing method that I detailed in my quilt series. It just looks nicer, especially when my thread contrasts with parts of my binding.
I already had black and white binding leftover from my scrap quilt, so I used that and love how it looks. I always keep bits of leftover binding, they come in useful for so many things!
I love this little mod 70’s addition to my home decor! This little book’s illustrations are a good reminder that quilting can take on many aesthetics and can be made to add to any style of decor.
Just for fun, here are some photos of the book, Modern Patchwork, written in 1970 by Rachel Martens. (I’m tempted to frame the inside cover page!!) It turns out you can still purchase this book too!


Isn’t that inspiring? I’m kinda in love with the quilt with macrame fringe. Do you buy vintage sewing or craft books? Do you buy them for the coolness factor, or do you actually make what’s in them? I bought a couple other fun ones too and after this project, I’m inspired to try some projects from those.
Cheers!
Nikki


Meet Curvy Improv, the newest improv quilting how-to guide in my shop!