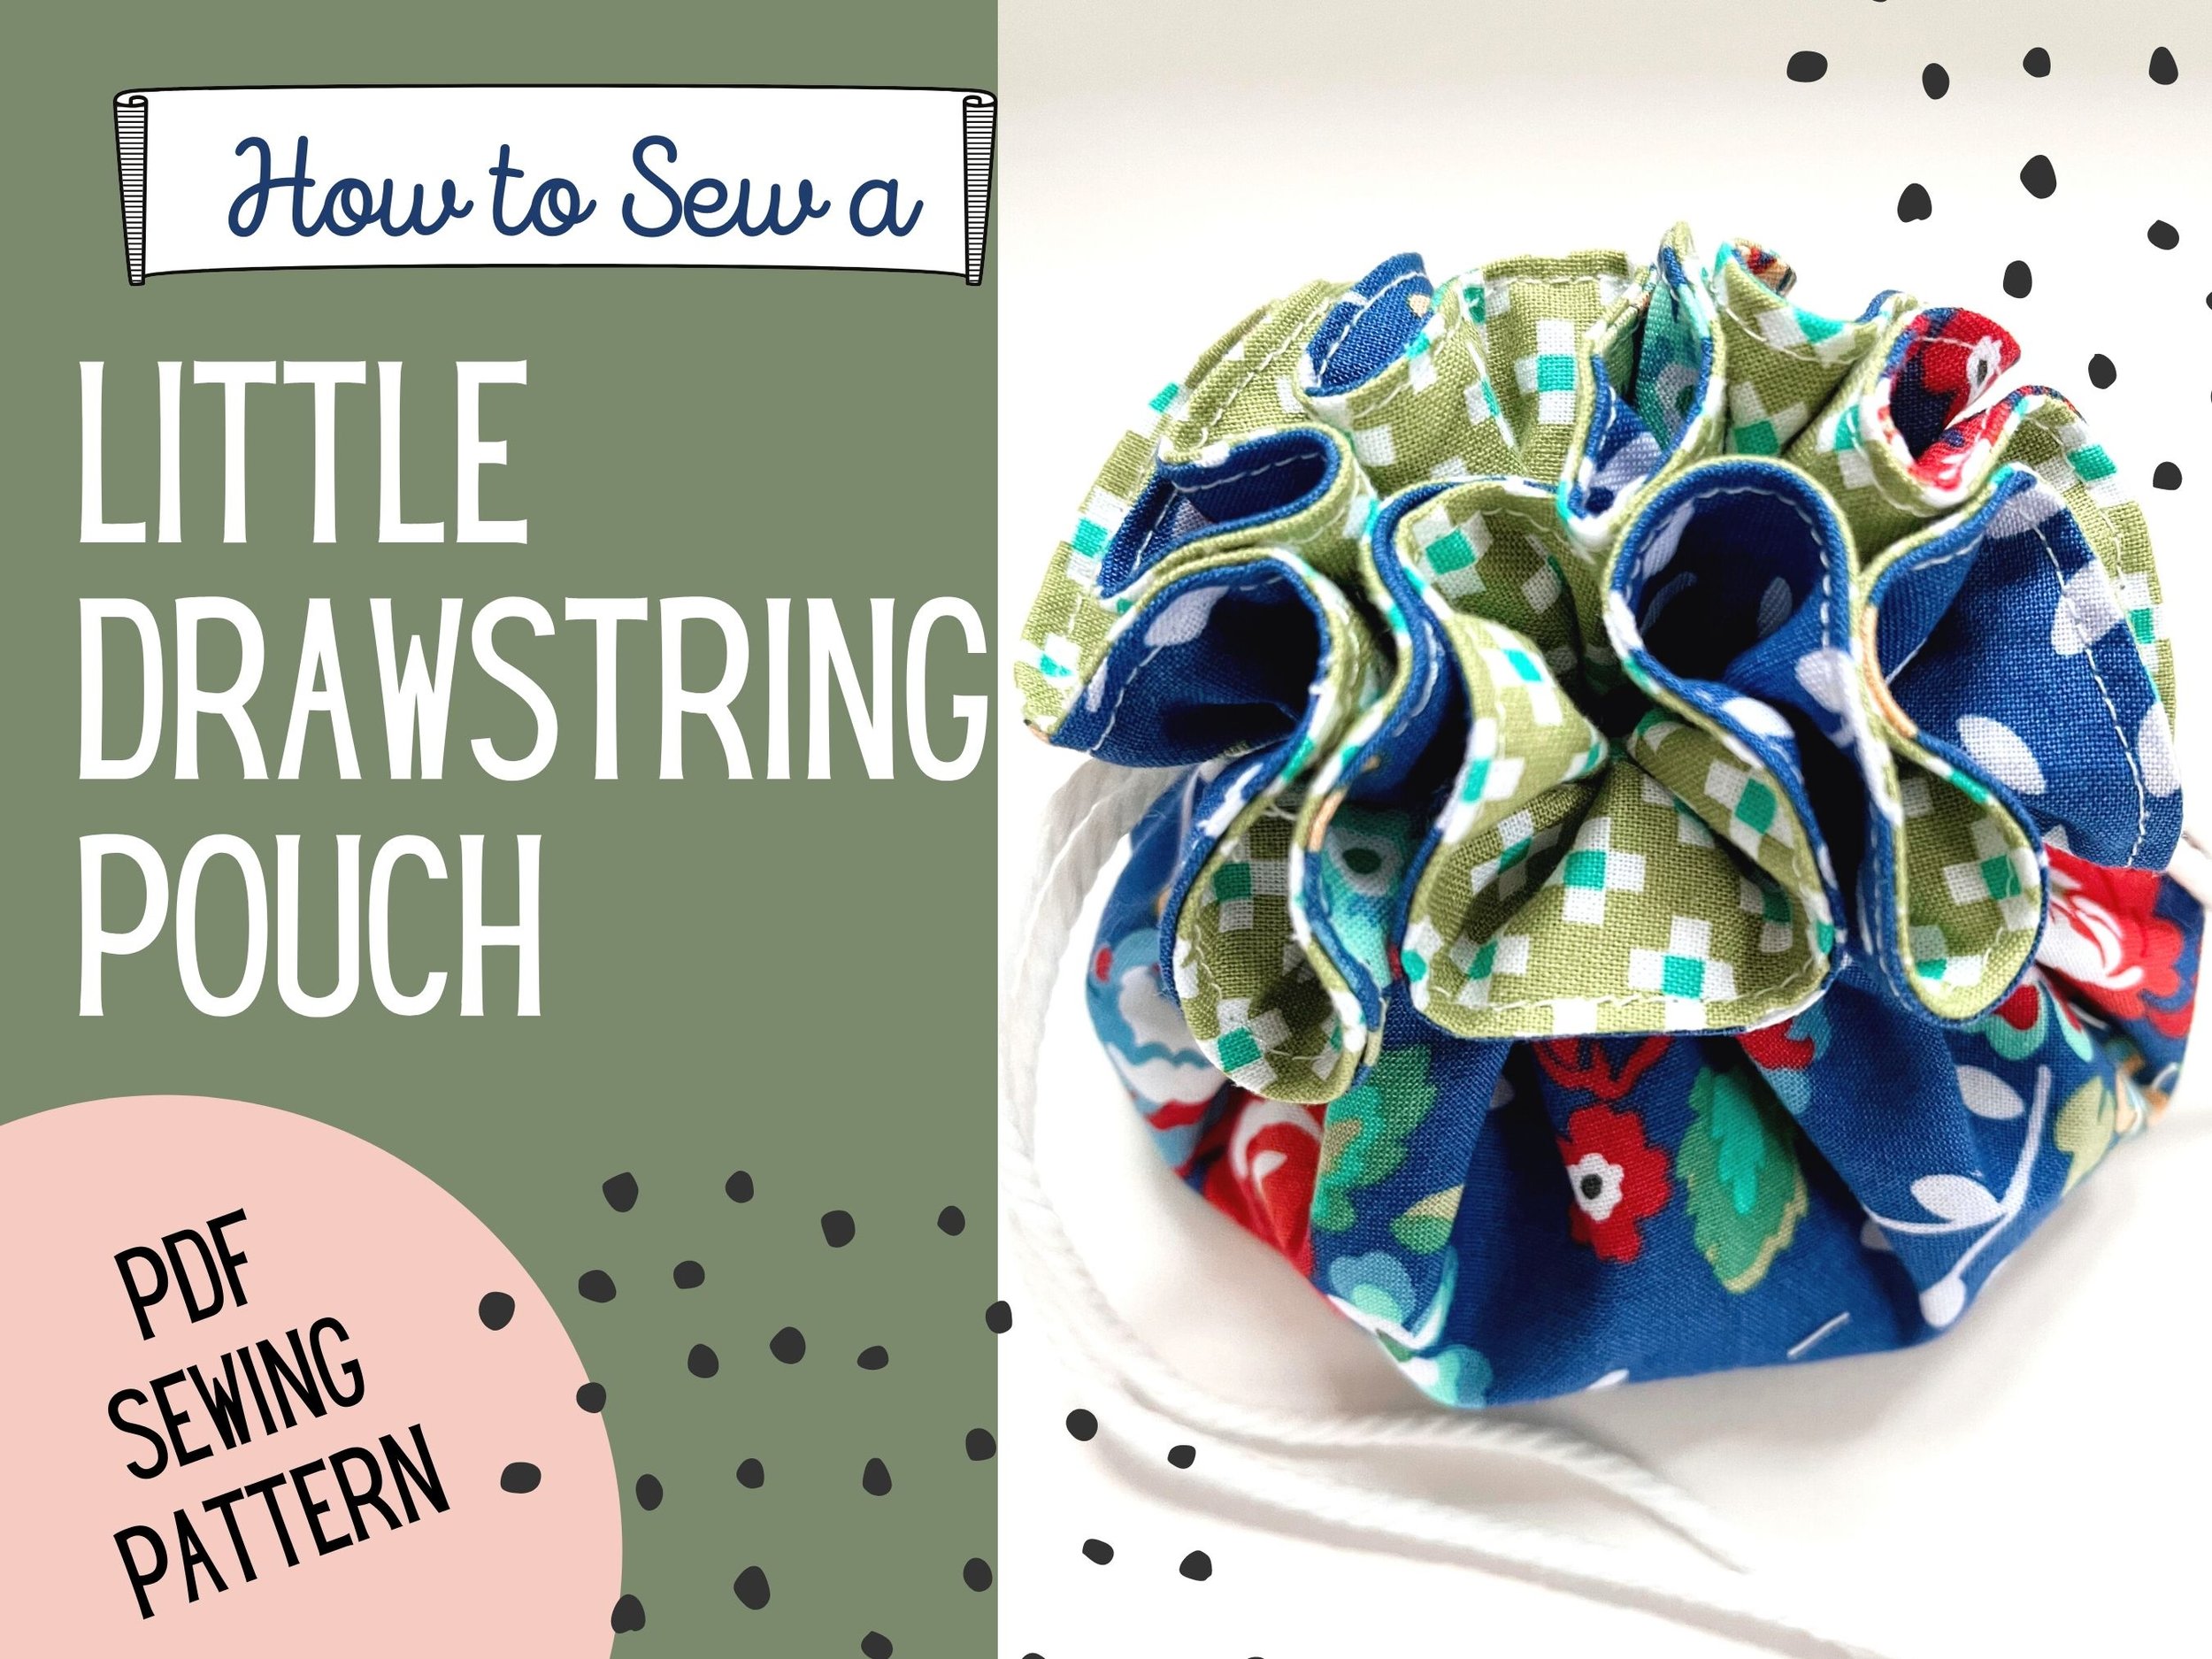
How to Sew a Little Drawstring Travel Pouch
I have such a fun little tutorial for you today! My girls’ dance recital is coming up and Natalie and her friends like to give “cast gifts” to each other. We came up with the idea to make small drawstring pouches to hold their hair pins and other hair accessories. (If you have a dancer in the house, you know how important these things are and how hard they are to corral!)
This small pouch makes a great travel bag for jewelry and hair accessories, or you can use it around the house or in your craft room. It’s a perfect container for your Wonder Clips or quilting pins! They also make great small handmade gifts for little ones or teens. I know my girls loved carrying little things in cute little purses when they were little, and they still love receiving bags of any kind now that they’re teens.
You can peruse the tutorial below, but I’ve also created a video version of this tutorial AND a PDF printable version so you can pay a few dollars to have the instructions in front of you without having to refer back to this blog post or to the video. You can purchase the printable version in my shop, or on Etsy if you’d prefer. The printable version includes a pattern piece so you don’t even have to draw your own circle. I’ve done it for you!
So, let’s get started.

This post may contain affiliate links, which means that while I am not paid to promote certain items, I will earn a small commission should you purchase items through these links. For more info, see my disclosure policy.
How to Sew a Small Drawstring Pouch
First, here is the video tutorial. If you prefer the traditional written tutorial, just keep reading :) My fabrics in the video came as part of Annie’s Fat Quarter club! It’s so fun, I receive a surprise set of designer fat quarters in the mail every month with my subscription. You can choose prints or solids and I just think it’s so much fun and I’ve been able to get some fabrics that I wouldn’t have chosen form a website, but that I really love. You can sign up for Annie’s Kit Clubs here.
This is a very easy project! We made 11 total and it really didn’t take very long at all. Read the instructions below, or go ahead and grab the printable PDF version so you can print it off to store with your patterns.
Supplies:
Two coordinating fabrics in at least 1/2 yard cuts OR two coordinating fat quarters. Fat quarters come precut 18”x18” and often come in a set like this super cute one. If you go with 1/2 yard cuts, you can cut three pouches per fabric. If you like the fabrics we used in the photos, we got most of them at Hobby Lobby (like the cute strawberries!)
Cording or grosgrain ribbon. I recommend grosgrain over other options of ribbon because it’s strong enough to hold up to lots of use. Here is the cording we used, it’s only $1.99 per spool at Hobby Lobby (although it’s on sale this week for .99!) and it’s the perfect size.
That’s it! Let’s get started.
Instructions:
First things first, you’ll need to create a pattern. I taped two sheets of printer paper together and used a protractor to create a half circle pattern, 13” in diameter. Then, cut out your two circles (one for the outside, one for the inside) by folding your fabric and placing the straight edge of your pattern on the fold.

Next, place your circles right sides together and sew around the edge with a 1/4” seam, leaving a couple inches open for turning.
Turn your circle right side out through your opening and press the edges, using a chopstick or turning tool to get the edge perfect by running it along the inside of the circle. Press the opening edges in as if they’d been sewn.

Now you’re going to make three rows of top stitching around your circle. The first will be edge stitching, 1/8” from the edge, which will sew shut your opening. The second will be 1” inside from the edge. The third will be 1/2” away from the second, or 1 1/2” from the outer edge. Your casing for the cord is between this second and third line.

You’re done with the sewing part! To cut the holes for your cord or ribbon, find opposite sides of the circle by folding it in half and pressing a line. You’re going to use sharp small scissors to cut slits in the 1/2” casing. You’ll have four slits total, one on each side of your pressed line and on both sides of the circle. Use Fray check to keep those slits sturdy and let it dry for a couple minutes.

Now for the cords. You’ll need to cut two pieces of cording or ribbon, each one 24” long. This is the trickiest part if you’ve never made this kind of bag where the drawstring pulls from both ends. To thread the first cord through, tie a knot in one end and put a safety pin through the knot. Begin by inserting the safety pin in one slit and thread it all the way around to the other slit on the same side as you started. Remove the safety pin, tie the ends in a knot and trim. For the second cord, do the same thing, but use the slits on the other side of the circle. This will be a little harder since your first cord is already in place and the bag is gathered up, but you can do it!
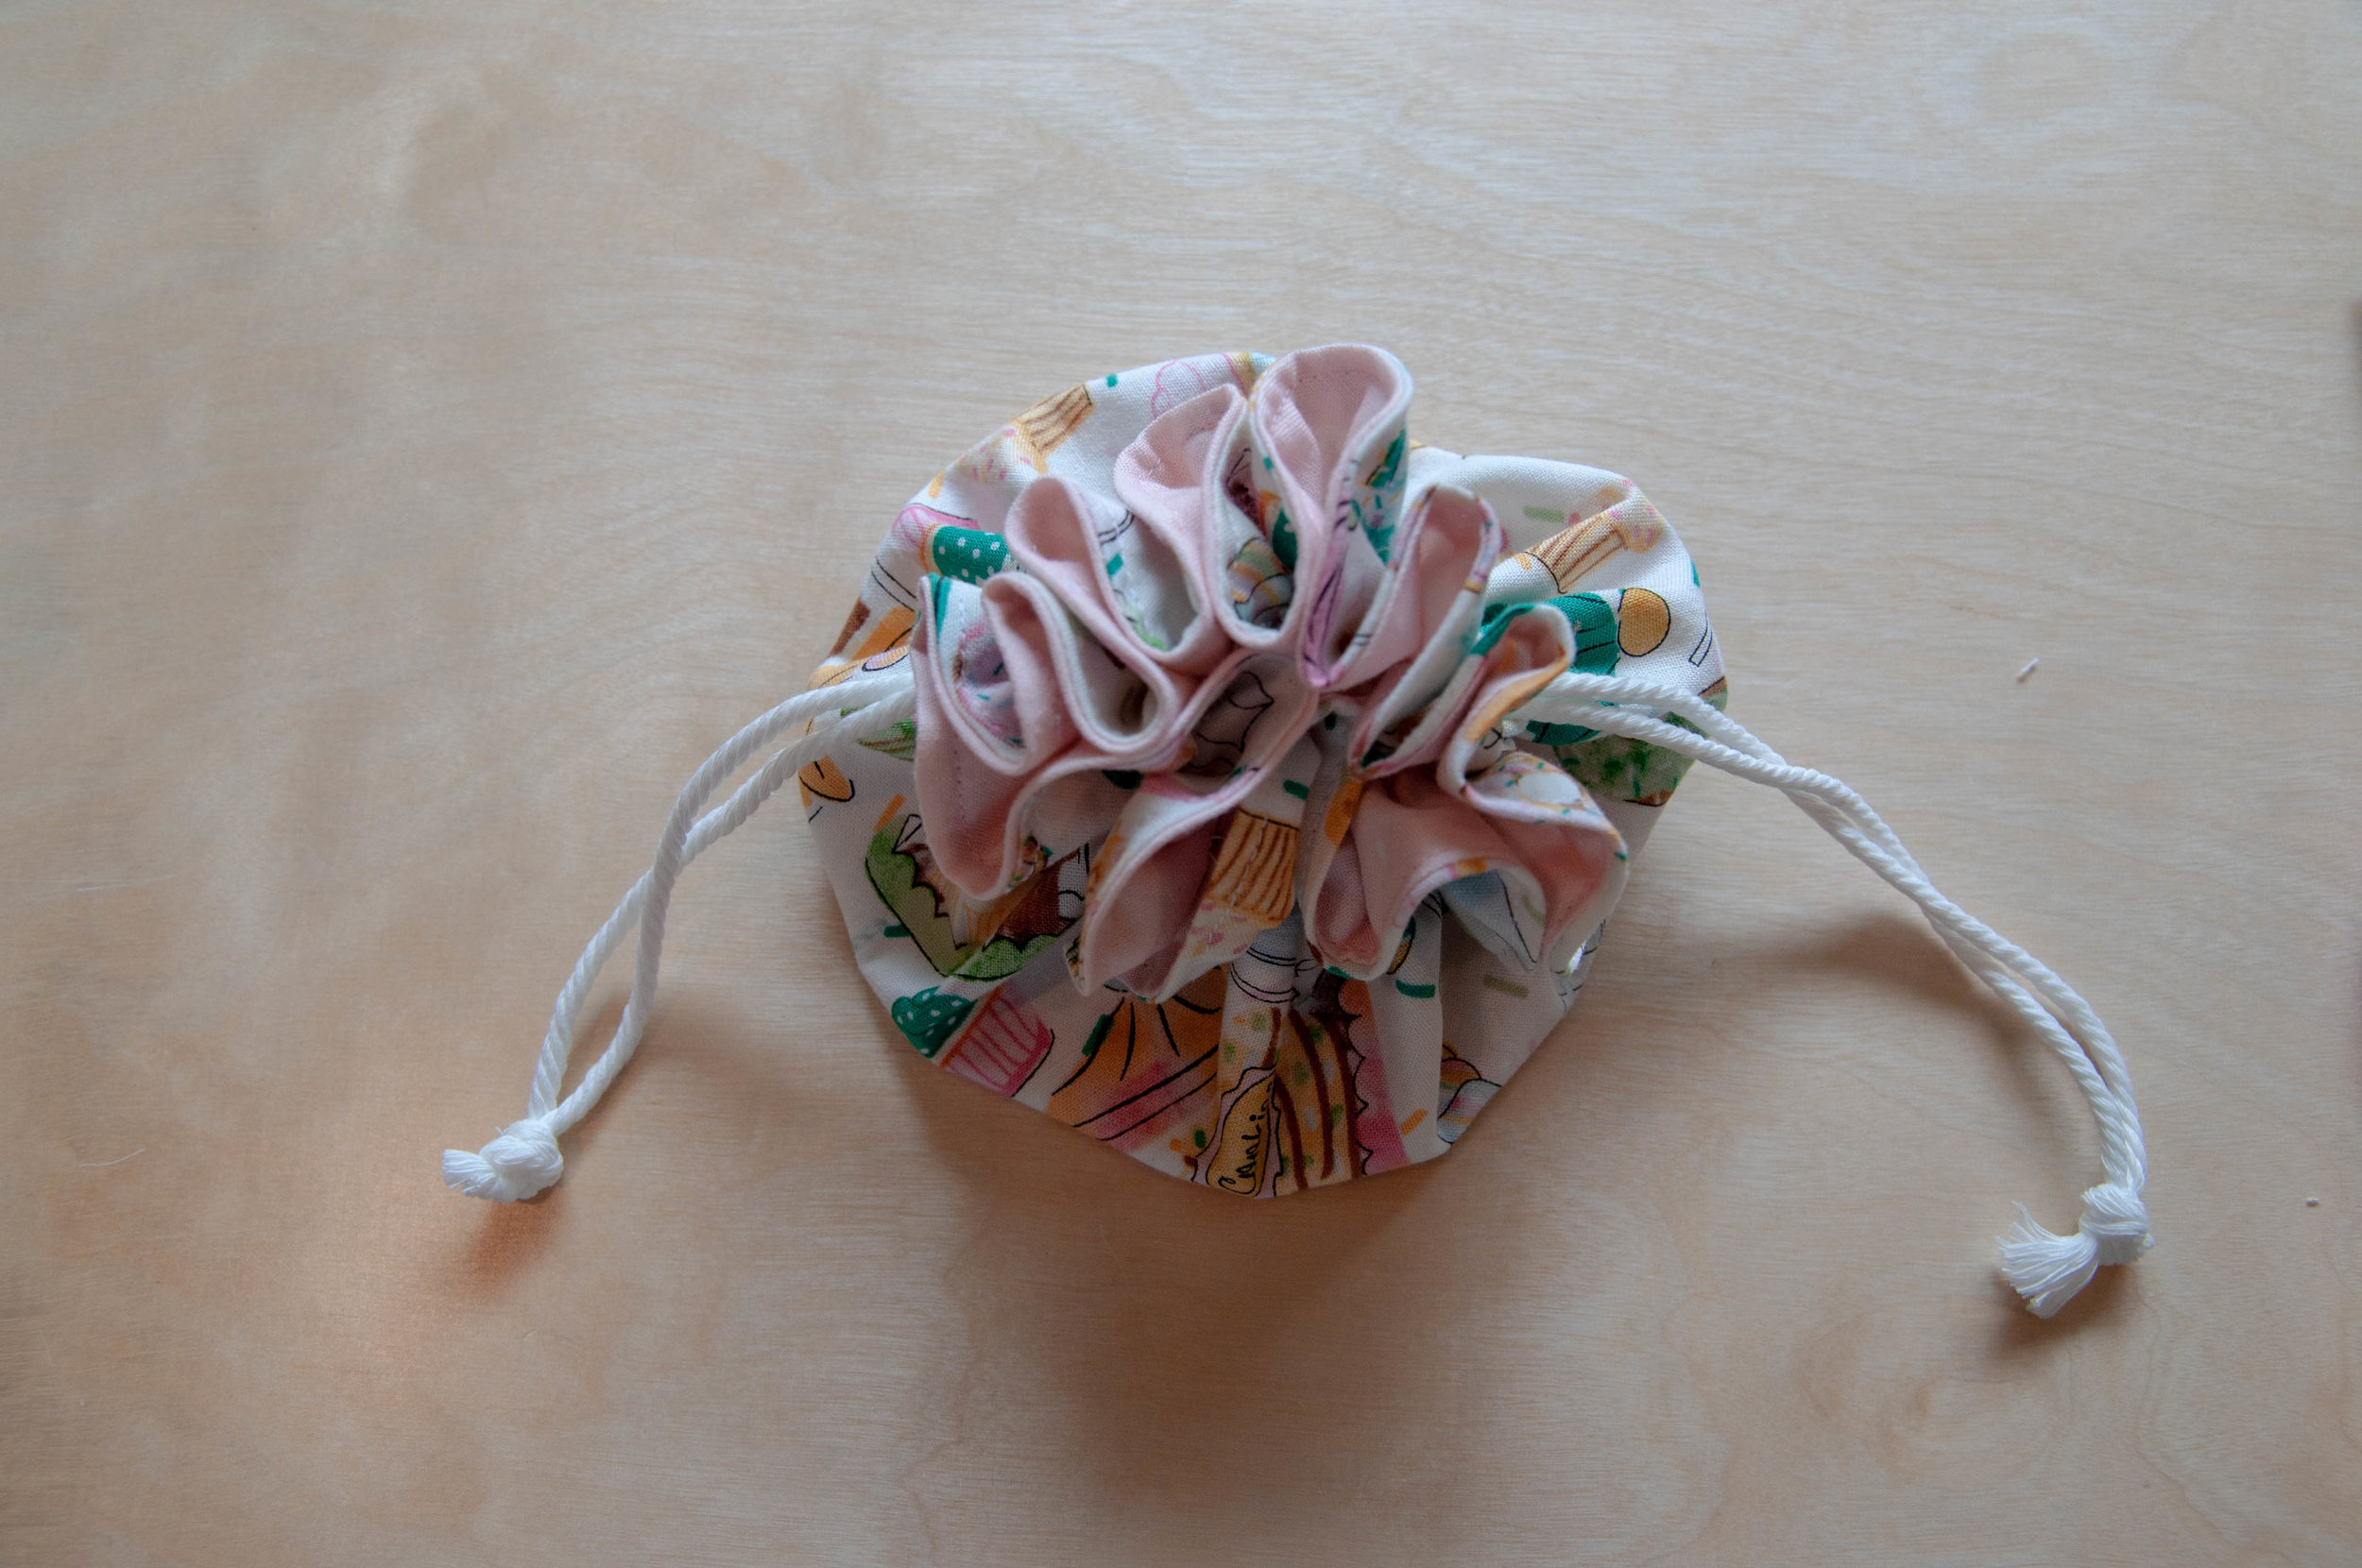
When you’re done, open and close the bag using the strings a few times to even out the strings and that’s it! Natalie’s ballet recital has a Candyland theme, so we chose fabrics with treats on them, super fun. I was browsing Amazon though and I think Art Gallery’s Summer Side line of fabrics is so cute (especially the little sunnies, oh my gosh) and would make great little bags!

Of course, you can use these little pouches for lots of things other than hair accessories. Use it for a first aid kit for your purse, maybe? Give them as gifts with little goodies inside? Or use it in your sewing room, so store little things like your Wonder Clips or your quilting safety pins.
What would you use yours for? I’d love to hear about it and if you make one, I’d love to see! Just tag me on Instagram :)