
Snowglobe Ornament Tutorial
I have the cutest tutorial to share with you today!! Last Christmas I made a mini quilt with the idea of a snowglobe (I’ll post it at the end of this post, so scroll down to see) and I wanted to create a miniature version this year to make as ornaments. They turned out as cute as I envisioned them and I documented the process for you! Not only did I create a beginner-friendly video tutorial, I am also including the written tutorial with photos here too, so either way you like it, you can learn to make these adorable little snowglobe ornaments.
So, if you prefer the video version of this tutorial, scroll down past the following written tutorial to get to the video, or just access it on my YouTube channel right here. But be sure and come back for your pattern!
This post may contain affiliate links, which means that while I am not paid to promote certain items, I will earn a small commission should you purchase items through these links. For more info, see my disclosure policy.
Supplies:
The Free Pattern: just click here!
Wool felt pieces. Regular felt will also work, but wool felt is so much nicer and will hold up over time without pilling.
Christmas novelty prints.
Scraps of Christmas fabric for the snow globe’s base.
Scraps of white fleece for the snow.
Tissue paper or waxed paper scrap.
Glitter, or as mine is labeled, “confetti”
Eyelets and eyelet setting tool (either purchase eyelets that include the tool, or get this handy tool that I have).
Ribbon for the hanger.
Instructions:
First, you need to arrange your scene, of course. Trace the snowglobe base and snow pieces onto the fusible web and iron them onto the backs of their respective fabrics. (Fusible web is a product that basically turns your fabric into an iron-on sticker.) Cut them out and remove the paper backing, but don’t iron anything down yet. Fuse a piece of fusible web to the back of your novelty print, more than covering the picture you want to cut out. Cut around it’s shape, leaving about 1/8” as a border, because you’ll be sewing it onto your snowglobe using that border.

You’ll also need to cut two of the snowglobe pattern piece from the wool felt. I chose to use two different colors, but you can cut two of the same color if you’d rather. Set one of these aside and using just ONE of the felt pieces, arrange your scene how you like it. It’s fun to play around here, with trims or beads, or other fun things to make it interesting. When you’re happy with how it looks, iron it all down. The wool felt irons great, but if you’re using regular polyester felt, proceed with caution and use a press cloth.
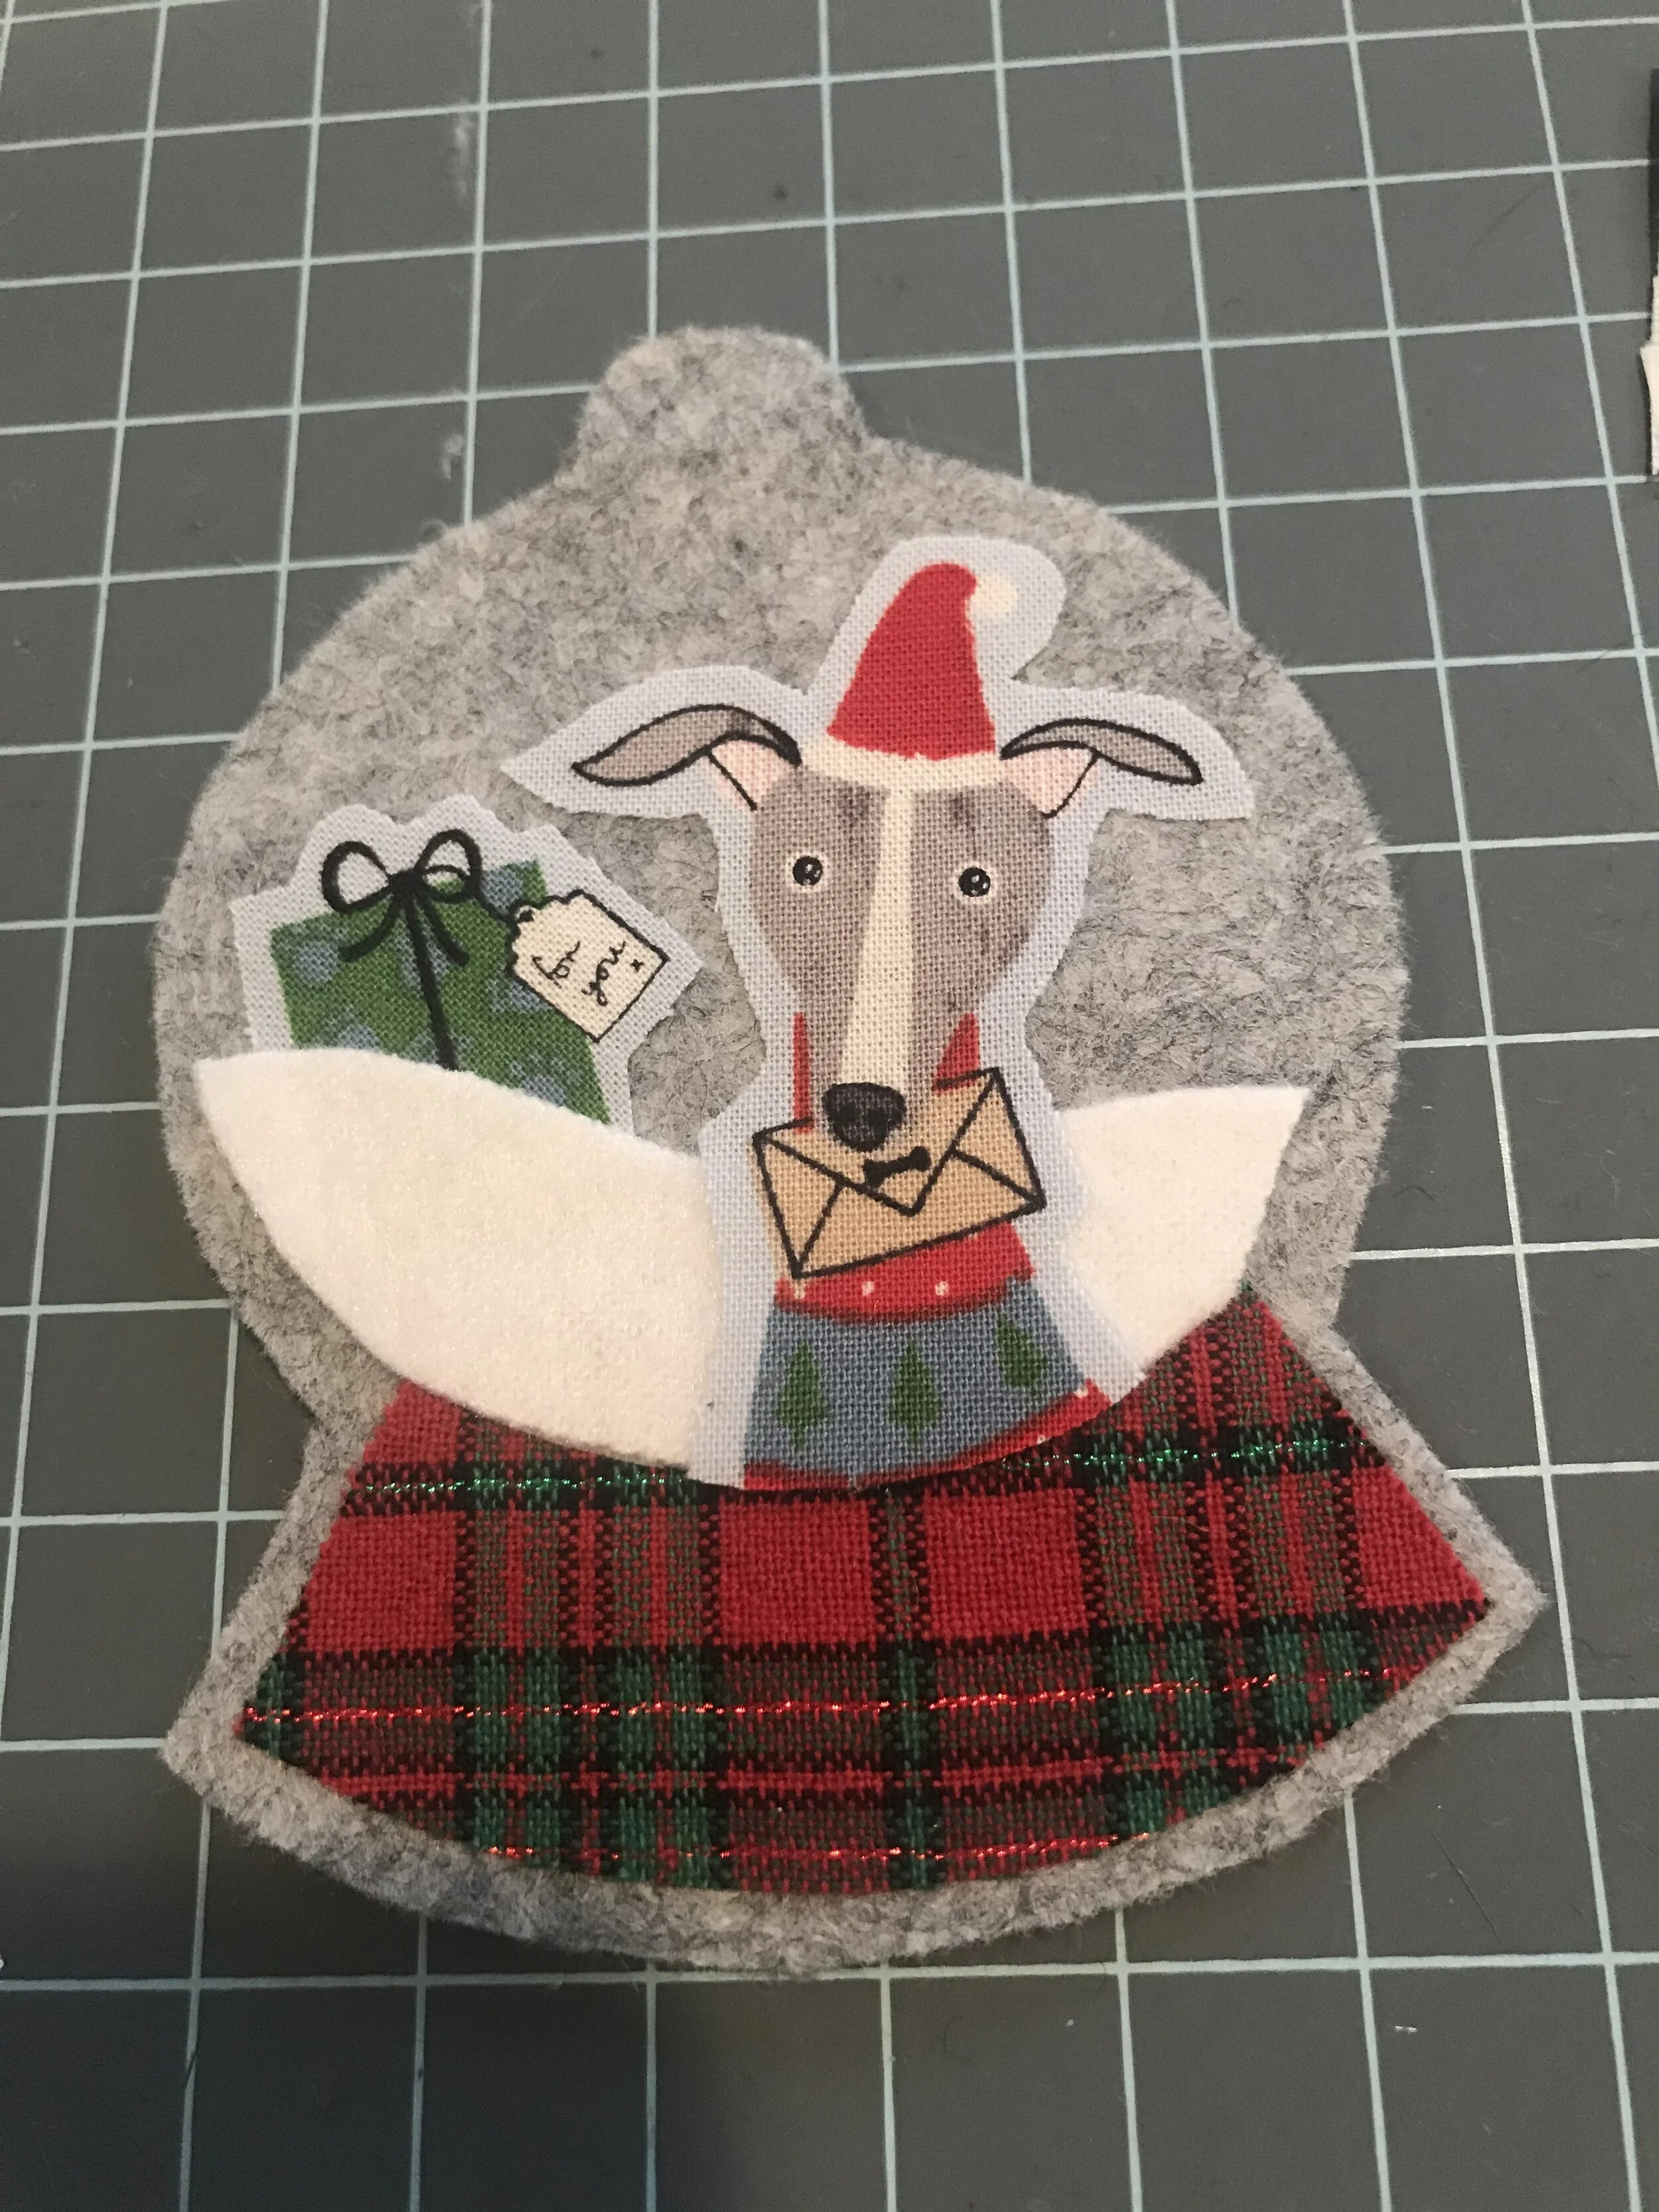
Next you’re going to sew around your little picture. This is an optional step, it will stick just fine without the stitching, but I love how it looks. All the extra stitching in this project gives it a folksy look in the end, so I do recommend it! Also stitch around the base, 1/8” in from its edges.

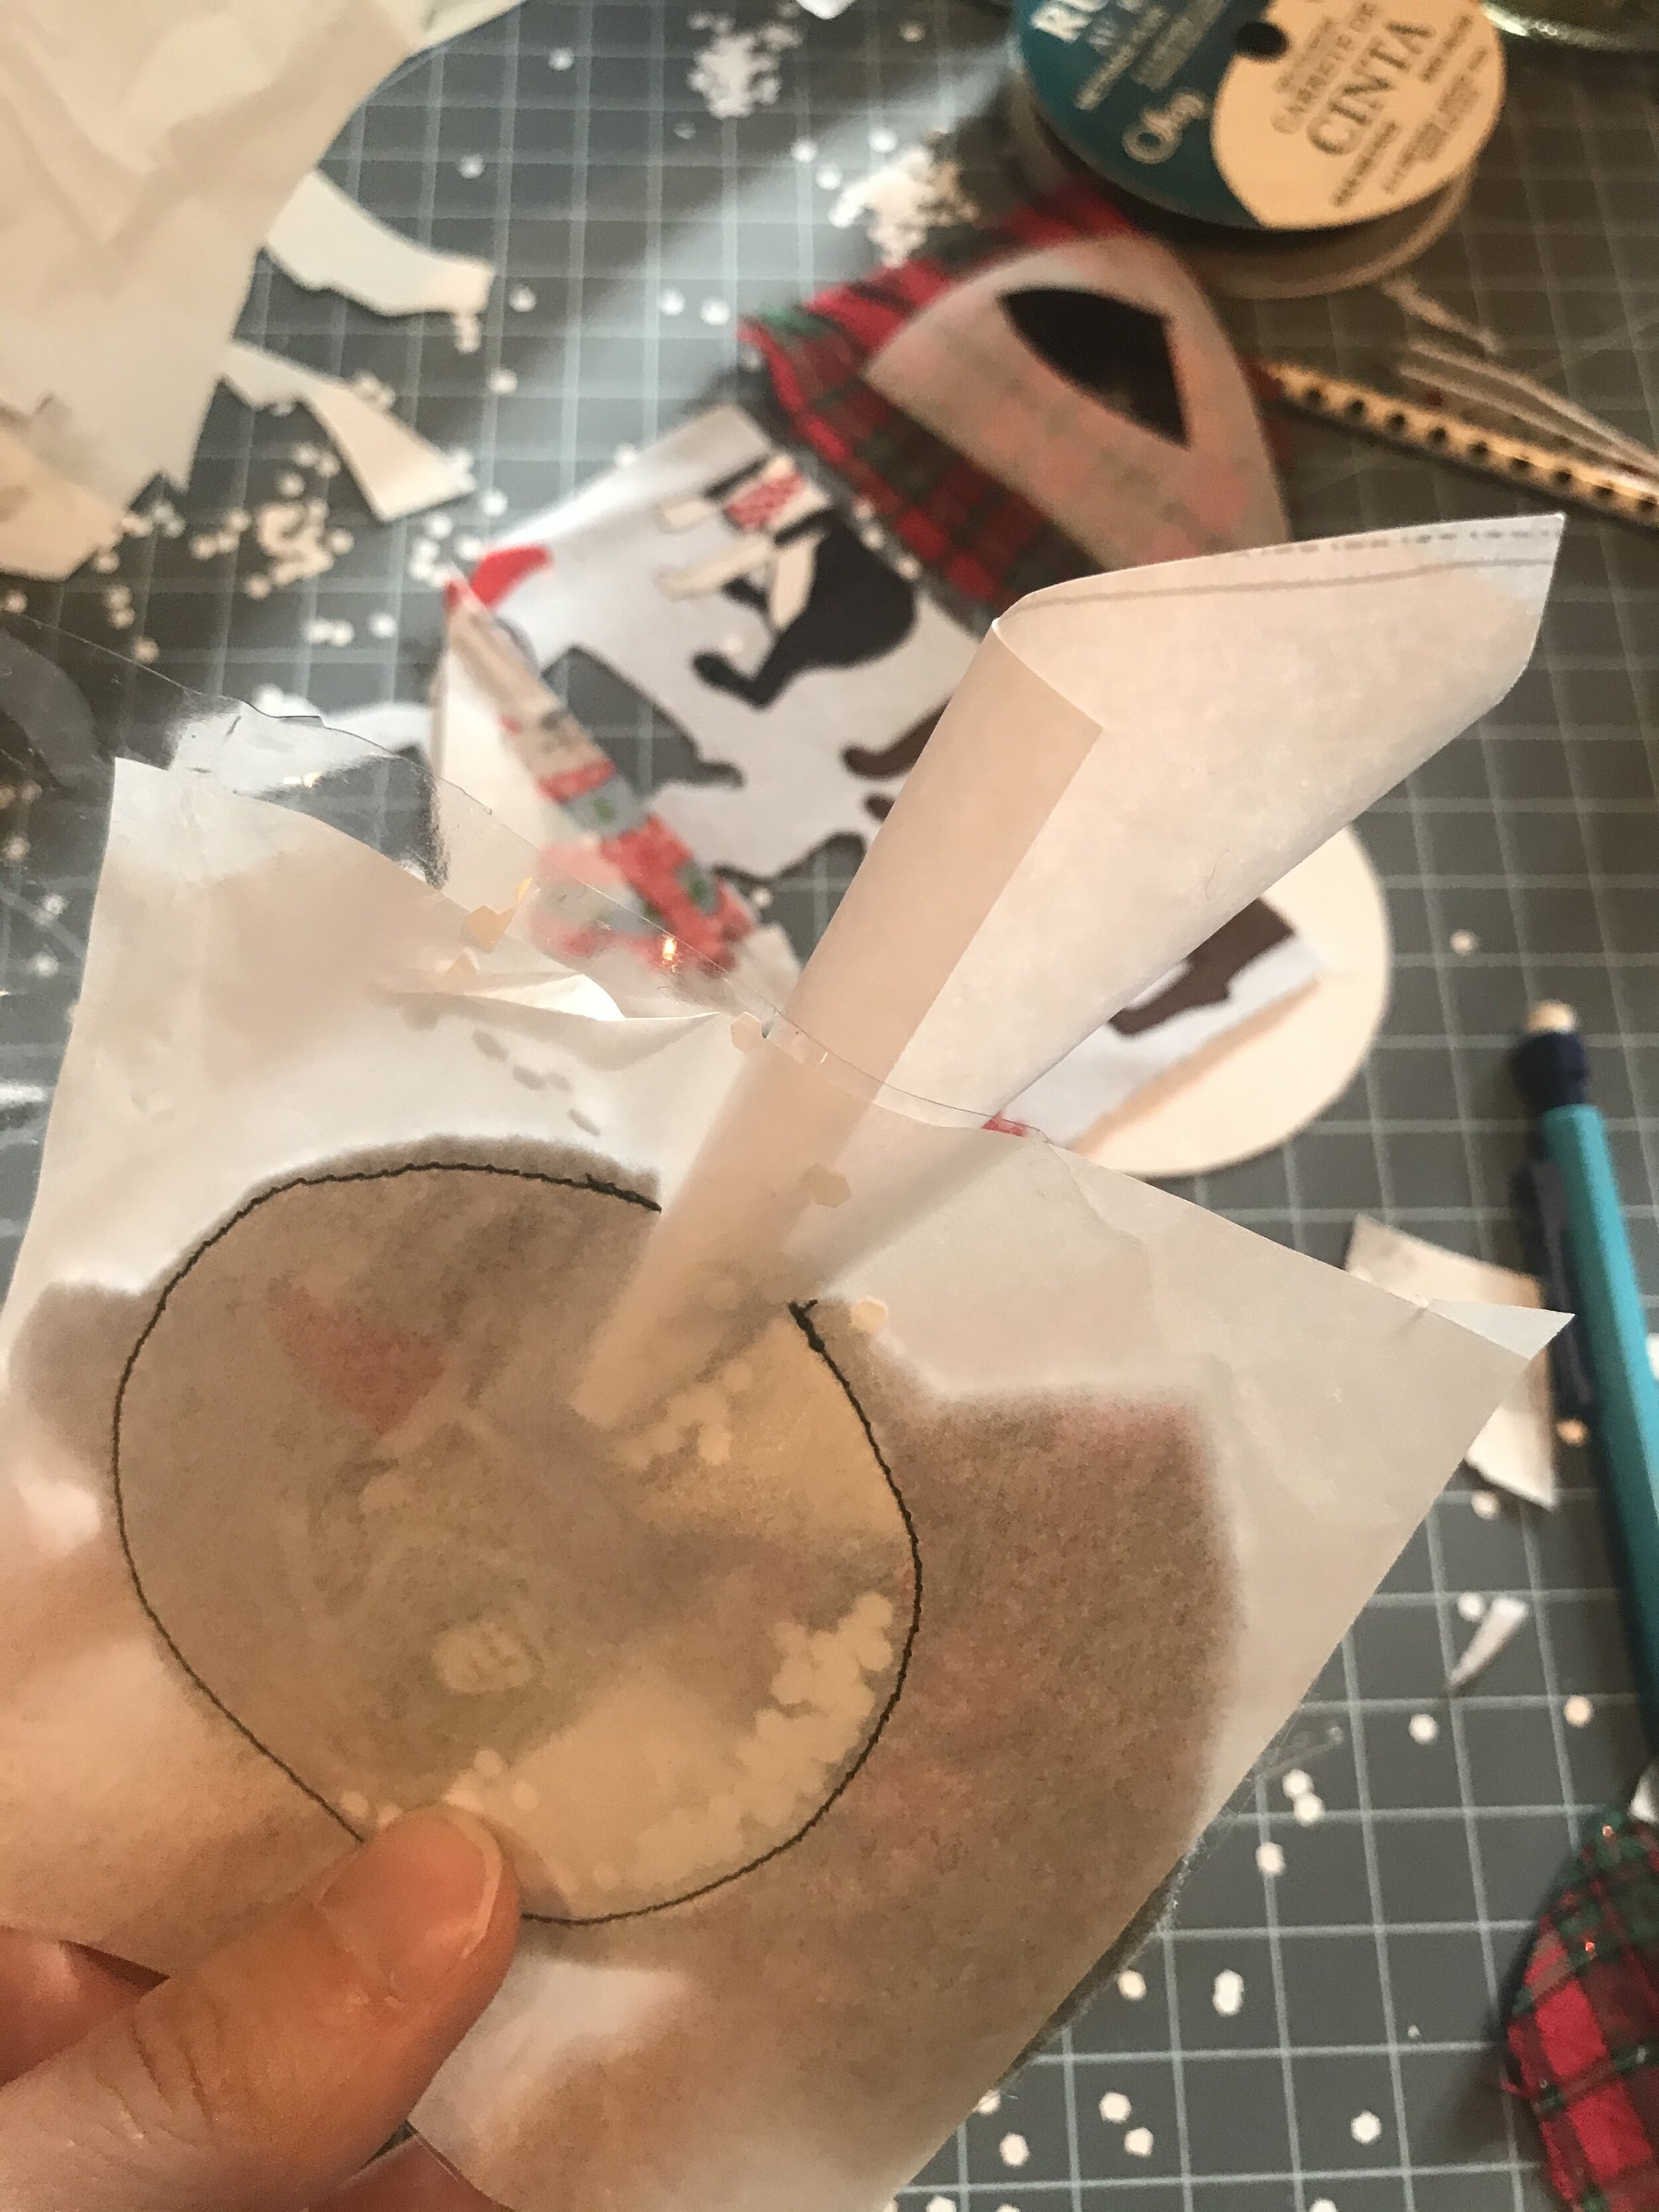
Next you’re going to sew on your vinyl. You can do this one of two ways. For my first few, I went ahead and cut out a circle with the pattern piece and sewed it on, but the third time, I cut a larger piece of vinyl and sewed it on, trimming it to size after it was sewn. Both ways are easy, just do what you prefer. BUT, when you sew it on, place the piece of tissue paper over it, so that your vinyl is sandwiched between your felt and the tissue paper. This will prevent the vinyl from sticking to your presser foot and it will sew on quite smoothly with this little trick. Sew around the circle, leaving a small gap for inserting the glitter. If you have a hard time seeing through the tissue paper, turn it over and sew it from the back. But still be sure and leave a gap!

Don’t tear the tissue paper away just yet! You need to pour in some glitter, or “snow”. I taped together a tiny paper funnel to get the job done. It doesn’t take much, just pour in a little bit. Then, take it back to the sewing machine and sew around the circle again, trying not to sew right on top of your previous stitching, but swerving your circles together instead. Again, this gives it that folksy look. It also closes up your gap. After that, you can tear away your tissue paper (tweezers can help).

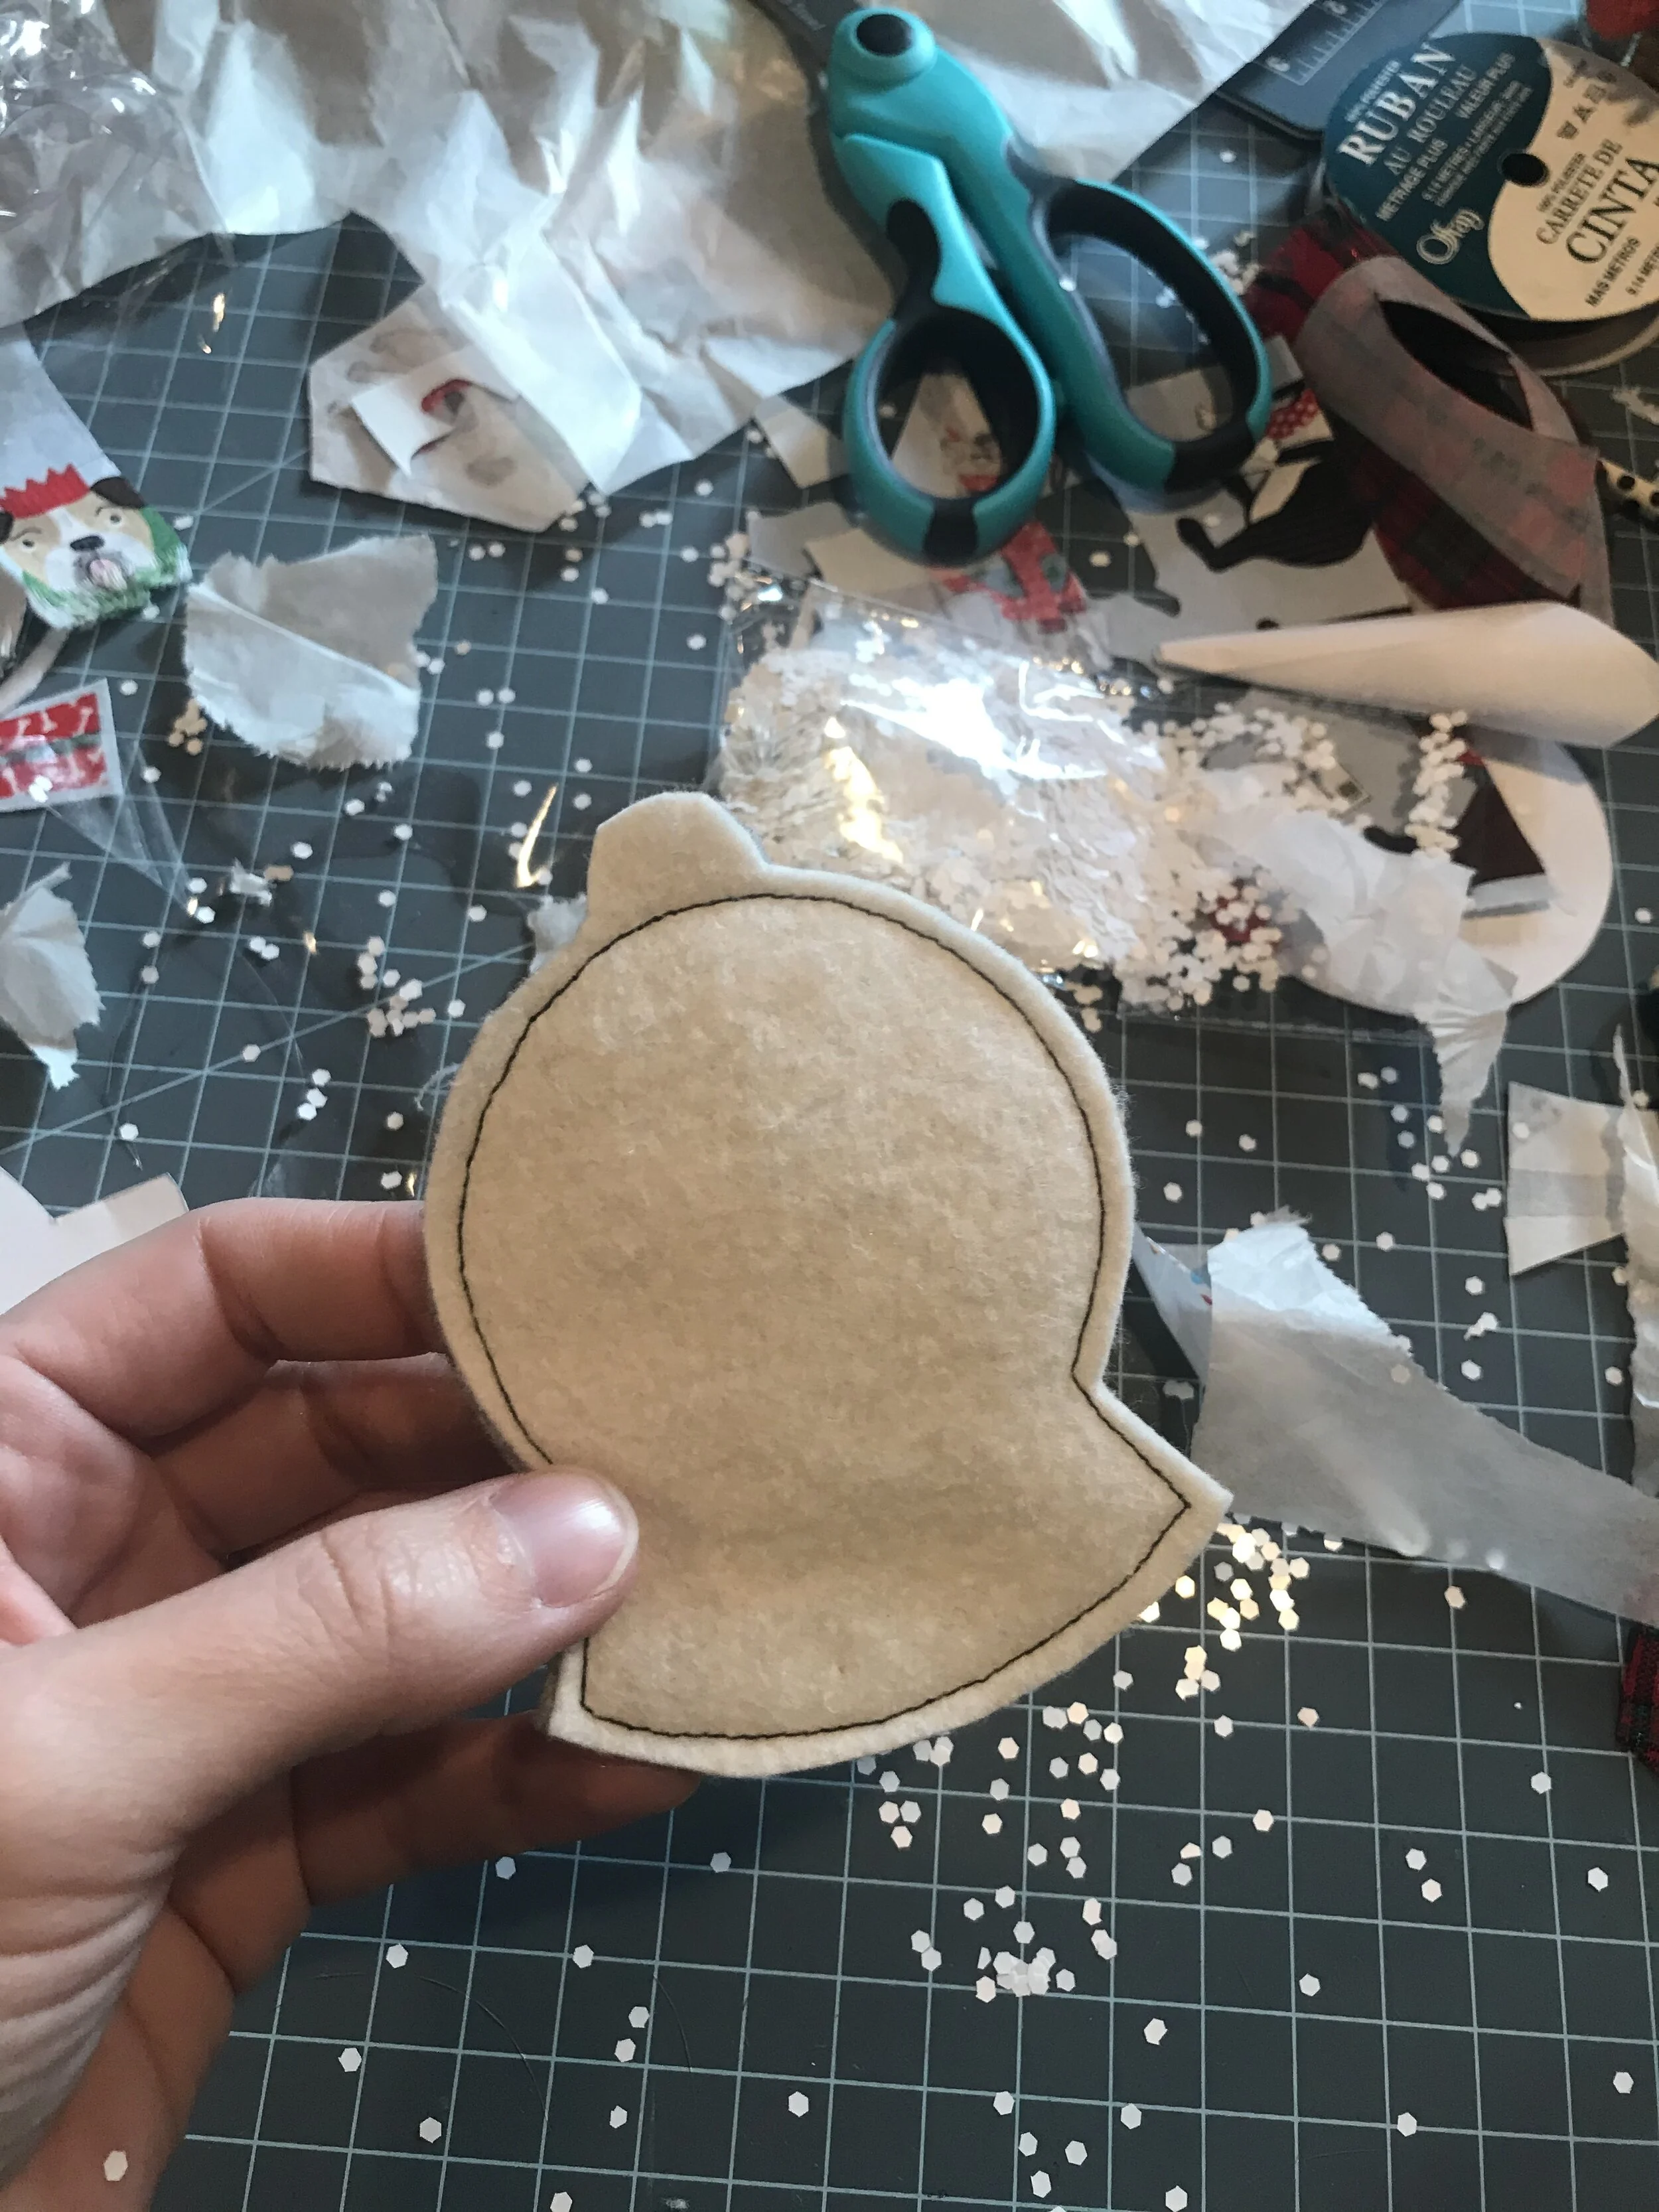
Now, to hide all the stitching on the back and give the ornament more substance, place your other felt piece onto the back and top stitch all the way around, but just sew right past the tab at the top. Your eyelet will hold that together. Now the back will look nice and neat.
Now for the eyelet! I have a super cool spring loaded eyelet setter than I use constantly for poking holes in all kinds of things, for animal eyes, brads, extra holes in leather belts or shoe straps, that kinda thing. It comes in a three pack of varying sizes and I highly recommend having a set in your sewing or craft room. (I demo how these work in the video version of this tutorial below). However, you can use the tool the eyelets come with also, just make sure you grab a package that has the tool included, and get your hammer ready. However you do it, apply your eyelet to the tab at the top of your ornament.

All you need to do is add your ribbon and you’re done! If you make some of these cute snowglobes, I would love to see! Please share by emailing me, or tagging me on Instagram. I can’t wait to see what they look like in the novelty prints you find!
As promised, here is the full tutorial in video form! Enjoy and be sure and subscribe to my YouTube channel so you don’t miss future videos! And if you missed the link above …

And before I go, here is a larger version of the same concept that I made last year in mini quilt form. The construction was the same here, but I arranged my scene on a 10x10 square and then machine quilted the background and bound it like any other quilt. It was really fun to make these little snowglobe scenes, I’m looking forward to making some more!


Learn to hand quilt with minimal tools and without the perfectionism!