


























Welcome to the blog! Here you’ll find a hub for all my tutorials, advice, videos and other sewing news and inspiration. Choose a category or simply explore. Enjoy!
Sew a “plop” for your Kindle or phone with this easy tutorial (so great for gifts too).
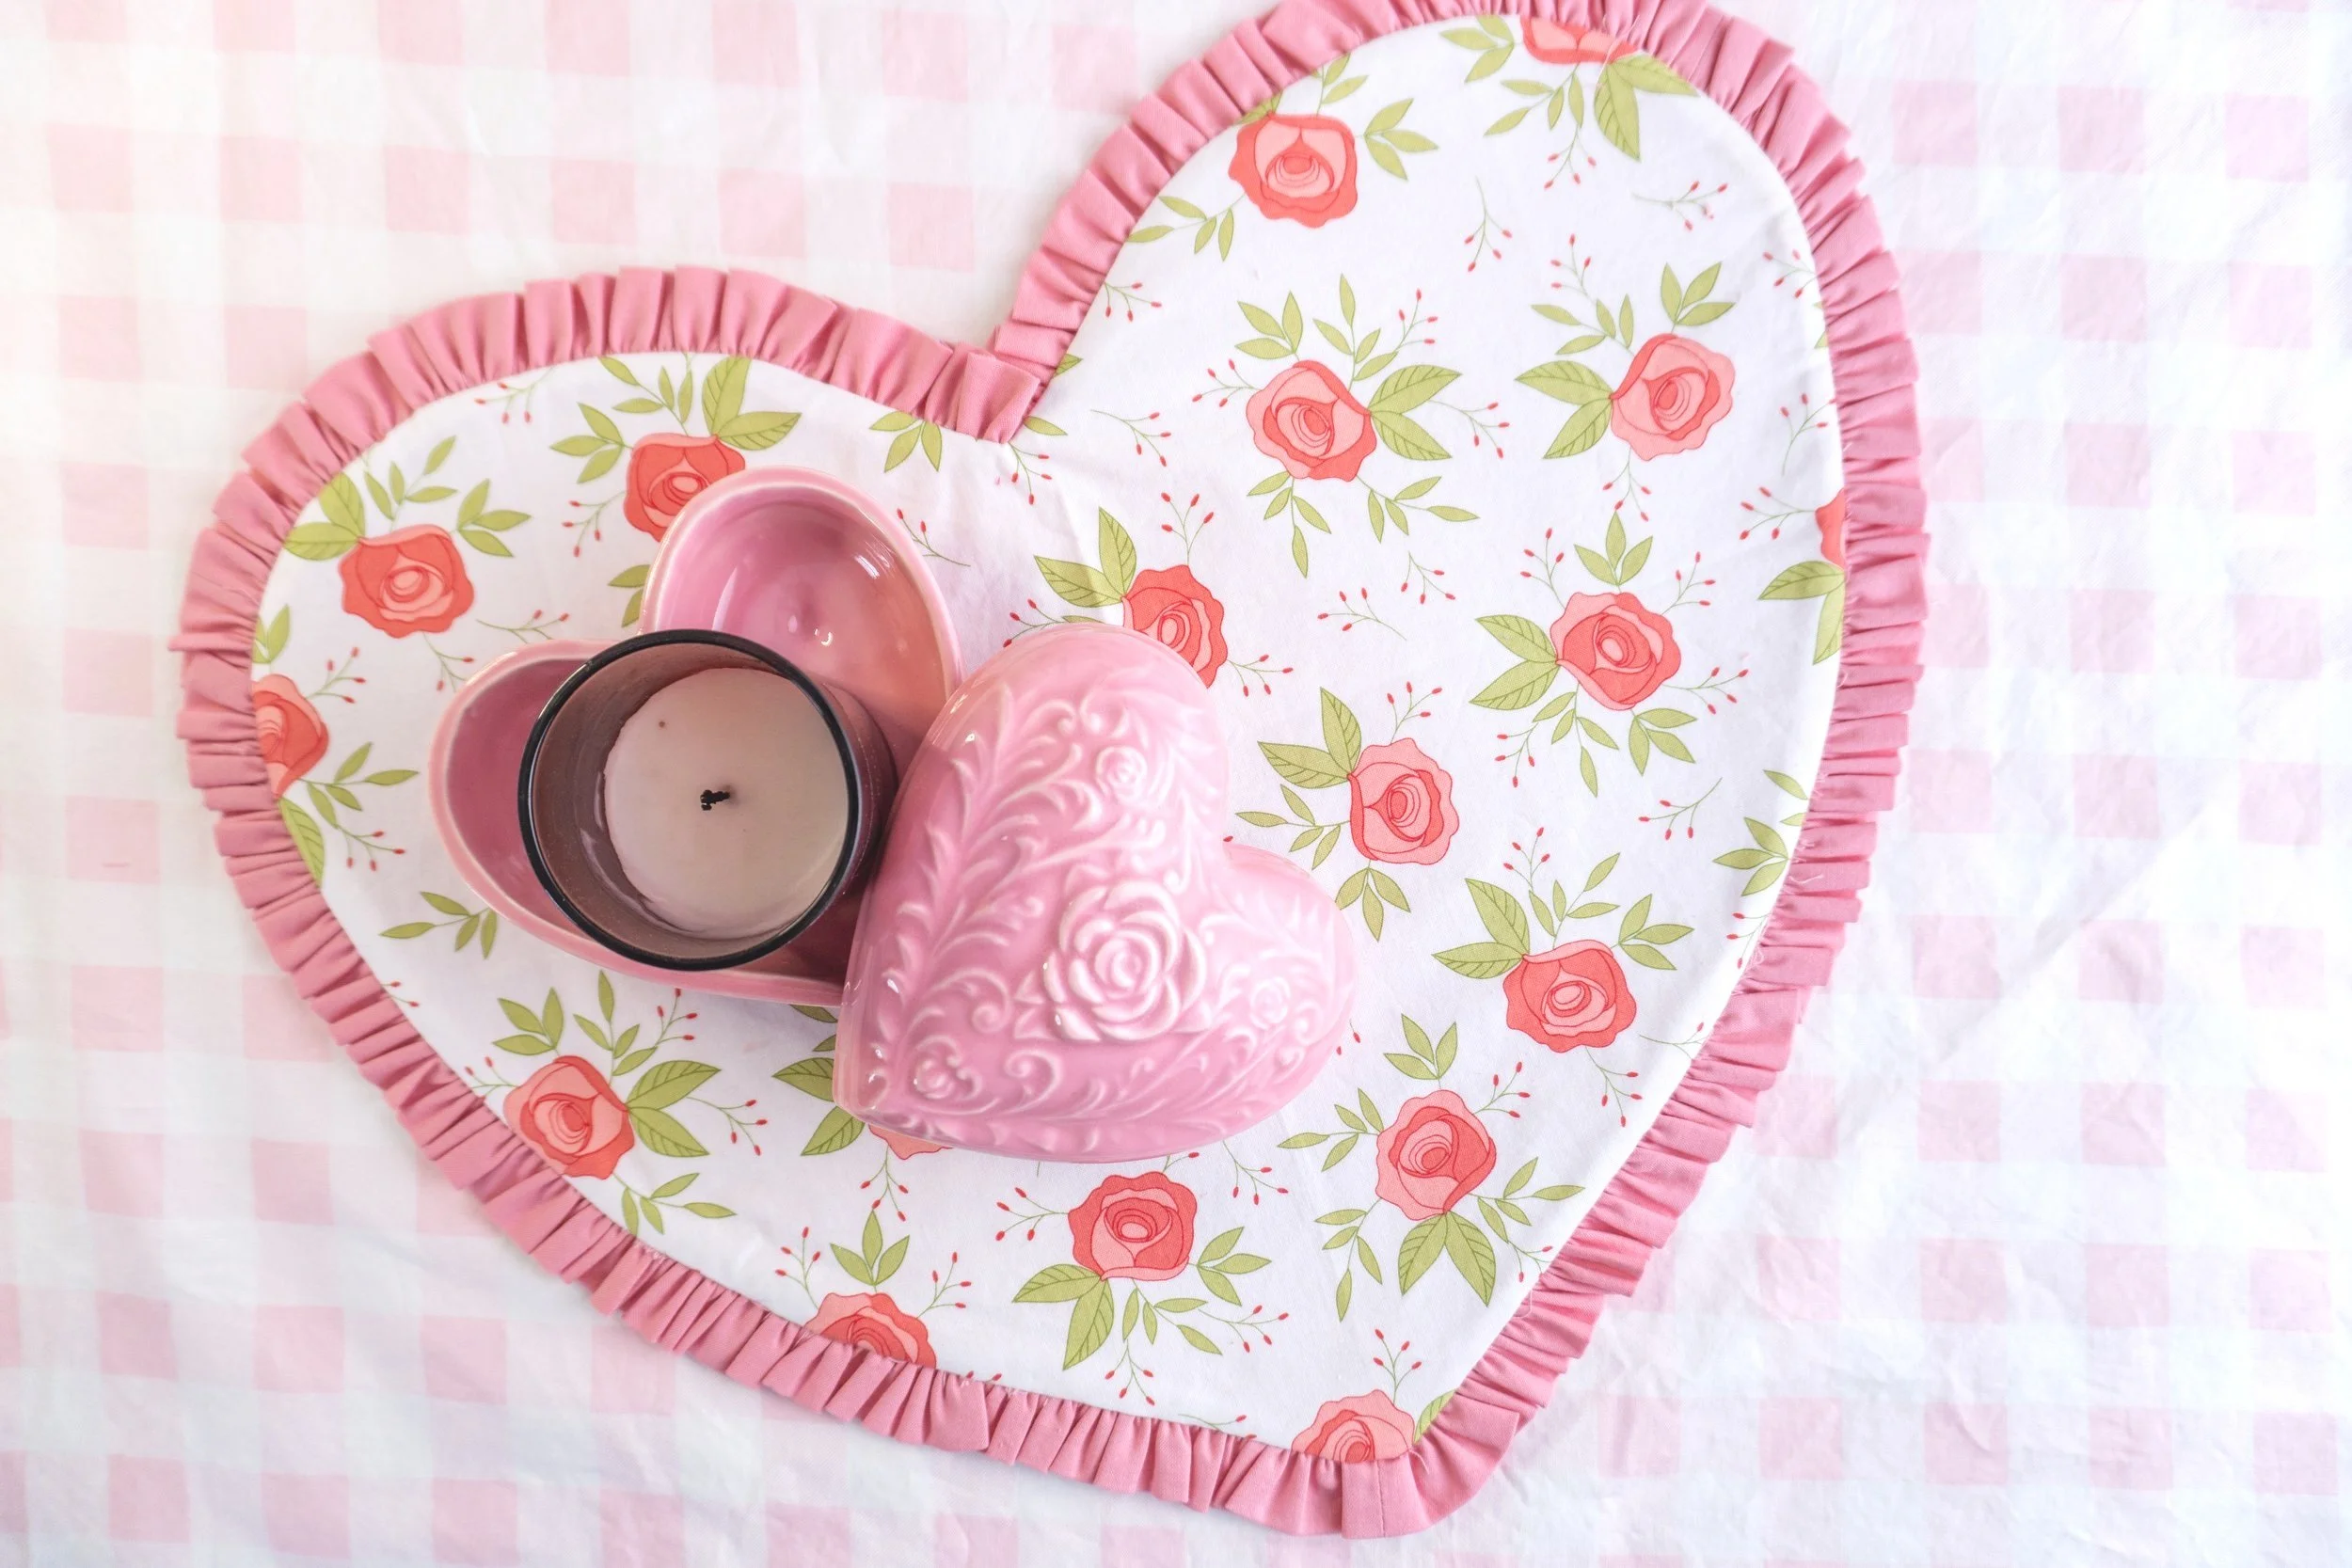
Learn to sew ruffled hearts with four different projects!
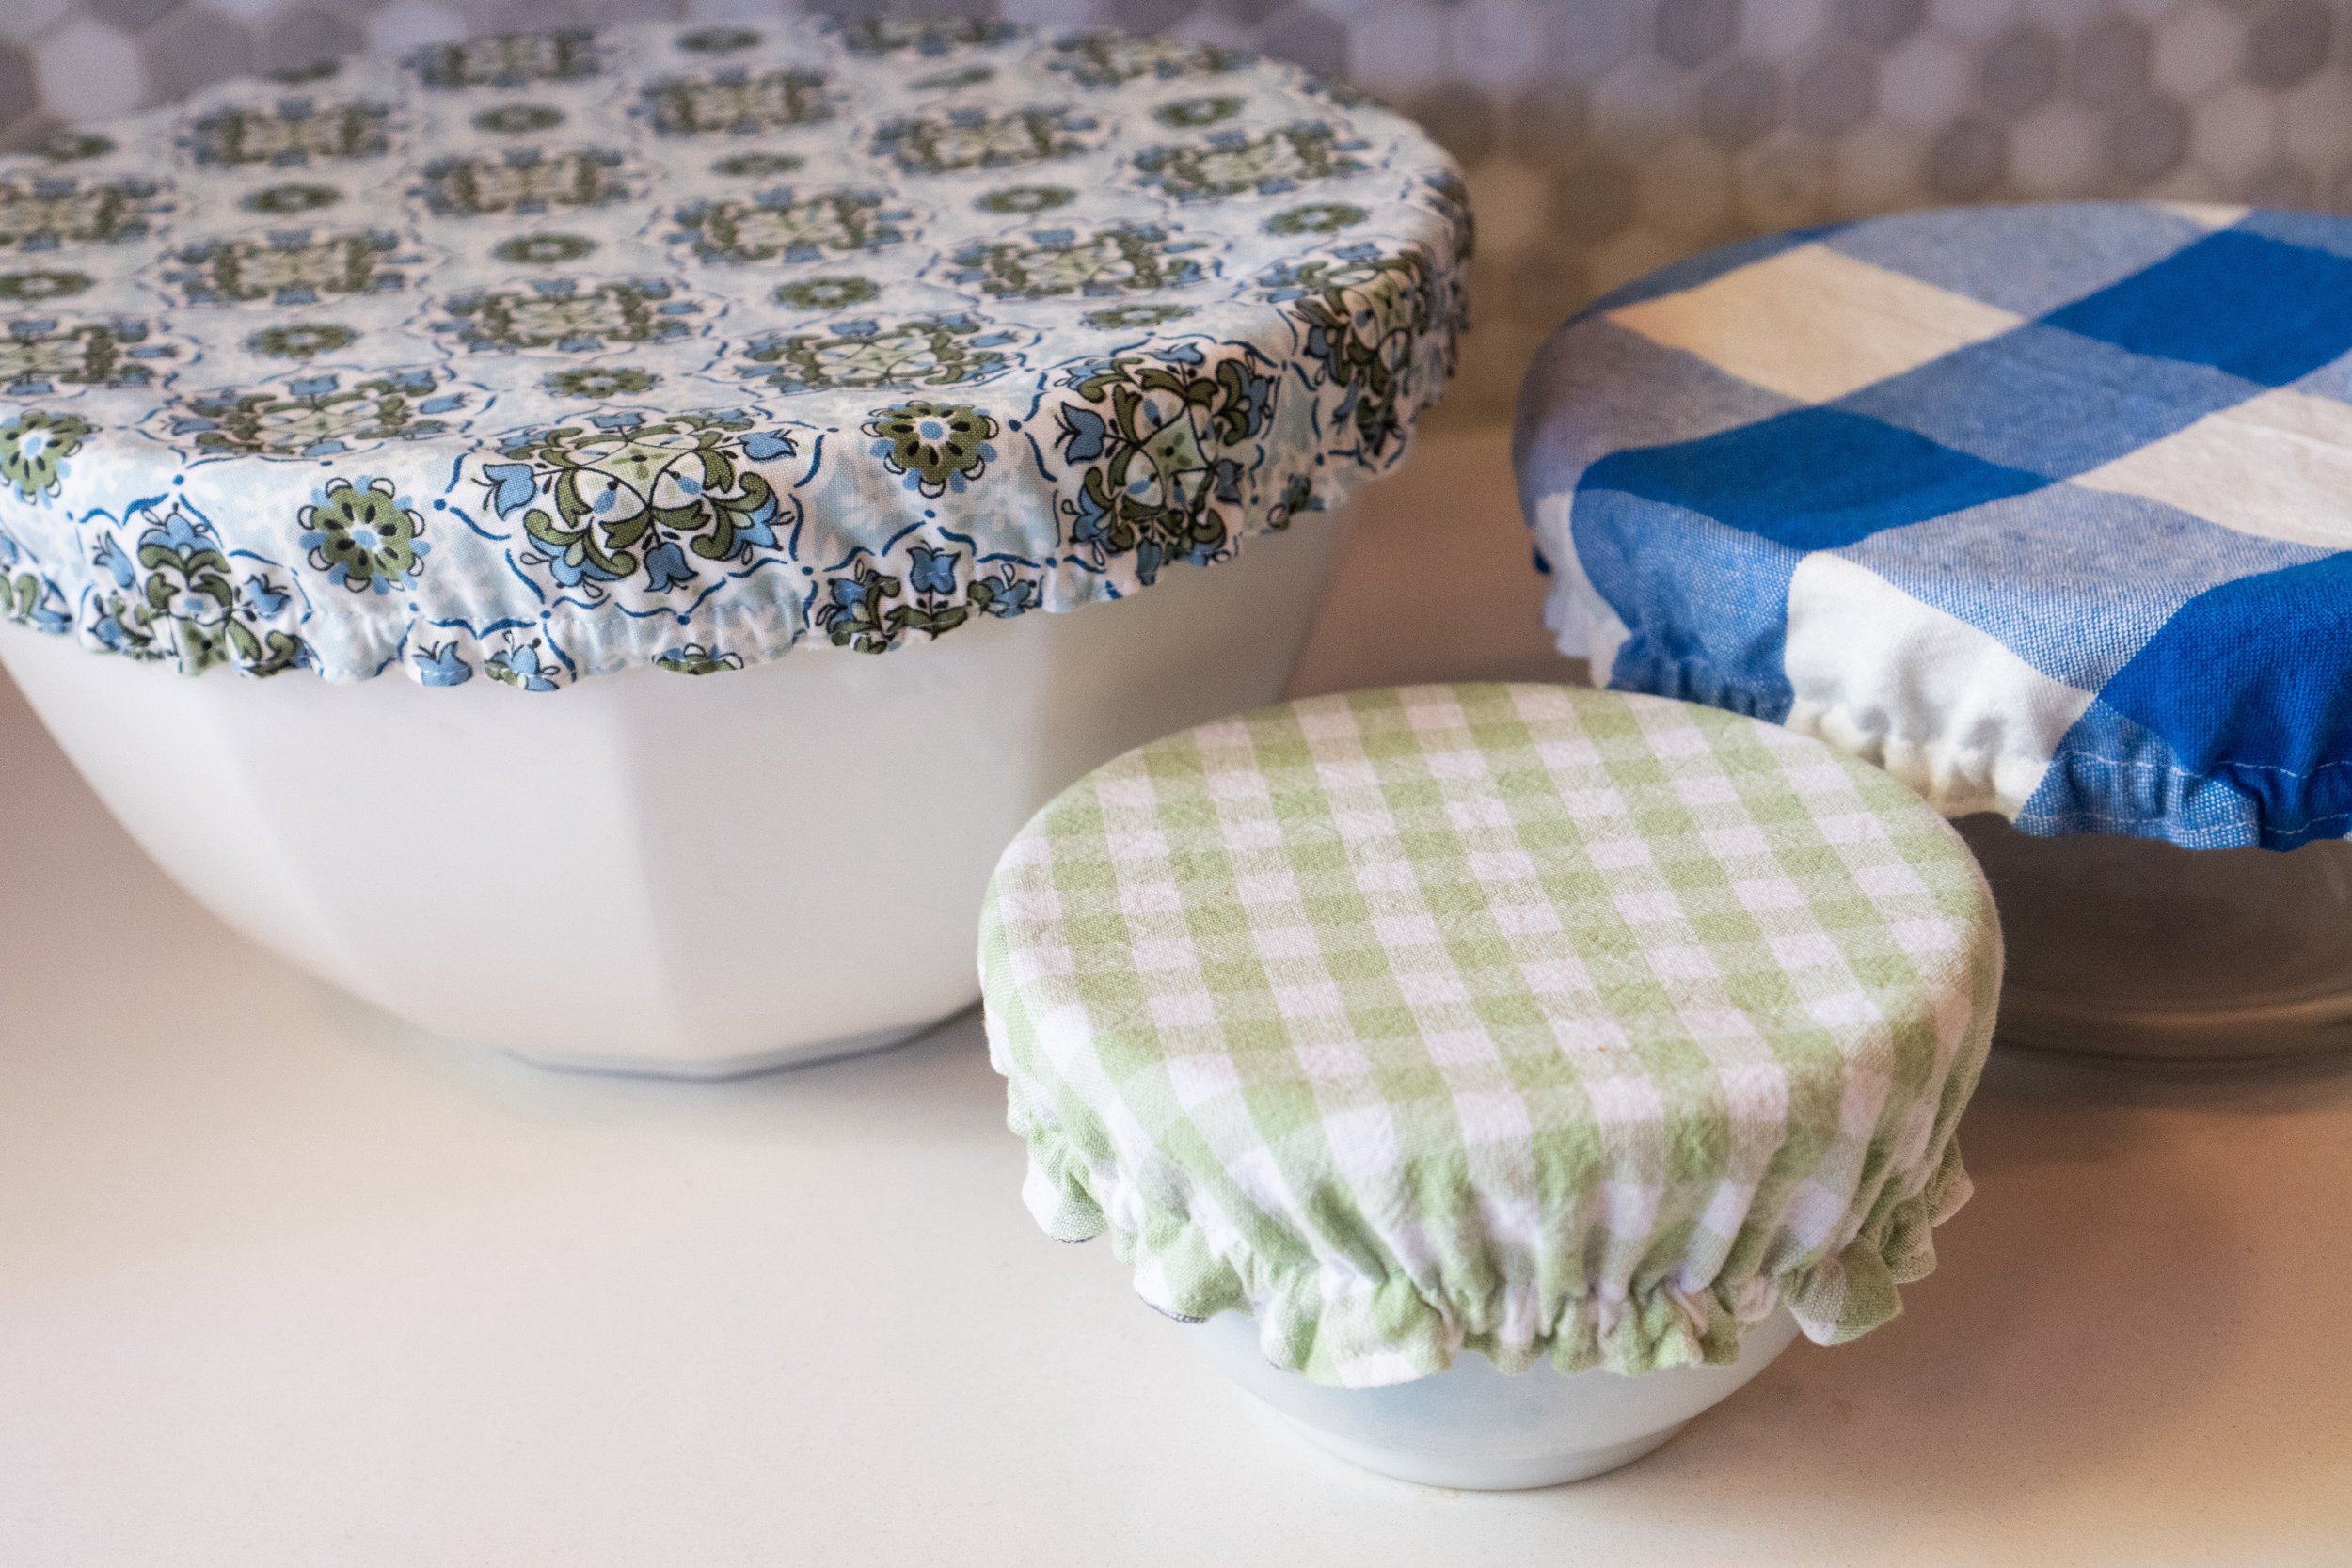
Learn to sew up the prettiest sets of fabric bowl covers with my fuss-free method.
Learn to sew reusable fabric gift bags in 6 sizes with this video tutorial!
Learn to sew Prosperity Hens! A fun, scrap friendly sewing project.
Learn to sew a fun and fast improv table runner with this video tutorial.
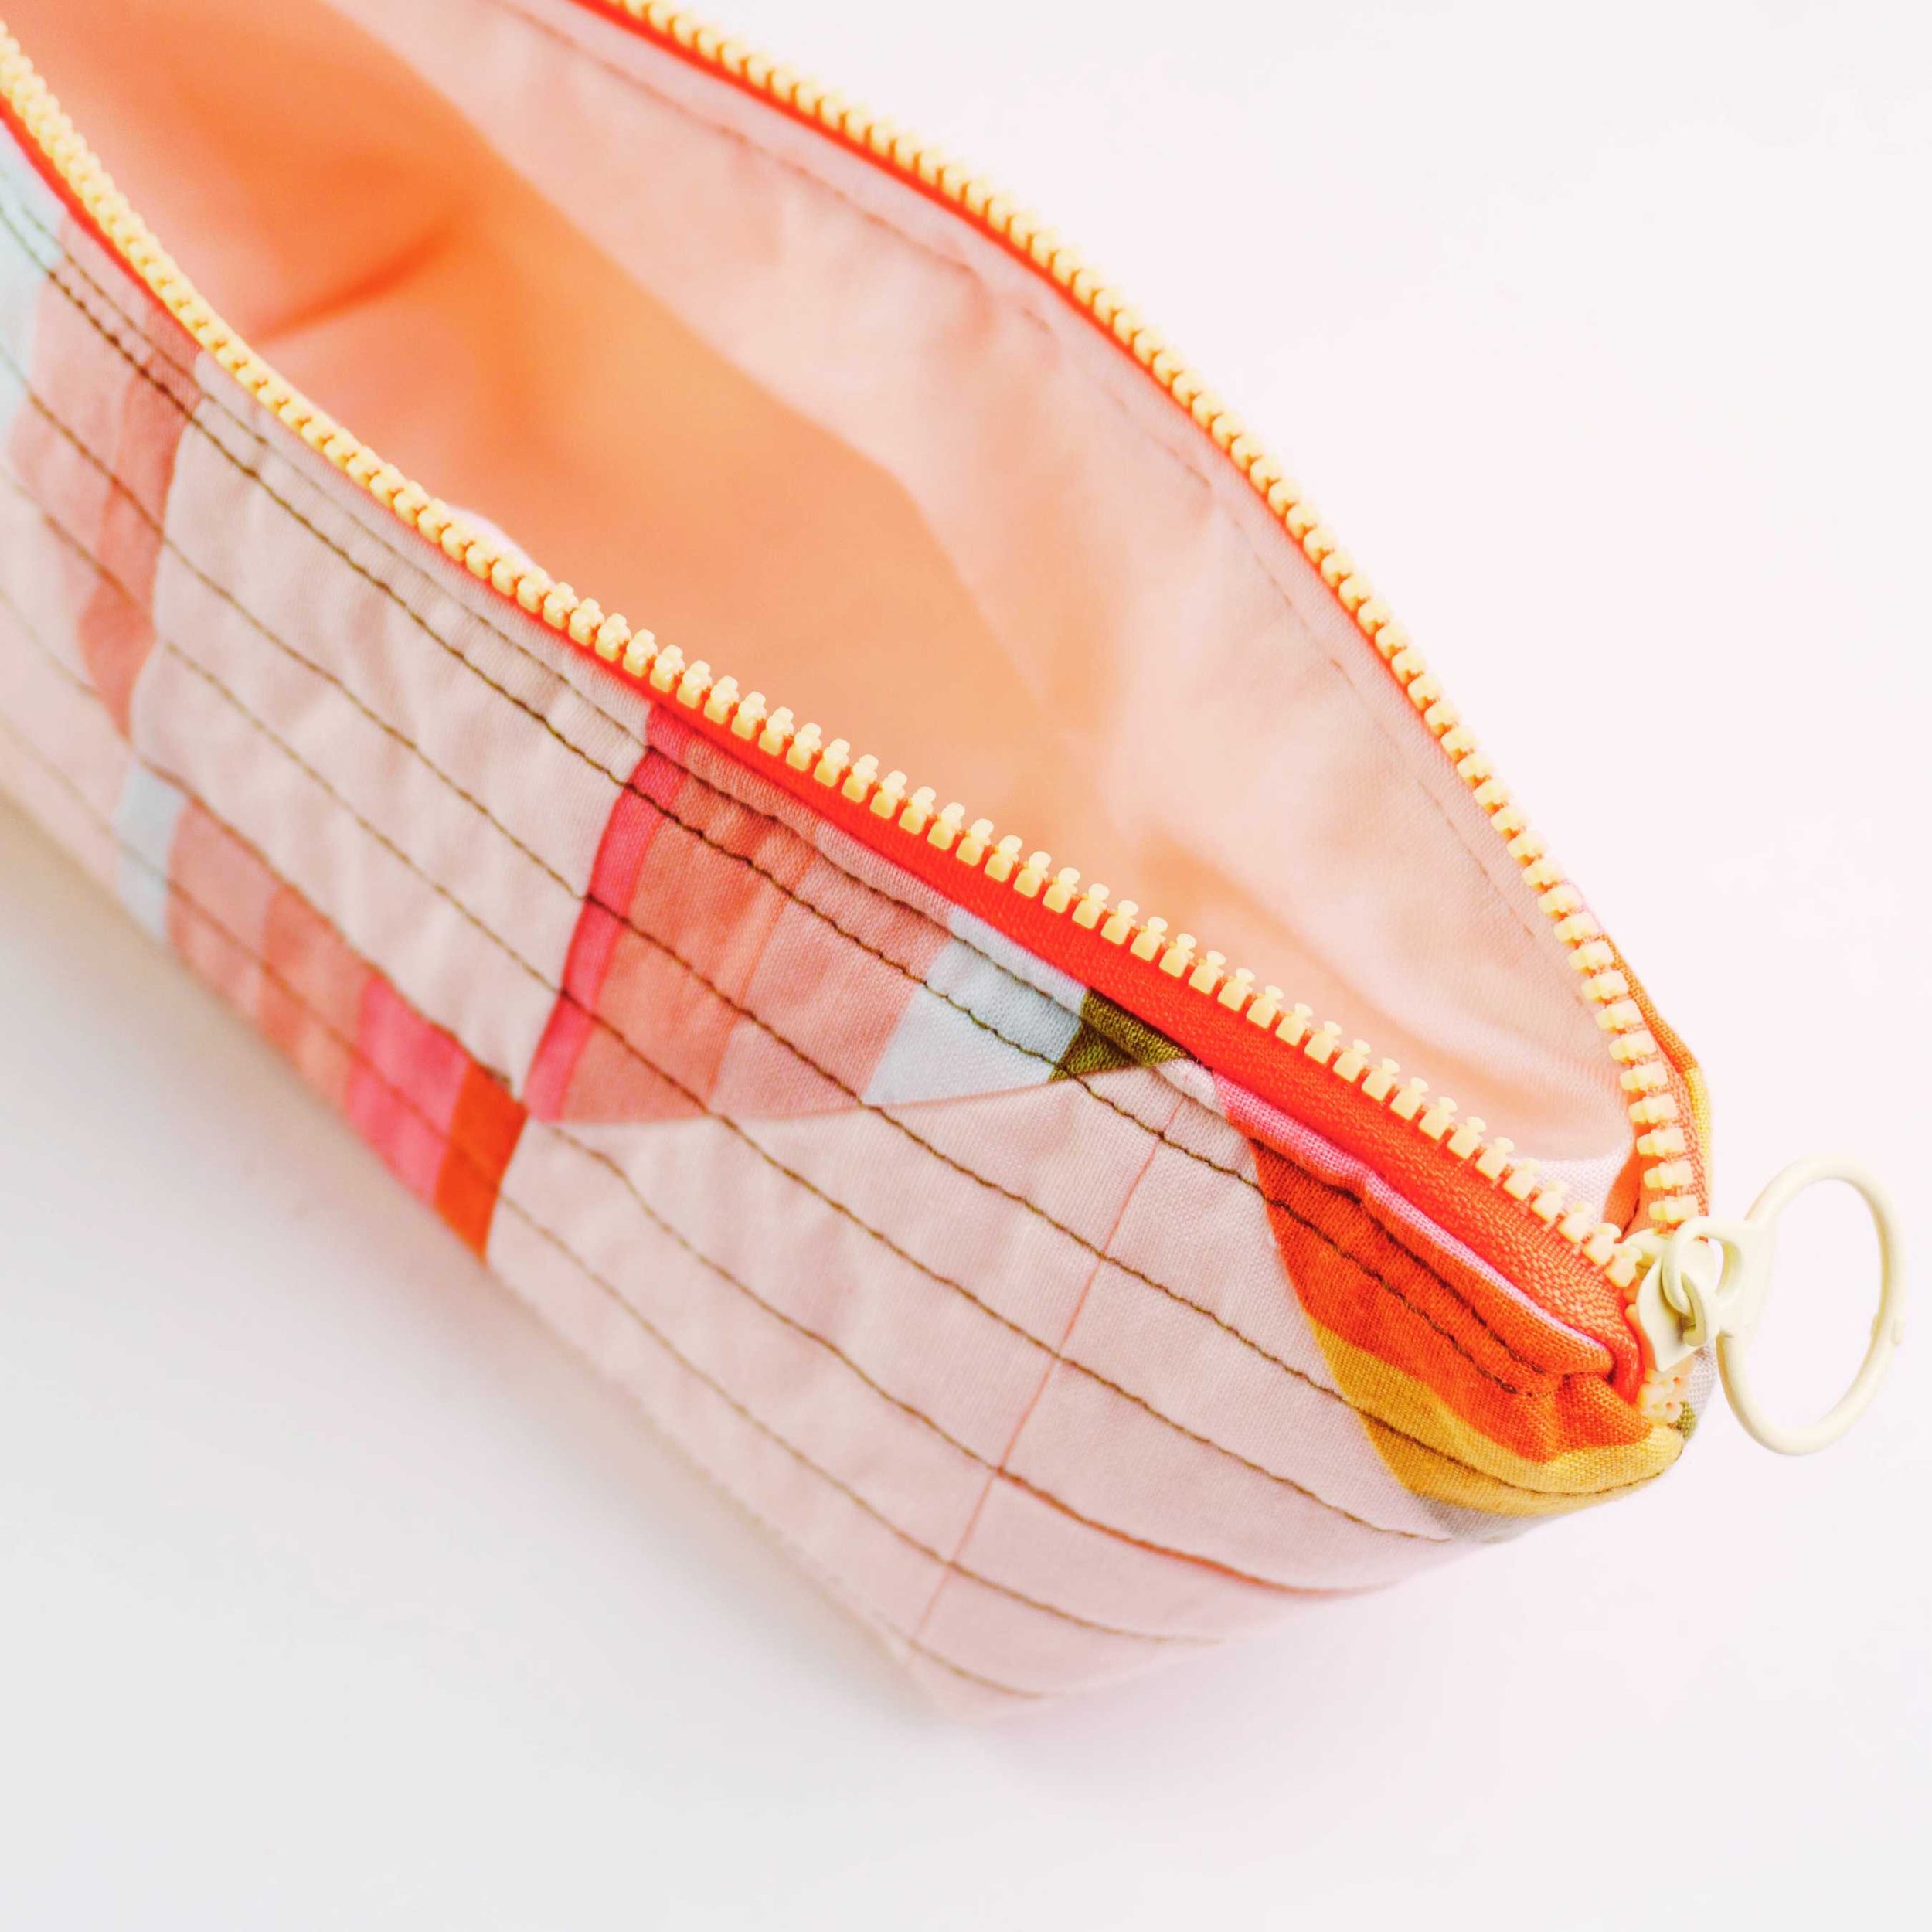
If you need a quick little gift to batch sew a bunch of, or if you need some cute little pouches for yourself, look no further than this fast and easy triangular pouch tutorial!
Learn to make reusable, fillable fabric Easter eggs!
Learn to make HST in any size with a beginner friendly video tutorial, AND see a bunch or ways to arrange them into quilt blocks or even entire quilts!
Learn to sew easy travel tissue pouches with optional key chain hooks in this beginner friendly video tutorial or printable pattern.
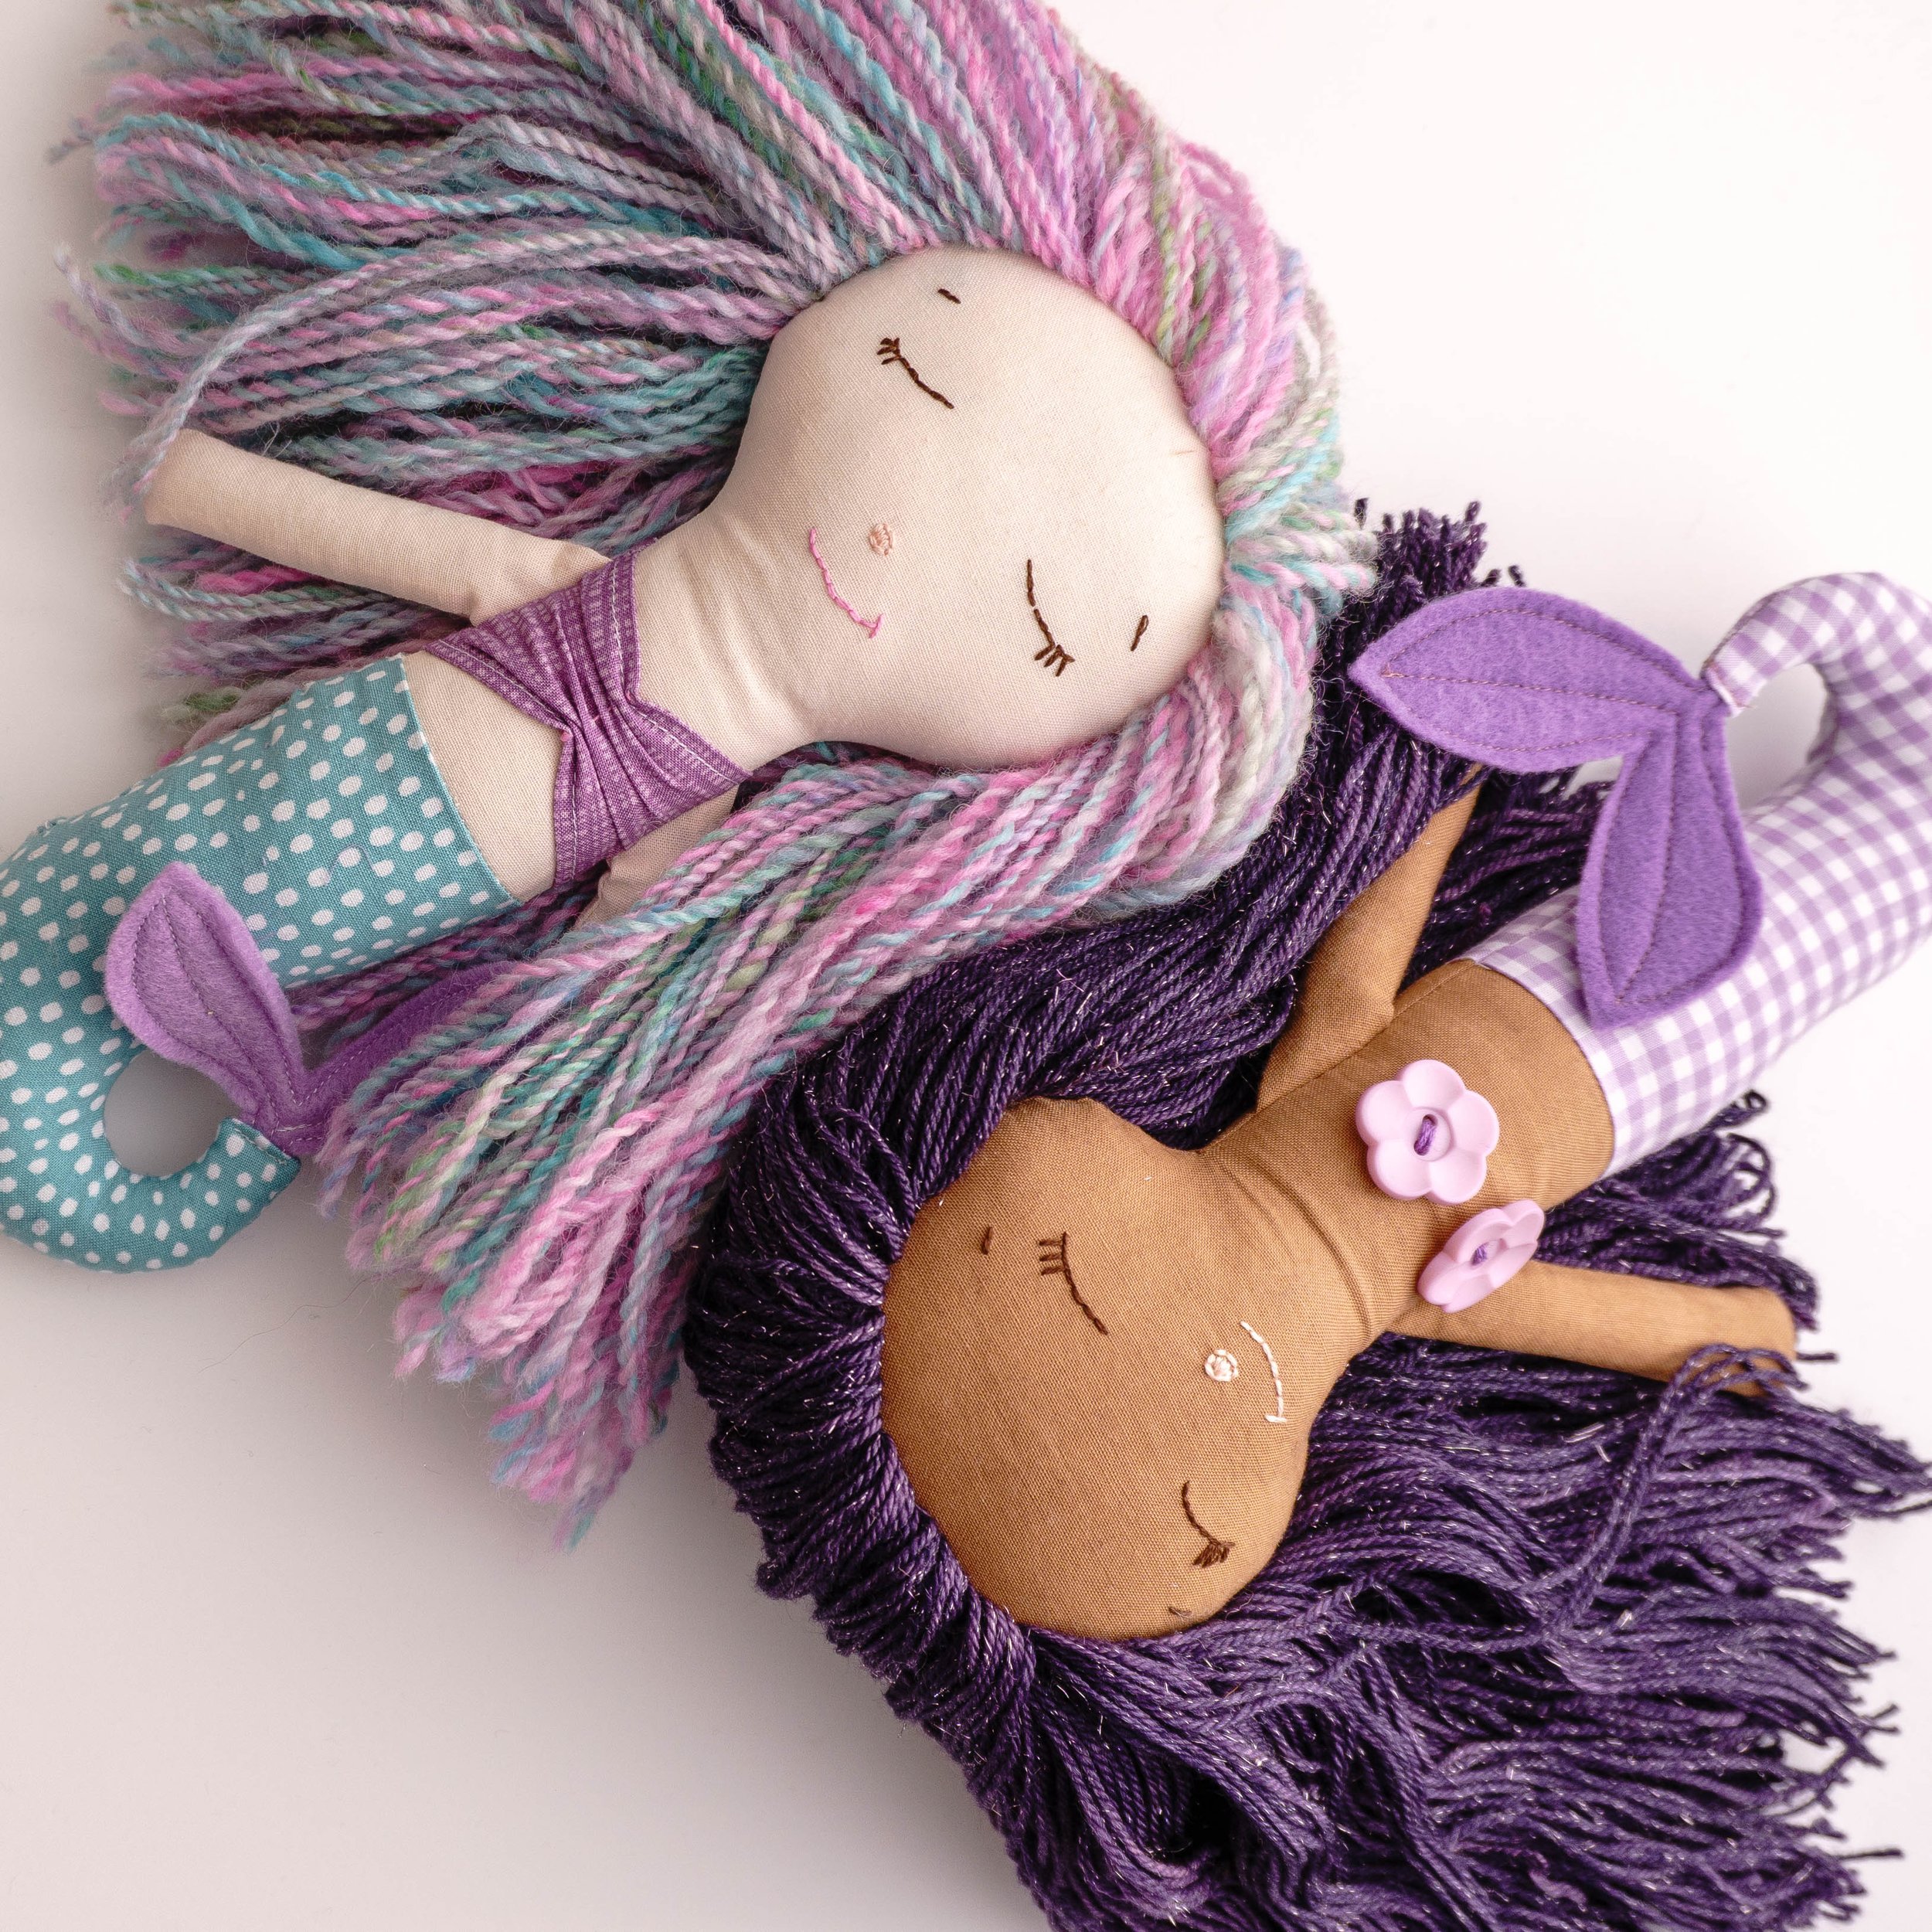
Learn to sew a mermaid rag doll with the coolest yarn hair! I promise it’s so much easier than you think ;)
Bibs make such great handmade baby shower gifts! Elevate your bibs with this simple quilt-as-you tutorial.
Learn how to sew zipper pouches in any size with this beginner friendly sewing tutorial (video or pdf!) Learn to install the zipper in a fuss free way, learn to make flat pouches or pouches with boxed corners, quilted pouches and pouches in any size!
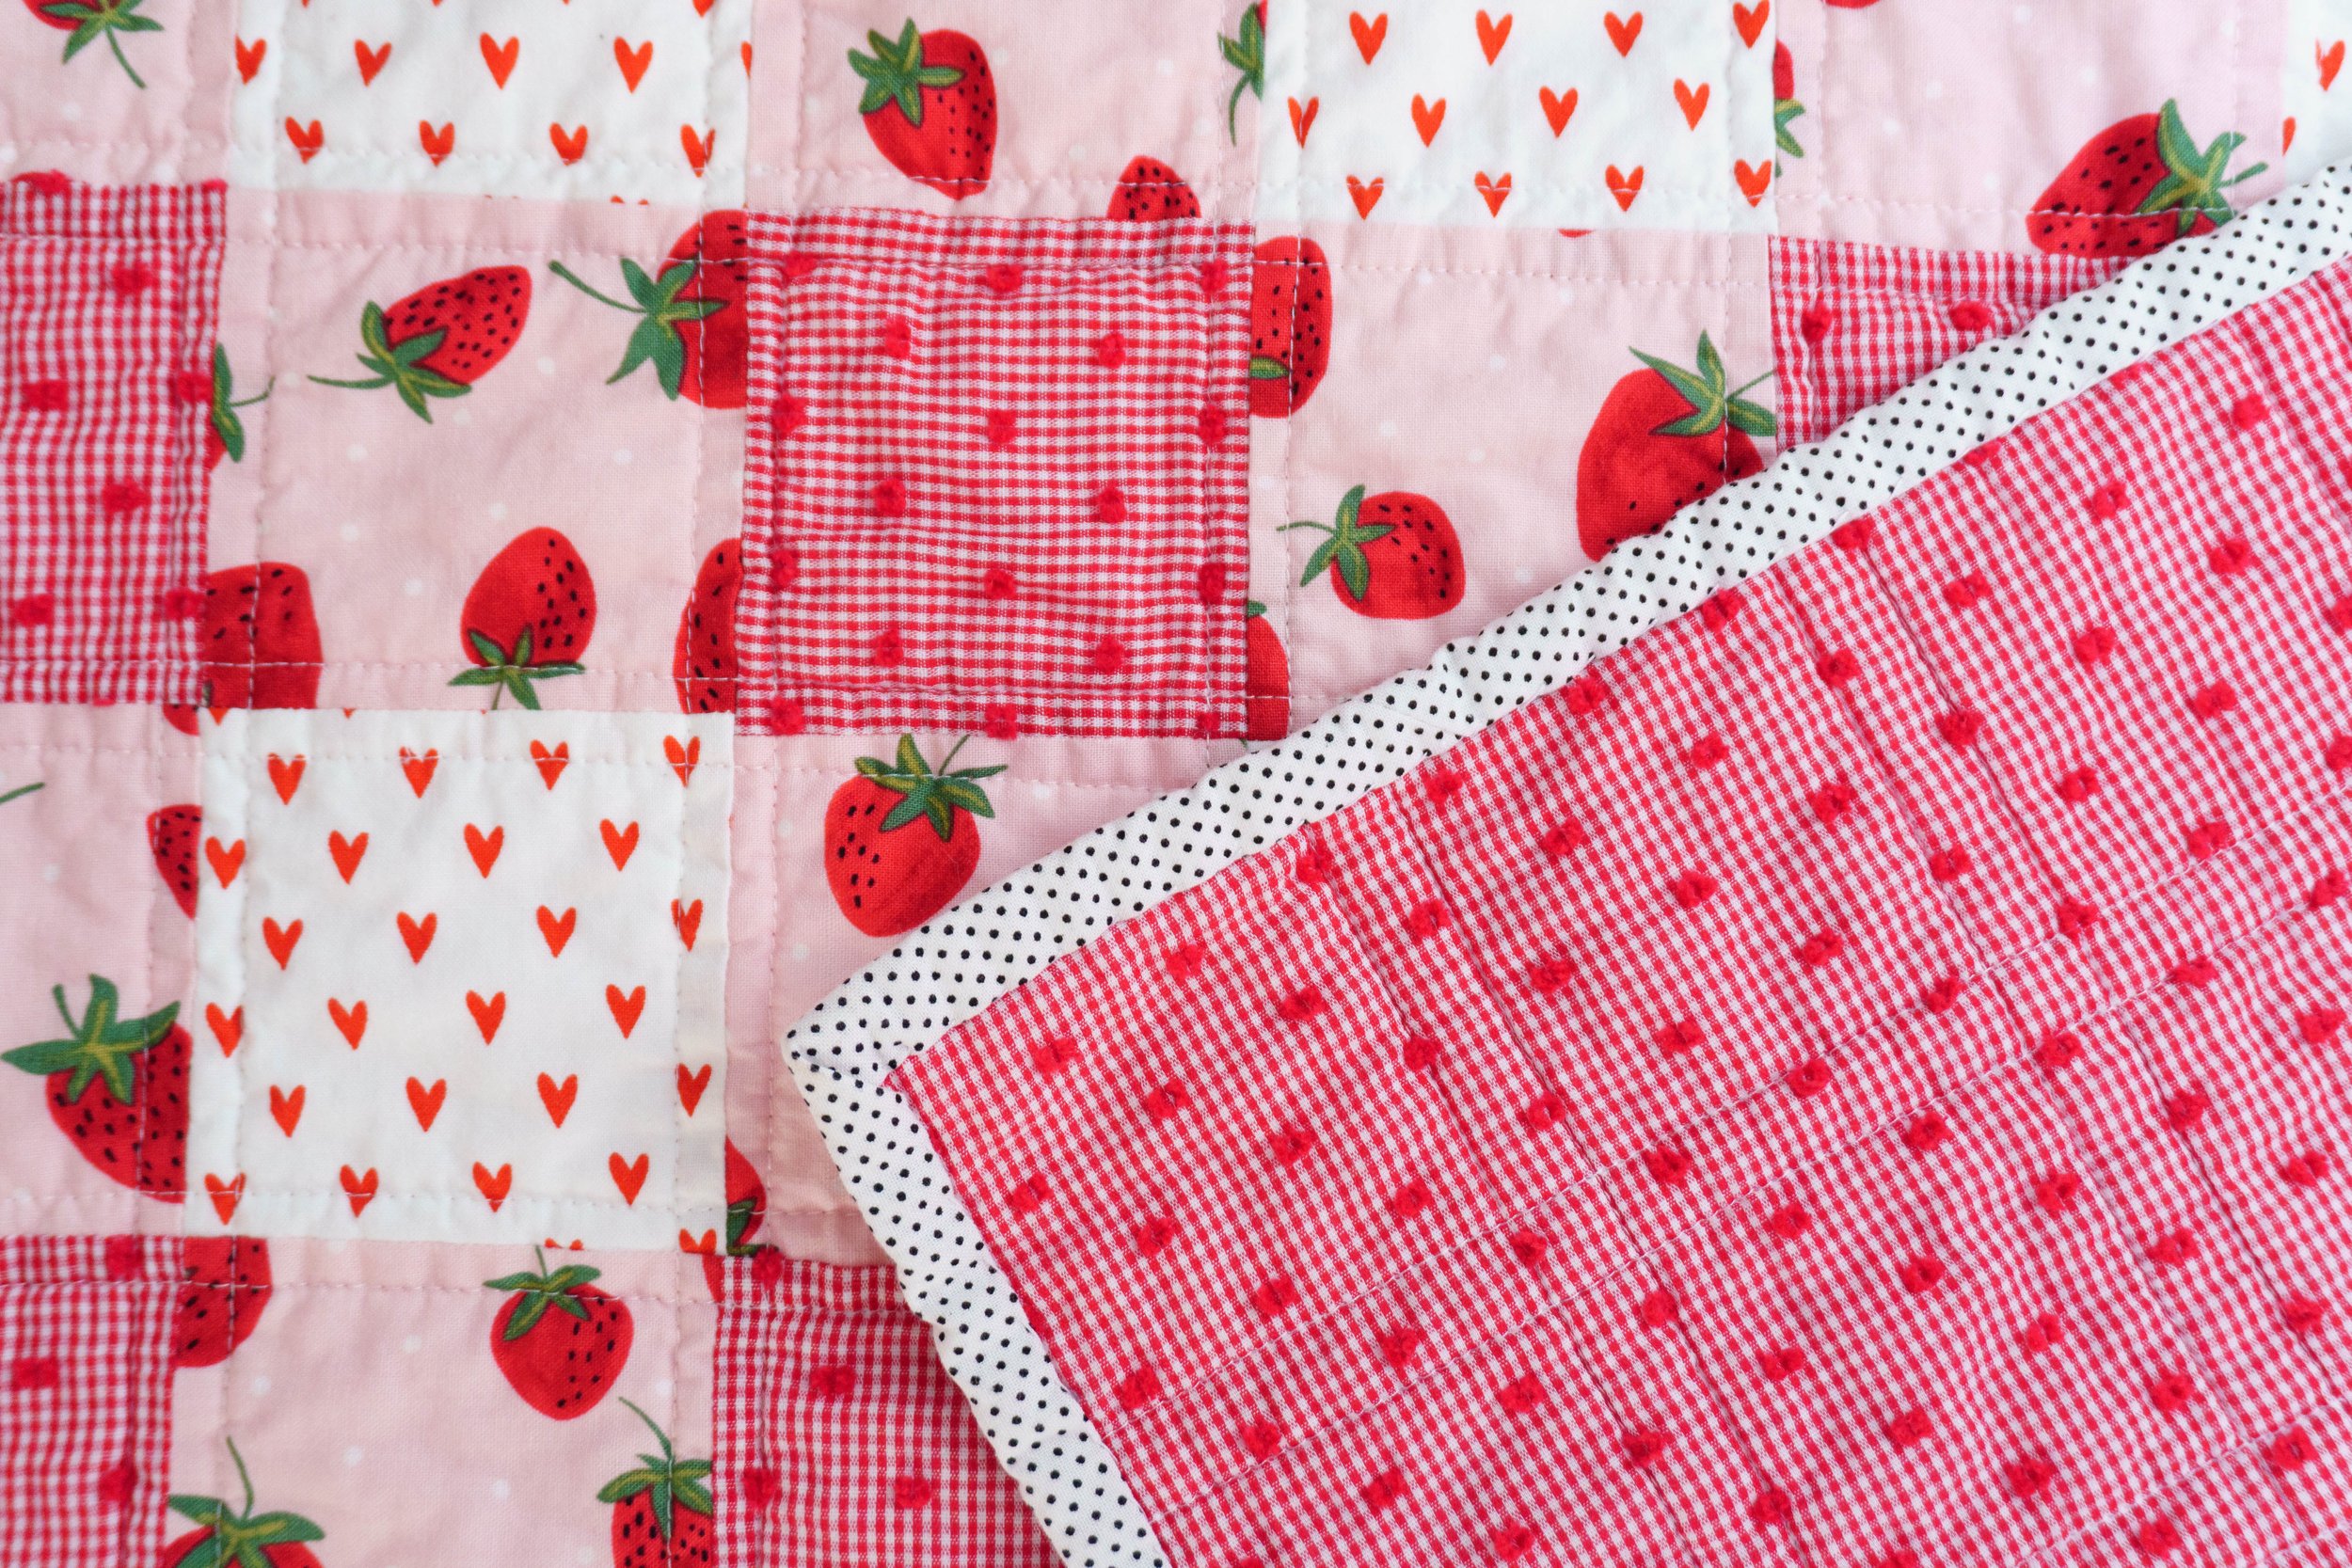
I’ve been trying to use up some fabrics in my stash (to make room for more, obviously), so I made a quick and easy baby quilt in a fun gingham design. This simple quilt is so easy to make and only requires three fabrics!
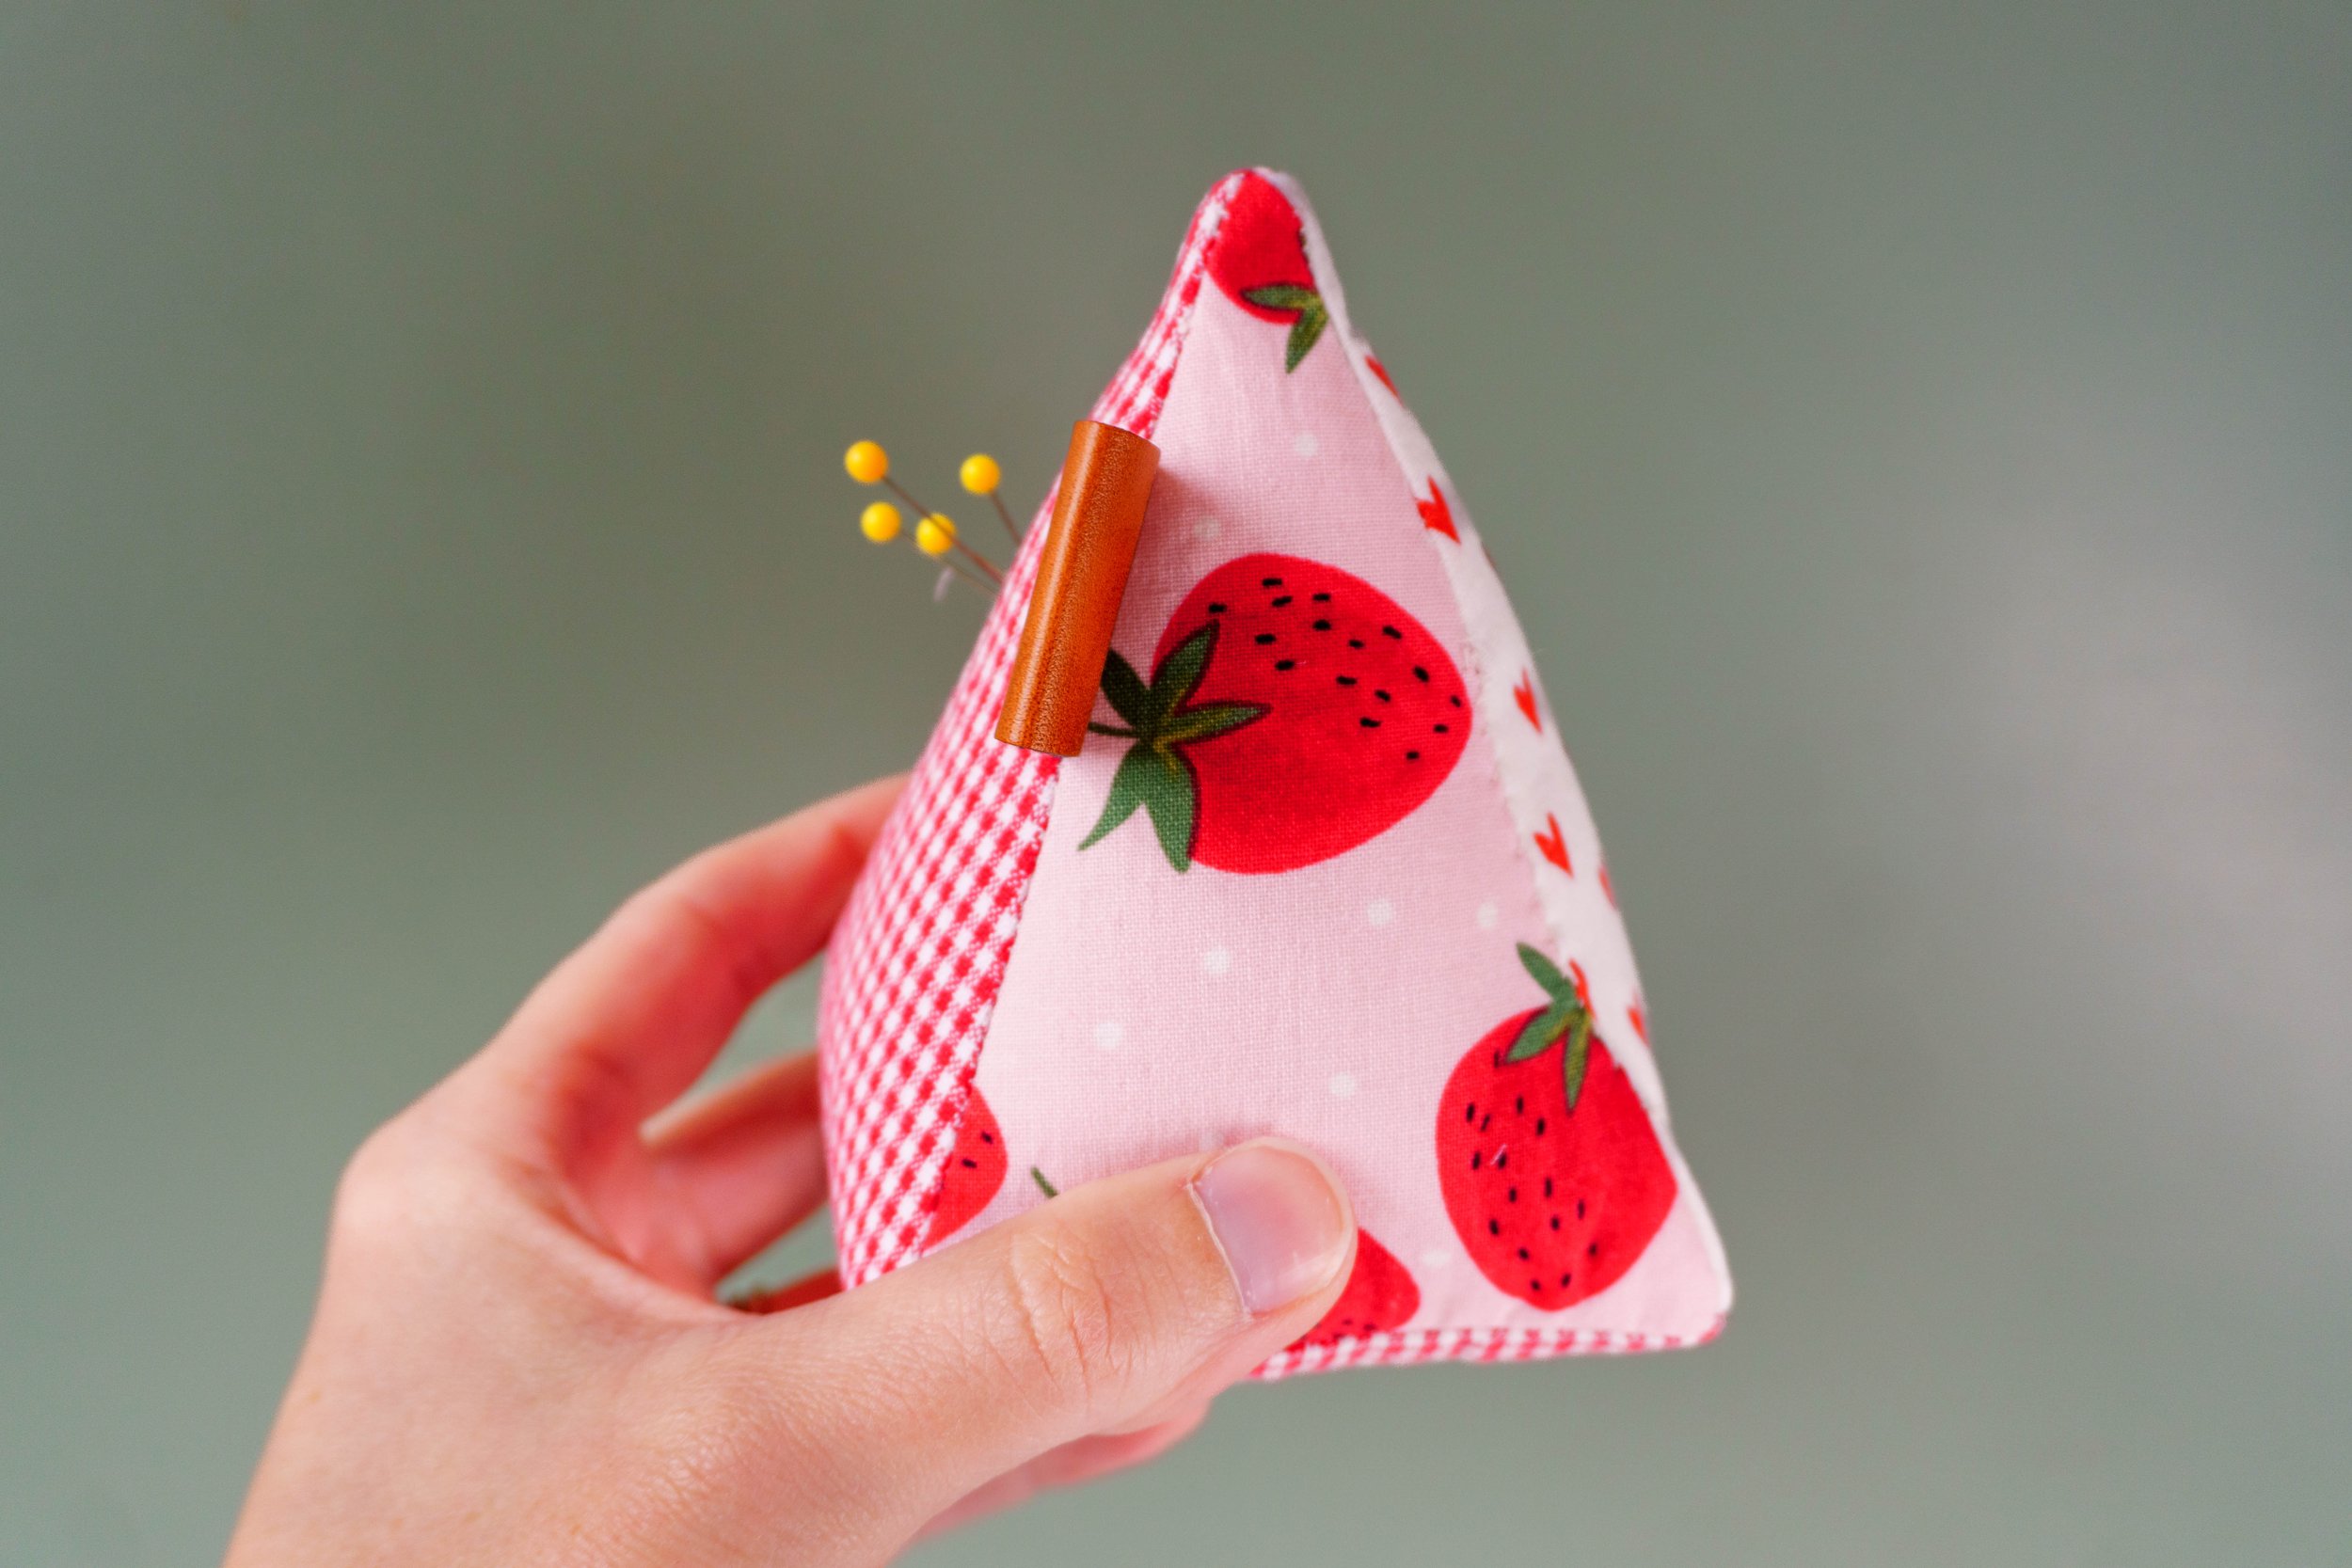
I recently decided I needed to replace all my sewing pins! So naturally, I then decided I needed some new pin cushions too, haha. So today, I’m happy to introduce my newest sewing pattern and tutorial, the Pyramid Pin Cushion!
As I was developing my newest doll pattern, I had the idea to turn this pattern into a military doll! You may know that we are a military family and have been living the Army life together for over 20 years.
One of the categories I intend to add quite a bit of content to at Pin Cut Sew this year is quilting tutorials! Quilting has always been the most relaxing, therapeutic form of sewing for me, so I look forward to posting several accessible, stress free quilting articles and videos here in the coming months.
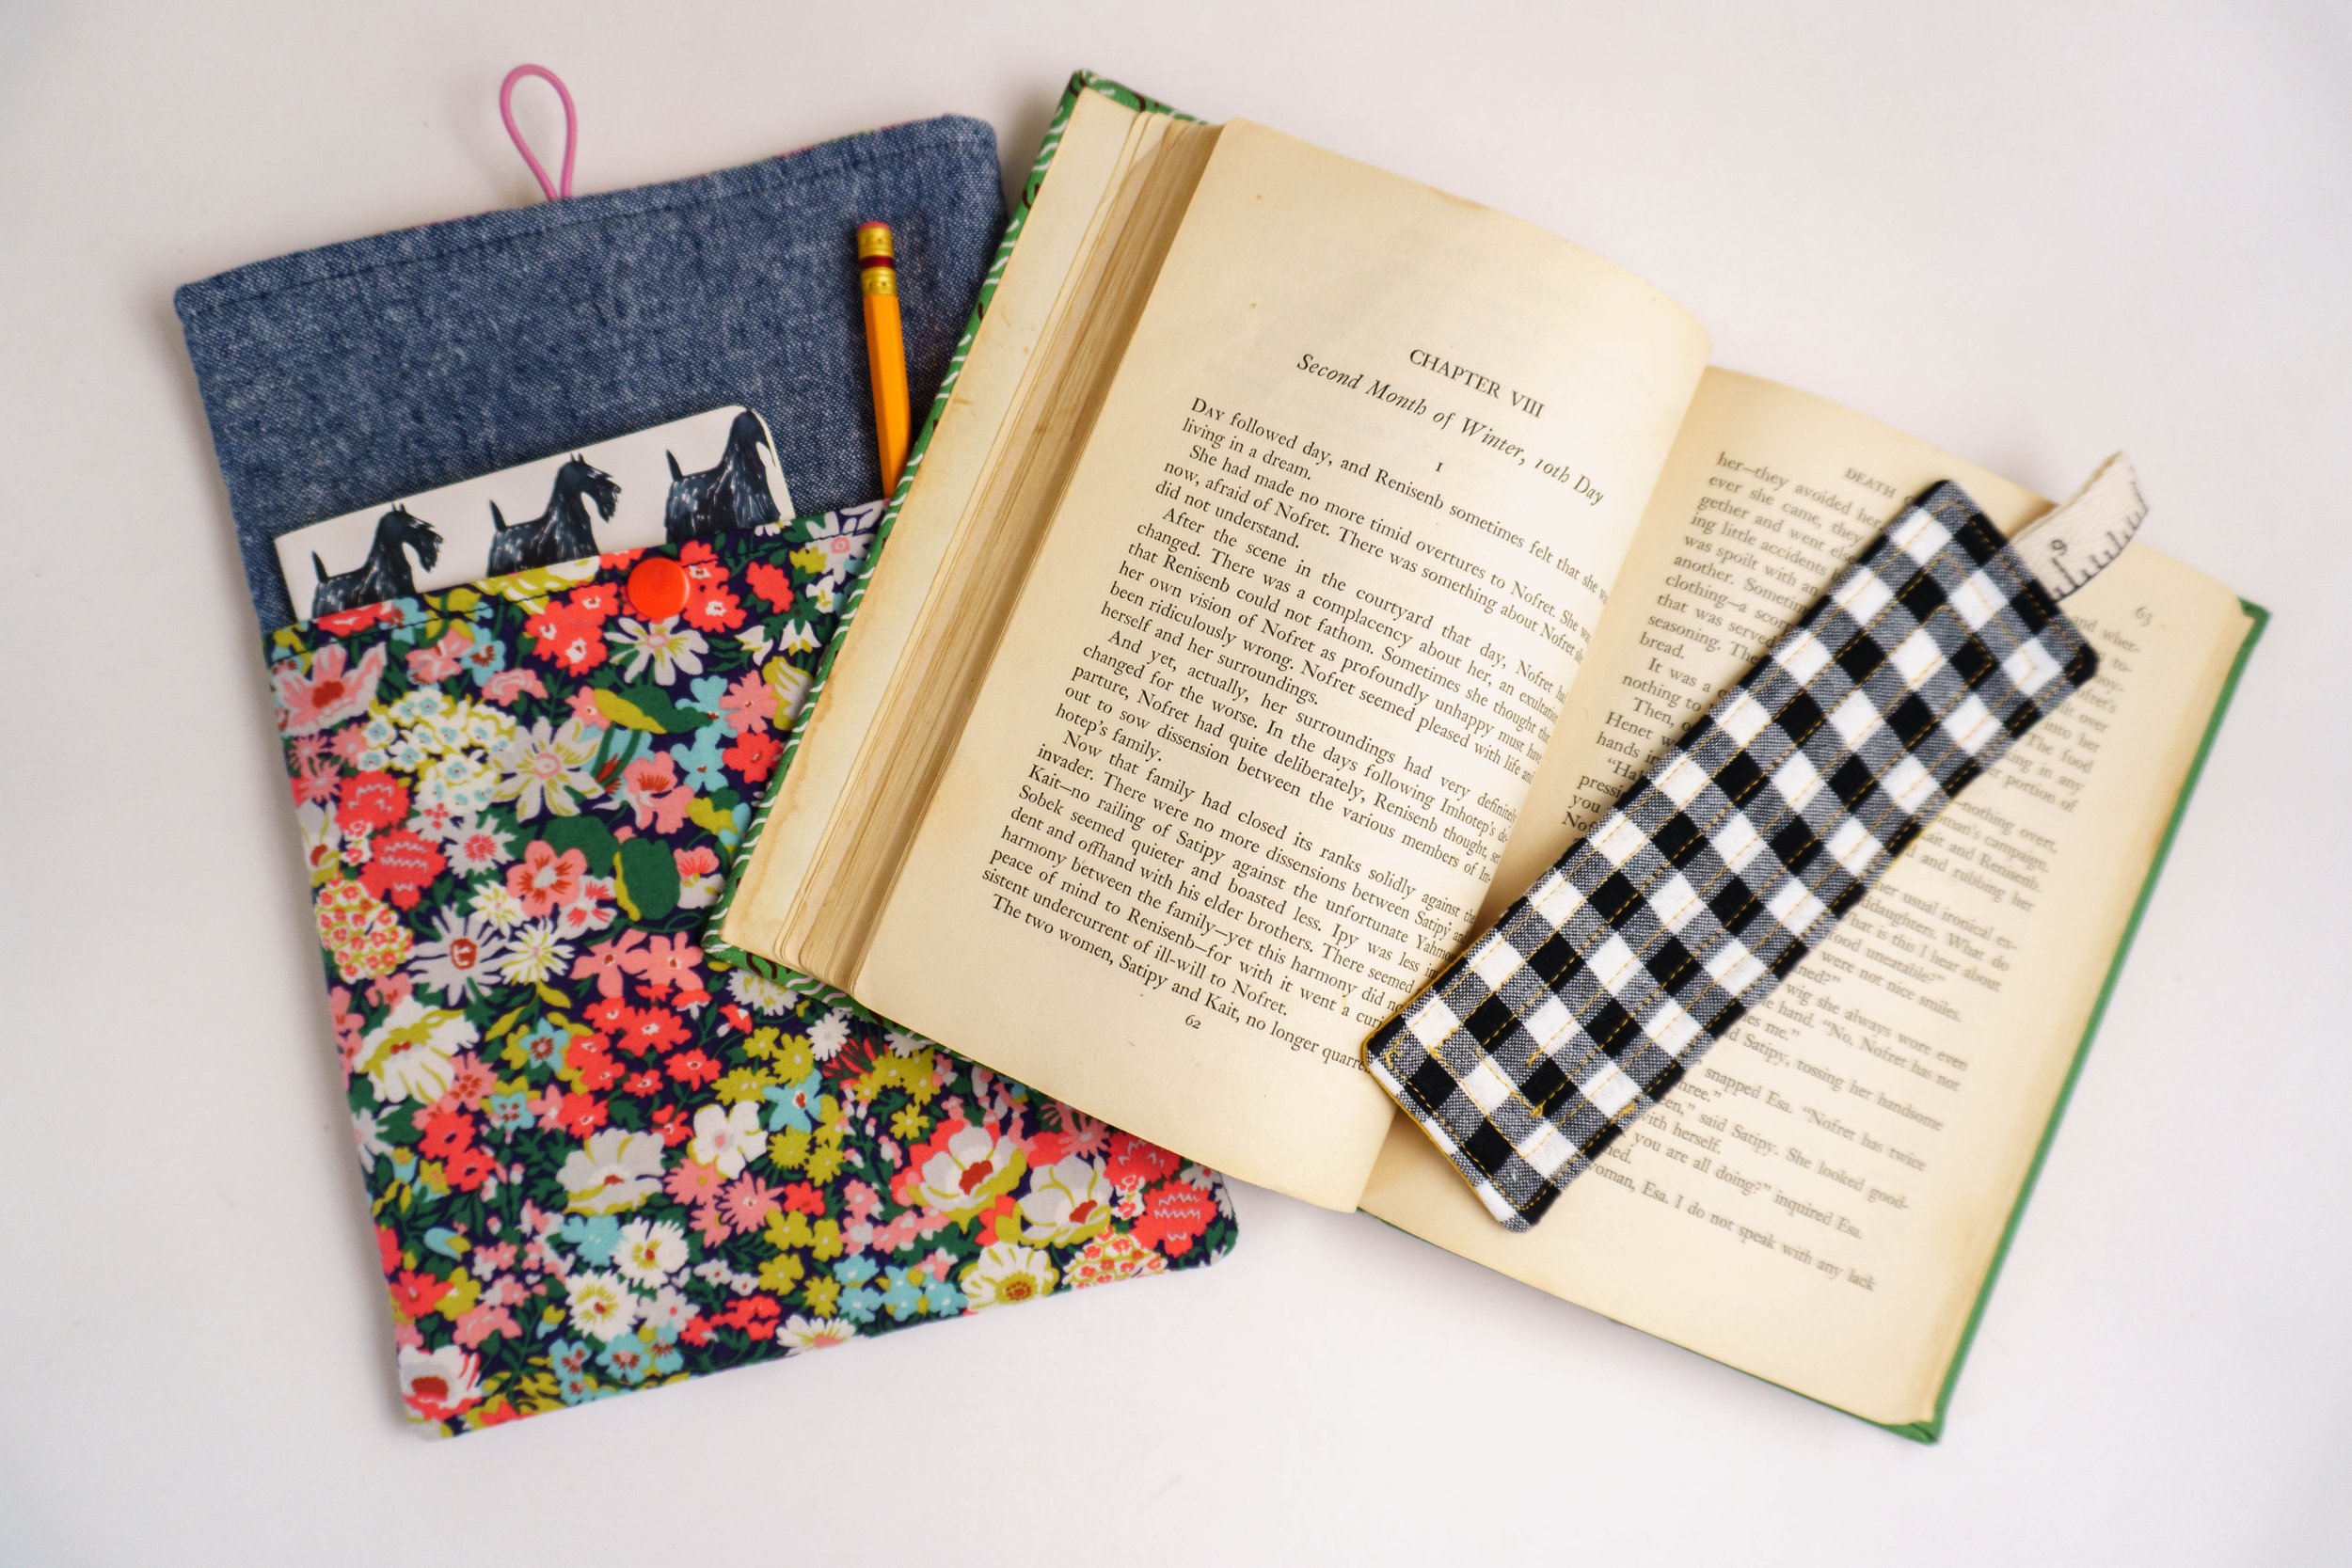
If you’re a reader or have a bookworm in your life, you will understand the need for today’s tutorial! Reading is a big part of my life, and since I’m also in the taxi mom phase of parenting, I take books with me everywhere I go. I almost always have a book in the car or tossed into my tote bag, and this is obviously no way to preserve the covers and pages of said books.
If you’re a short waisted gal like me, then boy, do I have the tutorial for you today! While I like the look of all the current high waisted trends on other people, being short waisted, those clothes can look rather ridiculous on me. In fact, most mid rise fit like high rise on me!
Because of this, I struggle to find pants that are the right rise for me right now. I recently bought some pajama pants, though, that were high rise, but that I knew I could alter to fit me how I like them. I created a video tutorial to show you how to do it too!
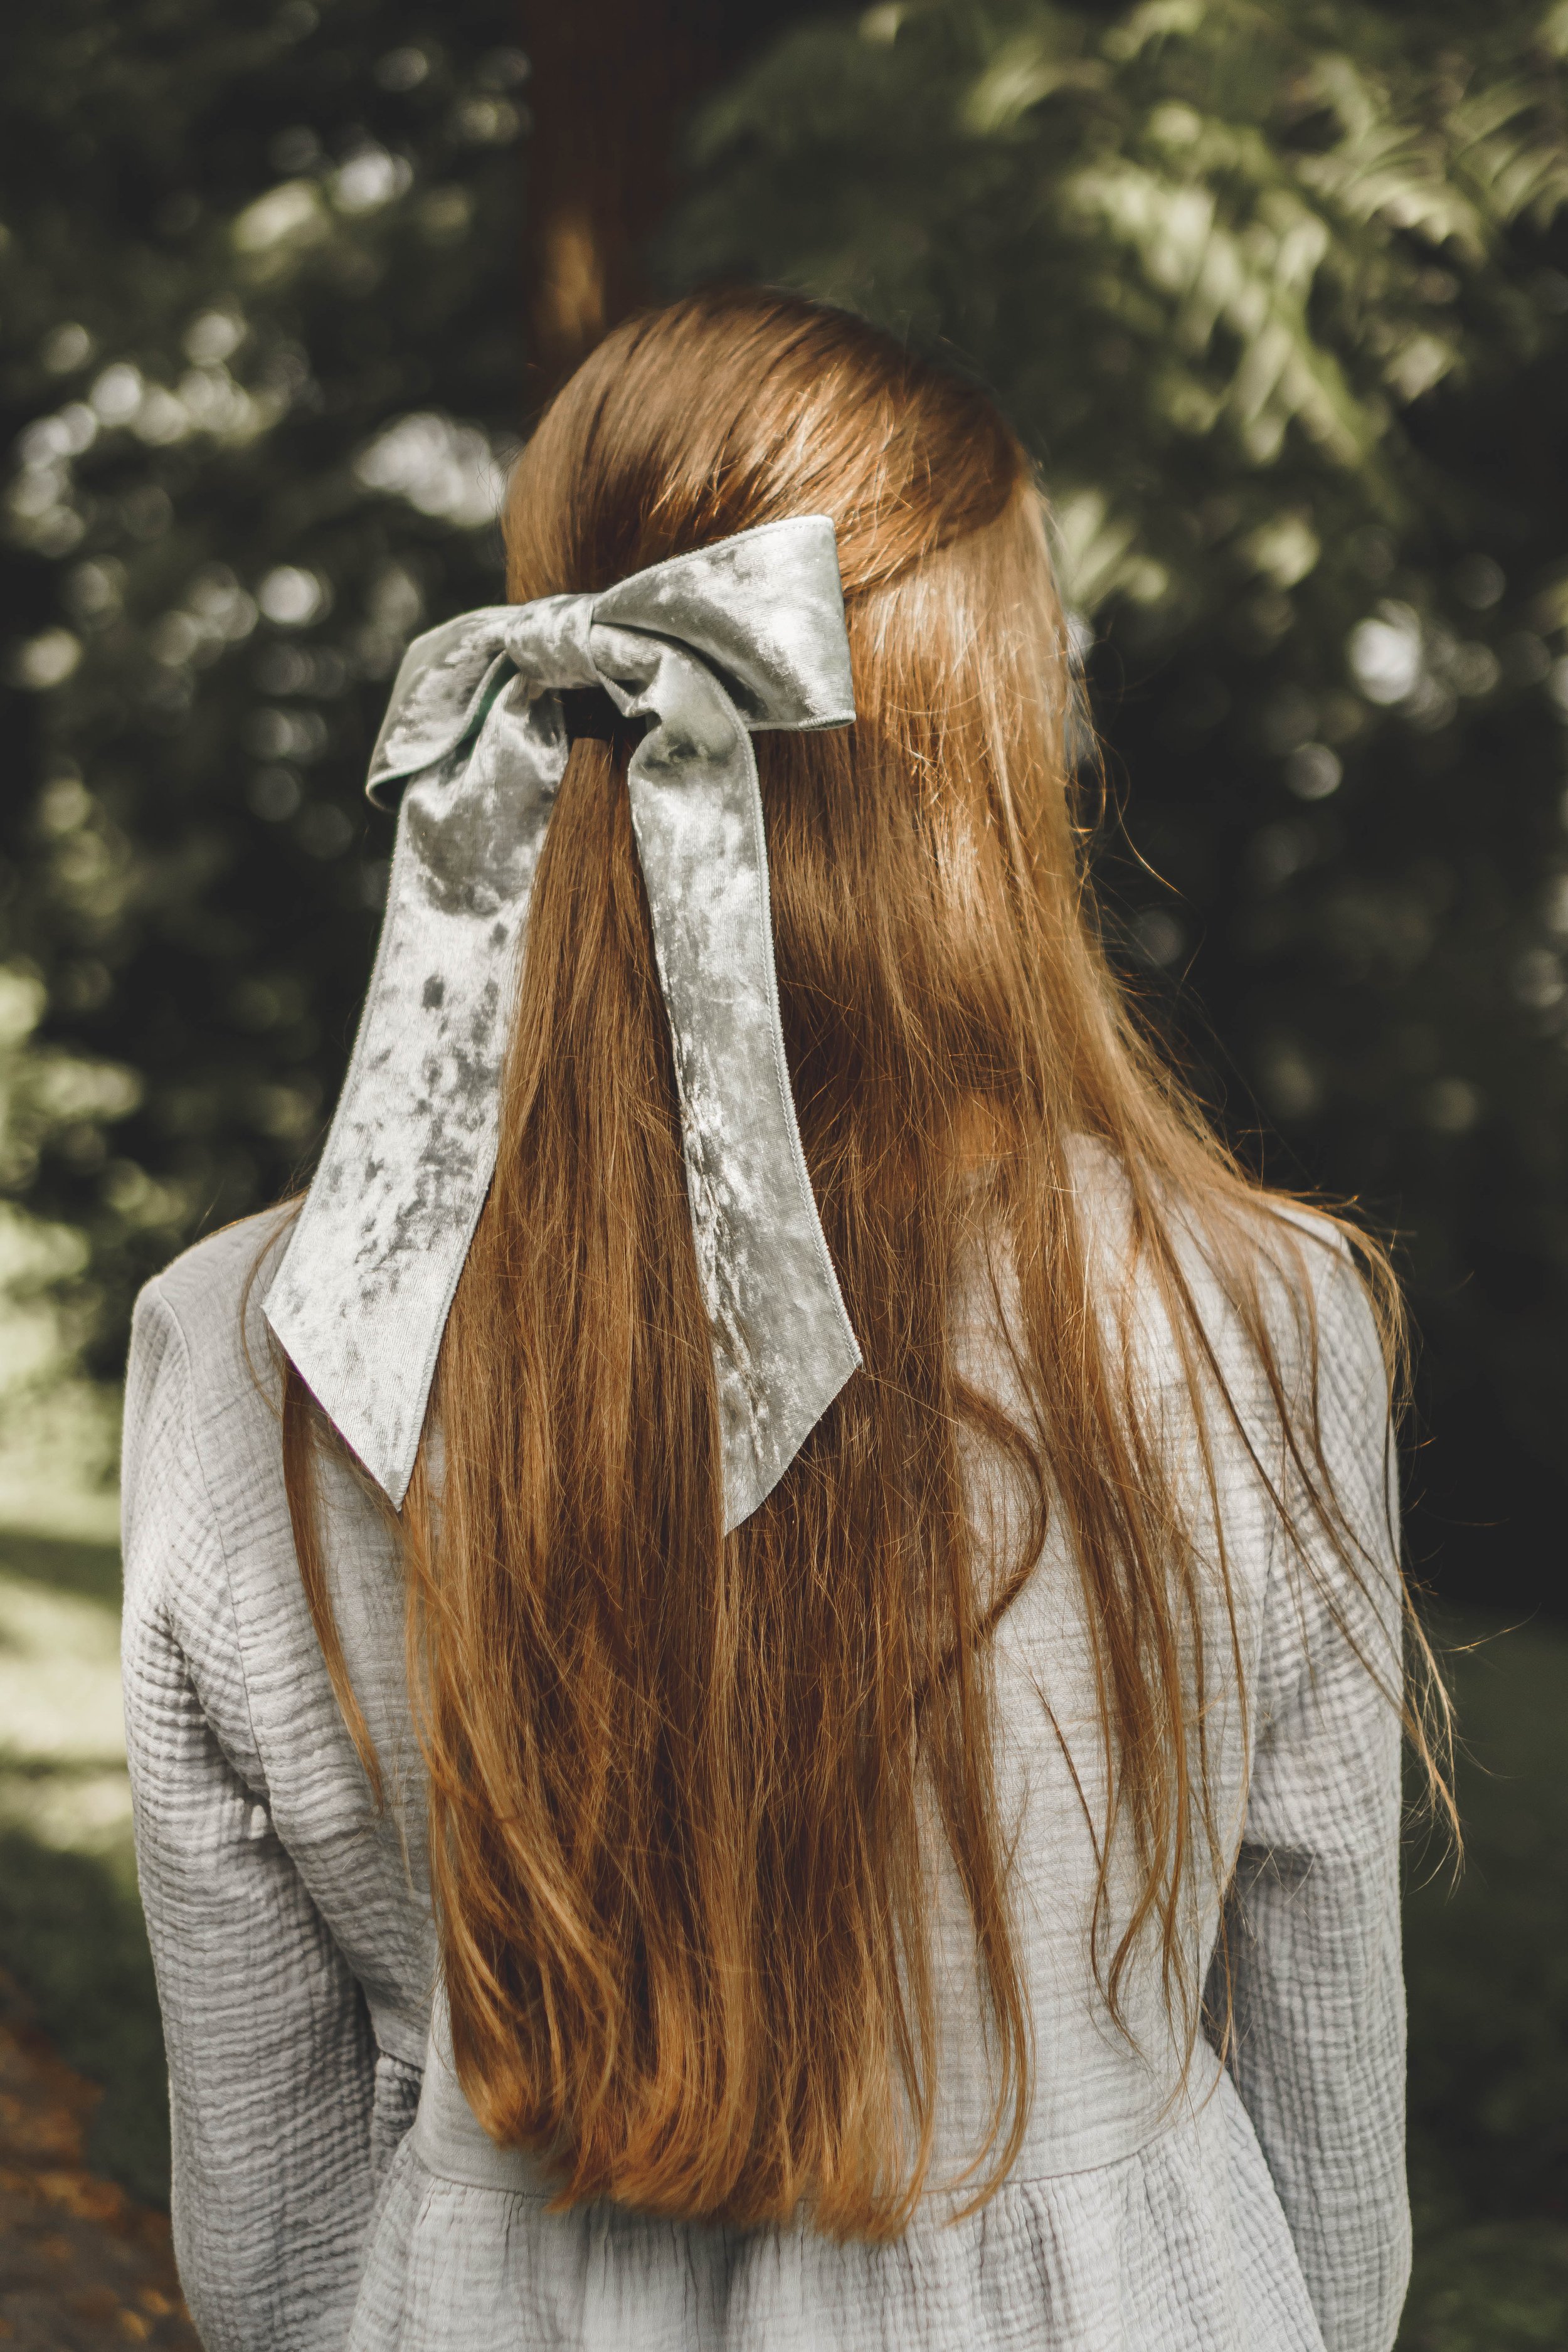
My teen daughters are into cottage core style hair accessories lately and asked if I could copy a few that we’ve seen. One of those were some pretty, velvet bows we spotted at Target the other day. They were larger hair bows with long tails and so cute! But at $14 a piece, we knew we could DIY them for a fraction of the cost.
Sure enough, after spending just $2.50 for each spool of velvet ribbon and the same for a bag of hair clips, we have the cutest set of velvet hair bows! And I’m going to teach you how, so you can have some too :)
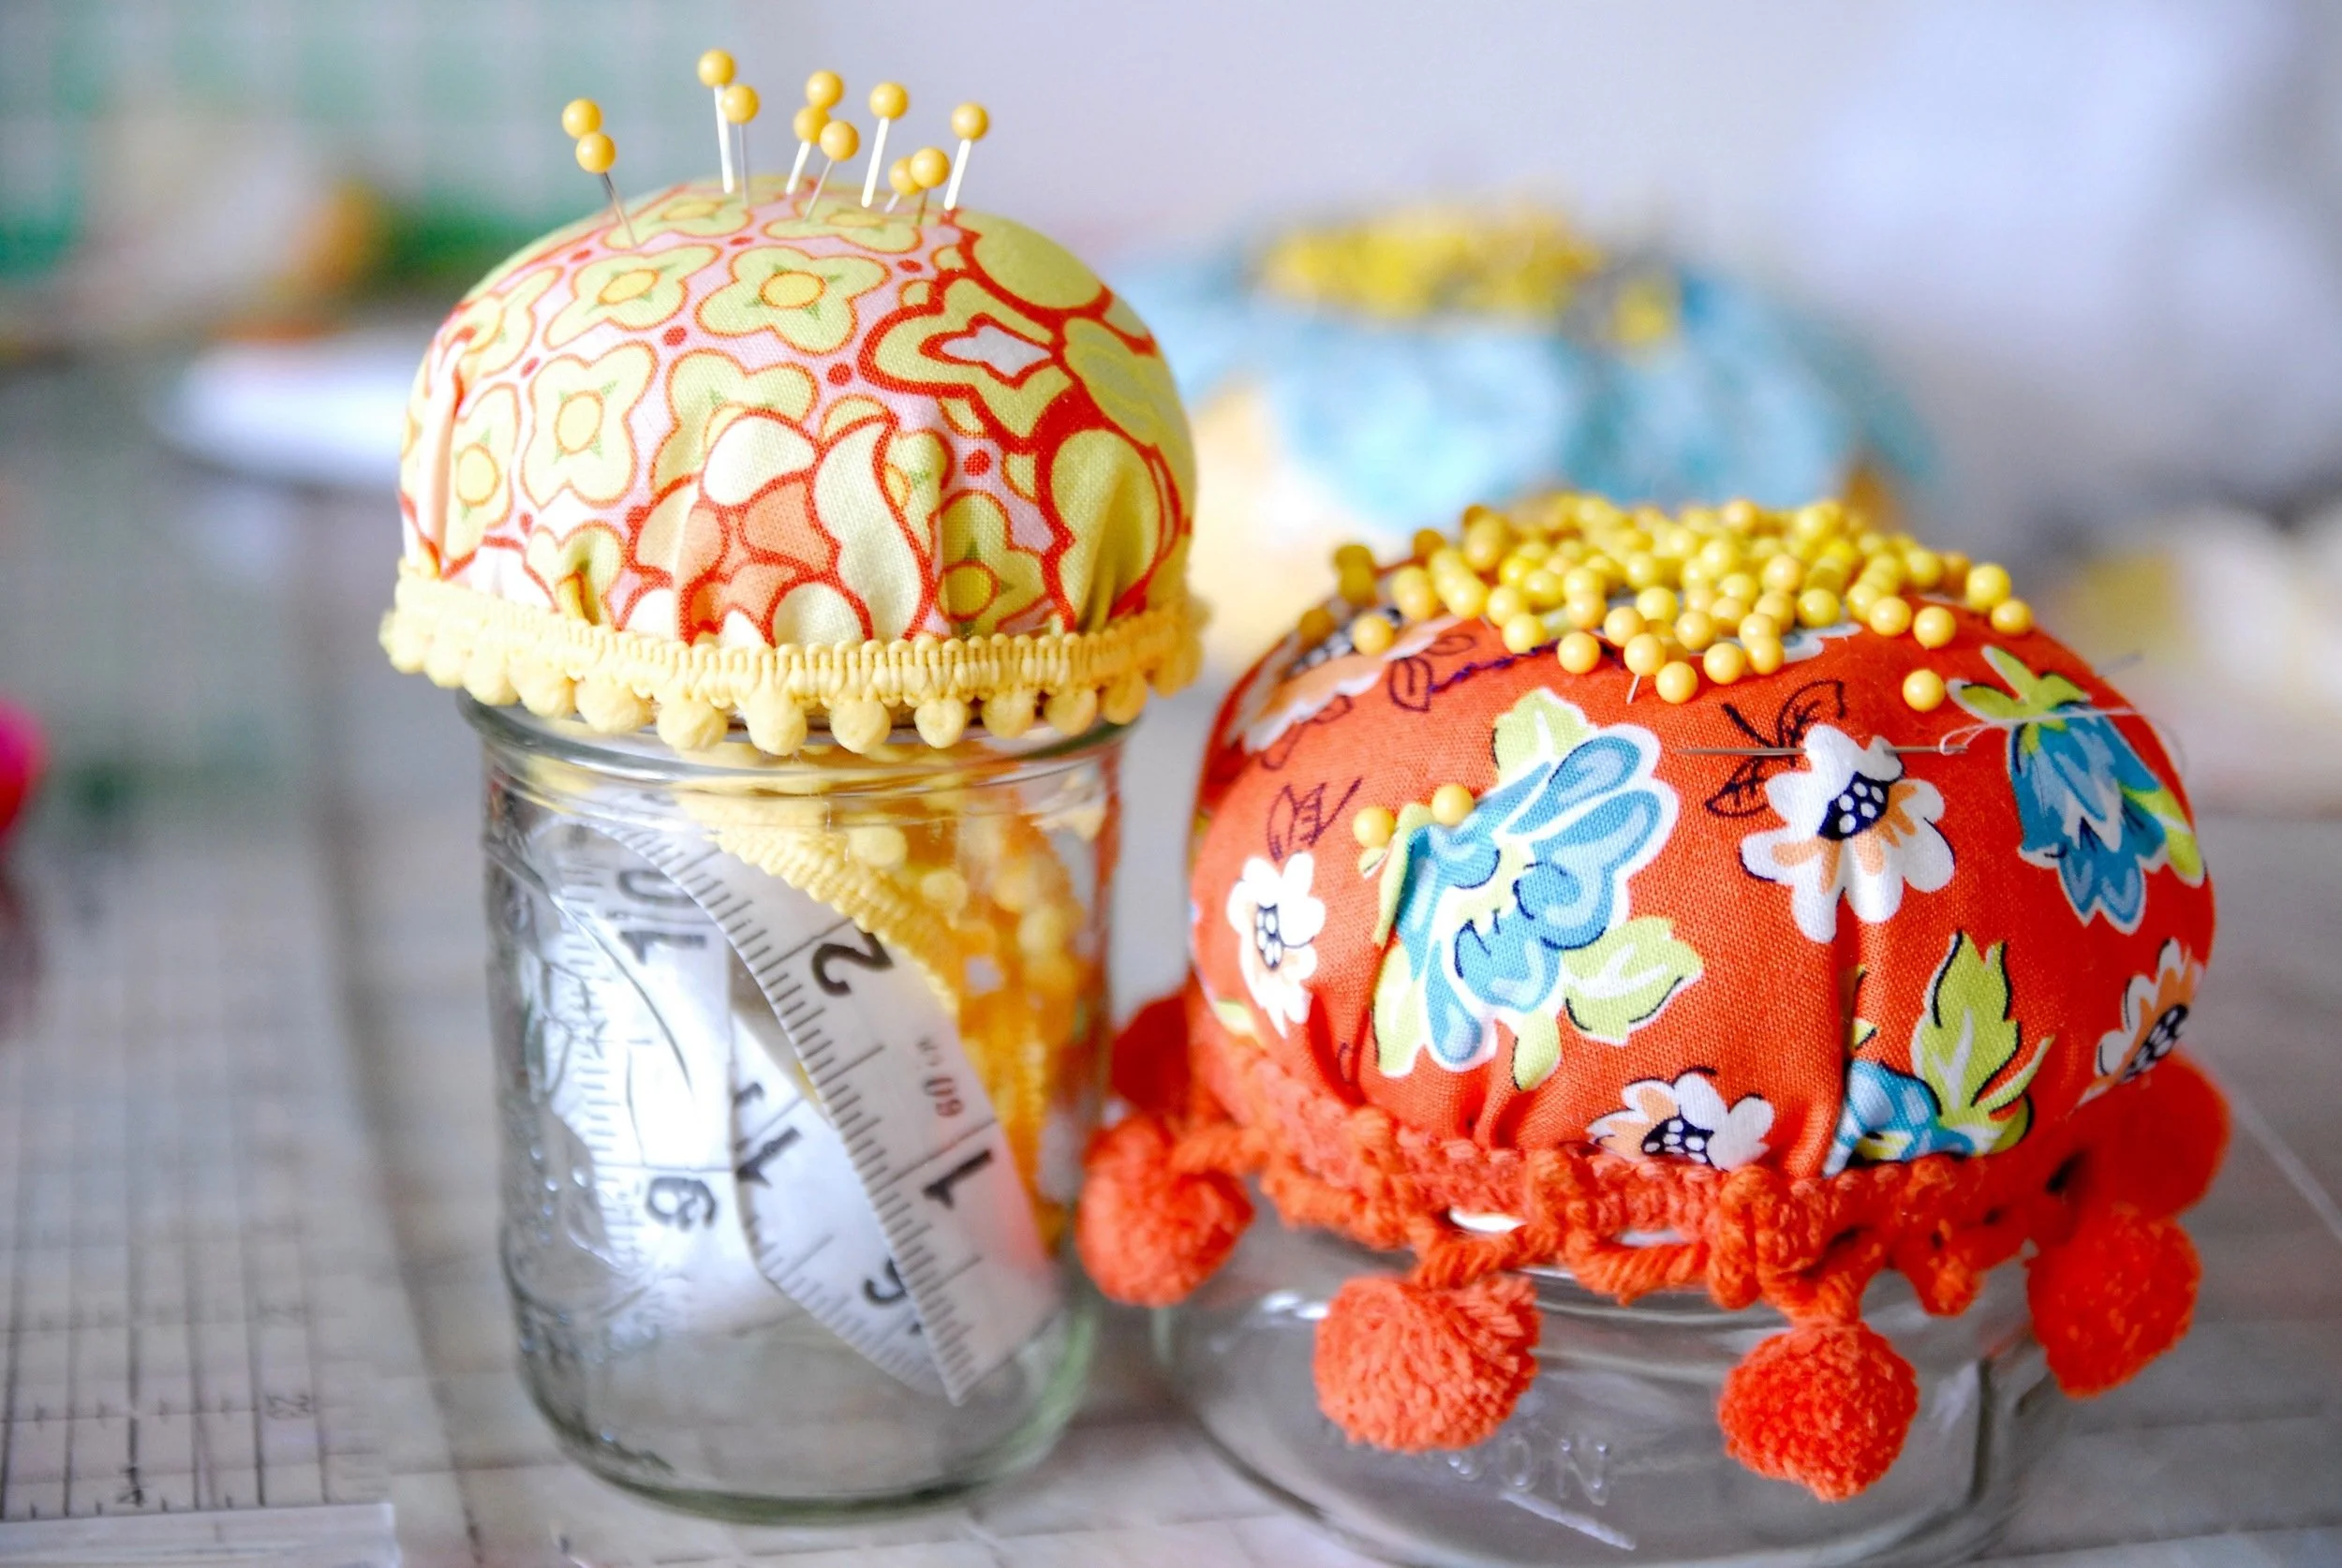
I found myself needed a few more pin cushions for sewing classes and decided to try making some with a few mason jars I had in the cupboard already. The fun thing about making pin cushions out of jars is that they can hold sewing accessories safely in the jar portion and become a travel sewing kit!
Today I’ll show you how to make an easy pin cushion out of any size jar, and you don’t even need a sewing machine! Yep, this is a hot glue project, with a tiny bit of hand sewing. Keep reading for the step by step mason jar pin cushion instructions with all of photos you need to make this simple project.
When making soft rag dolls, there are lots of options for how to make the hair! Some dolls have permanent hair dos that are sewn on, usually out of felt, and others have actual wigs made of yarn. The latter is what I’m sharing a tutorial for today — and I think you’ll be surprised at how easy to it to make yarn hair for rag dolls!
If you’re making a soft rag doll and are hung up on how to hand embroider the doll’s face, or even if you just need a quick run down on basic stitches, I hope this super simple video embroidery tutorial is helpful for you!
My teen daughter spotted a pink velvet flower shaped throw pillow in a photo somewhere recently and asked if I could make one for her room. Um, of course I could! I made her a velvet flower pillow AND THEN I went on to design a patchwork version using the fat quarters I’d just received from my Annie’s subscription. I loved how it turned it so much that I went ahead and perfected the pattern piece, filmed a tutorial for YouTube, and added the printable PDF pattern for these cute flower pillows to my shop, so you can learn how to sew a flower pillow too!
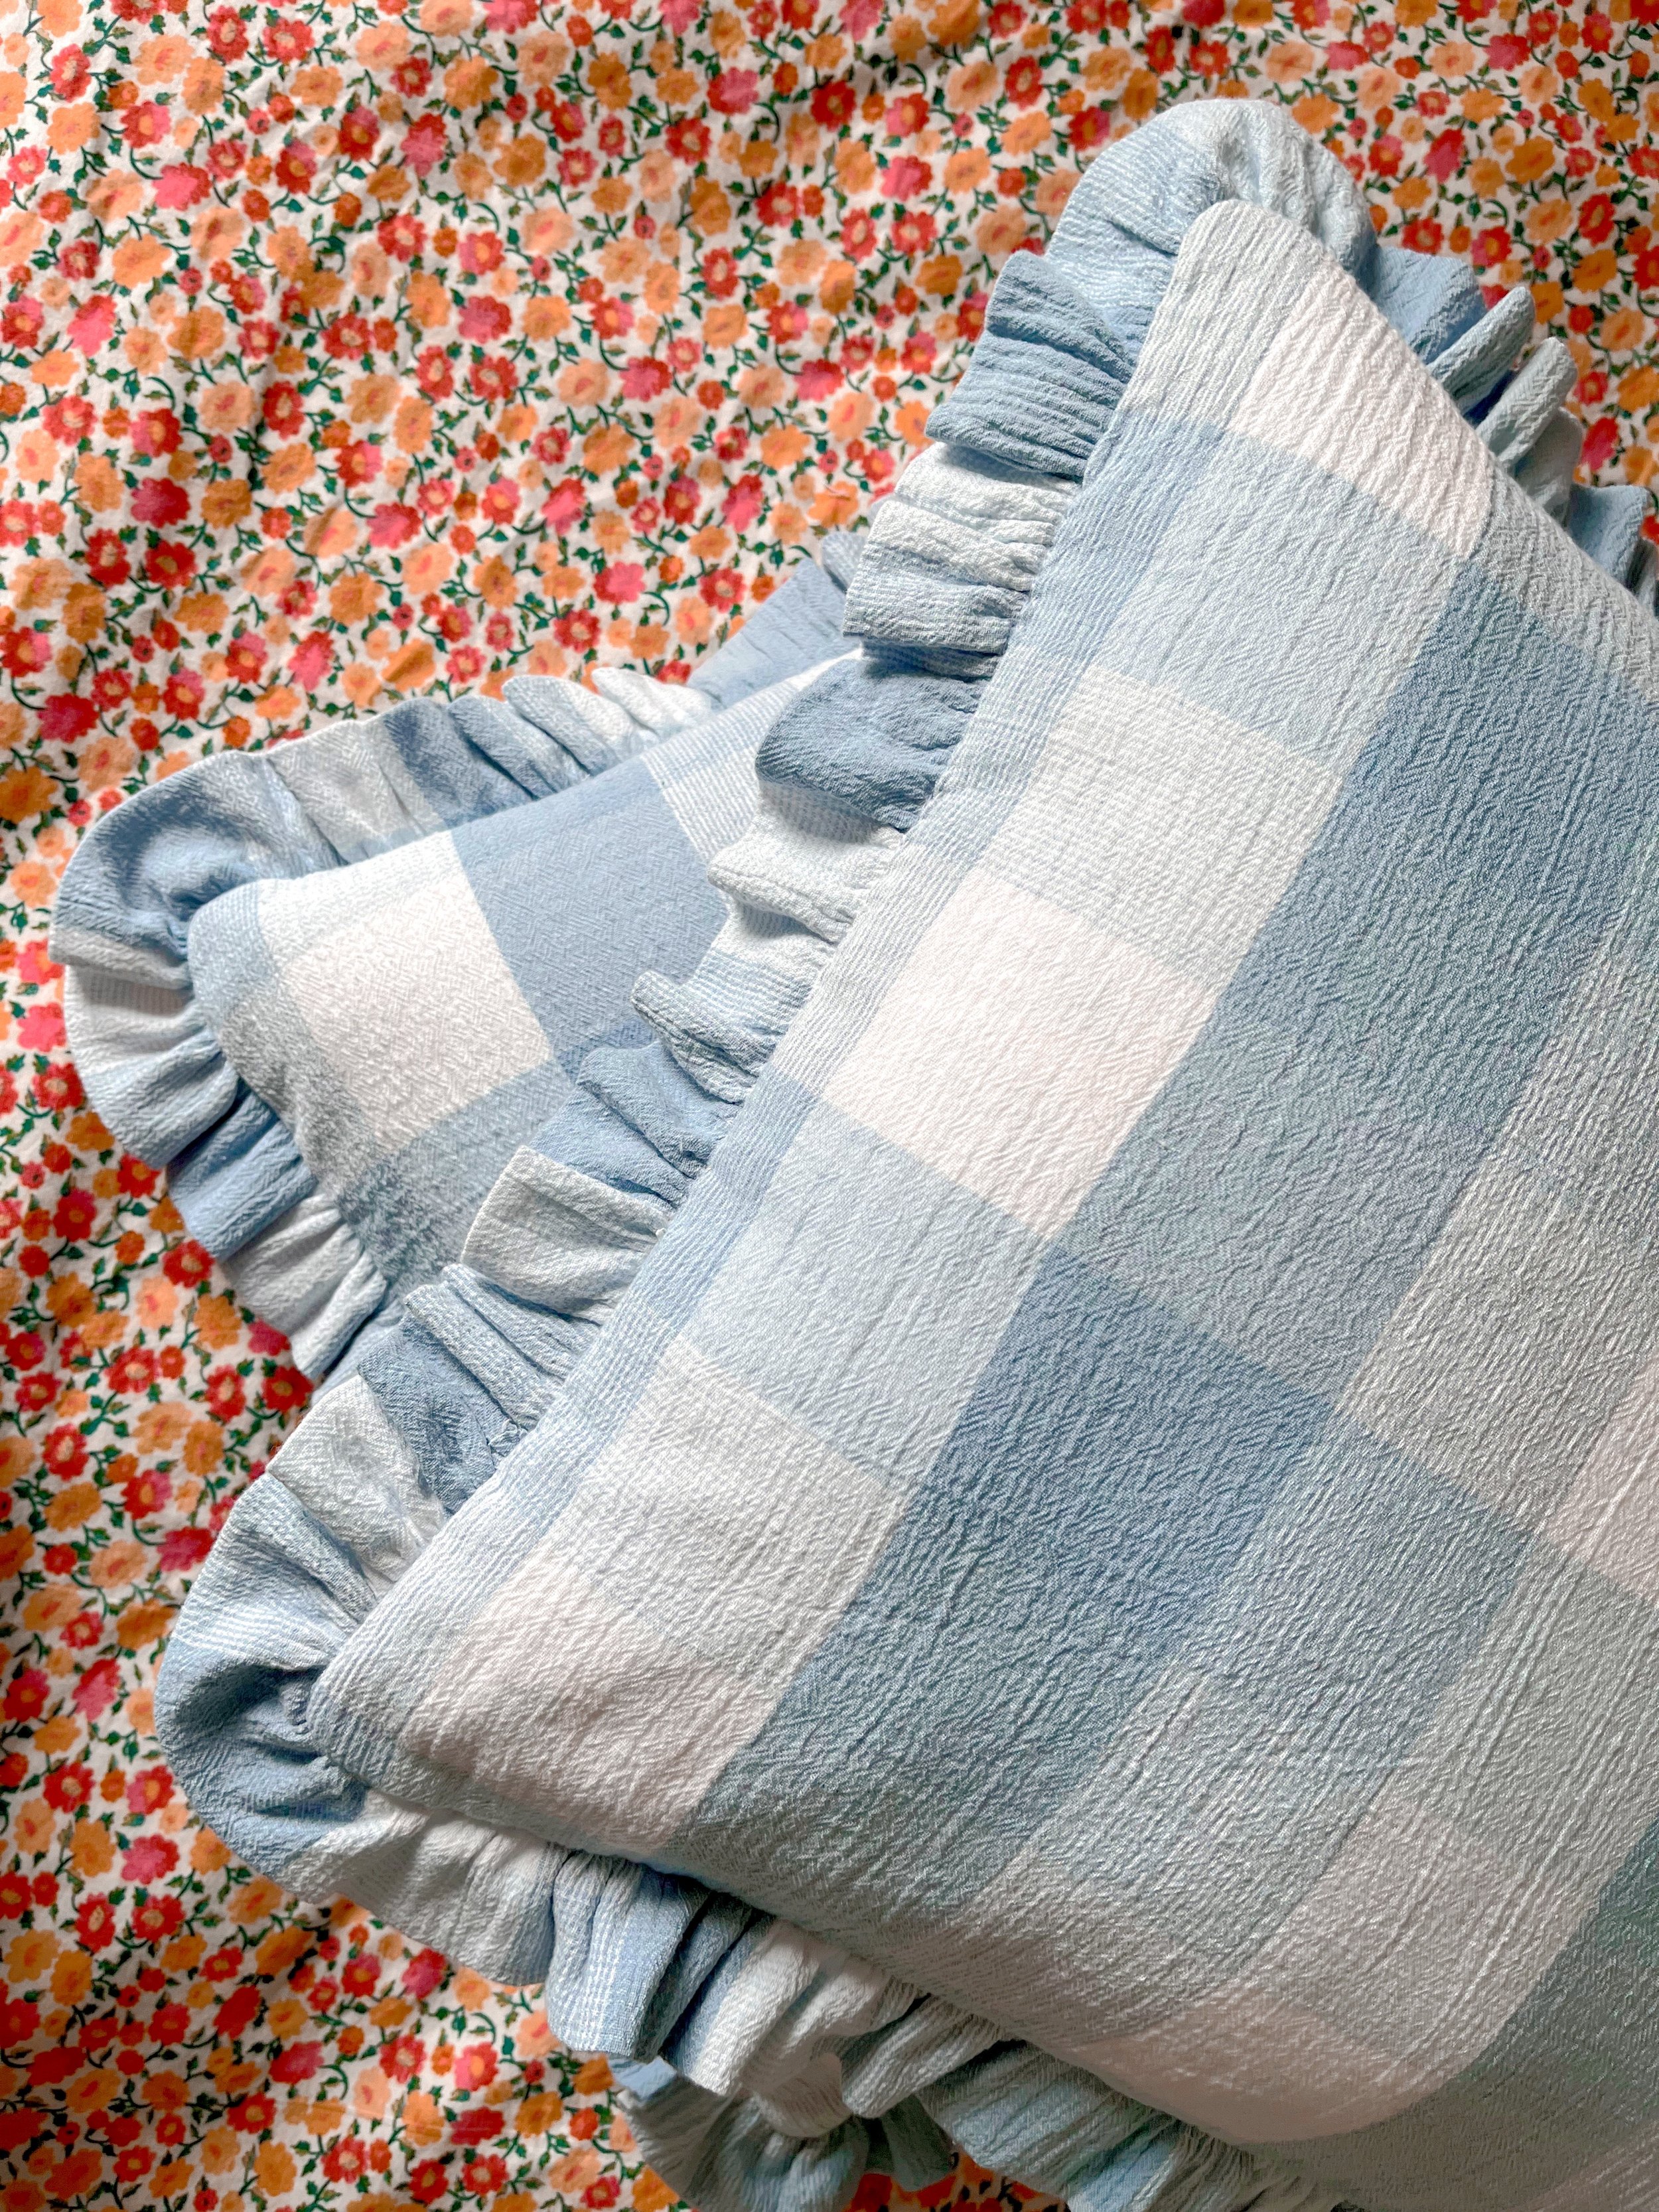
My oldest daughter has been redecorating her room a little bit and requested some fresh throw pillows! We went fabric shopping and chose a couple great fabrics that fit her color scheme and she ordered some pillow forms from Amazon and I got to work.
She wanted ruffled throw pillows, which I was happy to make because ruffles are just sew pretty in home decor! I’m so glad ruffles seem to be making a comeback. I’ve been pinning a lot of bedding looks lately and am very drawn toward ruffley gingham sheets and pillow cases. They’re so pretty.
Tote bags make a great beginner sewing project! They also make great handmade gifts, which is why I love to make them. Finding a beginner tutorial for them can be tricky, though. There are some amazing bag patterns out there, but if you just need the most basic tote bag tutorial, that can be harder to find.
I’m sharing with you today how to sew a basic tote bag (with inside pockets, of course!) from start to finish. This tutorial will walk you step by step through the bag sewing process, including those seemingly abstract boxed corners.
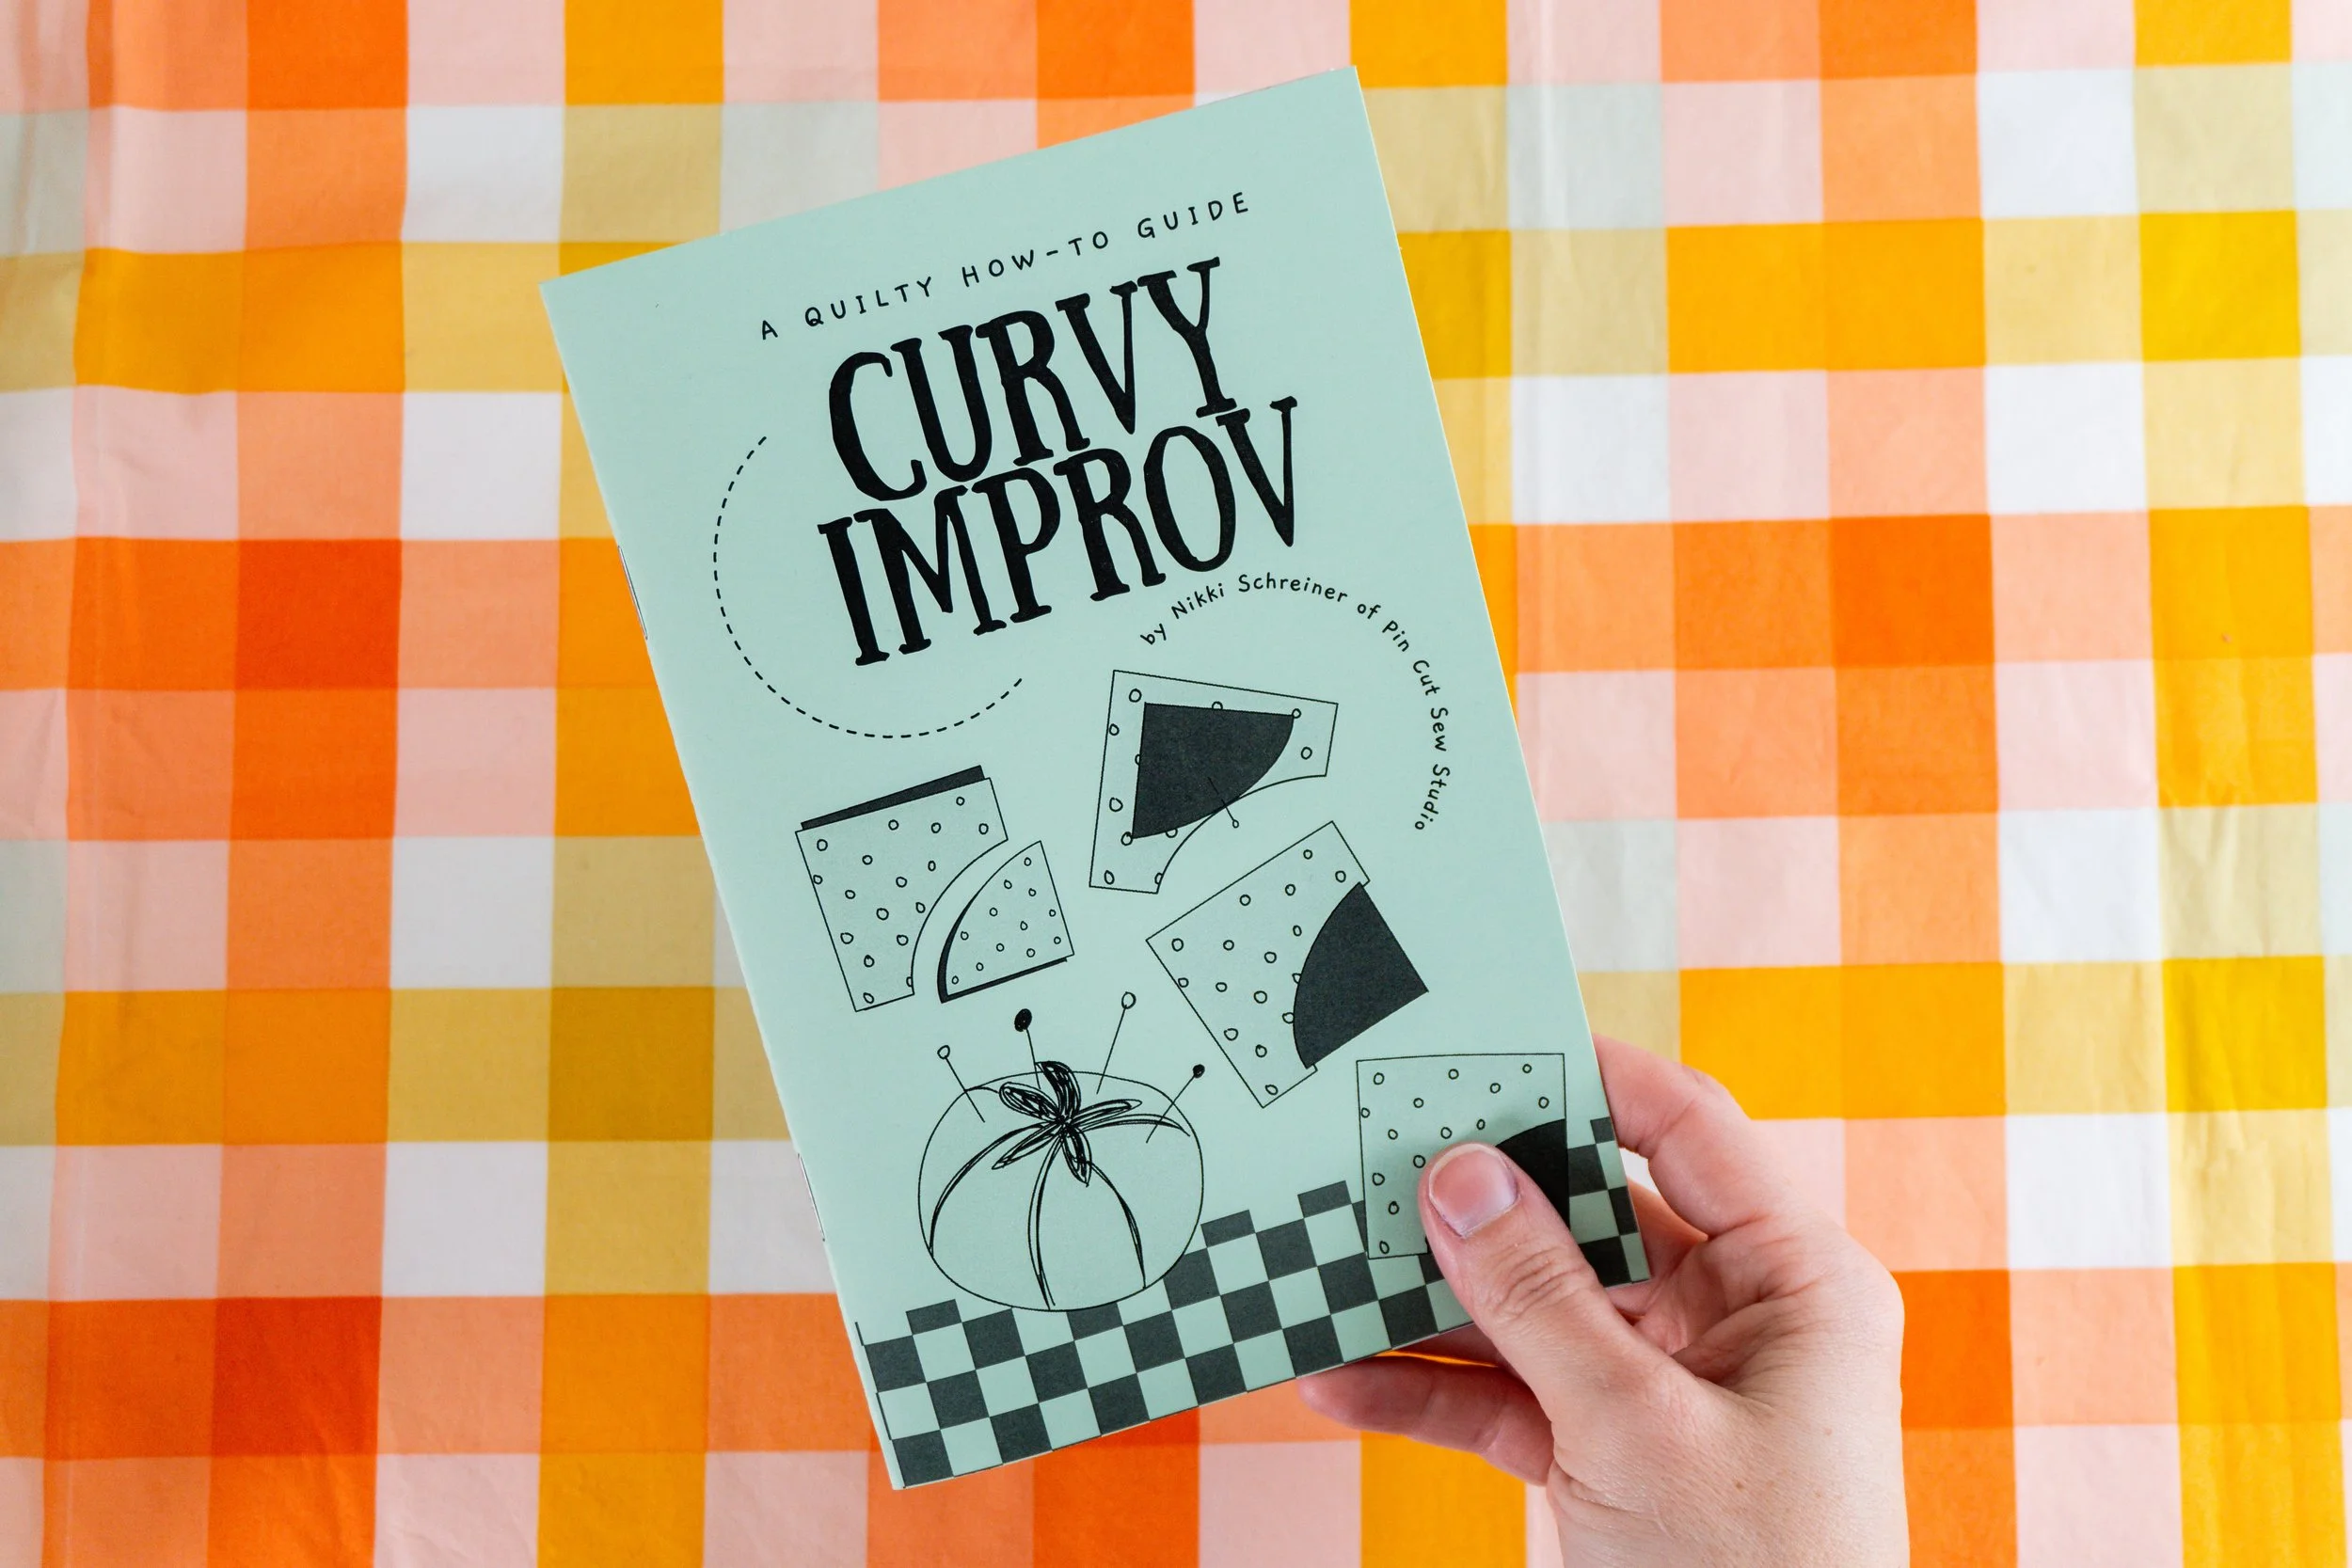
Meet Curvy Improv, the newest improv quilting how-to guide in my shop!
Learn to choose fabrics for your quilts with confidence!
Learn to sew a fun and fast improv table runner with this video tutorial.
You don't need a long armer to finish your quilts for you! Learn how to quilt large quilts on your regular home sewing machine.
The world is getting wonkier! I’m excited to tell you about my newest little booklet, Make it Wonky. In it, you’ll find instructions for making several different styles of quilt blocks the improv, wonky way. No need for straight lines, little precut pieces, or perfectly matched corners here — this is your sign to try quilting the liberated way.
Learn how to make improv house quilt blocks the wonky way with my new how-to guide and series of video tutorials
Learn to make HST in any size with a beginner friendly video tutorial, AND see a bunch or ways to arrange them into quilt blocks or even entire quilts!
Learn how to make easy crazy quilted pumpkin coasters, AND how crazy quilting can elevate any sewing project!
Bibs make such great handmade baby shower gifts! Elevate your bibs with this simple quilt-as-you tutorial.
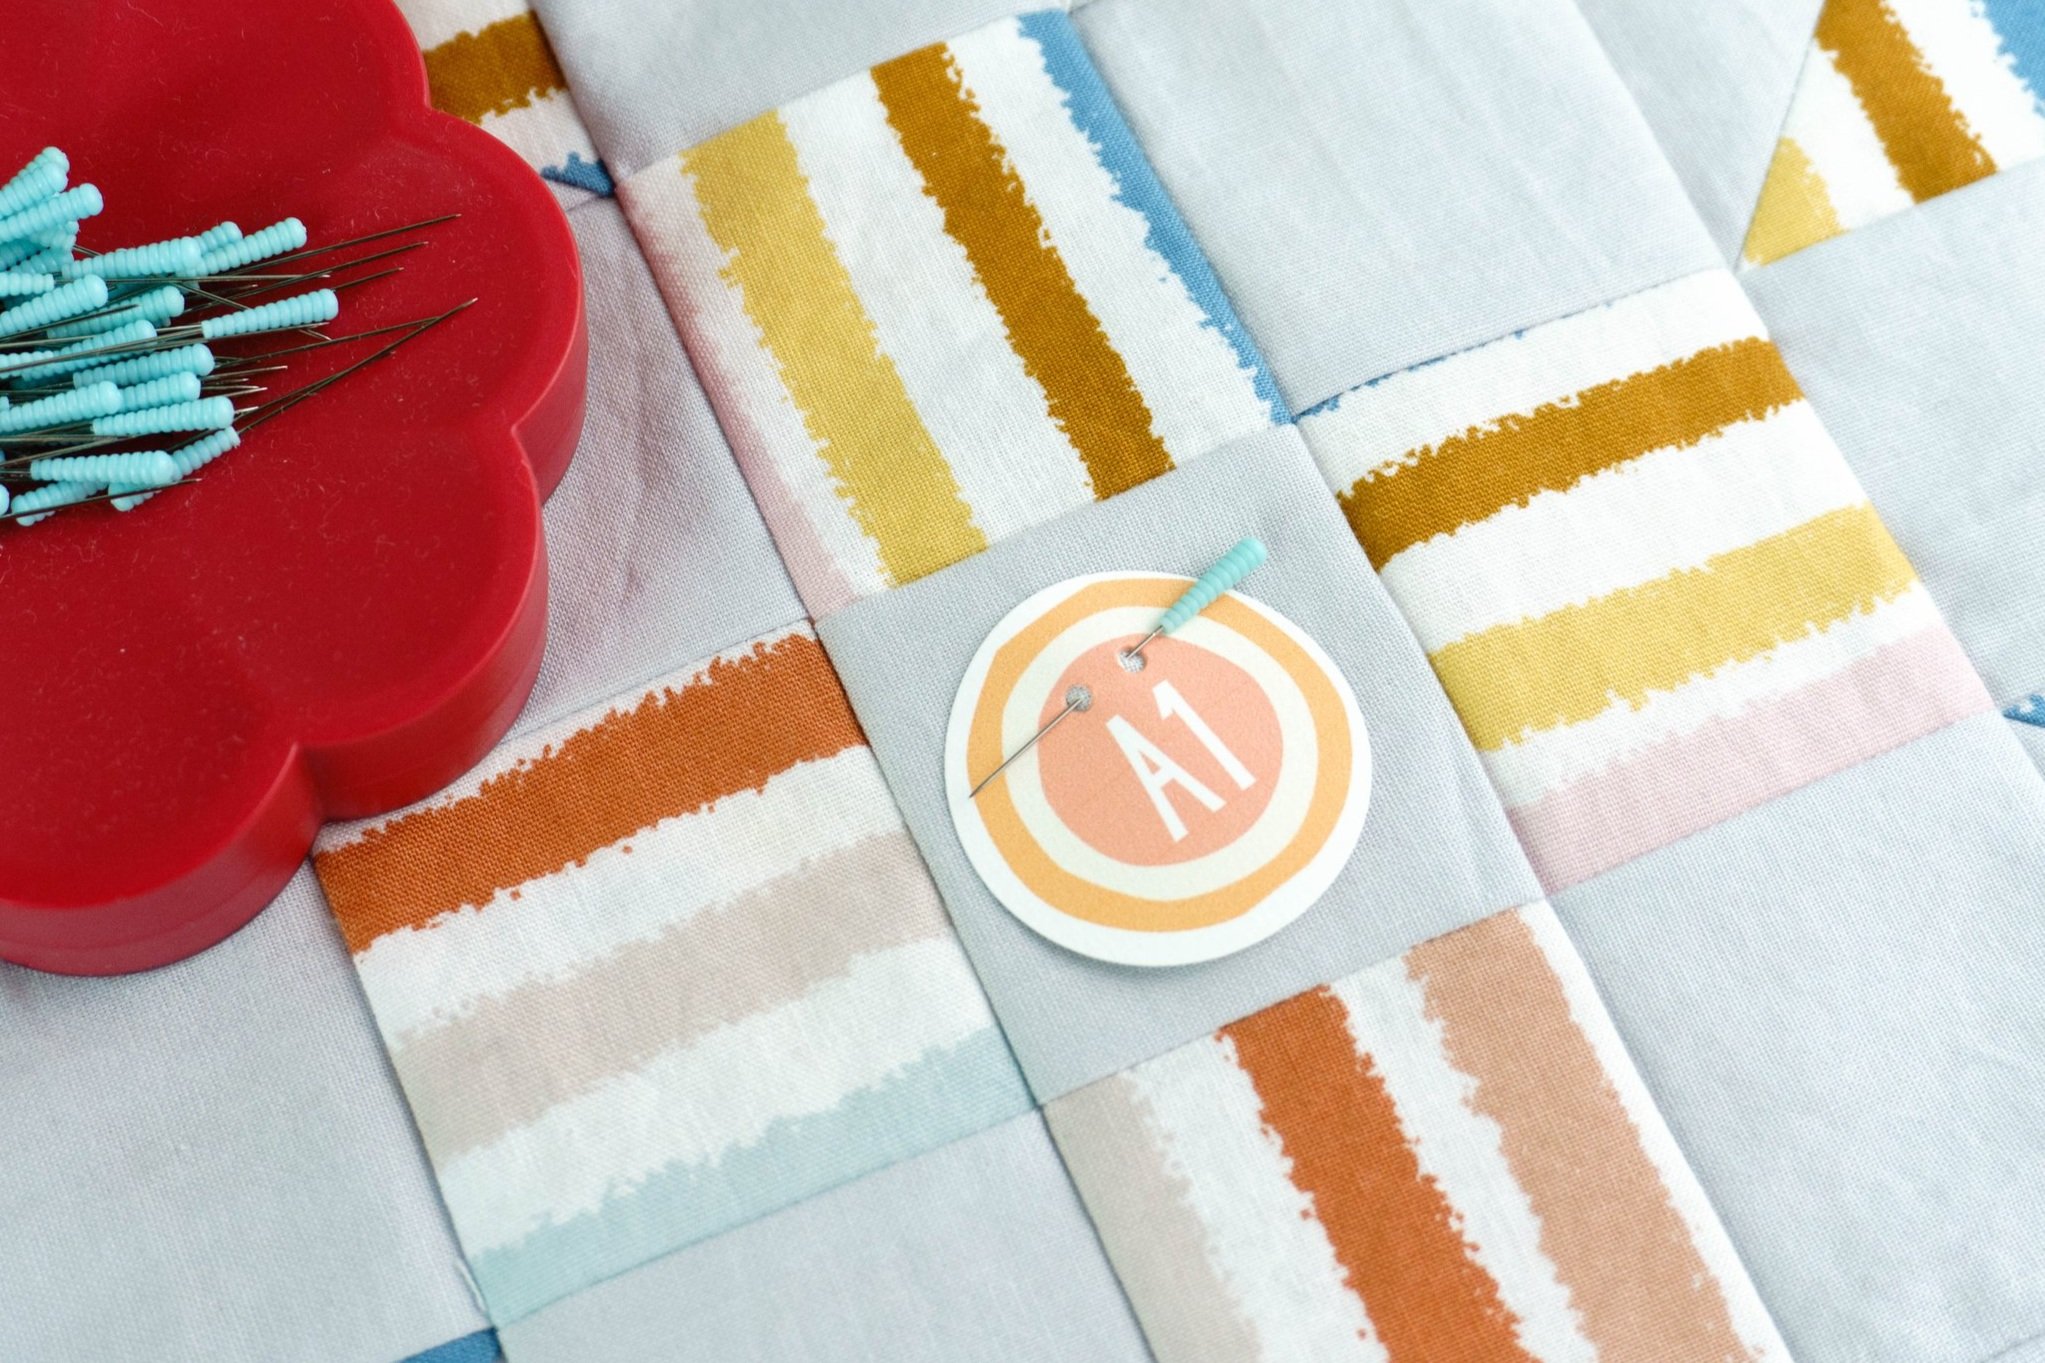
Print your own quilt markers and never get your blocks and rows sewn out of order again!
I recently had the MOST FUN making a mini quilt with words on it, so I just had to share it, along with a list of great pattern and book options for sewing your own alphabet letter quilt blocks.
Conquer your fear of free motion quilting with the tips and tricks in this video tutorial.
Is quilting an expensive hobby? It doesn’t have to be!
I’ve been trying to use up some fabrics in my stash (to make room for more, obviously), so I made a quick and easy baby quilt in a fun gingham design. This simple quilt is so easy to make and only requires three fabrics!
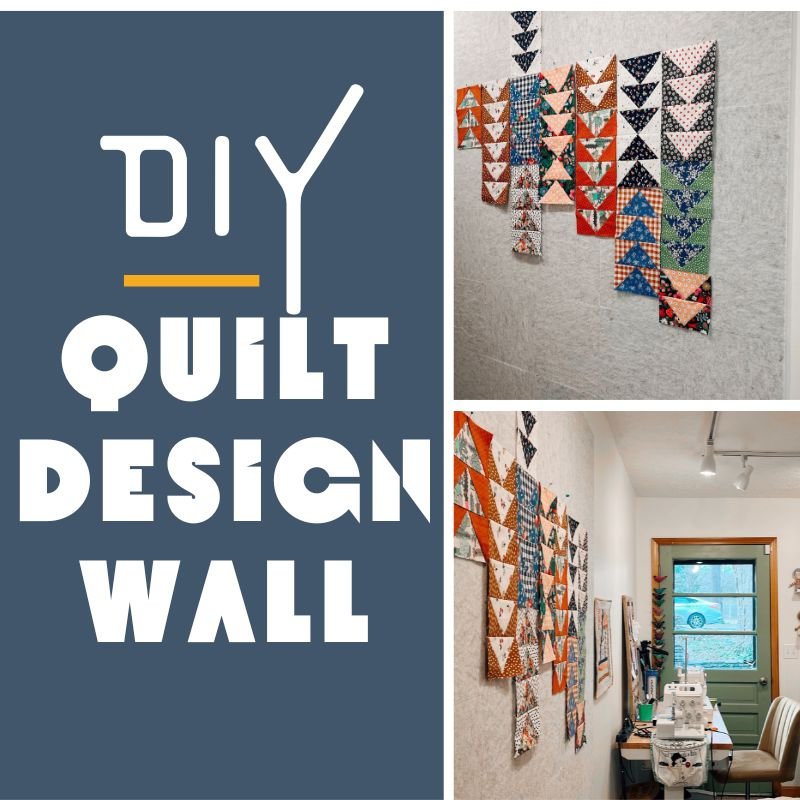
I recently got a bug in my bonnet telling me that I could really use a design wall for my scrappy quilt projects that I love to sort of let come together as I go. In past homes, with large sewing rooms, I just did this kind of thing on the floor, but in my current very small sewing room, I don’t have that kind of space on the floor, but I DO have a perfect empty wall!
A few years ago, I created a tutorial for how to sew an oversized hot pad and it’s one of my most popular videos to date — mostly because of my fuss free method of quilt binding!
That tutorial teaches the quilt binding method that I’ve always used, so I really didn’t know how many people were struggling with other, more fussy methods of binding their quilts. After receiving sooooo many comments about this genius of this method, I knew I had to share a separate tutorial just for my brilliant binding method!
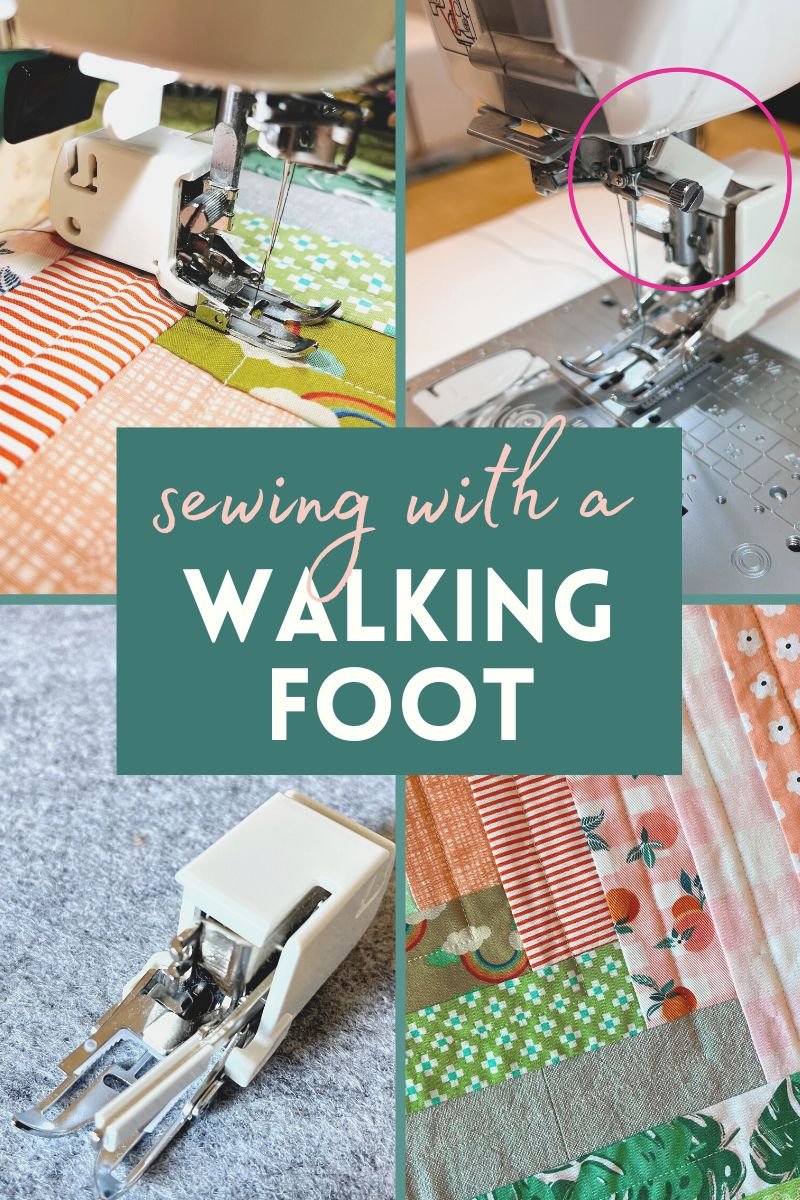
I recently highlighted some sewing tools I’m a huge fan of, one of them being a walking foot attachment for my sewing machine. Since this is such an essential tool for me, I was so surprised at how many comments I received from people who either had one and had no idea what it was for up until that point, or people who had never even heard of one!
One of the categories I intend to add quite a bit of content to at Pin Cut Sew this year is quilting tutorials! Quilting has always been the most relaxing, therapeutic form of sewing for me, so I look forward to posting several accessible, stress free quilting articles and videos here in the coming months.
For the last two years, I’ve written a post here with ten great quilt block of the month clubs you can join for the following year. I try to squeeze this post in between Christmas and New Years so you have some time to get ready! These posts continue to be among my most popular each year that I’ve written them, so I wanted to make sure I round up the best BOM quilt options for 2023!
I’m a huge fan of freestyle quilting! I love to improvise and pull out scraps and make a big mess and just sort of wing it. Give me a list of 100 shapes to cut before I can even start my quilt and I’m out, haha. But give me freedom to make something up as I go along, and call it wonky? I’m so in!
The first quilt I ever made was an improv quilt! It was a scrappy, wonky house quilt backed with flannel and up until my toddler son got into some paint and painted the basement family room with it, including said quilt, it was one of the coziest too.
I’m here to chat about improv quilting today; what it is, how to get started, and project ideas!
I’ve made a couple of fun pineapple block mini quilts and thought I’d share those today, along with a little round up of great pineapple quilt patterns! Traditionally, a “pineapple quilt block” refers to a particular quilt block style that’s a variation of a courthouse steps block, and tends to give off spikey pineapple vibes. But this list of pineapple quilt patterns will be patterns for actual pineapple blocks, in the literal fruit sense!
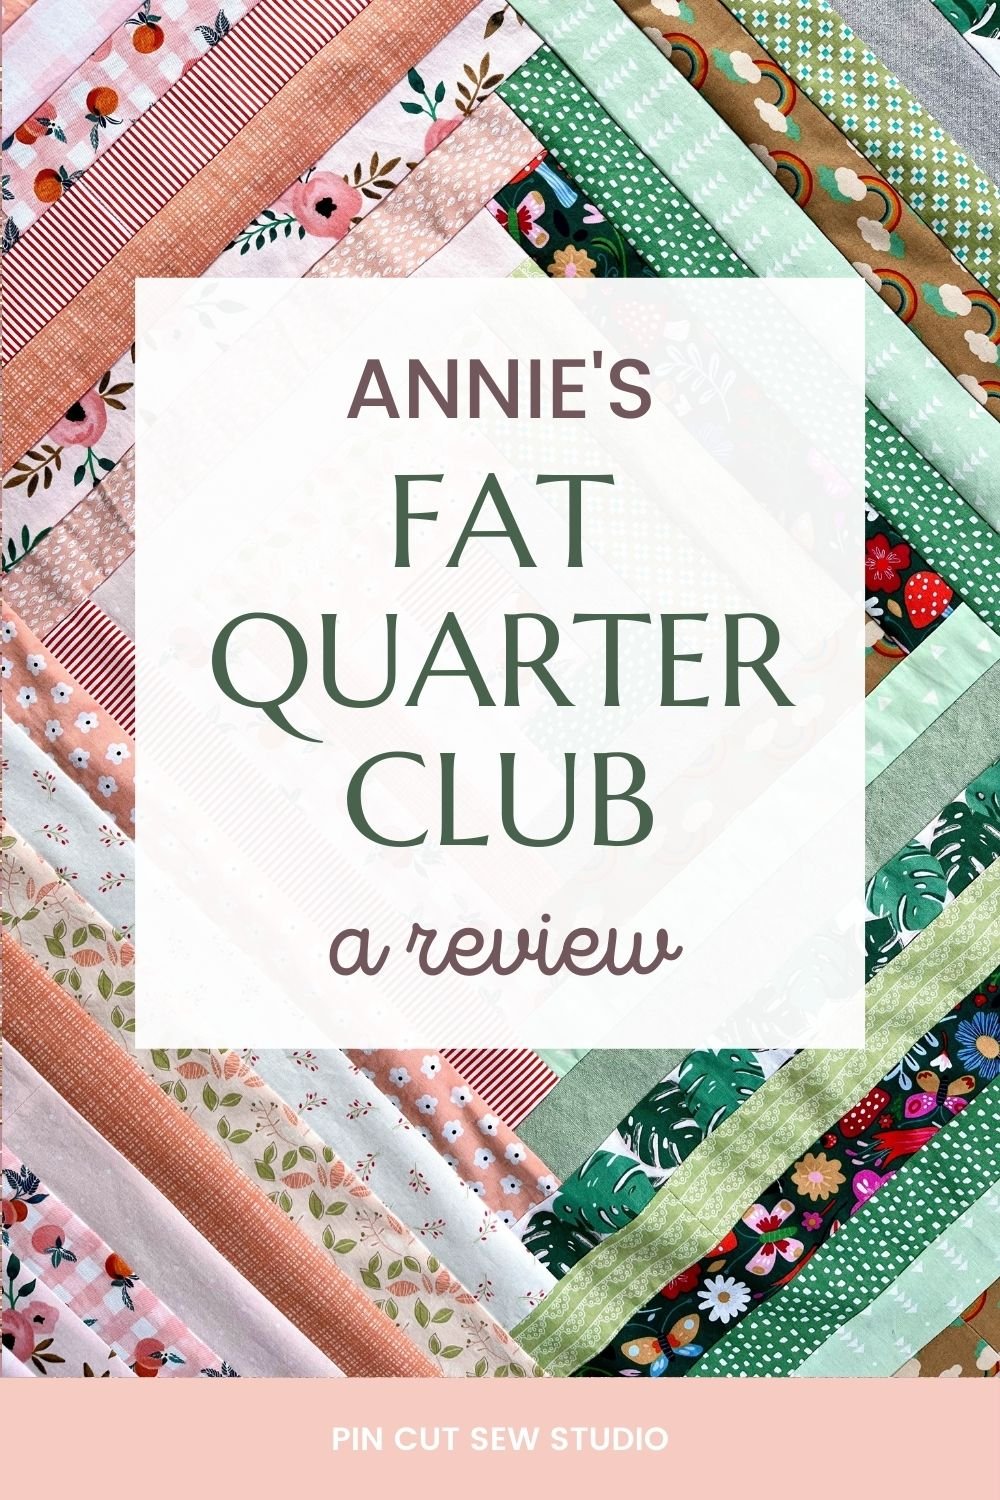
Surprise fabric in the mail every month?? Yes please, sign me up!
I’ll be real honest and say that I signed up for Annie’s fat quarter club because I became an affiliate for Annie’s and I wanted to see if this was something that was worth recommending to you. I 100% expected to receive fabrics that I did not like and would never use. I thought I’d keep it for a couple months and then quit.
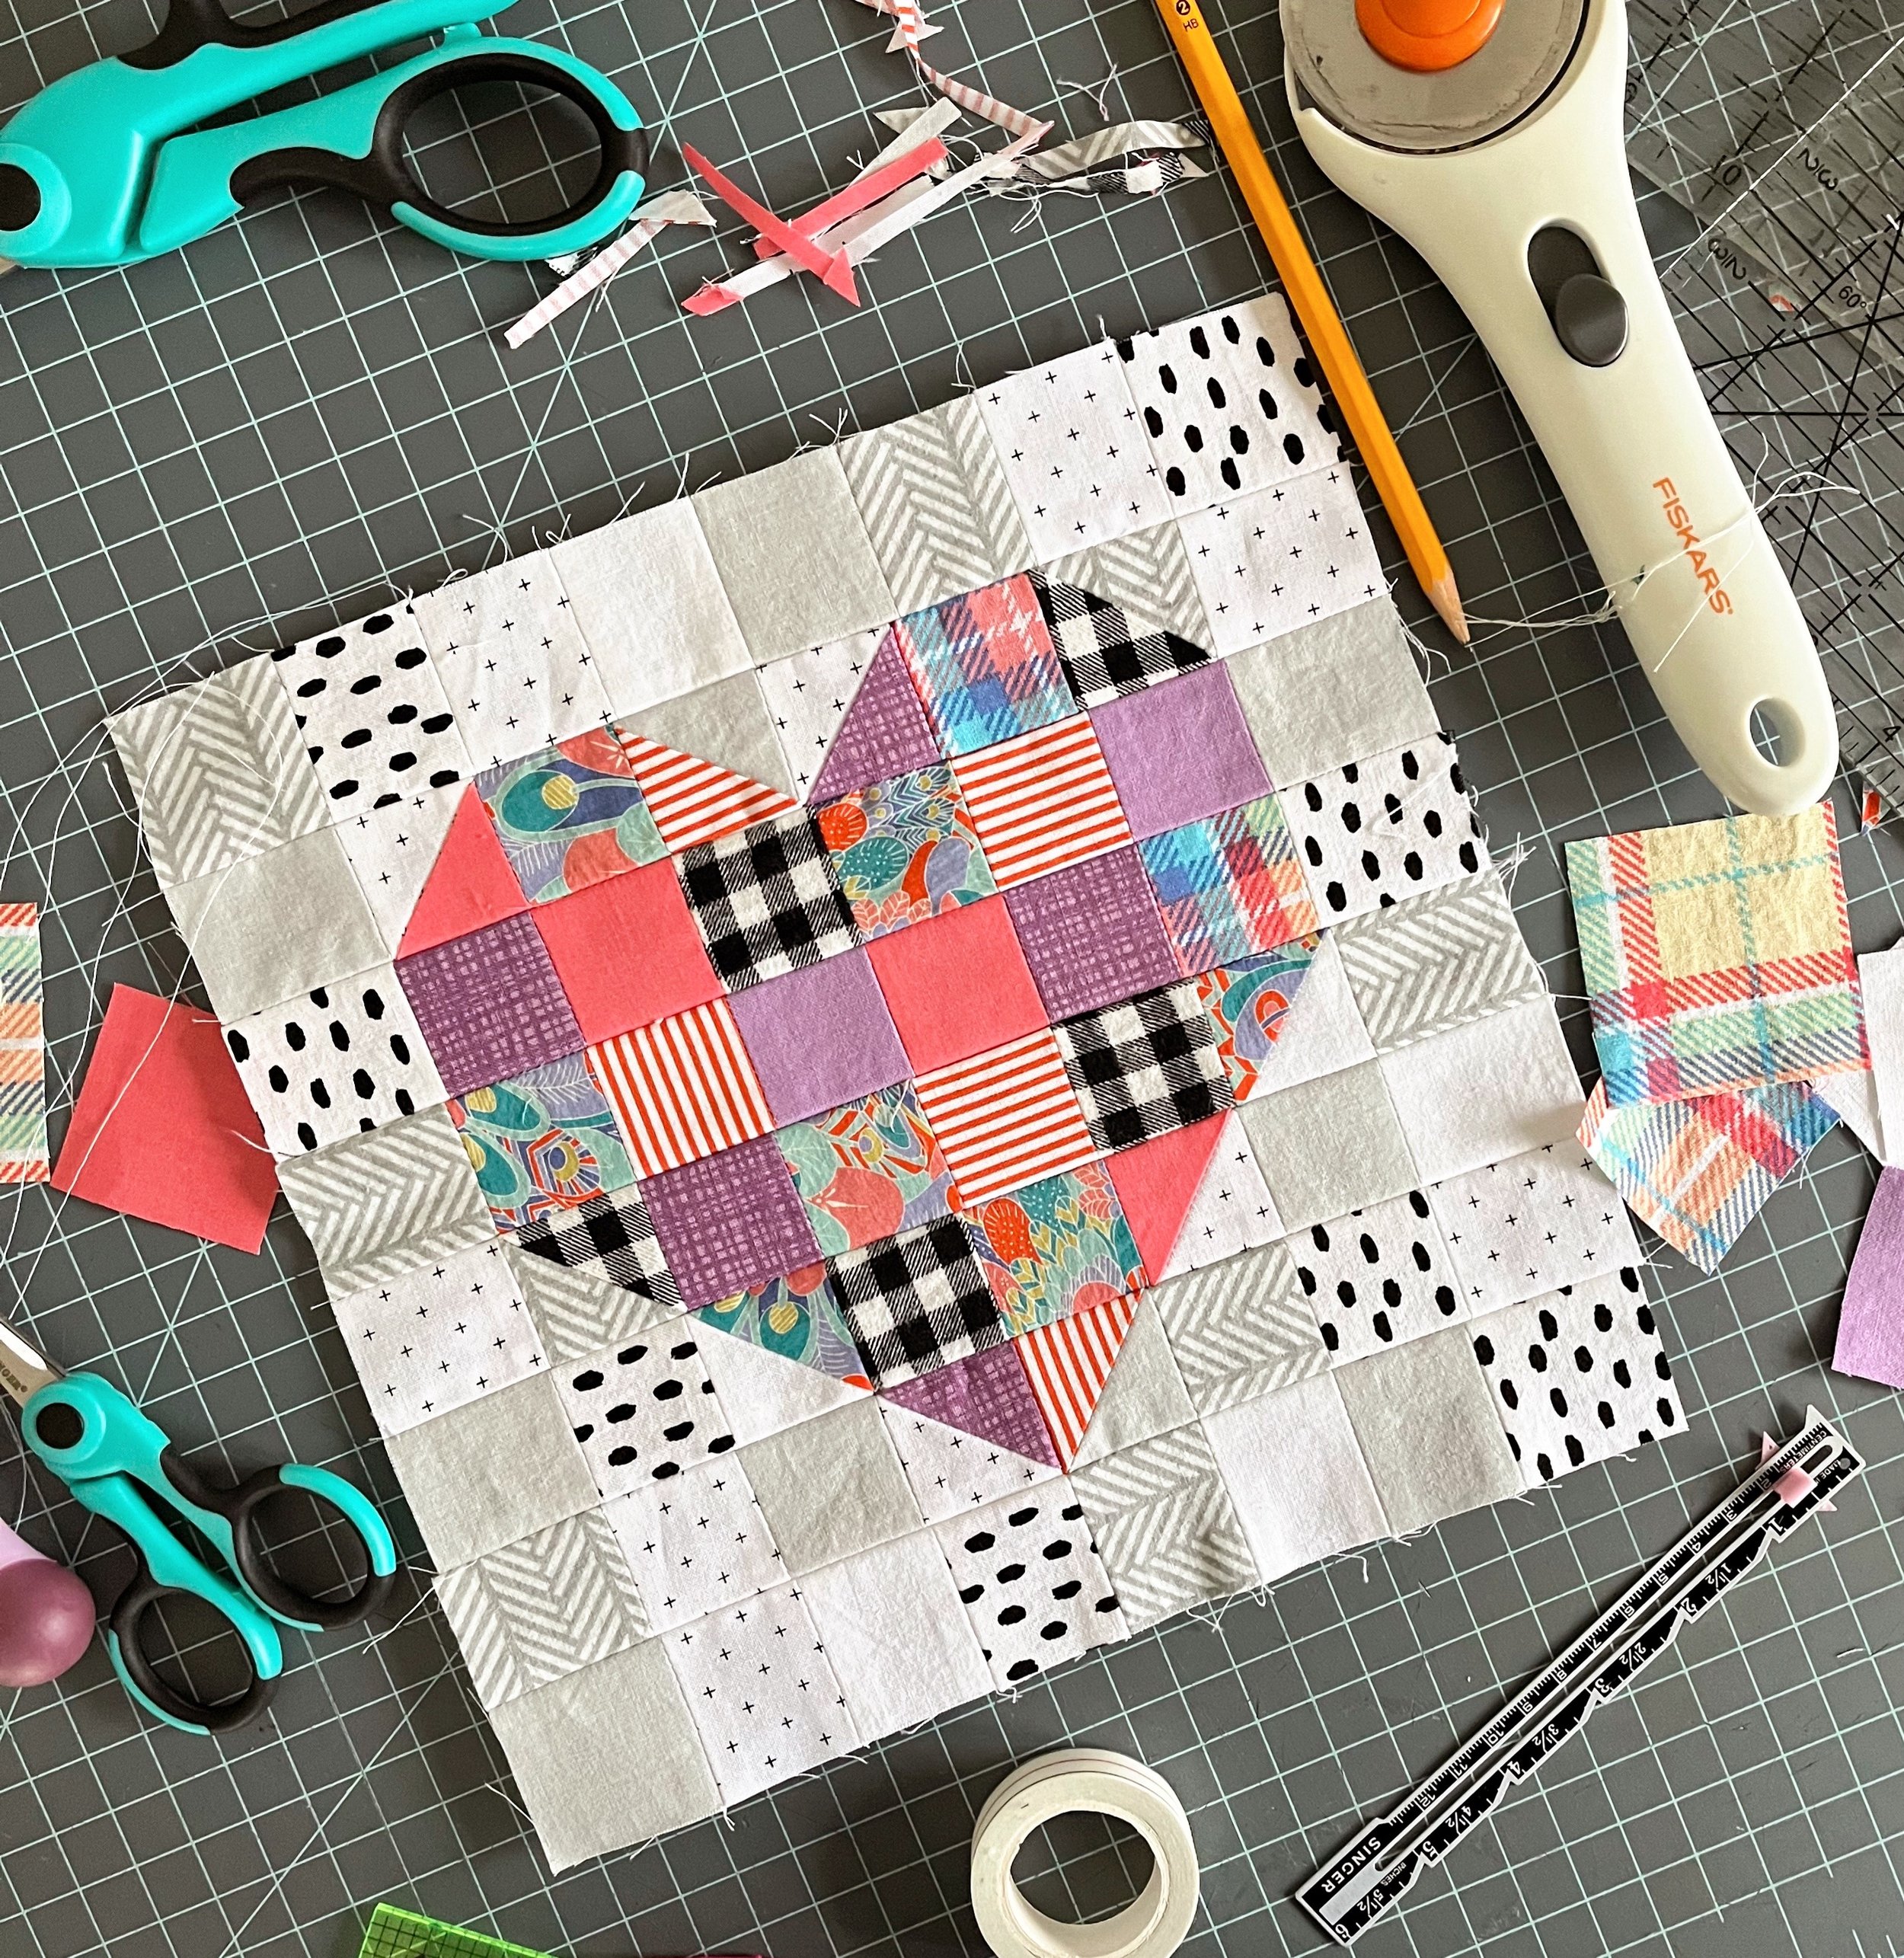
I got the quilting bug recently and really wanted to make something for the Valentines season that I could share with you here too. I came up with a simple heart quilt block incorporating scraps of fabric. I turned my first version into fun mini quilt to hang up in my sewing room, but I’m planning to turn my second version into a pillow. It’s in the prettiest pinks and purples, so it will look so cute on the comfy chair in my sewing room.
Quilting doesn’t take any difficult skills, I promise! If you can use a sewing machine, you can make a quilt. In this tutorial, you’ll learn to make half square triangles, which is a common technique in quilting. Once you learn that, you can make so many different blocks! All those star blocks you see in quilts use half square triangles.
One of my most visited blog posts last year was my list of 10 quilt block of the month clubs you could join in on, so it was a no brainer to write a similar post for 2022. I had an even easier time this year finding Block of the Month opportunities, so I hope you’ll find something here to join in on! It’s still only January, so now’s the right time to pick one and get started.
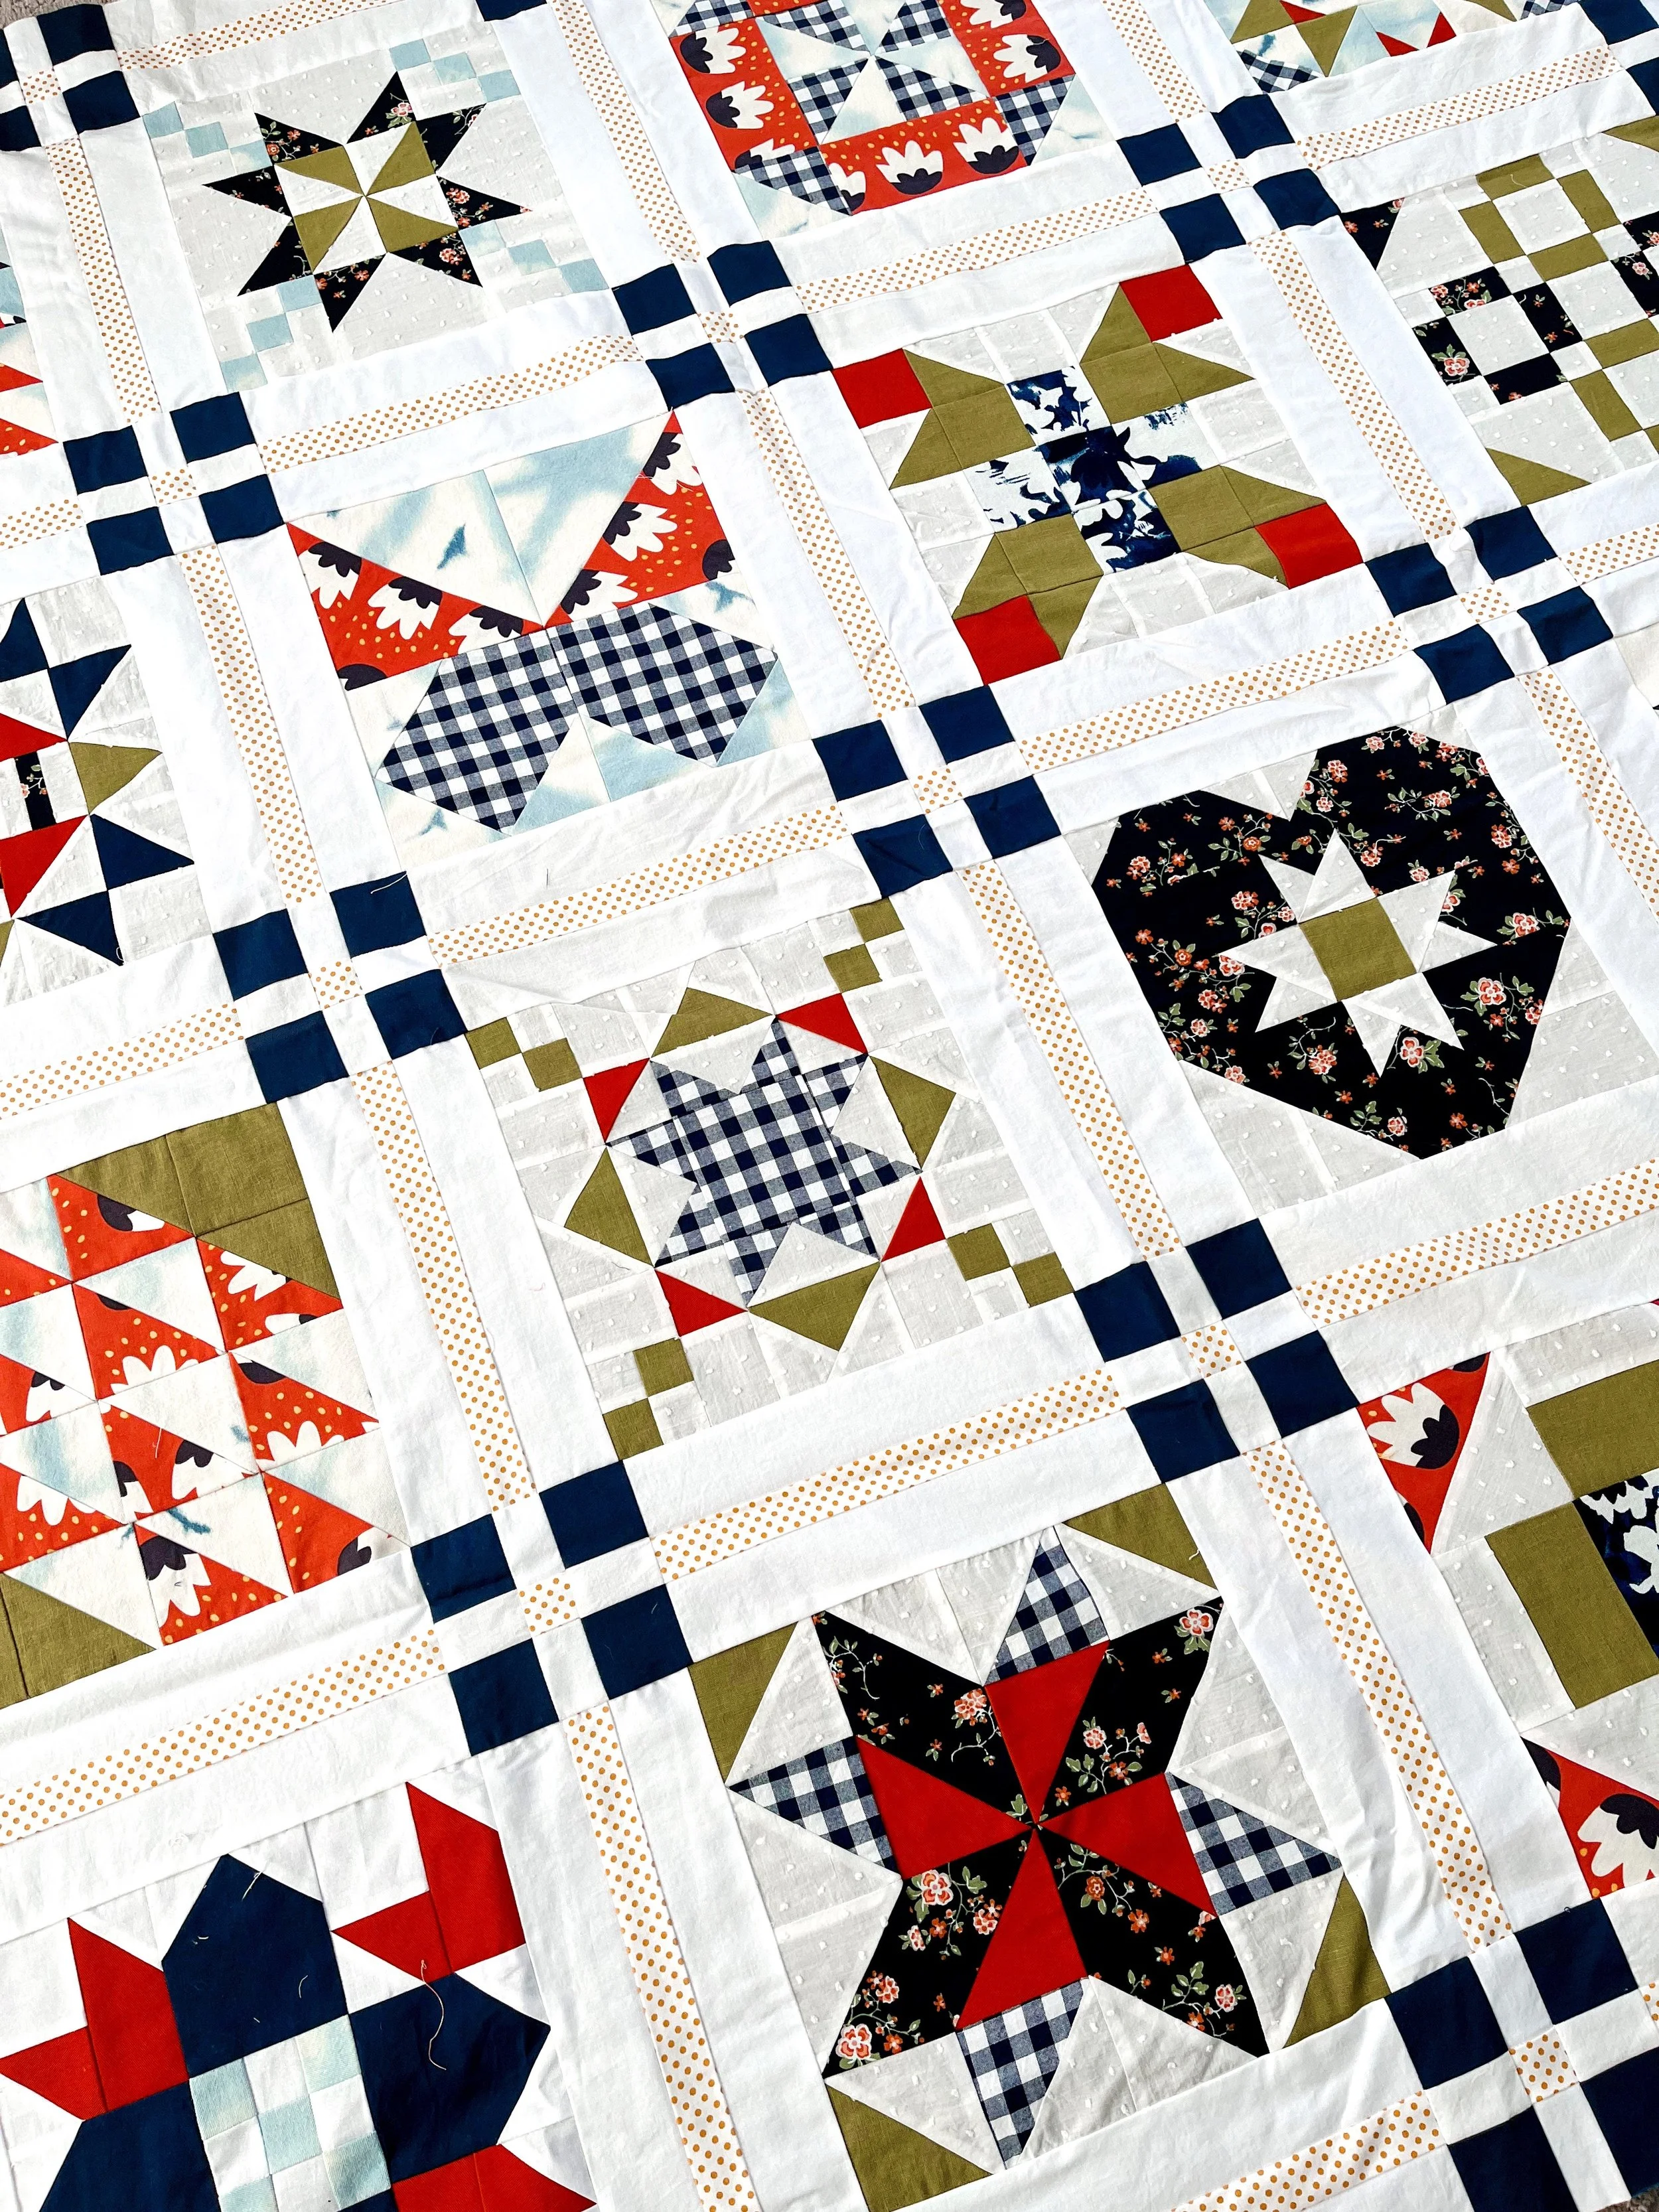
A Block of the Month club usually works like this: A quilt designer releases a set of quilt block patterns, one block at a time over the course of a year. So at the end of the year, you’ll have enough blocks to put a quilt together! The blocks are usually kept a secret until each month’s release, and I find that very fun. I love not knowing what the whole thing will look like until it all comes together! At the end, usually the designer or website will have several ideas for putting the quilt together with instructions for adding sashing, finishing, etc …
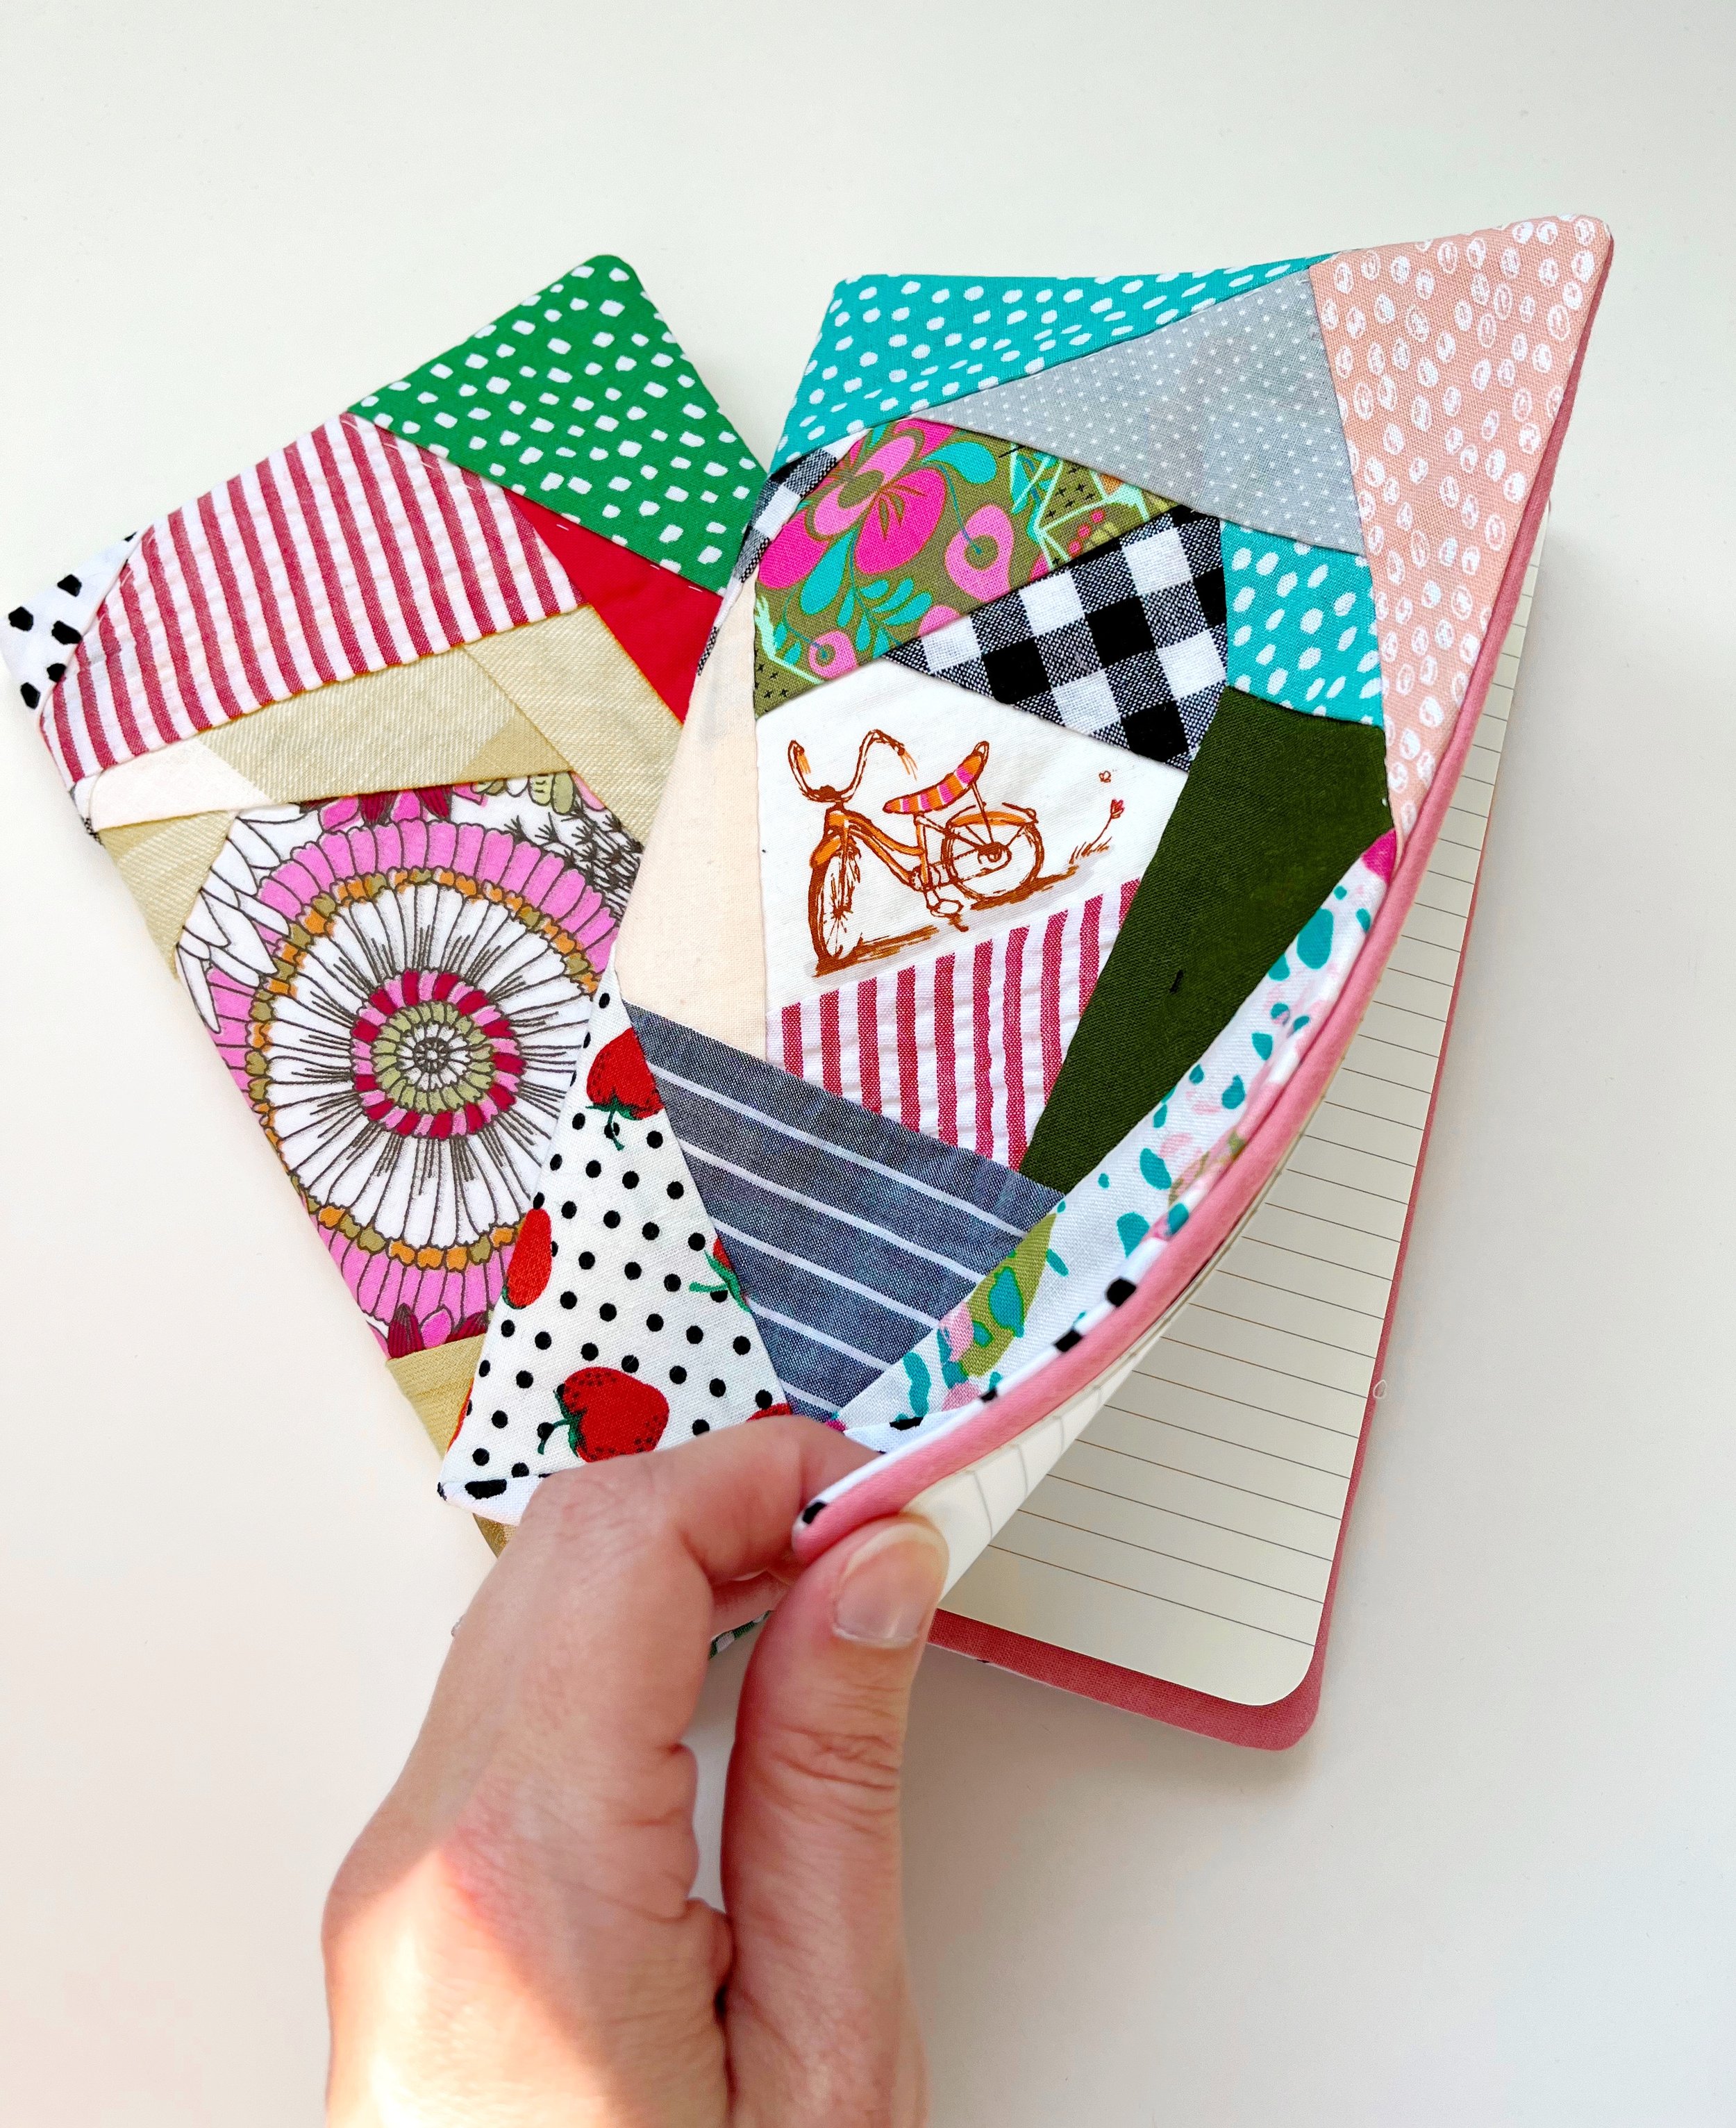
I’ve been using the basic brown Moleskine Cahier Notebooks for many years. I’m a big fan! I like that they’re small and lightweight, the lines are the perfect distance apart, and best of all, the covers are a blank slate, easy to decorate or embellish!
I’ve given these notebooks as gifts with pretty art or quotes Mod Podged to the front, but I recently came up with the more reusable idea of sewing up some simple journal covers for them! These covers turned out so sweet, were very easy to make, and were a great way to use some single quilt blocks I had lying around. I can see myself making these for Christmas gifts next year, with a Moleskine journal included, of course.
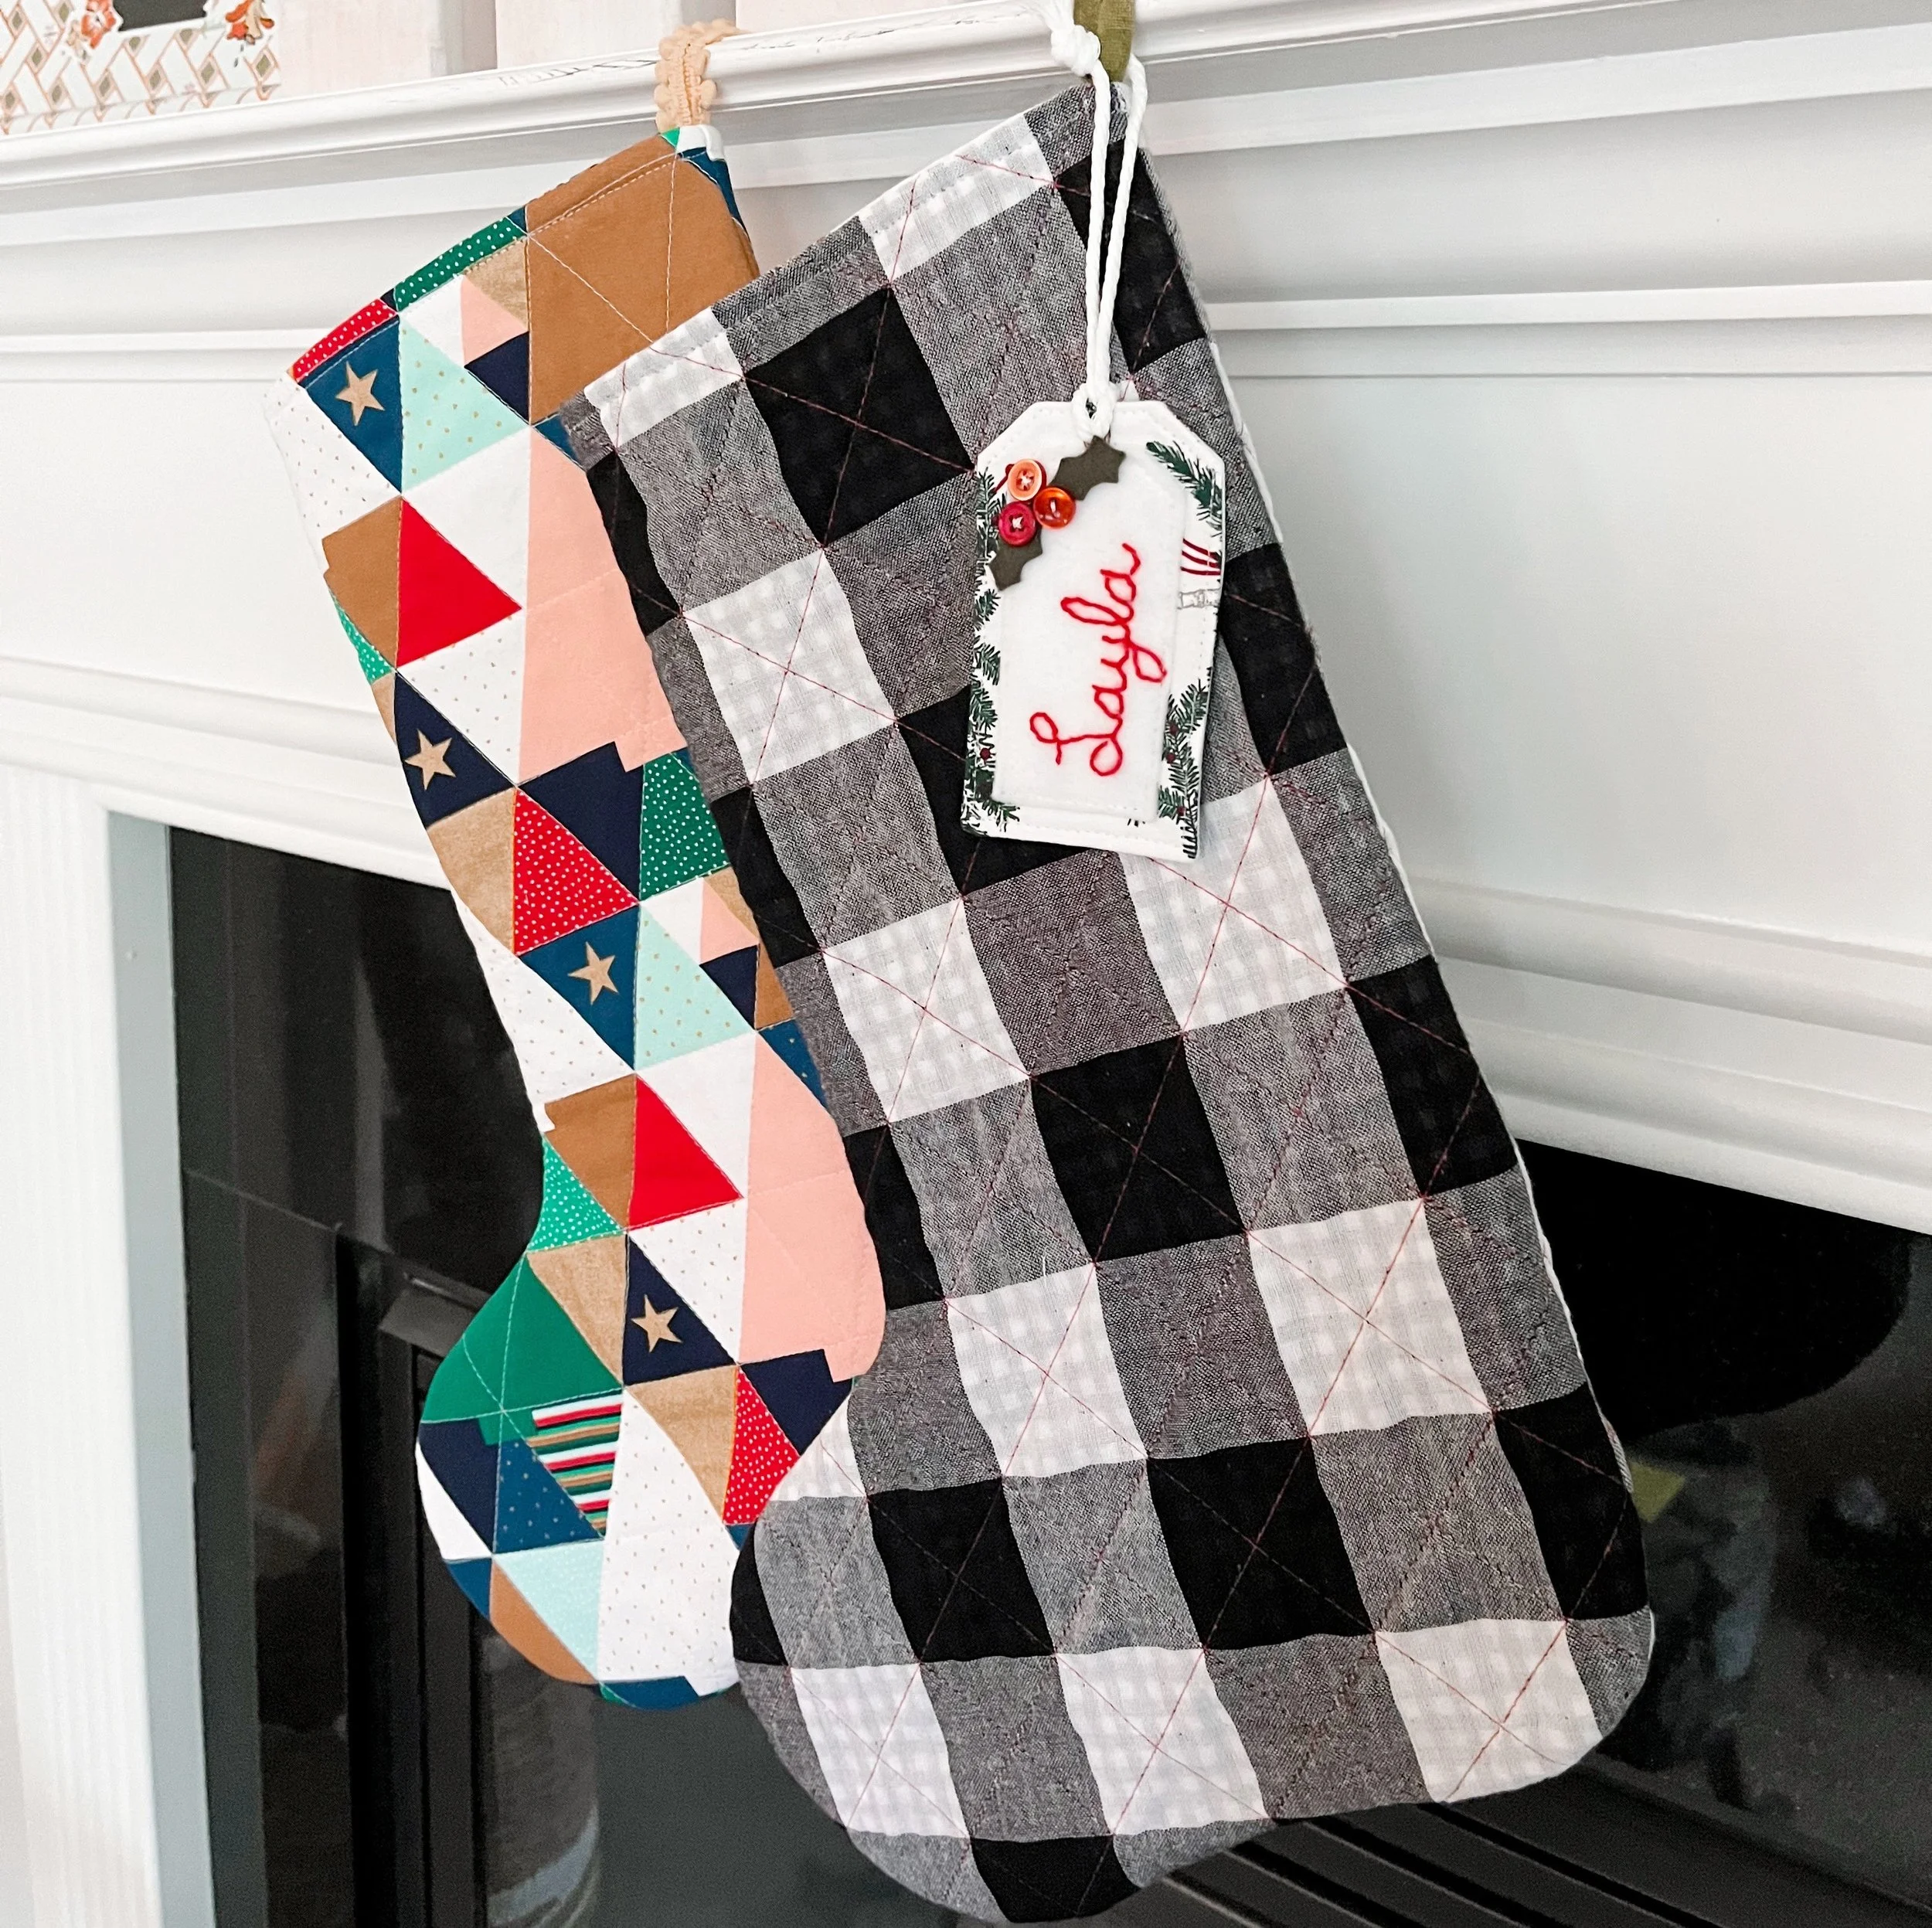
I added TWO new sewing patterns to the shop this week! Learn to sew simple and modern quilted Christmas stockings AND the cutest little personalized stocking name tags (or reusable gift tags!) with this new set of sewing patterns. Even if you’ve never quilted before, you can absolutely make these sweet stockings. I try very hard to make sure my patterns are beginner friendly and these two are no exception. I’m so excited to share with you this great new duo of patterns for your Christmas sewing and I hope it will add some handmade cheer to your holiday decor!
My best tips for teaching someone to sew.
Take the risk factor out of buying fabric online with my tips and shopping sources!
Learn to choose fabrics for your quilts with confidence!
If you have too many WIPs lying around, there’s hope! Read on for my tips on becoming a finisher.
Conquer your fear of free motion quilting with the tips and tricks in this video tutorial.
There is more than one way to make money sewing! Think outside the craft fair box and learn my favorite ways to earn an income with your sewing skills.
Is quilting an expensive hobby? It doesn’t have to be!
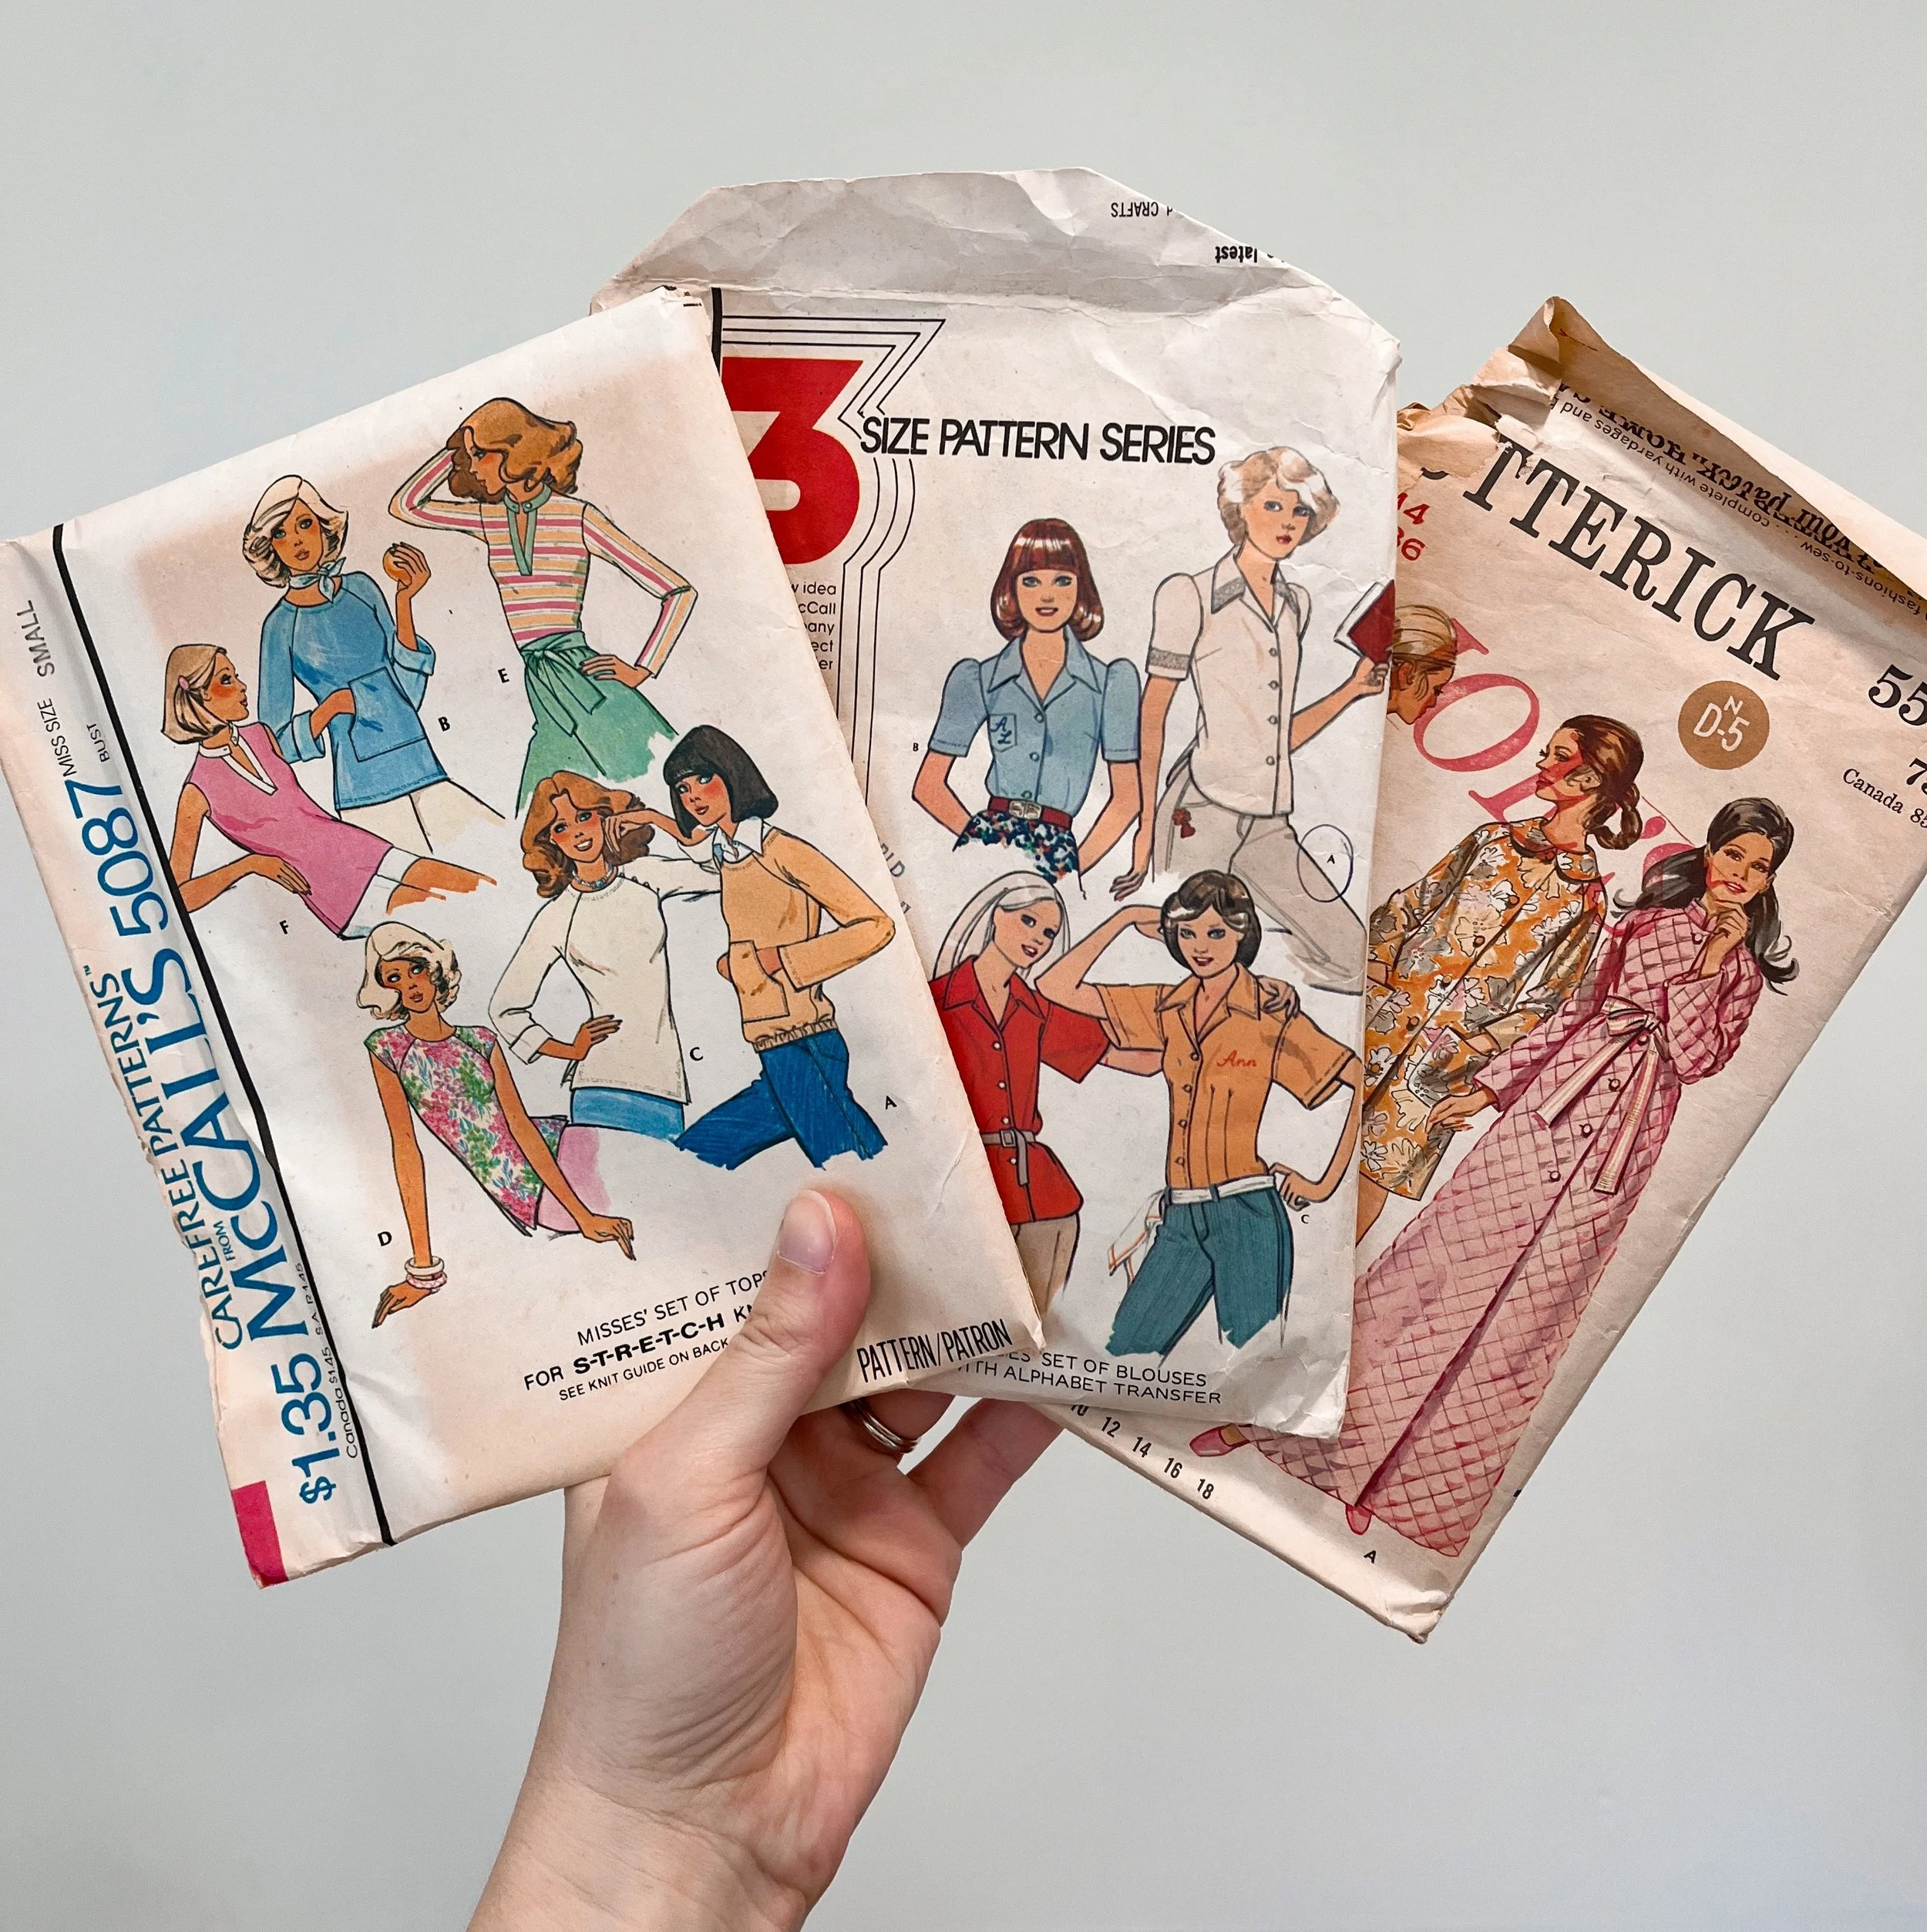
Last year I scored three boxes full of vintage sewing patterns on Facebook Marketplace for some crazy price, like $10 for the whole lot. I had the best time going through them and picking out what to keep, what was too mouse eaten to touch (ha!) and what to pass along to the next lucky seeker of vintage patterns at a thrift store somewhere.
Have you ever wandered listlessly into your sewing room and wondered what happened to your sewjo? Or maybe you’ve wanted to sew, but just couldn’t seem to get started, couldn’t even see your cutting surface, or just didn’t have the materials you needed? If that’s ever described you, I have some tips for how to get your sewjo back!
My teen daughter spotted a pink velvet flower shaped throw pillow in a photo somewhere recently and asked if I could make one for her room. Um, of course I could! I made her a velvet flower pillow AND THEN I went on to design a patchwork version using the fat quarters I’d just received from my Annie’s subscription. I loved how it turned it so much that I went ahead and perfected the pattern piece, filmed a tutorial for YouTube, and added the printable PDF pattern for these cute flower pillows to my shop, so you can learn how to sew a flower pillow too!
Recently I designed a doll clothes pattern that includes a sun hat and market tote, which I really wanted to try making out burlap. Burlap is a fabric I had never sewn before! So there was some trial and error involved, but by the time I was finished with the pattern, I had written down several tips and tricks for sewing with burlap, so I’m going to share those with you today. I’ll include things like what needle to use, how to finish those raw edges so they don’t unravel, plus the thing I did very WRONG when I first started, ha!
AND, since doll hats and bags hardly take any fabric and I have quite a chunk of nice burlap left over, I set out to find more projects I can make with burlap, so I’ll post those burlap sewing project ideas here too.
Sewing doesn’t have to be an expensive hobby. Although you can definitely save money on certain types of sewing like home decor, you might find you can’t make your clothes for as cheap as you thought you could. Today I’m going to share some tips for making sewing cost less, so you can feed your sewing hobby, even if you’re on a tight budget!
Do you keep a sewing binder? I do! A sewing binder can hold all kinds of pattern pieces, tutorial instructions, sewing planner pages, and sewing machine setting notes. I’ve had mine for many years, but I don’t keep in it what you might think! There are some amazingly organized people out there who keep meticulous notes about patterns, future sewing plans, and stitch settings, but I am not those people, ha!
No, my sewing binder doesn’t have any pages of fabric swatches with washing instructions, but it IS a very important part of my sewing room, so I’m going to tell you about it today.
As you may know, I spent a few years teaching kids sewing camps and classes. In total, I had around 80 children come through my sewing studio and finish countless projects successfully, so it's about time I share some tips with you. If you want to help the kids in your life learn to sew, whether they’re your own children, or you want to start teaching sewing classes, these tips for sewing with kids are for you. I’ll recommend the best sewing machine for kids, tell you what other supplies you’ll need, plus I’ll help you learn to just chill and let them sew, ha!
And, if you’re a parent who does not yet know how to sew, but your kids want to learn, this post will set you up for success so you can start sewing right along with them! If this inspires you and you want even more on this topic, I have another post here with all the content I’ve written about sewing with kids, including lots of project ideas.
I have gotten asked so many times for advice on buying your first sewing machine that I should probably save my answer in a note or something so I can copy and paste it, ha!
I do have a few solid pieces of advice that I always give when someone is looking to buy their first sewing machine, or which sewing machine to buy for kids or a for a beginner, so I thought this would be a great opportunity to put all that advice here in a blog post.
It’s no secret around here that I looooove costume sewing! I’ve been making DIY Halloween costumes since my kids were little tykes and I’ve shared pretty much all of them here with you over the years. But today I wanted to share some tips and tricks for sewing Halloween costumes that I’ve picked up that have made costume sewing both easier and cheaper. You CAN DIY your kids’ costumes, and your own too!
If you want to DIY some home made costumes this year, but don’t know where to start, how to find costume fabrics, how to do it frugally, or how to find patterns for that obscure cartoon character your kid wants to be — you’re in the right place!
I’ve been having some fun over on my YouTube channel lately, so in addition to writing these tips here, I created a video with my costume sewing tips too! Enjoy :)
If you’ve been following along with me here or on Instagram for a length of time, you’ll have noticed how many of my fabrics I get from Hobby Lobby. I am lucky to live very near to one currently, which hasn’t always been the case for me, and may not be in the future, but I’m thankful for it now! Not only is JoAnn not as conveniently located for me, I almost always leave there frustrated, so I rarely ever go. Hobby Lobby, on the other hand, I have had great success with for fabric shopping! Hobby Lobby sells such nice fabrics and I’m willing to bet they have way variety than you think!
If you’ve been sewing for awhile and don’t already own a serger, you may have wondered, “what the heck is a serger and do I really need one?” Also known as an overlocker, a serger is a special sewing machine that finishes raw edges of fabric neatly, to put it very basically. A serger is a great companion to a regular sewing machine, but it’s definitely not necessary for everyone and is more useful for certain genres of sewing than for others. Can you sew pretty much anything without a serger? Yes, you absolutely can! But there are some great reasons to add a serger to your sewing table, which I’m here share with you today.
I’m a part of a few sewing groups online and the thing I see people avoiding most when it comes to sewing skills is buttons and buttonholes. As for the latter, many sewists avoid them because they’re genuinely afraid of them, and while I have a longer post in the works about how to overcome your fears and start sewing buttonholes like a pro, that’s not what I’m going to talk about today. Today I’m going to spill a secret about sewing on the buttons themselves.
I have a little tip to share today that I actually got from Emily Hallman Designs and it also turns out my mom’s been doing this for awhile now, so I’m behind the curve, but it’s worth sharing, even if I’m late to the game!
Read on for a quick tip for pattern hacking pockets!
Learn to sew a flag banner with letters.