
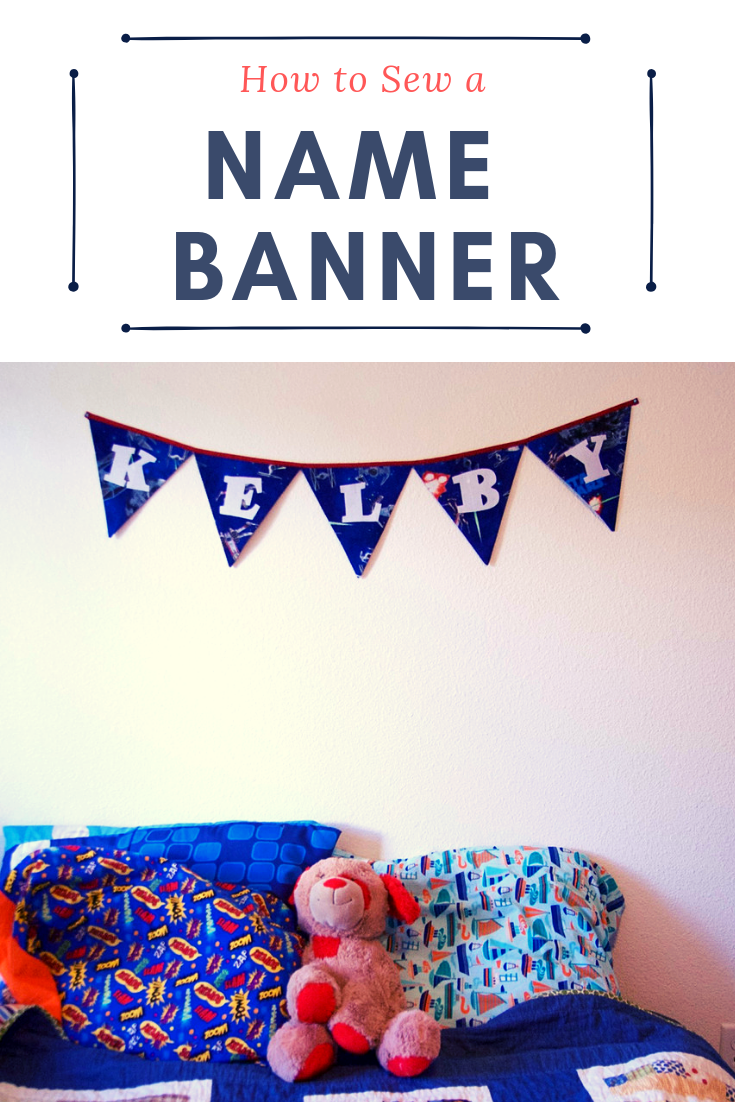
Beginner/Kid Friendly Sewing Tutorial: Name Banner Bunting
This month in my local kids sewing classes, our theme is sewing for your room, and Tuesday's project was these fun triangle name banners! The kids had fun with these and my favorite part is seeing what fabrics they each choose and how they got creative with their words, using nicknames, meaningful words, adding hearts before and after their names, etc...
A name banner makes a great gift too, I’ve even made them when hosting baby showers, with the coming baby’s name on it. It’s the perfect personal touch and the new mom can use it to decorate baby’s room.
This post contains affiliate links, which means that while I am not paid to promote certain items, I will earn a small commission should you purchase items through these links. For more info, see my disclosure policy.
There are plenty of these kinds of buntings out there, but this one is set apart, since it’s lined and all the edges are enclosed, so it won’t fray. It’s meant to be a decoration that will last a long time! And of course I wanted to make a tutorial simple enough for beginner parents and kids to follow so my sewing students can make more at home!
What You'll Need:
A triangle template: I cut mine from a file folder and it measures 9.5" across the top and 10" down the center. You can make it any size as long as it fits the letter stencils you have.
Letter stencils. Mine are from my old scrapbooking stash. You can get them in scrapbook sections in craft stores OR you can print out your own font to cut out and trace. This could be a really fun way to go!
Fabrics: With my size triangle, we could cut four flags out of one fat quarter. So I'd say for an eight letter word, you need at least a half yard total of fabric. But, it's super fun to do each letter different too, so you can use scraps you have on hand. We backed our flags with solid colors, but you could use anything and you could even make your banner reversible! Just make sure you use fabrics that you can't see through.
Double Fold bias tape. This comes in little packages by the zippers and rick-rack, but you can also make your own, there are several tutorials out there for that.
Fusible Web: This comes either on a bolt, in a roll or in sheets. Steam A' Seam is a brand name for the kind you'll find in sheets, but any kind will work.
Let's Get Started!
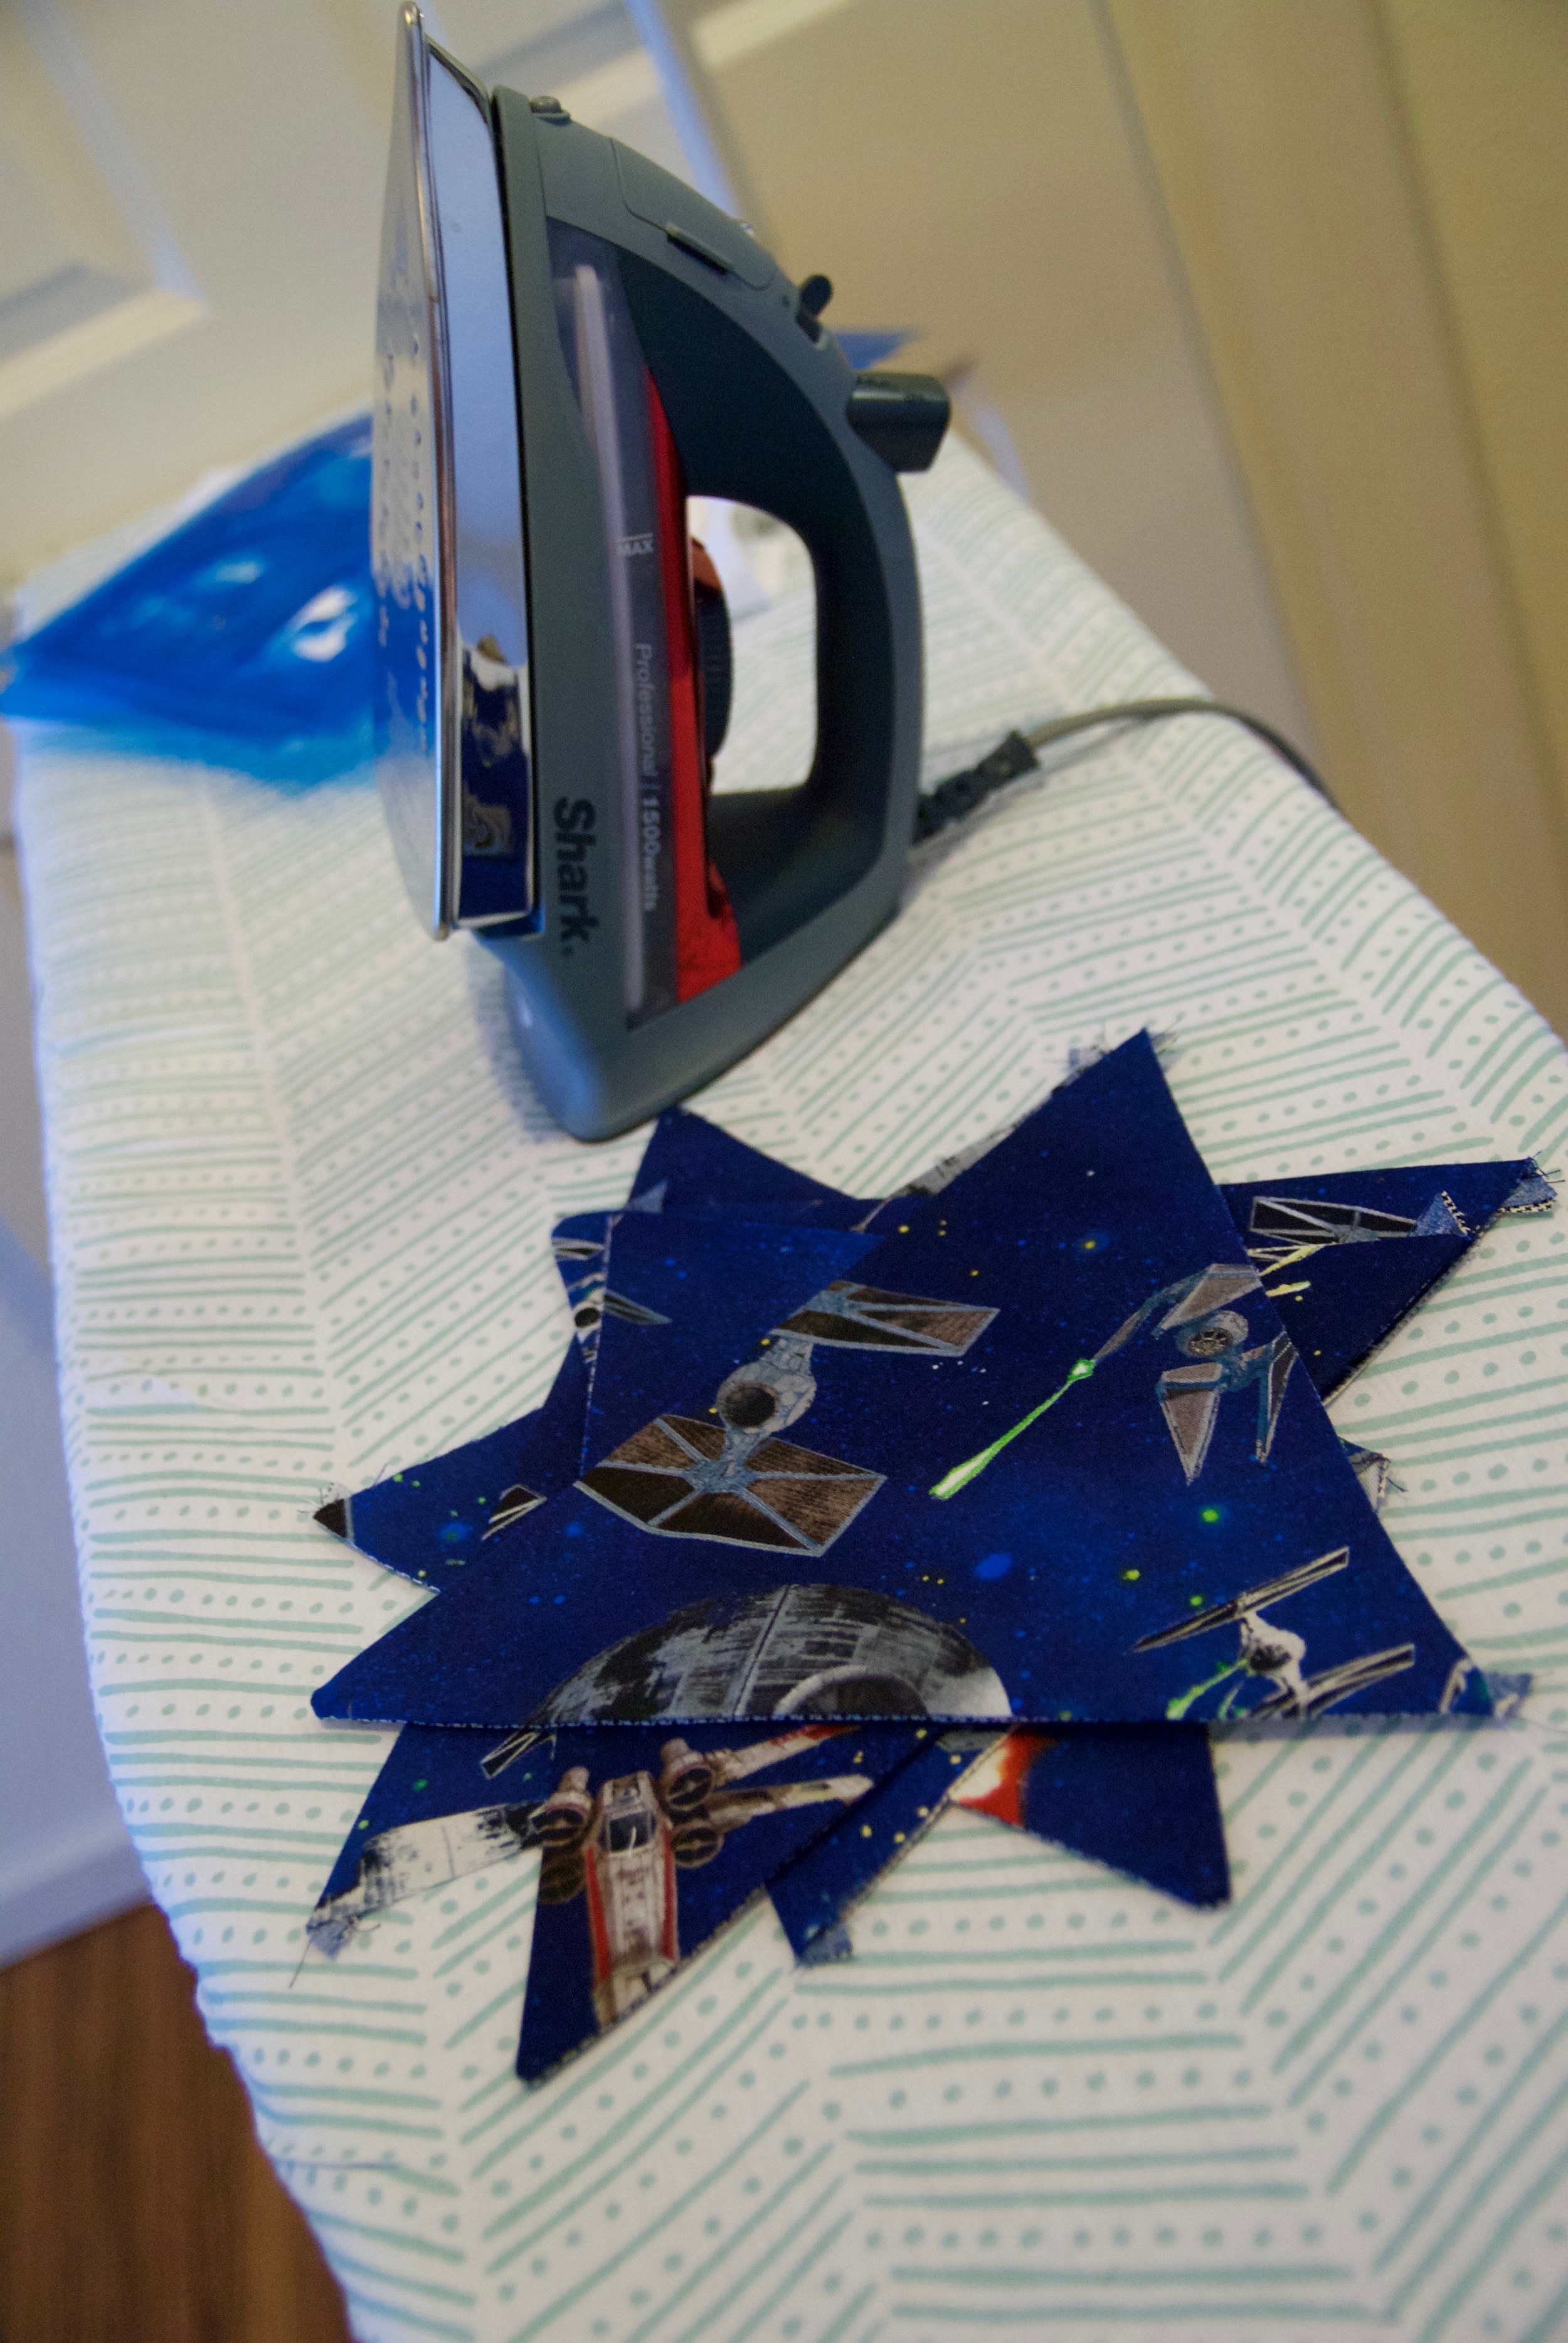
Cut out your flags, as many as you have letters and cut out your backing flags too. Then sew each one together, right sides together (pretty side to pretty side!), leaving the tops open. Snip the bottom tip straight across, close to your stitching. This helps you get a nice point when you turn it right side out.

Turn each flag right side out, use a chopstick to gently poke the corner out and press them nice and flat.

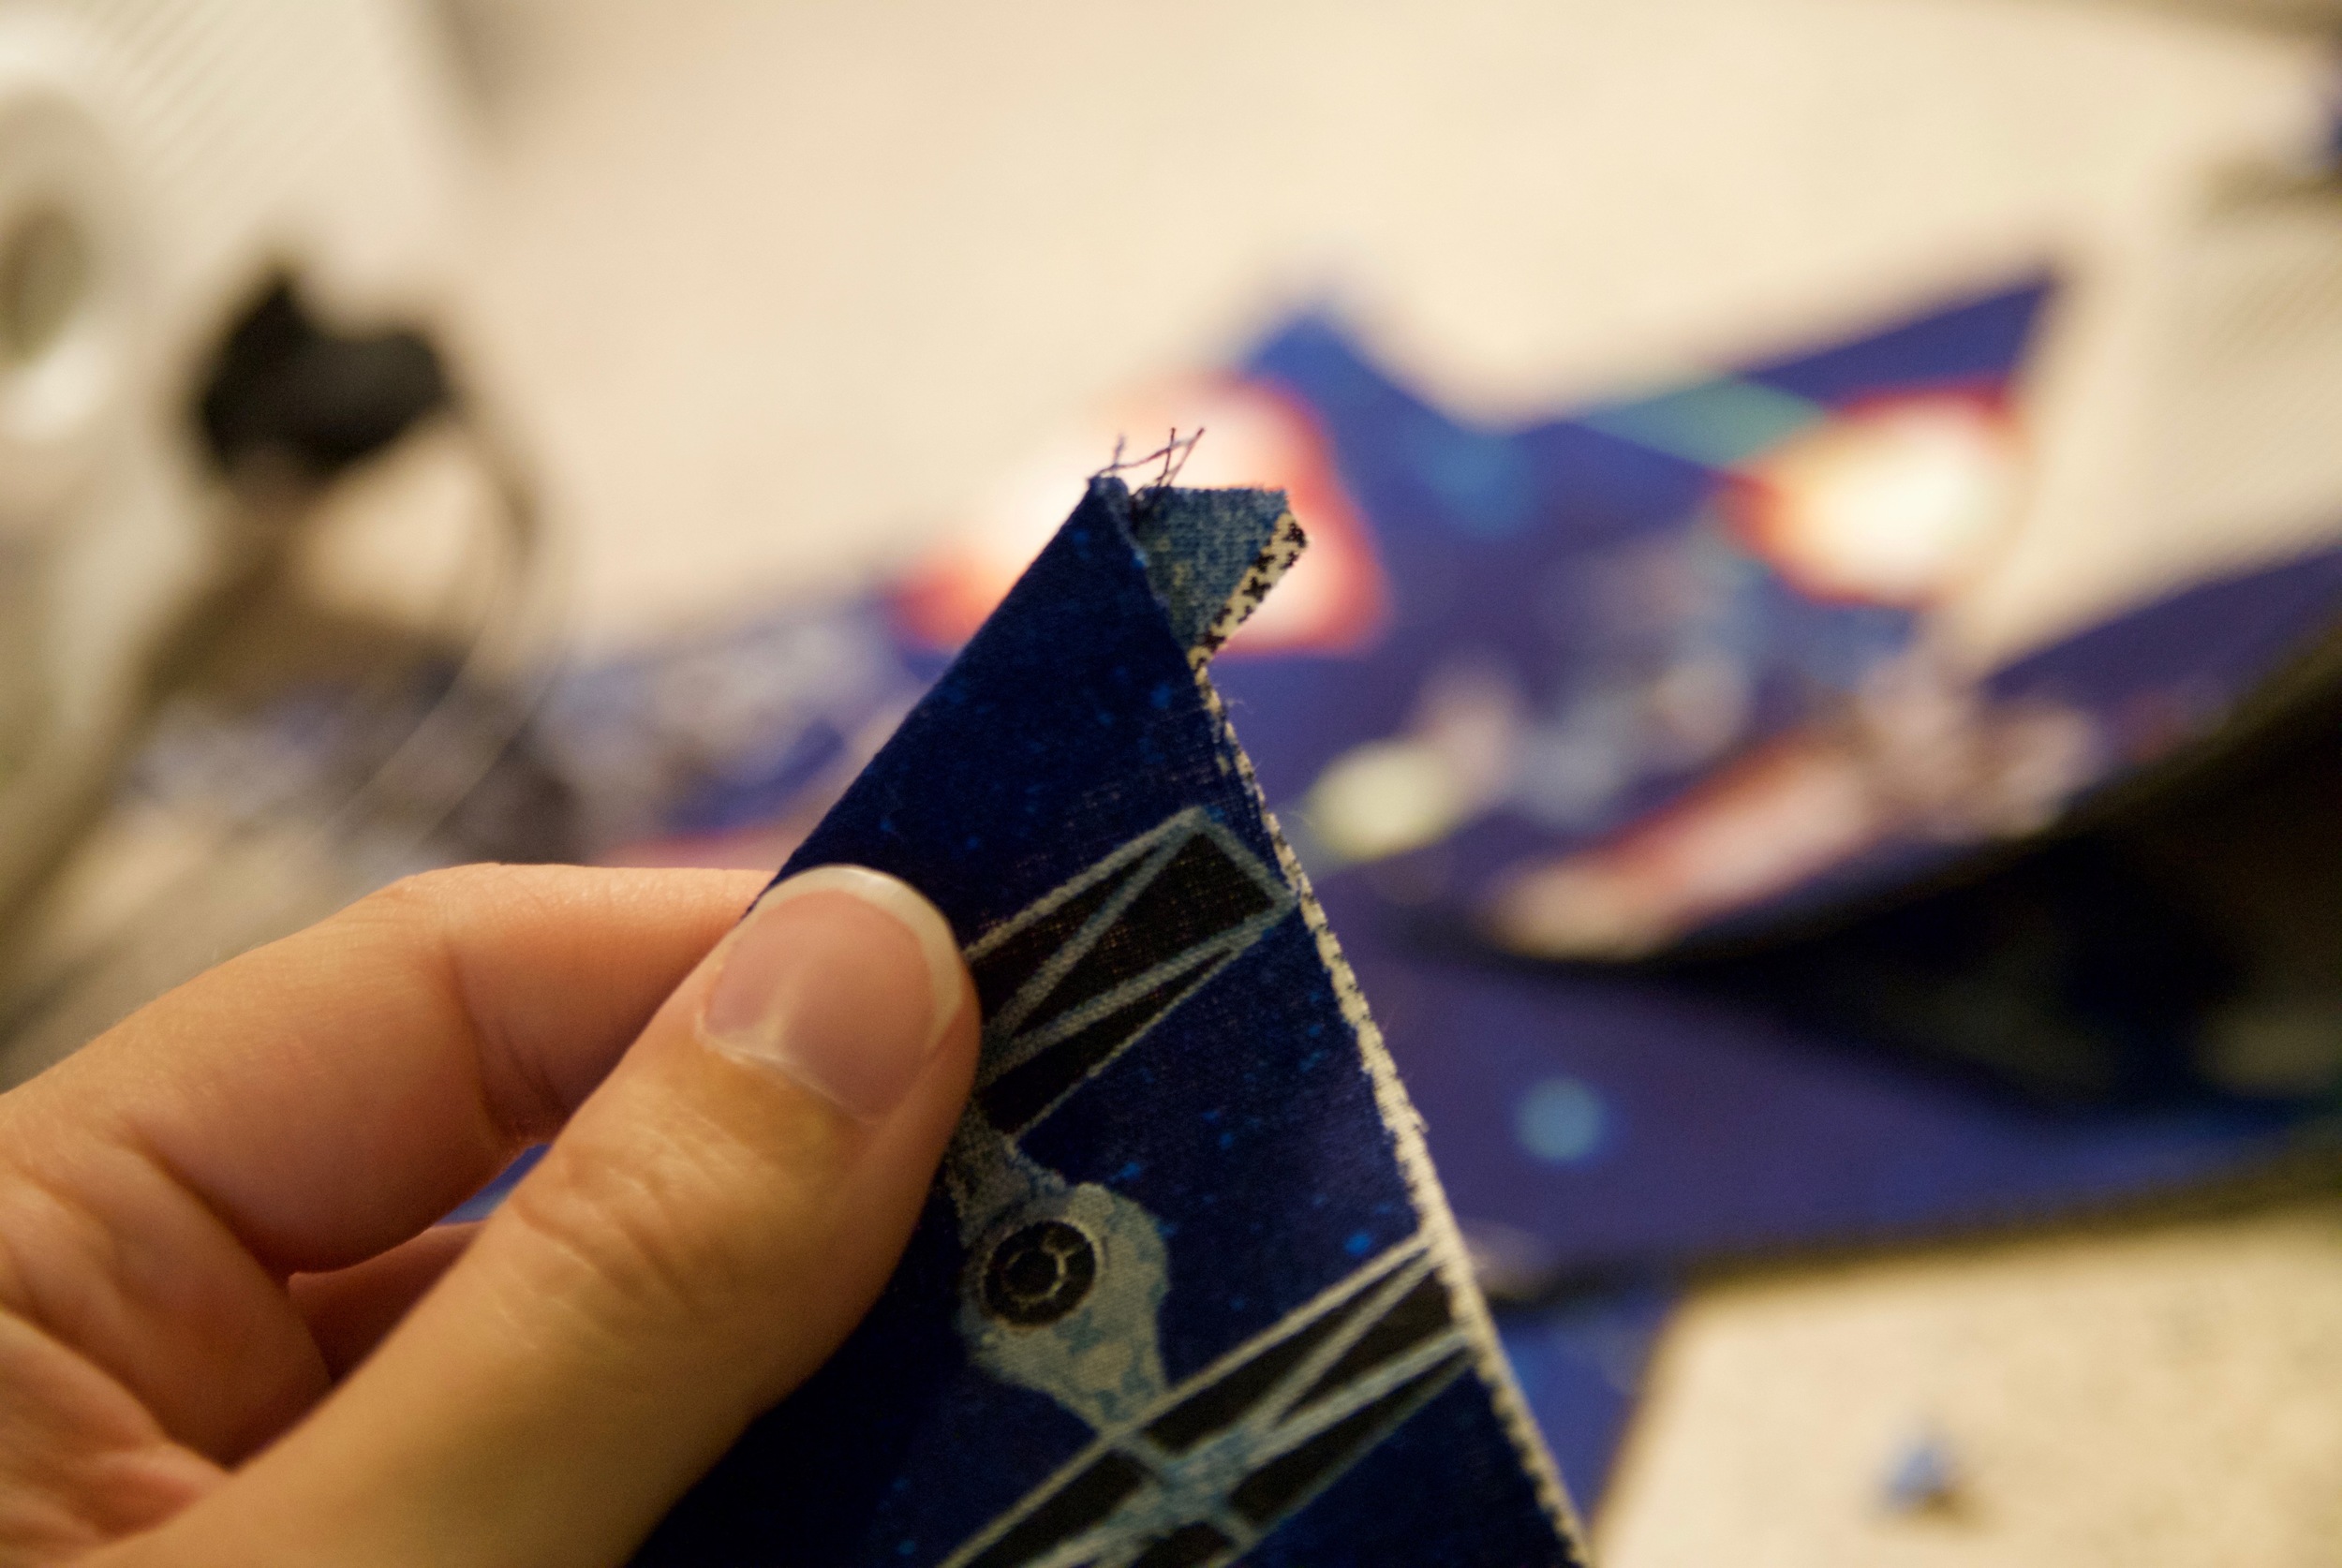
Before we put the binding on, you'll want to trim off all these little dog ears:
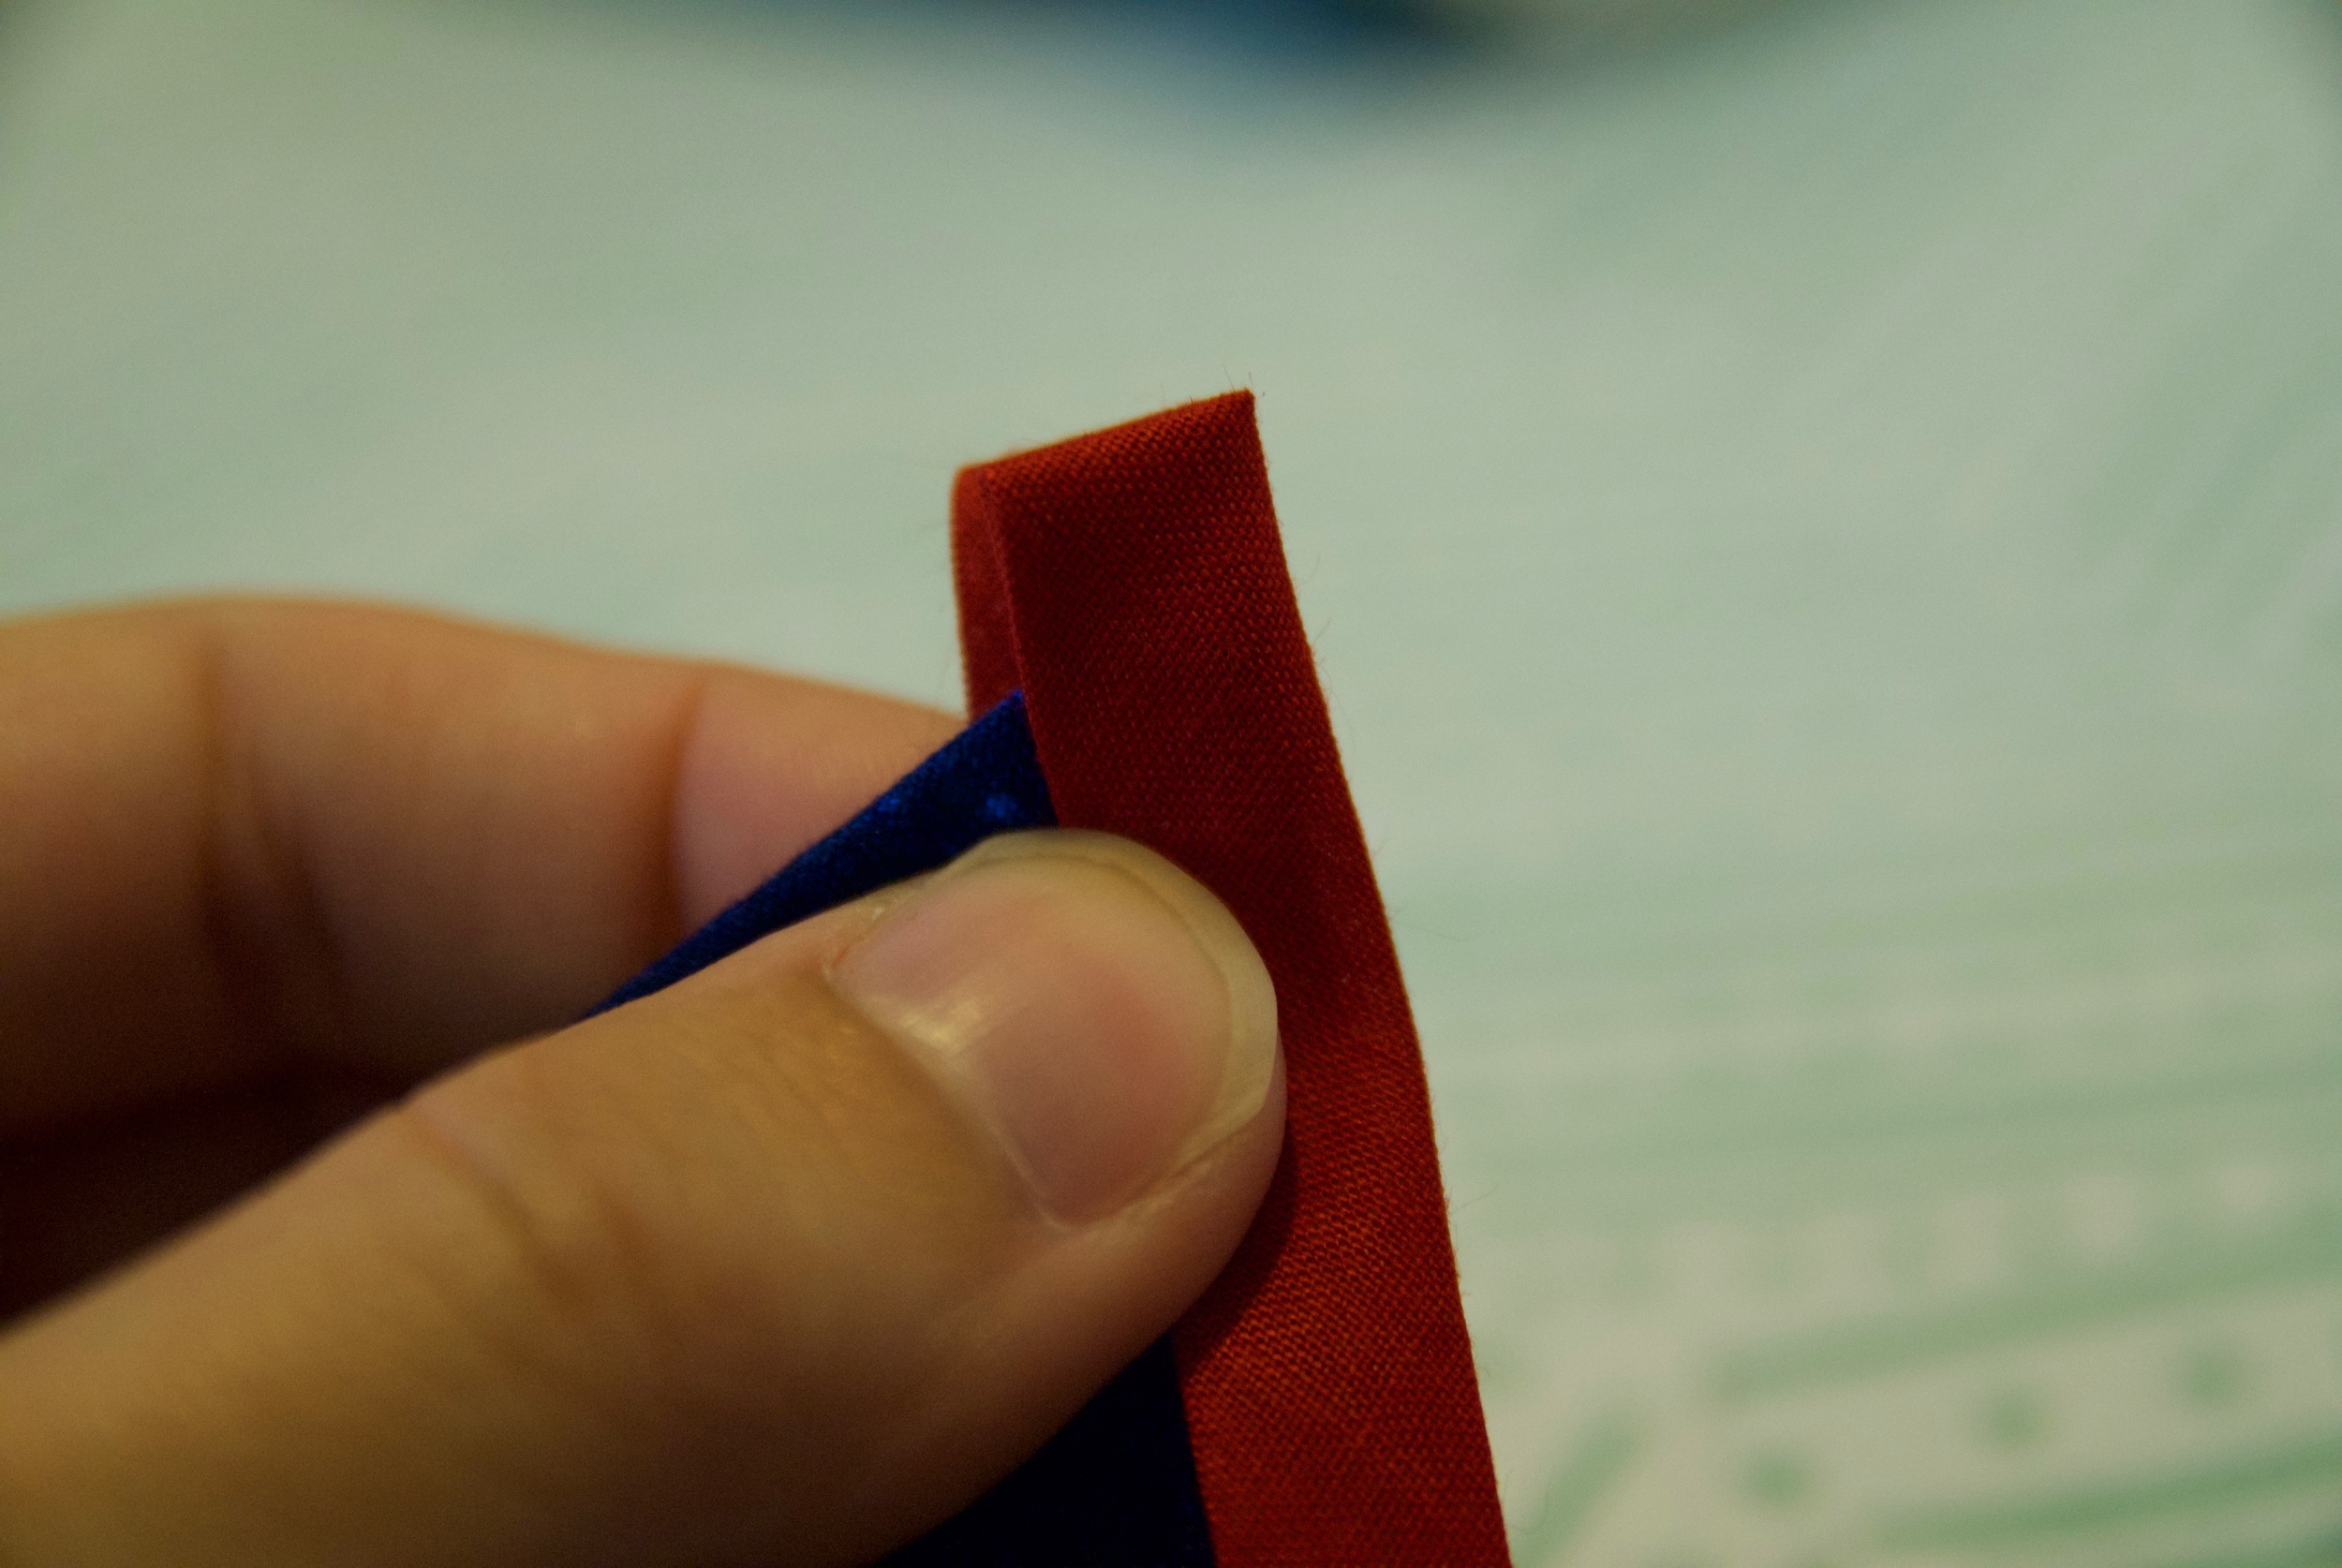
Time to add your bias tape! Open up your bias tape and fit the first flag inside it's fold, starting about an inch from the end. (You can turn the end under, or not. I didn't have the kids do it this way and since bias tape doesn't ravel, it will be fine. Put it under your machine and use a zig zag stitch to sew down the length of it, adding flags as you go. I don't usually pin them, I just open it up and wedge them in as I go, but you can pin if you want!


The sewing part is done! Time to add the letters. Whether you're using stencils like mine or printed letters, you want to trace each letter backwards onto one side of your fusible web. Don't cut them out! You can cut loosely around each letter, or if you traced them close enough together for it not to be wasteful, you can just iron the whole piece onto your fabric. Following the manufacturer's instructions if you need to, remove the paper backing (the side you didn't trace on) and iron your letters onto the wrong side of your letter fabric.

Now you can cut your letters out. Once you've cut them out, remove the paper backing and place each letter where you want them on each flag and press them on one at a time. Make sure you spell it right! haha.

That's it! You're done! You can easily hang these up with thumb tacks. My students were all so proud of their banners!

The kids thought of all kinds of banners they can make. Natalie suggested a football one to hang during Bronco games (Broncos season is coming!!!!!!) A few girls talked about making them for gifts. Like I mentioned already, I've made these for baby shower decorations/presents. Seasonal banners would be fun too!

A banner I made when I threw my friend a baby shower several years ago. She hung it in the baby's nursery!
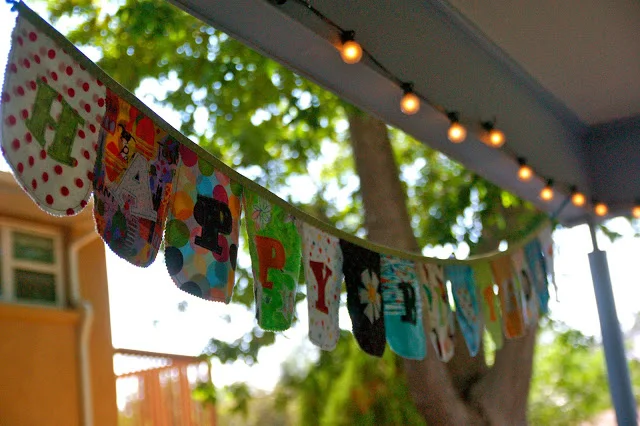
And my favorite banner of all, the birthday banner I made when all my kids were tiny that I still hang up for every single birthday, even my own :) I can see many memories in all the fabrics I made it out of!
I’m sure there are lots of was to used these banners that I haven’t even thought of, so if you think of some, I’d love to hear your ideas!
Cheers and happy sewing :)


Learn to hand quilt with minimal tools and without the perfectionism!